g CONTENTS
Preferred application settings
For the best reading experience, the following application settings are recommended:
No dig: achieve so much more by doing less
Delve deeper Universe under our feet
Delve deeper Natural nutrition
Delve deeper Soil carbon and structure
Building, planting, and maintaining a no dig bed
Delve deeper Sourcing successful seeds
THE PRINCIPLES OF GROWING VEGETABLES
g CONTENTS
INTRODUCTION
Simple is best, and taking easier approaches that work well is clever rather than lazy. For four decades, my gardening has not followed many of the “rules” that have been taught at horticultural colleges and recommended generally. I always search for a reason before doing something, and there are remarkably few good reasons to invest time and effort in digging and many other labor-intensive gardening jobs. I wrote this book to show you that no dig is a highly practical, effective, achievable, and economical alternative to gardening methods involving soil cultivation.
In the 1980s, when I started gardening, almost everybody was digging and experiencing sticky soil, masses of weeds, and time wasted on more soil preparation, with no extra reward for these difficulties. I started to discover both organic and no dig methods in 1981, after becoming vegetarian in college, which got me interested in nutrition. Having grown up on a farm, I was aware of the tillage and synthetic fertilizers used to grow vegetables at that time. Wondering what synthetic chemicals were in the food we ate and in the wider environment led me to embrace organic methods. I became a market gardener in late 1982, with 65,000 ft2 (6,000 m2) of beds that I maintained by hand after rotavating the pasture. I erected a large road sign by my garden that said simply: “Health from the Land.”
I became aware of no dig through writings in the Soil Association magazine and the work of Ruth Stout in the US, who wrote about her “no work” approach. Stout advocated mulching with hay, and I bought some old hay to cover my beds because I was afraid of weeds growing. The next spring, I lost many plantings to slugs hiding under the hay and quickly came to appreciate the value instead of covering soil with compost that does not harbor slugs, especially in the damp climates found around the UK. Next, I found that no dig and annual mulching with compost quickly resulted in very little weed growth, to the point where many visiting gardeners were simply amazed. This reduced need for weeding is an enormous benefit of no dig and the most significant time-saving aspect of my approach.
My current garden at Homeacres in Somerset, UK, has been created using no dig methods since November 2012, and the cropping area now stands at 14,000 ft2 (1,300 m2). Initially, I spent 40 or more hours each week running the garden, with 40 hours’ part-time help for harvesting salads in particular. These salad leaves are supplied to local shops and restaurants, I sell boxes of vegetables locally, and a lot of the produce from the garden is also used to provide lunches for people who attend courses at Homeacres. I continue to spend many hours each week working in the garden, but because my drive to promote no dig also pulls me toward teaching, video making, and writing, I now employ a full-time helper.
Word is spreading about the benefits of no dig growing and it is attracting increasing interest, especially with new evidence that it helps retain carbon in soil, and growing awareness of the role that microorganisms nurtured by no dig methods play in soil fertility and plant nutrition. Social media has allowed me to reach a significant and continually expanding audience, and the positive feedback I receive from all over the world motivates me further. Like-minded people are successfully adopting my methods in a huge range of climates, soils, and situations—from single beds in urban gardens to community gardens, schools, and market gardens.
No dig saves time and allows gardeners to enjoy themselves more, while a simple annual mulch of compost improves soil fertility and its ability to hold carbon and feeds the soil ecology, for a healthy balance between pests and predators. Best of all, this practical approach promotes robust growth of both vegetables and flowers, enabling you to grow a large harvest of super-healthy food in a beautiful, sustainable garden with few weeds or pests.
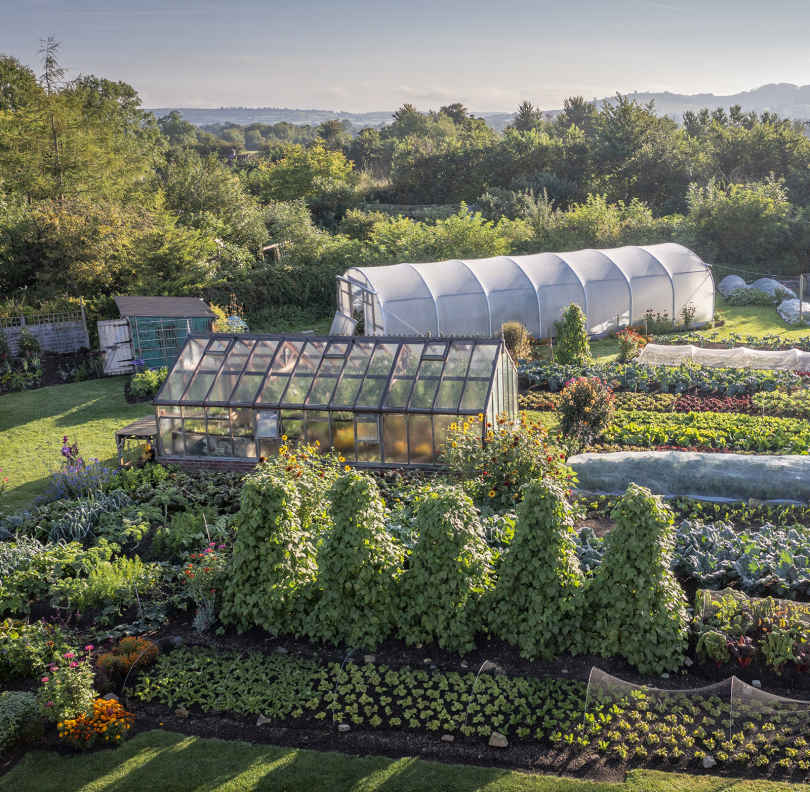
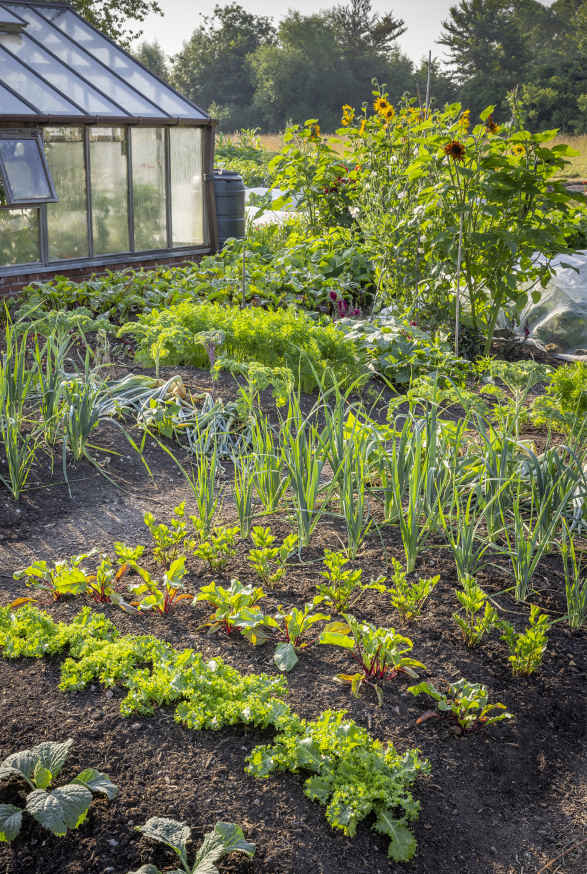
At Homeacres, vegetables and flowers thrive year after year in no dig beds, with just an annual mulch of compost. By August, the garden is filled with second plantings made following earlier harvests—no dig makes this succession planting quick and easy.
g CONTENTS
CHAPTER 1
It all begins with the soil
It all begins with the soil | Contents
No dig: achieve so much more by doing less
Delve deeper Universe under our feet
No dig methods make it easy to create and maintain a healthy and productive garden on sites of any size or soil type. One application of compost each year, on top of undisturbed soil, results in high yields from a minimal input of time and effort. Leaving soil undisturbed is fundamental to no dig growing, and although planting and harvesting will sometimes cause surface disruption, this can easily be kept to a minimum. There isn’t even any need to remove weeds when you begin, and the lack of digging combined with regular mulching significantly reduces the need for subsequent weeding.
There is a common misconception that plant roots need soil to be loose and fluffy to grow, but their growth is actually better when the soil structure is firm. What’s more, digging and other types of cultivation break the existing structure of tiny channels within the soil and damage the networks of fungal growth, such as mycorrhizae, which help plant roots access water and nutrients (see Delve Deeper Universe Under Our Feet).
Dug soil’s damaged structure means it soon slumps to a dense state, with little space for air between soil particles, especially after it’s walked on. Digging also only reaches a certain depth, beneath which the soil is not disturbed, creating two layers of different density. This forms a “capillary boundary” through which water cannot flow freely from the crumbly surface soil to the denser soil below, resulting in poor drainage.
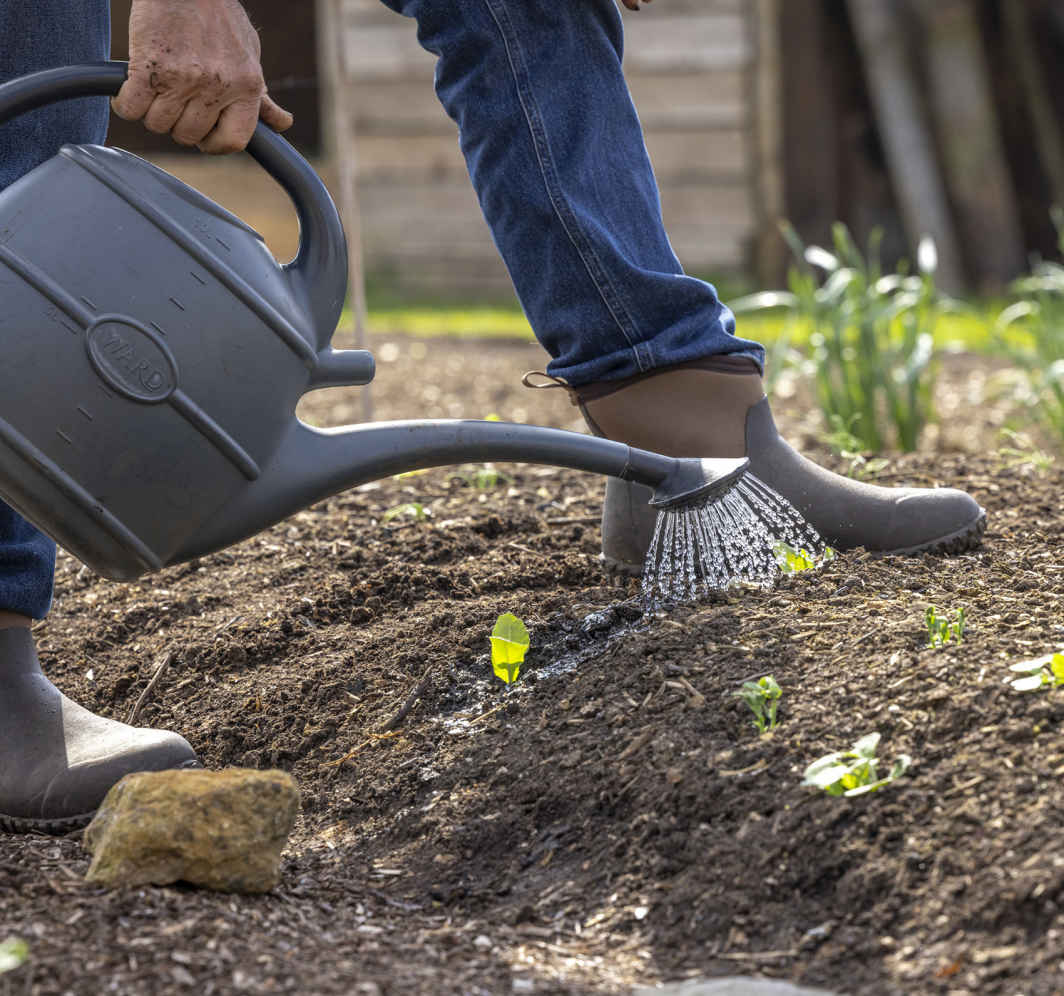
Soil disturbance stimulates weed growth by bringing buried weed seeds to the surface, where they quickly germinate to cover bare soil and “heal” the damage caused by digging. Weeds then need to be removed before sowing or planting. A further disadvantage is that disturbed soil sticks to boots; in my garden, I rarely wear rain boots.
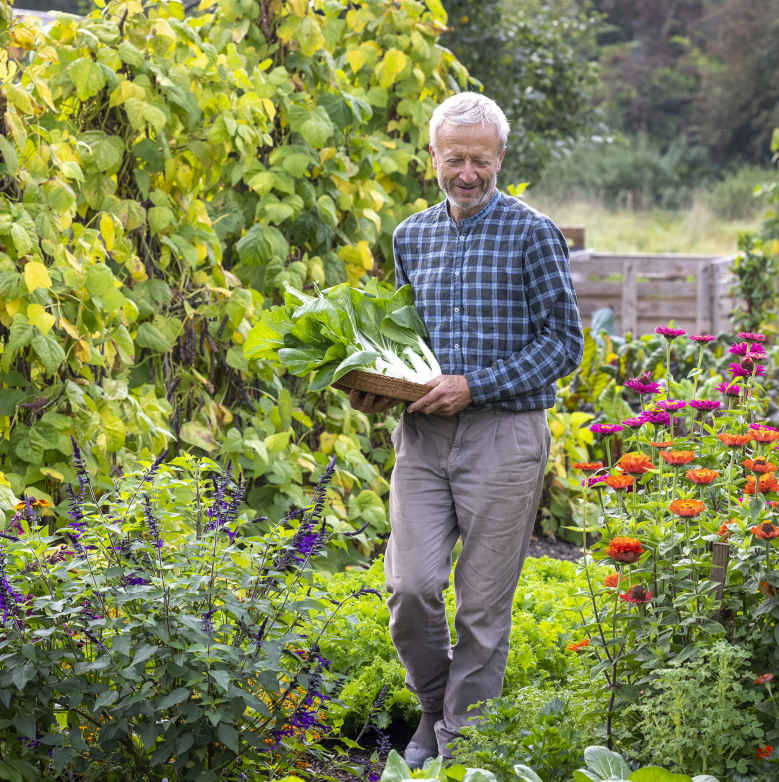
No digging and less weeding leaves more time to plant vegetables and enjoy a varied harvest.
The no dig method is simple and easy to practice, producing successful harvests with a significantly smaller investment of time and effort when compared to digging. Avoiding soil disturbance is key, as it allows the natural processes within the soil to work without interference. Ground can also be cleared of most weeds quickly and easily without digging by covering with a light-excluding mulch (see Controlling Weeds). Only woody plants, such as brambles, need to be dug out before establishing a new bed.
A second aspect of treating soil well is to add a mulch of well-decomposed organic matter just once every year to feed the diverse range of organisms that live out of sight (see Delve Deeper Universe Under Our Feet). In forests and pastures, this happens through leaf fall and decay, but a mulch replaces this in vegetable gardens, where we harvest much of the surface growth. Organisms in the soil come up to eat the surface compost and excrete organic matter in forms more available to plant roots. In moving through soil, these organisms build a structure of larger soil particles and air pockets, which improve both drainage and water retention (see Delve Deeper Soil Carbon and Structure).
I apply compost mulch to beds in late fall or early winter, after removing the last fall crops and any weeds, so the bed surface is covered for winter and will be ready for planting in spring. Likewise, I mulch the paths between beds with well-rotted wood chips to ensure that all ground is covered and the organisms within it are fed. Plants can extend their roots beyond beds and tap into this additional resource of path soil.
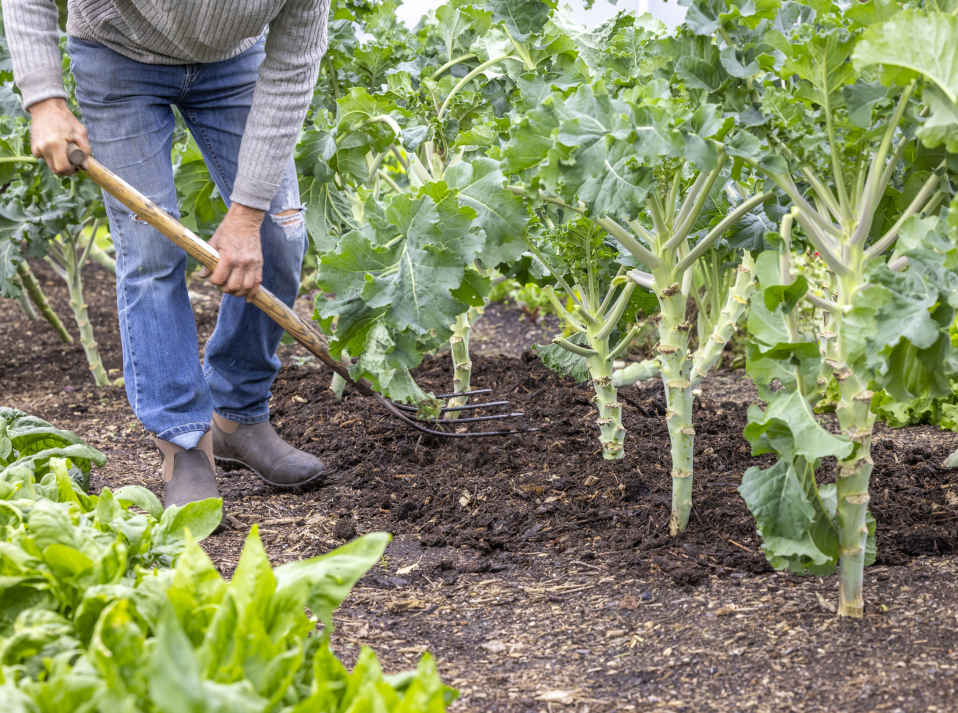
Mulch around the base of overwintering crops, like this purple sprouting broccoli.
Since 2013, I have used two adjacent 5 ft x 16 ft (1.5 m x 5 m) beds to compare and demonstrate the differences between dig and no dig methods. Each year, they are planted with the same vegetables at the same time and all harvests are weighed, providing a lot of data. Results vary with the weather, but the no dig bed consistently produces an equivalent total harvest to the dig bed, and usually 5–10 percent more. All for less time and effort because there are few weeds in the no dig beds, while the dig bed’s disturbed soil is colonized by weeds, such as creeping buttercup. Watering is also noticeably easier because the compost mulch on no dig acts like a sponge, absorbing water freely into the soft surface. When the dig bed is watered in dry weather, water tends to run off the top (see Delve Deeper Soil Carbon and Structure).
In spring, I notice that growth of most vegetables, with the exception of potatoes, gets underway more quickly on the no dig bed. I imagine this is thanks to the established mycelial structures of soil fungi interacting quickly and easily with developing plant roots to help their early growth (see Delve Deeper Universe Under Our Feet). The no dig bed also has a slightly higher soil temperature thanks to both the dark layer of compost on the surface that absorbs the sun’s warmth faster than the paler dug soil and undisturbed capillary contact with warmer soil at greater depths. This is demonstrated after snowfall and during the melt, when it’s noticeable that the dig bed remains white while the snow melts more rapidly on the neighboring no dig bed.
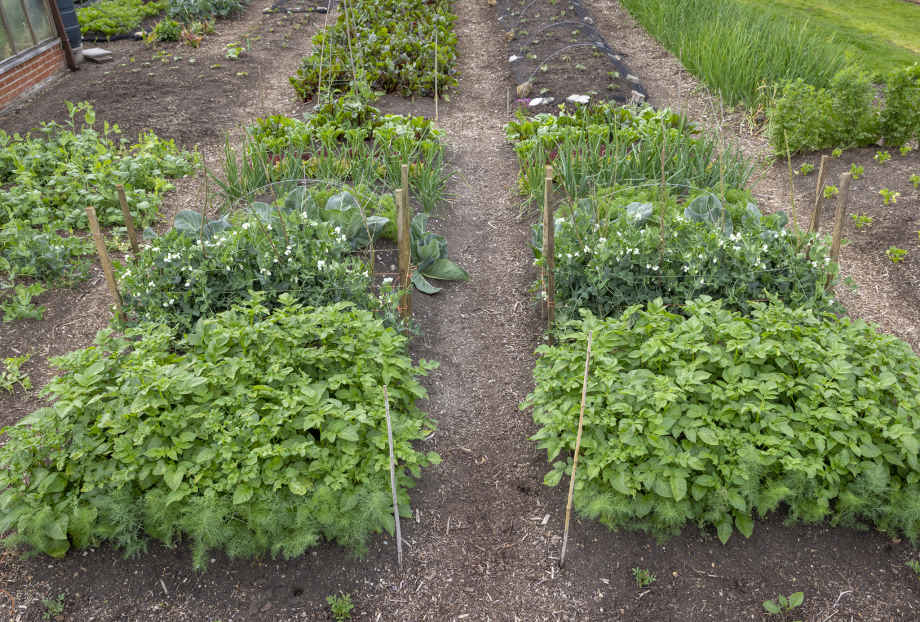
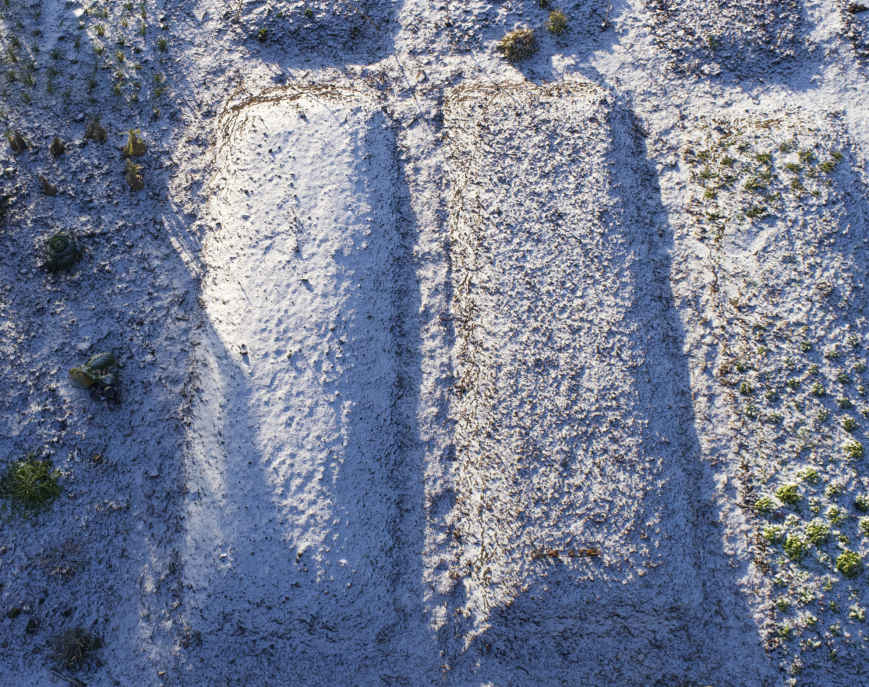
The no dig bed on the right equals or surpasses the yield of the dig bed across from it with less work (top). Snow melts faster on no dig soil (above).
As above, so below—there is a cosmos out of sight beneath our feet. If only it were visible, we would be amazed at the life and activity within the soil, and scientific research is allowing us to increase our knowledge of soil organisms, their interactions with plants, and their impact on soil health. No dig allows this soil ecosystem to develop undisturbed, and every year I’m delighted by the growth in my garden, which occurs simply as a result of enabling natural processes.
SOIL FOOD WEB
American soil biologist Dr. Elaine Ingham describes this life as a “soil food web,” made up of plant roots interacting with insects; earthworms; and microscopic, sometimes single-celled organisms such as fungi, bacteria, and protists. These creatures play a role in processing both organic matter and minerals in the soil into forms that can be taken up by growing roots. Plants then return the favor by releasing from their roots exudates containing some of the products of photosynthesis, which form a “chemical currency” that provides the main food source, at least for the fungal networks.
Scientists classify soil-dwelling animals, or fauna, into three groups according to their size. Creatures from each group feed on soil organic matter or other soil animals; their excretions and movement contribute to soil structure and fertility. Macrofauna are ½ in (1 cm) or longer, like centipedes, millipedes, slugs, snails, fly larvae, beetles, and beetle larvae. Animals classed as mesofauna are 1⁄250–1⁄16 in (0.1–2 mm) long and usually inhabit the surface layer, where most organic matter decomposes. They include insect larvae, small spiders, land planarians, and springtails or collembolans. Microscopic microfauna enable decomposition, provide a food source for other soil fauna, and include the fungal network.
Organic mulches add organisms to the soil food web and provide food for those already present. Enabling this biological network to work with plant roots ensures sufficient food for new growth without any need for synthetic fertilizers, which would harm soil organisms. Dr. Ingham’s research even leads her to assert that, “There is no soil on earth that is incapable of providing all the nutrients that plants require.” The missing link in ostensibly “poor” soils may be the web of organisms that can transform organic matter into nutrients that are available to plants.
MYCORRHIZAL FUNGI
Fungi constitute a separate kingdom of life to plants, fauna, and bacteria. Fungal networks usually grow underground, cannot photosynthesize, and are visible above ground mainly when they produce mushrooms, their fruiting bodies. The fungi associated with plant nutrition are known as “mycorrhizal,” a word that combines Latin “myco-,” fungi, with Greek “rhiza,” root. This reflects mutually beneficial relationships they form with plant roots, which enable plants to access the water and nutrients they need from soil. When I started gardening in the 1980s, mycorrhizae were not considered important for vegetable crops, but today their role in the growth of almost all plants is widely recognized.
Mycorrhizal fungi form a mutual symbiosis with plants by physically joining their tiny filaments (hyphae) with plant roots. The fungi supply water and nutrients from the soil to plant roots in exchange for sugars that the plant has manufactured during photosynthesis. This effectively expands the root systems of plants, providing them with access to existing networks of fungal hyphae within the soil. The easiest way to encourage this elegant natural system is to avoid digging because disturbing soils will damage the fragile fungal growth that they contain. Some research suggests that chemical fertilizers are also detrimental to mycorrhizal associations because the delivery of these instantly available, water-soluble nutrients directly to plant roots makes redundant the symbiotic relationship between plant roots and fungi.
Mycorrhizal fungi are naturally present in soils, although sometimes dormant as long-lived spores. The species present vary according to soil type, existing plants, and climate. Products containing mycorrhizal fungi in a dry pelleted form may not introduce species that are native to your area or useful to your plants. I prefer to add indigenous microbes to beds with an annual mulch of homemade compost, which will contain spores of both mycorrhizal fungi and saprophytic types that all play their own parts at different stages of decomposition and plant growth.
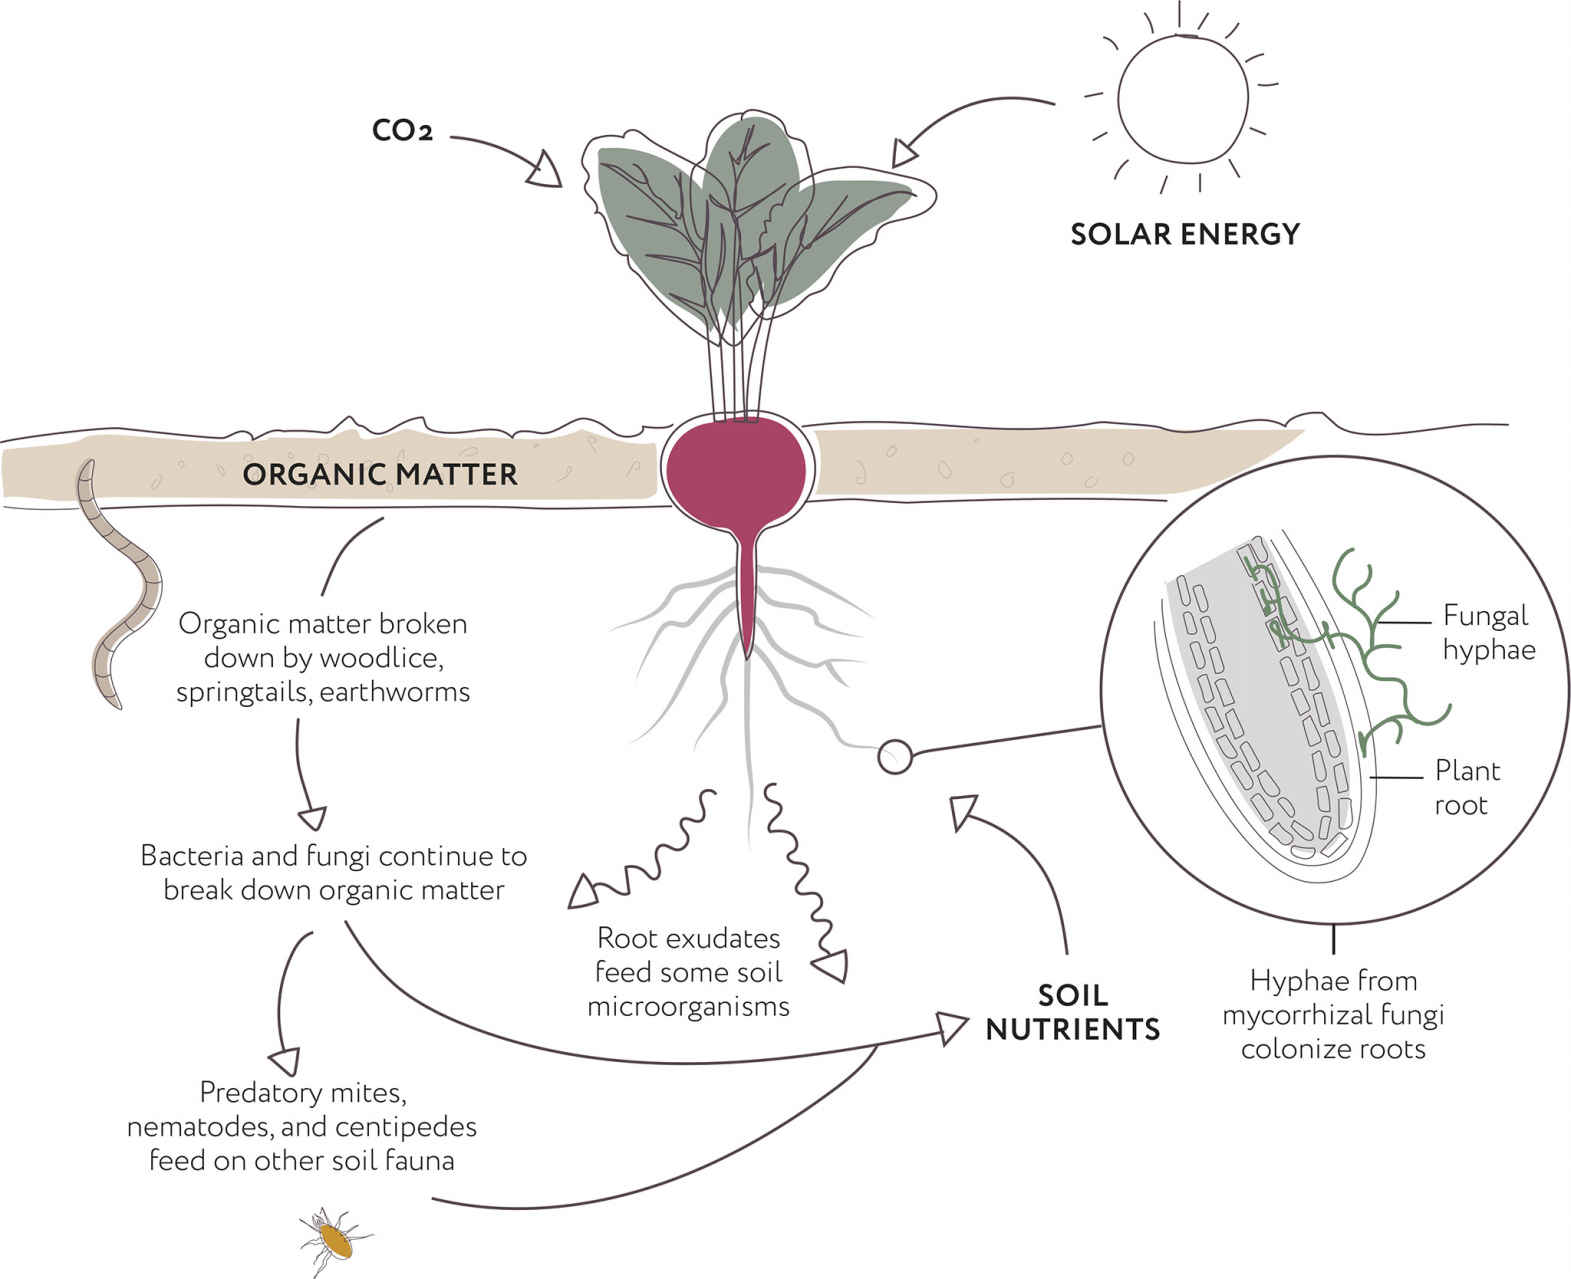
The Soil Food Web refers to the diverse life that inhabits and enriches healthy soil. As these organisms feed on organic matter and soil fauna, they make nutrients available in forms that can be taken up by plants. The hairlike hyphae of mycorrhizal fungi penetrate fine plant roots to deliver nutrients less easily accessible from the soil in exchange for sugars, in a relationship that is symbiotic.
Compost is at the heart of a no dig garden, used both to create new beds and maintain the fertility of existing beds. You can make it yourself (see Making Your Own Compost), but you will almost certainly need to buy some to supplement your homemade supply, especially when you establish new beds. There are many types of compost to choose from, and although some are described as “organic,” this simply means they are organic matter, not that they are free from chemical residues.
Compost refers to any carbon-based material that is well decomposed. It may have started as garden waste, chipped wood, cereal straw, tree leaves, digester waste, or animal manure—all decompose eventually. Compost is described according to the principal material it was created from—the starting point. For example, when gardeners talk about using manure on their plot, what they mean is compost made from animal waste or manure, including any bedding materials.
Compost varies in color from pale brown to almost black and often has a lumpy texture rather than being uniformly fine. Color, smell, and any visible materials are all clues about a product's original ingredients and the composting method used. More than anything, they indicate the stage of decomposition. Traditional descriptions of “black gold” suggest that dark compost is better, but a black color results from either strong heat of 158–176°F (70–80°C) or anaerobic decomposition, both of which favor certain bacteria and damage fungi, and does not guarantee that a compost is well decomposed. Any compost that is browner in color is usually balanced with fungi, as well as bacteria, and increases soil fertility more rapidly.
The process of decomposition generates heat; therefore, warm compost is a clear indicator that microorganisms are still breaking it down. They require nutrients to do this, which means that applying partially decomposed organic matter in the rooting zone can deprive plants of some food they need and result in a lack of growth or leaves turning yellow. Newly bought green waste and mushroom compost are often fresh and still warm, so they improve when left to decompose for at least a month before using. If compost is still above 95–104°F (35–40°C), allow it to decompose further before using it to make new beds with a thick 6 in (15 cm) layer of compost, where plants initially do not have access to the soil below. Warm compost can work as a 1 in (2.5 cm) surface mulch, decomposing more while plants root below it.
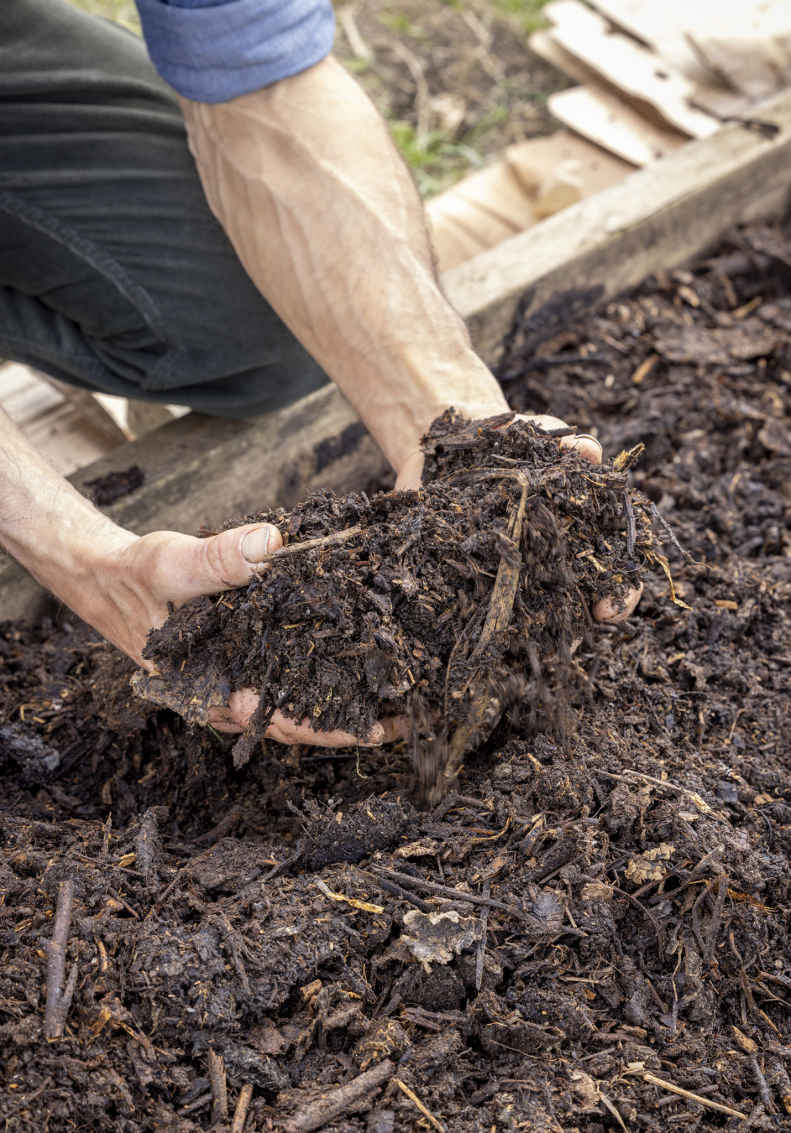
Compost with a coarse texture is ideal to mulch beds.
Compost increases fertility by feeding the inhabitants of the soil, and they in turn improve structure—aeration, moisture retention, and drainage—and make nutrients available to plants (see Delve Deeper Natural Nutrition). Thanks to decomposition having already happened elsewhere, laying compost on the surface delivers organic matter in forms that are readily accessible for soil organisms to eat and excrete, converting them quickly into compounds that can be taken up by plant roots. I see the addition of compost as giving soil a deep contentment, leaving it well fed, and contributing to the absence of new weeds in established beds.
In damp climates, compost mulches provide no habitat for pests, such as slugs, which are often a problem under straw and undecomposed materials. Compost’s dark color also absorbs heat from the sun in early spring, warming the soil quickly for earlier plant growth.
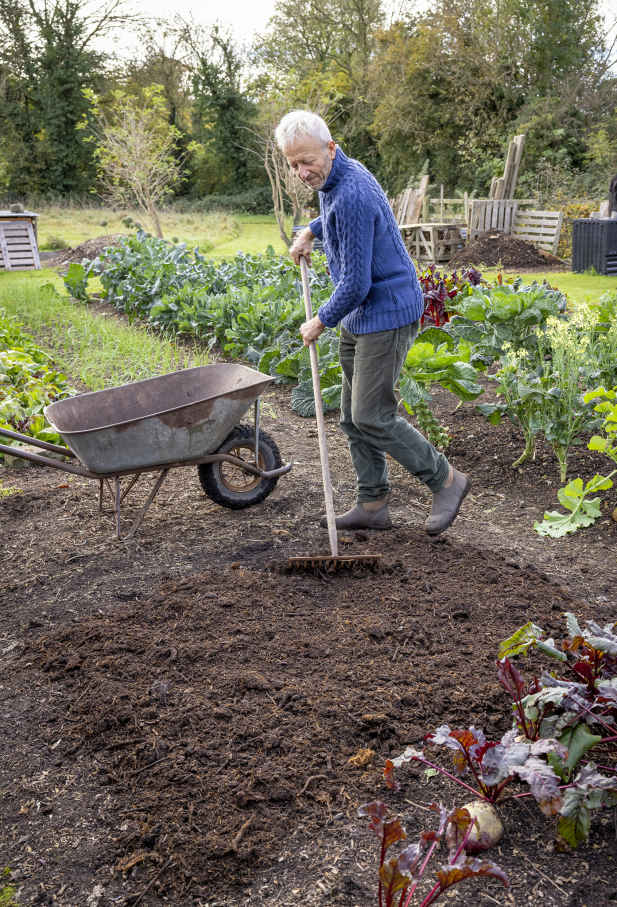
Spread a thin layer of well-decomposed compost on no dig beds every year to improve soil fertility.
Apply a larger amount of compost when you start out and smaller applications once a year after that. The existing fertility of your soil determines how much compost is worth using initially to set beds up for good harvests over several years. On poor ground or where weeds are particularly strong, a 6 in (15 cm) layer of compost is an investment to increase yields in future years, reduce weed growth, and improve the moisture retention of soil. Such a thick mulch never needs to be applied again, and in other circumstances, you could start with less. When converting a lawn to beds, lay cardboard topped with 2¾ in (7 cm) of compost. An existing vegetable plot may not need cardboard, and 2 in (5 cm) of compost will be enough. To create deep raised beds, use top soil as a base layer because it holds its volume, and top beds with 8 in (20 cm) of compost.
Once beds are created, annual applications of roughly 1 in (2.5 cm) of mature compost are sufficient without spreading more during the growing season, even when you plant follow-on crops in summer. The texture influences how thickly to apply it; a rough compost with pieces of straw or woody material can be spread a little more thickly. Small lumps and pieces of wood are fine and do not need to be sifted out.
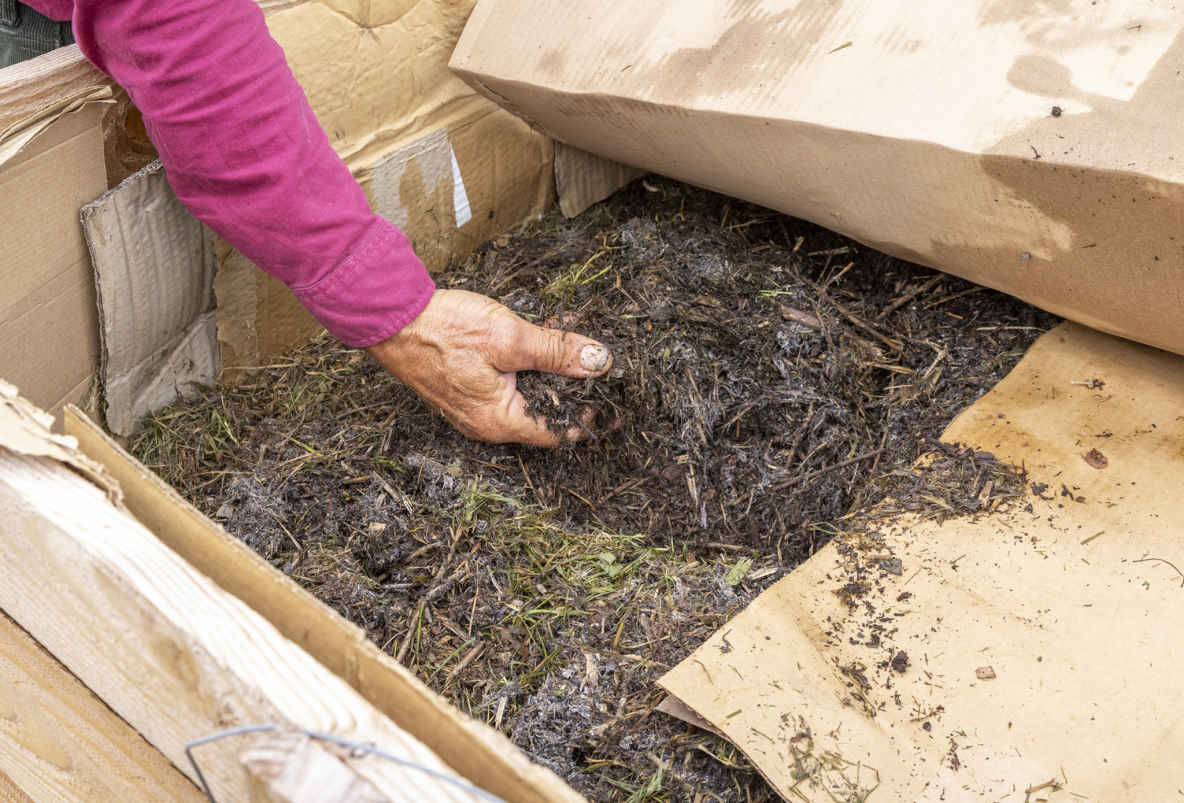
Use your hand or a compost thermometer to check the temperature of compost before use.
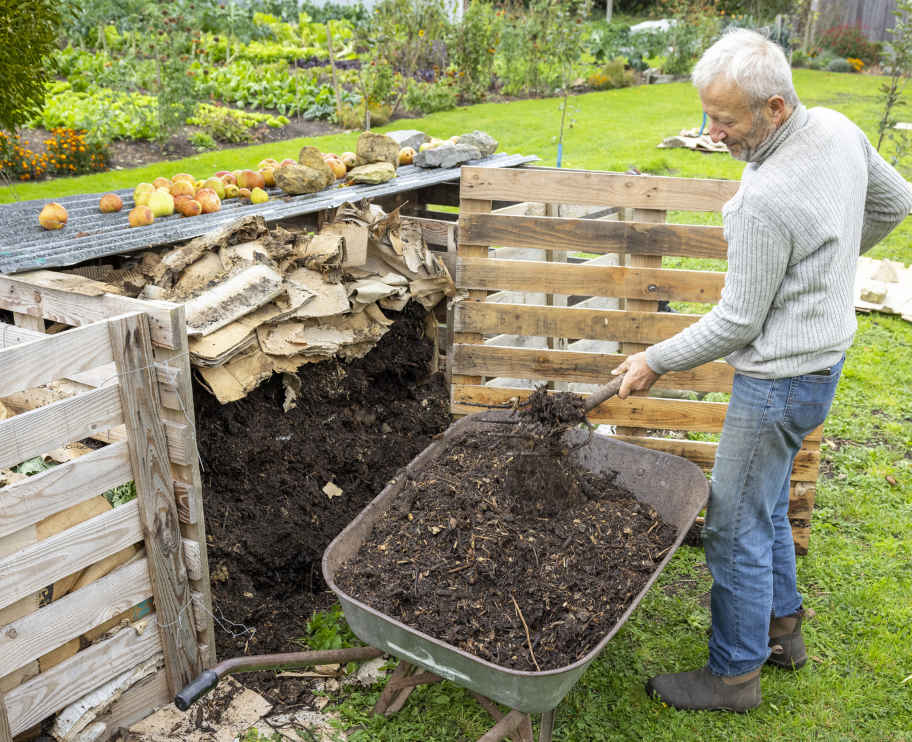
Homemade compost is a great free resource and need not be sifted when used to mulch beds.
WEEDKILLER CONTAMINATION
I now use less manure and purchased compost than before because of the increased risk that they contain pyralid weedkillers, sprayed on grass eaten by livestock or on lawns. The herbicide stays intact during animal digestion and all composting processes, so after mulching, it causes pale, stunted growth of plant shoot tips, especially in legumes and solanums. Ask your supplier about pyralid weedkiller use and test any compost you want to check by sowing broad beans into pots before it is spread. If pyralid weedkiller is present, beans grow slowly and show curling leaf tips within a month, depending on temperature. Soil microbes can eventually clear compost of this contamination.
These are the best and most easily available composts for mulching no dig beds. I make use of bought-in composts even though I produce a large quantity of my own. Leaf mold is also an excellent fine-textured compost with a high fungal content, but it is not readily available and takes two years to produce. Another product marketed as “compost” is anaerobic digestate. I don’t recommend its use, as it isn’t compost, but finely chopped anaerobically processed material, which lacks microbial life.
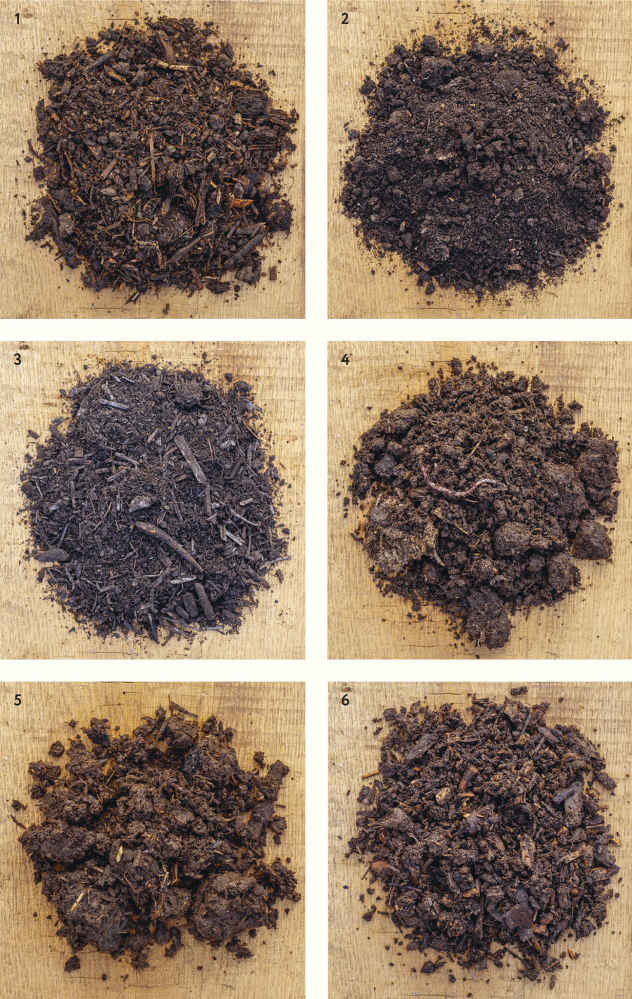
1. HOMEMADE GARDEN COMPOST
I rate this as one of the best composts for garden use, especially when you make it in aerobic conditions. Its high microbial content is fantastically beneficial for soil (see Delve Deeper Universe Under Our Feet), although it’s not necessarily the richest in nutrients. The texture and content will vary depending on what you added and how you looked after it (see Making Your Own Compost). I use it at 5–10 months old, counting from midway between the first and last application to the heap.
2. BAGGED COMPOST
Look for peat-free material labeled multipurpose, all-purpose, or potting and container soil. Avoid blends for seeds or cuttings and ericaceous compost. Buy a product that suits your needs: potting compost is intended for sowing and potting on young plants and has a fine texture and higher nutrient content; composts for garden use suit mulching and have a lumpier texture with fewer nutrients.
3. GREEN WASTE COMPOST
This black compost is made from garden waste that’s been processed at specialist facilities, where large heaps reach about 176oF (80oC). This heat speeds up decomposition but kills most life except bacteria, giving the compost a lower microbial content. It is best used as a thin surface layer, where microorganisms in both the air and the soil can feed on it and improve soil fertility. This variable product can be surprisingly effective and rarely hosts weed seeds or pathogens but may be contaminated with plastic or residual weedkiller.
4. MUSHROOM COMPOST
Also called “spent” mushroom compost because it’s no longer useful for mushroom cultivation, this dark brown mixture of decomposed horse manure and straw produces great results in the garden. Its fluffy texture quickly settles, so spread it 1½–2 in (4–5 cm) thick on beds. It is rich in fungal life, and although it can have a high pH if chalk has been used to cap the mushroom beds, this practice is now less common. Residual weedkiller contamination may be a problem.
5. COMPOSTED ANIMAL MANURE
Animal manure enhances plant growth by introducing different microbes and extra nutrients to both compost heaps and soil. Either add it in small amounts to your compost heap or create a dedicated manure heap and use it when it is a year old. Animal manure varies according to both the type of animal and the bedding used. Manure with straw should compost within 12 months, while wood chip bedding extends that to 24–36 months.
6. COMPOSTED WOODY MATERIAL
Any kind of woody material in small pieces can become compost within two or three years, so it’s a great resource if you have a local supply and space for a heap. The smaller the pieces, the faster they will decompose. This is the only compost that might be worth sifting to prevent larger pieces of wood accumulating and getting in the way on the surface of beds.
No dig soil grows healthy plants by allowing their roots balanced access to nutrients as and when they are needed. The process begins when you leave soil undisturbed and spread just a single application of compost, which you repeat each year, whatever you plan to grow. This is much easier than trying to understand all the different needs of various plants through the growing season and tailoring a fertilizer regime appropriate to each one.
UNLOCKING NUTRIENTS
Compost is not fertilizer and is not used to feed plants directly. When laid on top of beds, it feeds the diverse life within soil (see Delve Deeper Universe Under Our Feet), which in turn produces complex organic compounds containing nutrients that plant roots can access whenever they need them, with help from the mycelial network of mycorrhizal fungi (see Delve Deeper Universe Under Our Feet). This natural process, which is enabled through no dig, allows us to trust the soil to feed plants whenever they need it without any extra input. The complex carbon-based molecules containing nutrients are not water soluble and therefore do not leach away with rainfall or watering, unlike the nutrients in synthetic fertilizers, which need constant management.
DISPELLING THE MYTHS OF FEED
Any kind of digging or disturbance damages soil’s ability to provide nutrients for plants. This means that frequent soil cultivation can make it necessary to apply fertilizers, which are not needed on soil where no dig methods are used.
In the past, soil was sometimes described as a “bank balance,” where nutrients came in with fertilizers and manures, then went out to plants or were washed away in a process called leaching. Advice was based around anticipating each plant’s needs at different stages of growth, then feeding to match that, giving more nutrients to plants considered “heavy feeders” and fewer to “light feeders.” However, the water-soluble nutrients in synthetic fertilizers can wash away in heavy rain or be taken up in unbalanced amounts by plant roots, making them unavailable or producing undesirable effects, such as soft growth that is prone to damage by pests following an excess of nitrogen.
Scientific research has also shown that the use of synthetic nitrogen fertilizers damages soil microbial processes, which results in poor plant growth in the long term. Even organic gardeners, who add organic matter to their soil and eschew the use of synthetic fertilizers, have often based their approach on this same understanding that plants need to be fed.
Confusion can also arise because digging exposes bacteria to oxygen so that they feed on carbon in the soil, making a short burst of nutrients available to plants. However, this quickly passes and, by halfway through the growing season, the damage caused to soil organisms and structure results in weaker plant growth, which can lead gardeners to think their soil is short of nutrients and that fertilizer needs to be applied.
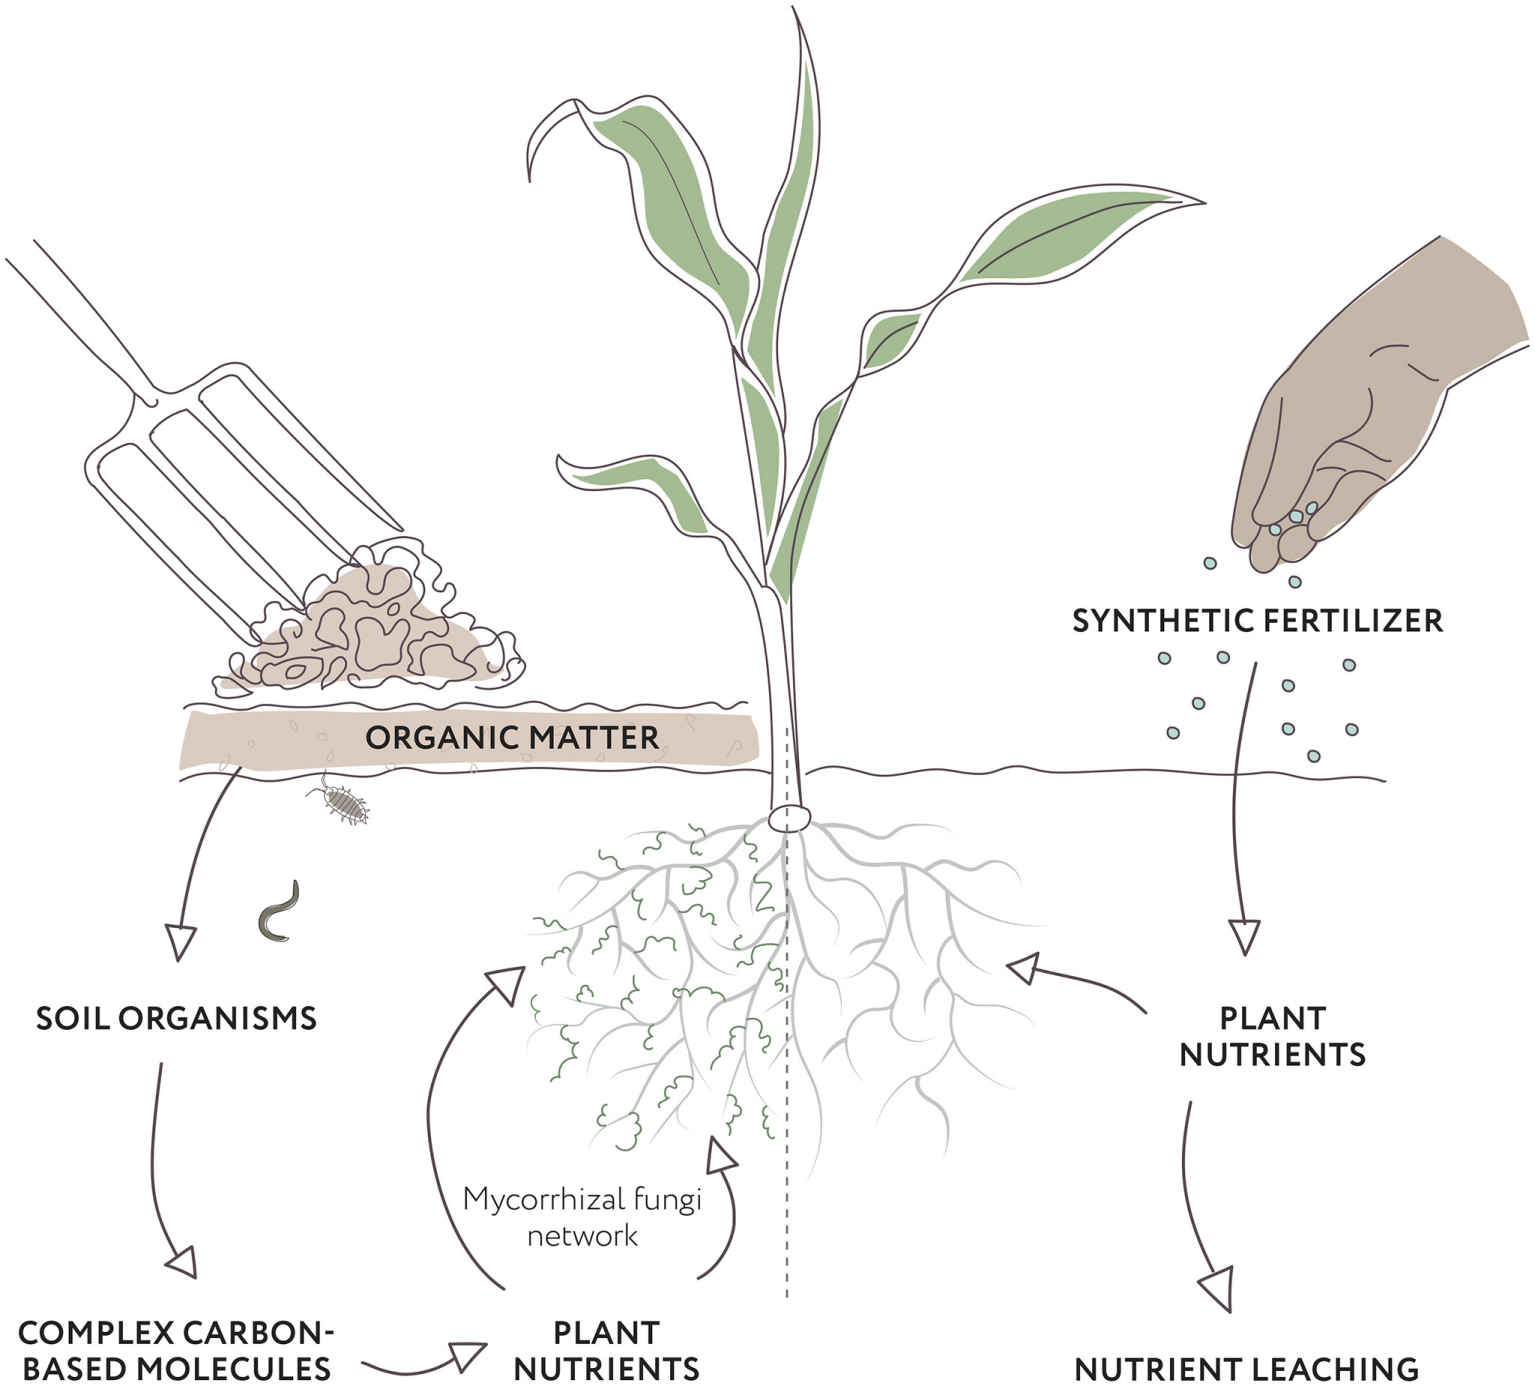
A mulch of organic matter vs. synthetic fertilizer. When applied annually, organic matter feeds the diverse organisms of the soil food web, which gradually break it down to leave soil rich in a broad range of nutrients. These can be accessed by plants when needed with the help of a network of mycorrhizal fungi associated with their roots. In contrast, applying synthetic fertilizer to soil provides plants with a brief burst of specific nutrients before they are used up or washed away and damages populations of soil microbes, including mycorrhizae.
THE ROLE OF TEMPERATURE
Every plant tolerates a different range of temperatures. At the lower end of this range, they are in survival mode and do not grow, but as the temperature rises, growth switches into gear. Soil microbe activity decreases when the soil temperature is lower, especially below 43°F (6°C), preventing plants from accessing nutrients and resulting in leaves looking paler. This is from a deficiency of warmth, not nutrients, so if leaves of plants that need warmth turn yellow after transplanting in cool spring conditions, this is not a signal to apply fertilizer—growth will get underway once the temperature rises. Sowing each vegetable at the right time will enable its roots to access the nutrients they need from the soil.
Weeds are not bad plants, just plants growing where we do not want them, vigorously and without any encouragement! They’re quick to colonize bare soil by spreading roots underground or dispersing large quantities of seed, competing with vegetable crops for water, light, and nutrients. Sometimes they harbor pests, but they may also host helpful insects, such as ladybugs. No dig methods provide simple and effective ways to reduce weed growth, and it’s enjoyable to keep them under control when they are few in number and pull out easily from compost mulches.
Weed species divide mainly into perennials and annuals. Perennial weeds persist year after year through either a network of creeping roots and runners that they use to colonize new areas or large, persistent tap roots. They have the ability to regrow from just a small portion of root left in the soil. Perennial weeds also spread by seeding. Annual weeds multiply by producing seeds, often just a short time after they start to grow. It’s vital to catch them before they drop seeds in their hundreds and thousands; otherwise, they colonize soil very quickly and smother slower and lower-growing seedlings, such as carrots. A few garden flowers can become weeds if their seeds are allowed to mature after flowering.
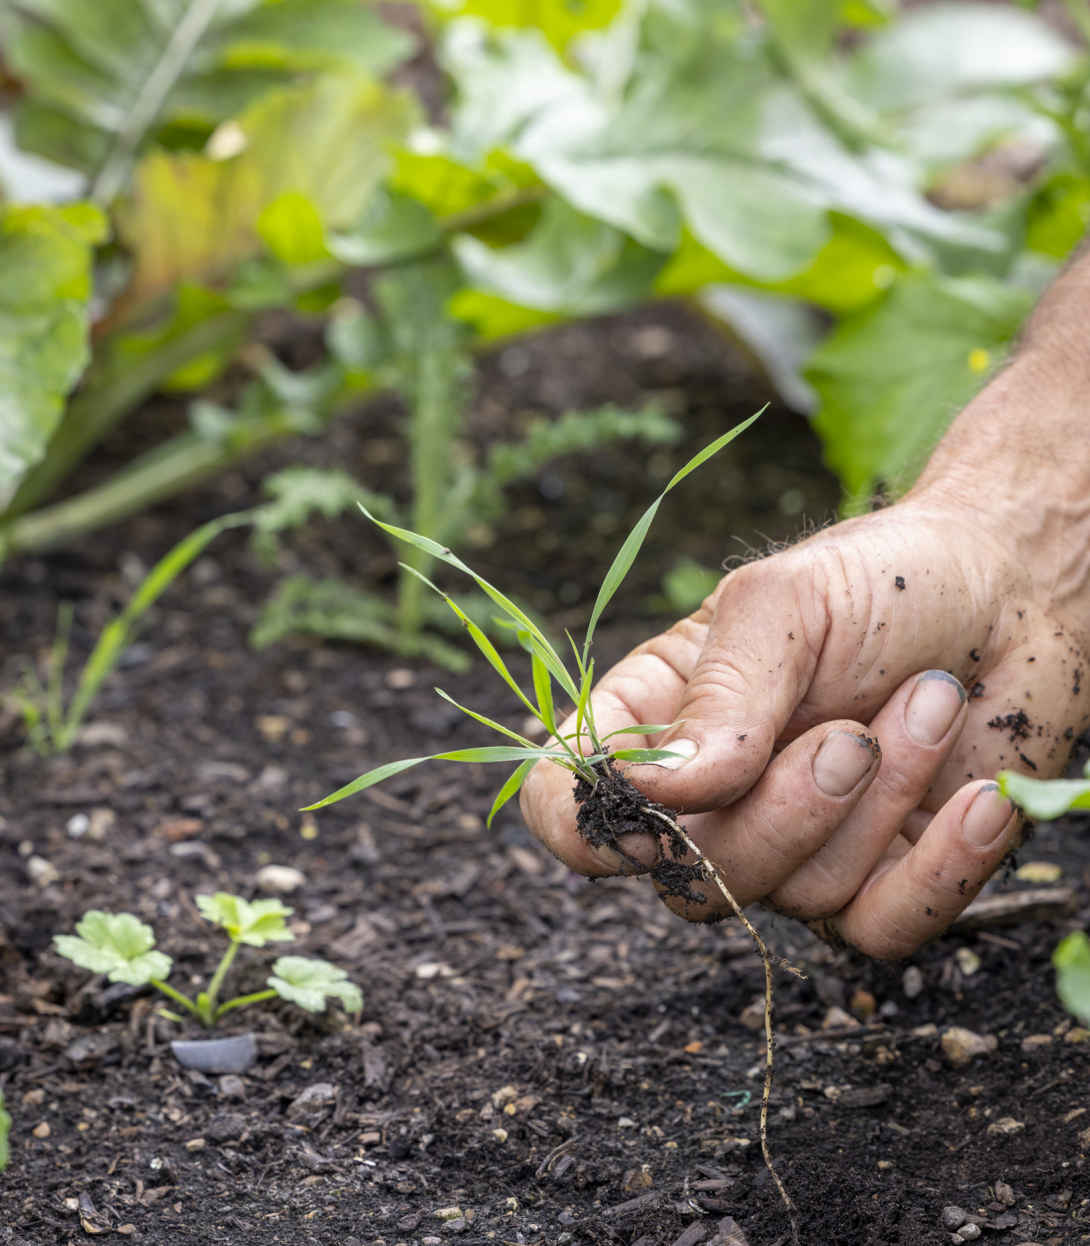
A thick mulch weakens perennial couch grass (Elymus repens).
All soil contains weed seeds, which will be brought to the surface by any cultivation, where they quickly germinate. This weed flush will repopulate bare soil rapidly, leading to extra, time-consuming work weeding soil that has become sticky because its structure has been disturbed. Trying to dig out established perennial weeds is even harder work because their roots are deeply buried and often break readily, leaving portions in the soil to regrow.
No dig makes controlling weeds simpler, even on very weedy sites, and achieves this because it does not disturb soil. Following digging or other disturbance, soil quickly recovers or “heals” with a flush of small, fast-growing colonizer weeds. An example of this is chickweed (Stellaria media), whose roots bind to soil and are surprisingly strong for such a small plant. Farmers have a saying that “chickweed follows the rotavator,” a tool that smashes the soil surface into fragments, which then need to be bound together by the roots of weeds to help soil regain its structure and life.
Preventing problems is always easier and healthier than curing them. When creating beds, the only weeds that actually need to be removed are woody plants (see Initial cover to control weeds). Cover all other weeds with a mulch of light-excluding material, such as cardboard, and you can plant into the surface compost or the soil under the mulch immediately while weeds are dying in the darkness underneath.
Weeds with no access to light cannot photosynthesize and supply energy to their roots. This kills shallow-rooted annual weeds within four weeks, but it takes longer to exhaust the deep and thicker parent roots of perennials, whose stored energy sends up new stems for months. For example, they may push up through decomposing cardboard, even two to three months after you laid it. Be wary of such root vigor and quickly remove any new weed shoots you see before they produce leaves to feed the roots below.
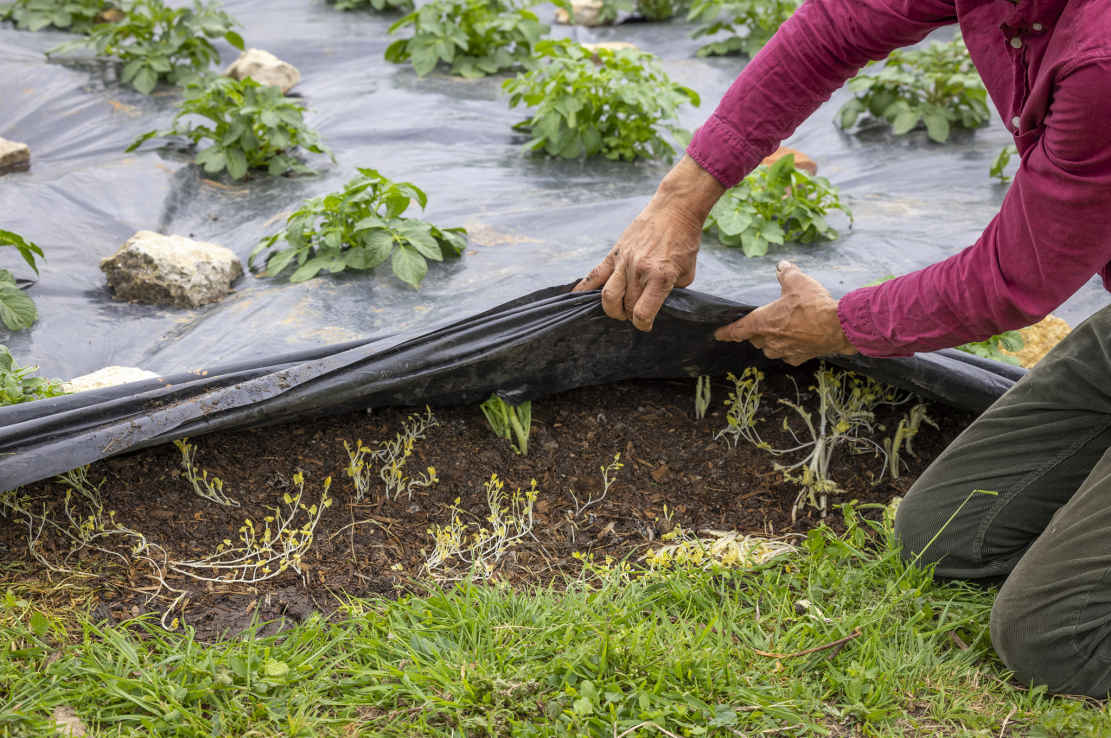
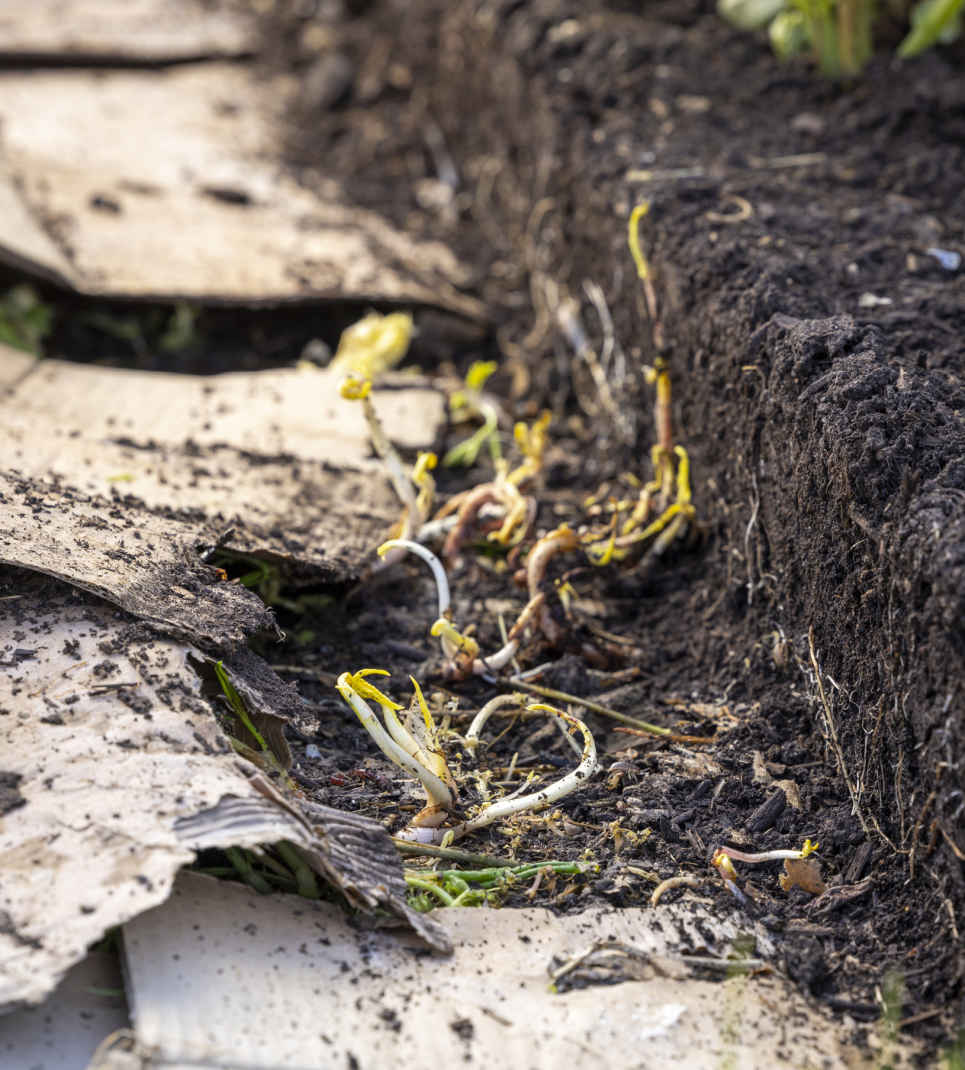
Black plastic (top) and cardboard (above) deprive perennial weeds, like this field bindweed (Convolvulus arvensis), of light.
A well-organized bed and path layout gives you demarcated areas, making it simpler to plan what to grow and easier to manage plant growth and harvests. Thanks to the firm structure and stability of no dig soil, solid boundaries between beds and paths are unnecessary, and beds can be formed without sides. An absence of raised sides means better access; try it and you will notice that it’s easier to reach into the middle of open-sided beds.
No dig methods give you flexibility when planning a bed and path layout because it’s possible to create beds of any width. Wider beds are no problem because you can put a foot on the soil to reach the middle when planting or picking without having to worry about compacting the soil or damaging its structure (see Delve Deeper Soil Carbon and Structure). The width of paths is also totally flexible, and I notice that mine are generally narrower than I see elsewhere. This means less path to manage for weeds and increases the proportion of bed to path in a growing space. Open-sided beds also permit plant roots to grow into pathway soil, which is never useless or compacted, but instead becomes part of the growing area.
The width and length of beds and paths are also determined by what fits into the space that is available for growing: you could create three beds of 5 ft (1.5 m) width or four of 3½ ft (1.1 m) width in the same area, for example. Varying path width can adjust the overall fit.
Repeated applications of compost give no dig beds a soft surface with a settled, stable structure beneath, unlike soil loosened by digging. On sloping sites, dug soil is more likely to be washed away and eroded in heavy rain. The standard advice is therefore to run beds across a slope to prevent loose soil from washing downhill, but unless expensive holding boards are installed on the lower sides of such beds, their surface will still slope downhill. This allows loosened soil to wash over the sides quite easily. In contrast, I have found no dig soil’s stability permits beds to be run up and down a slope. Some water and new compost will run down such beds but will be retained along their length.
Placing a foot on no dig soil to access the center of wide beds does not damage its stable structure.
Creating beds without sides has many positives. Wooden bed sides decompose on the inside within three or four years. There are then cavities of rotten wood that make ideal hiding places during the day for slugs and woodlice, which then nip up to eat your plants at night. If using wooden sides at all, it’s best that they are temporary and lifted off after a few months (see Maximizing growth year after year).
In dry weather, I notice that plants growing close to the edge of a bed are bigger than those in the center because edge plants have access to moisture and nutrients in the path soil. This shows how worthwhile it is to maintain the fertility of your paths by mulching the surface with a thin layer of rough compost in the first year and old wood chips thereafter. This improves fertility and structure, holding soil open when you walk along paths and making it easy to push heavy wheelbarrows.
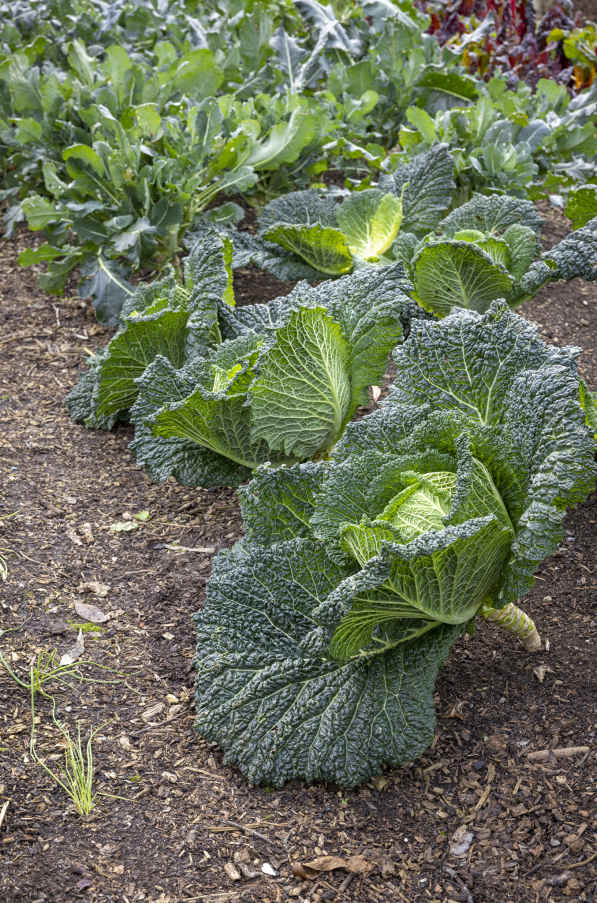
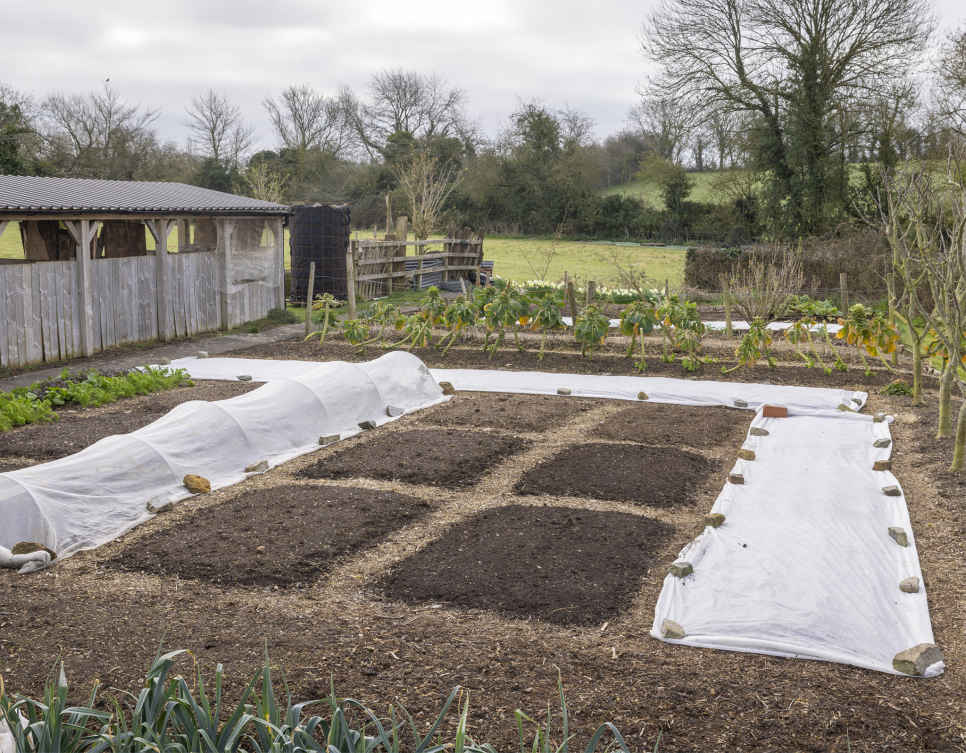
Cabbages thrive along a path edge (top). Vary bed size to make the best use of space (above).
No dig methods not only boost the productivity of your soil and reduce weed growth, but also allow you to increase its ability to hold carbon and reduce the amount of carbon dioxide released into the atmosphere. Not disturbing the soil and using surface mulches of compost benefits soil structure by maintaining air-filled pores between soil particles that improve both drainage and moisture retention, as well as reducing run-off from the surface during watering or rainfall.
TYPES OF SOIL CARBON
Carbon is vital in life forms for its ability to form complex molecules. Our bodies are 18.5 percent carbon, and healthy soil can have levels close to that when measuring both organic and inorganic carbon, the latter being stable carbonates such as limestone. Organic carbon is formed when plants fix atmospheric carbon dioxide during photosynthesis. It is then used for life processes within the soil as plants grow, die, decay, and are consumed by soil organisms, which is when we measure it as “soil organic matter” or SOM. This is the part of soil where organisms are active, and where plant matter decomposes.
Another form of soil carbon is biochar, a high carbon form of charcoal, which forms a very stable constituent of SOM and is therefore useful to retain carbon in the soil. I recently installed a small charcoal kiln in the garden and am learning how best to use the charcoal it produces. Currently, I add charcoal to my compost heaps, where its porous nature makes it a valuable site for life processes and store for dormant microbes, such as fungal spores.
A soil scientist, Jane Thatcher, is measuring soil organic carbon (SOC) in my dig and no dig trial beds as part of her postgraduate research. These beds have received the same amount of compost over the past nine years. She uses the loss-on-ignition method to determine the combustible carbon present in samples taken at a range of depths from each bed.
Her preliminary findings from samples taken at a depth of 0–4in (0-10cm) show more carbon in the no dig soil, at a statistically “highly significant” level. An increase in SOC in the top 2in (5cm) of no dig soil is not unexpected following the surface application of compost each year, but a “highly significant” increase in SOC was also found when samples from four depths, down to 16in (40cm), were analysed together. This analysis measures only one part of soil’s complex living process. Even more can be learned about soil interactions by comparing plant growth and harvests.
THE ROLE OF GLOMALIN
One important component of SOM is a sticky, carbon-rich protein named glomalin. Not even known until 1996, glomalin was discovered by Sara F. Wright, a soil scientist working for the US Department of Agriculture in Maryland. It is produced by the underground filaments (hyphae) of certain mycorrhizal fungi (see Delve Deeper Universe Under Our Feet). A coating of glomalin enables hyphae to transport water and nutrients, and holds them firm enough to span the pores between soil particles. Glomalin persists in soil for several years after fungal hyphae have degraded, and research suggests that it may account for up to a third of soil carbon.
IMPROVED SOIL STRUCTURE AND POROSITY
No dig methods add organic matter to the soil surface, where it promotes a healthy soil food web (see Delve Deeper Universe Under Our Feet) in the underlying soil. The activities of undisturbed soil life result in improved soil structure, particularly the growth of glomalin-producing mycorrhizal fungi. Glomalin helps to bind soil particles and organic matter into water-stable aggregates of different sizes. The varied spaces between these aggregates improve the soil’s structure and porosity. Larger pores hold air and enable drainage of excess water through soil, while smaller pores retain moisture in soil for plant roots to access.
When watering my comparison beds, it is also clear to see that no dig soil with a layer of organic matter on the surface absorbs water more readily than soil that has been dug and has its organic matter incorporated. Water is more prone to run off the surface of the dig bed, making it unable to reach plant roots, and often washing away some loosened soil with it.
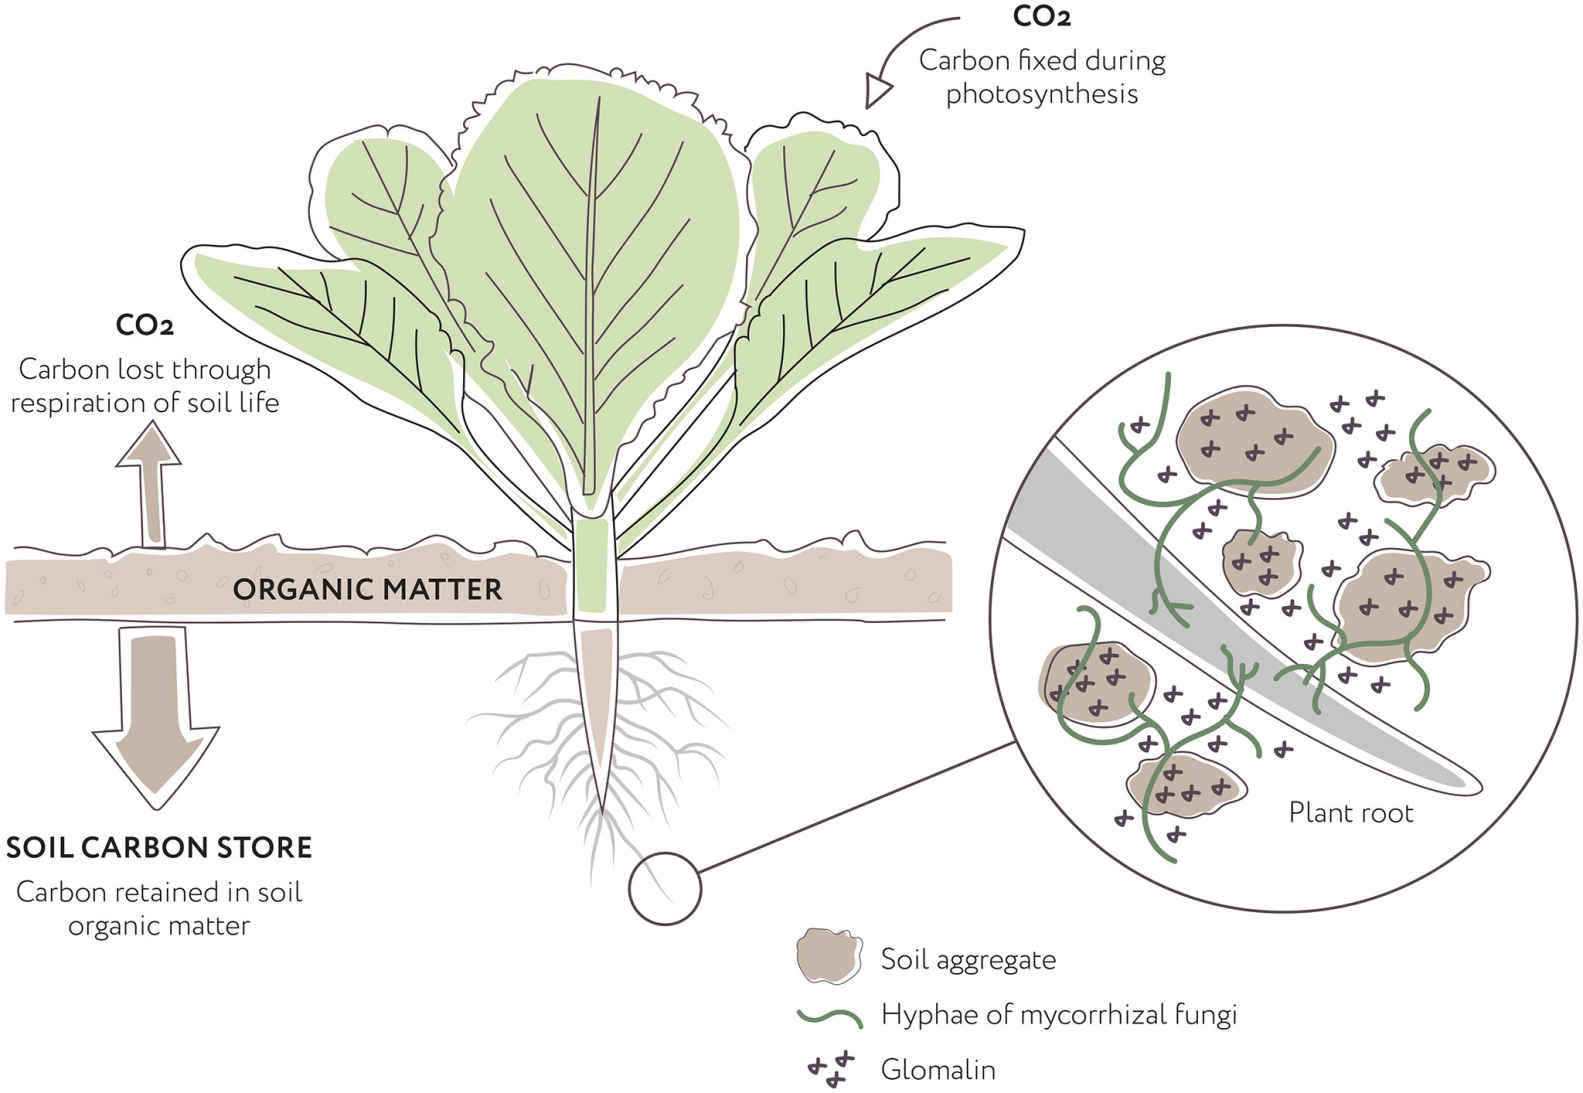
No dig soil is an effective carbon store. The carbon that plants fix from the atmosphere during photosynthesis is better captured as soil organic matter in no dig soil, where soil life, including networks of mycorrhizal fungi, are allowed to thrive undisturbed. The sticky protein called glomalin, produced by the hyphae of mycorrhizae, is a major constituent of soil organic matter, an important carbon store, and helps to bind soil particles and organic matter together, creating a free-draining yet water-retentive soil structure that’s ideal for growing.
g CONTENTS
CHAPTER 2
Getting started
Getting started | Contents
Building, planting, and maintaining a no dig bed
The fun first step in this process is to write down what you and your family want to eat. There is no point growing beautiful Brussels sprouts if nobody likes them, but bear in mind that homegrown vegetables have better flavor. Also consider any limitations posed by likely weather conditions, the size of your growing space, and whether you can grow some plants under cover. Stick to what is feasible when you outline a plan and you will be successful.
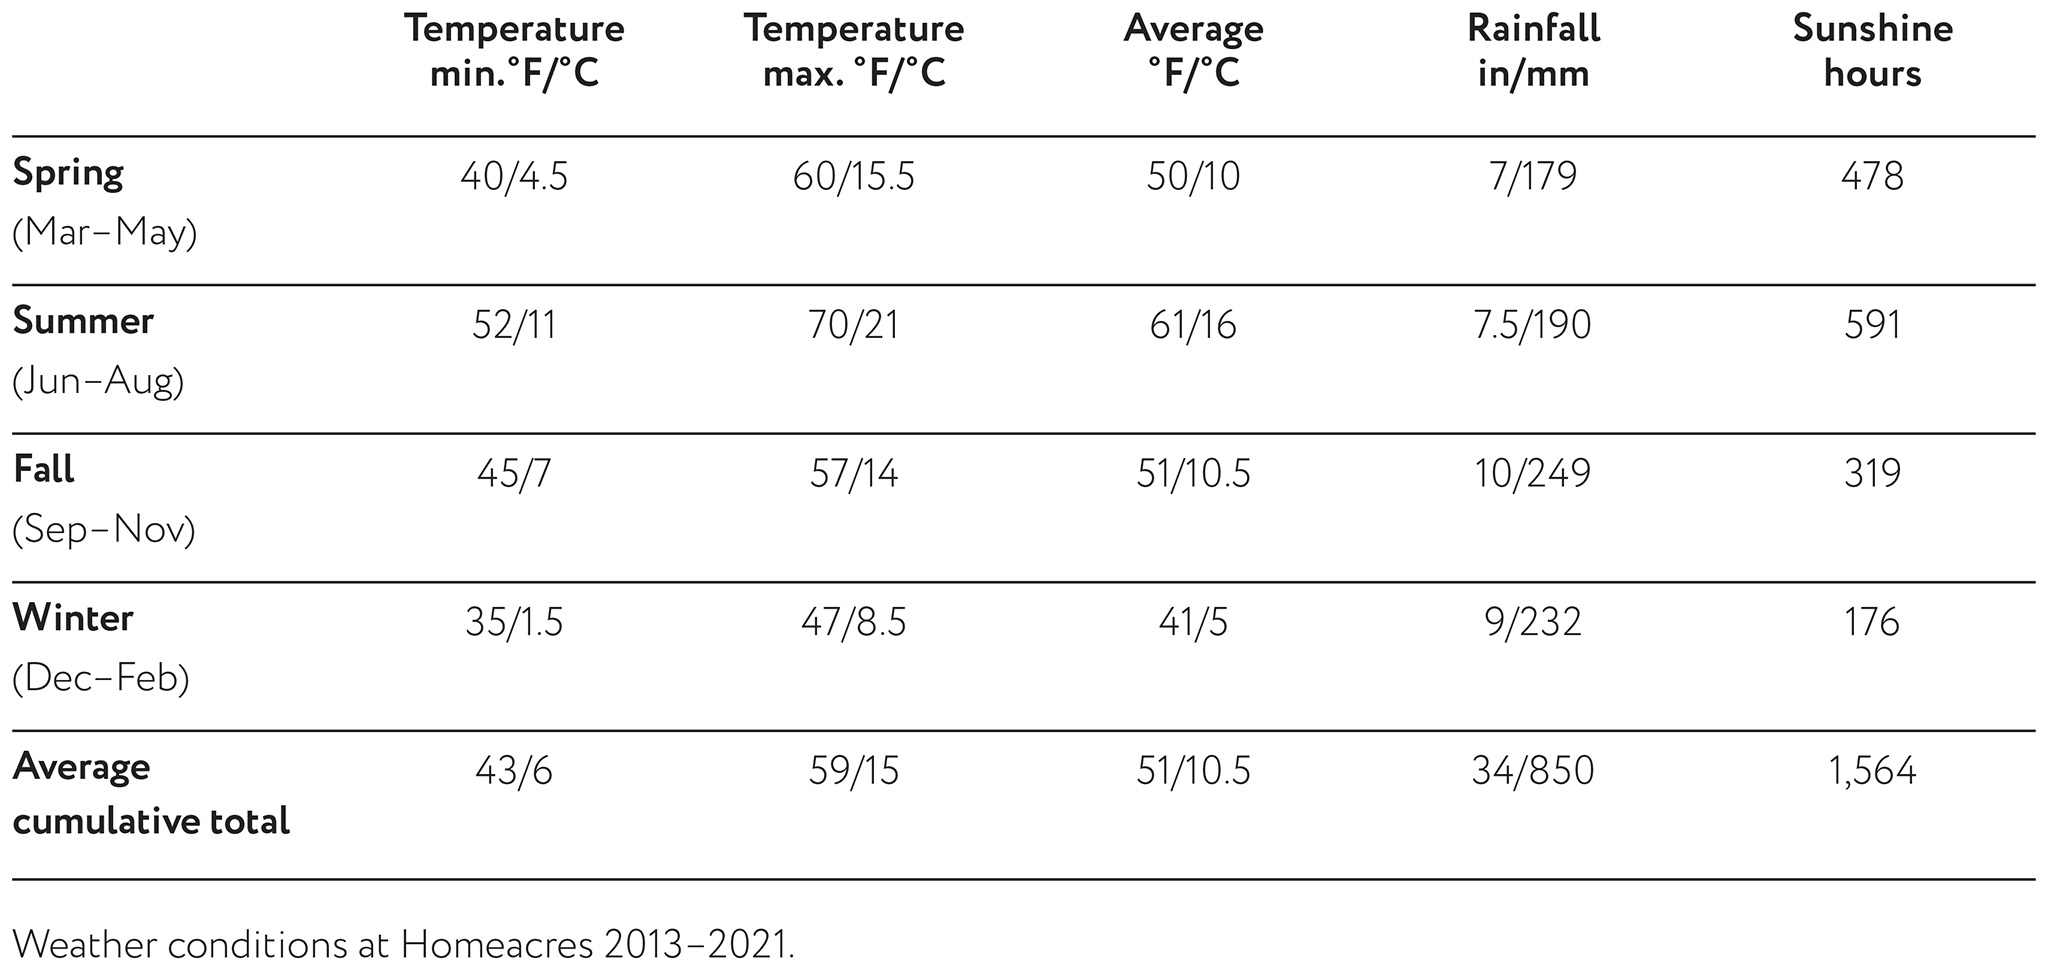
Temperature and rainfall influence plant growth throughout the seasons, and an understanding of your climate enables you to choose vegetables that can thrive. Discover when to expect the last frost in spring and first frost in fall, dates which bookend the season for growing tender vegetables outdoors. In northern regions, where summers are short and cool, heat-loving crops like tomatoes and winter squashes might not give good returns outdoors. Hot, dry summers mean you need plenty of water for growing leafy vegetables, while a very windy location might rule out climbing beans and other tall plants. Before starting out, talk to neighbors or other gardeners about their experiences to get an idea of what’s possible. Check the profile for each crop you would like to grow in the second half of the book to assess its suitability for your climate.
My observations and recommendations are based on the climate at Homeacres, which is temperate and oceanic, often cloudy and damp, with few extremes of temperature. The last frost date is mid-May and the first frosts can be in mid-October. This is equivalent to US hardiness zone 8 but can be misleading because Texas is the same zone yet has much hotter summers and potentially colder winters. Here in the UK, our winter temperatures are mitigated by ocean currents called the Atlantic Meridional Overturning Circulation (also known as the Gulf Stream), which brings warm surface water up from the Gulf of Mexico. At Homeacres, the average maximum summer temperature is 70°F (21°C) and the average winter minimum is 35°F (1.5°C). Rainfall is remarkably constant throughout the year, which makes this a fantastic climate for all vegetables except those that thrive in hot summers. Light levels are low in winter, both due to the predominance of clouds and latitude of 51° north—equivalent to Newfoundland.
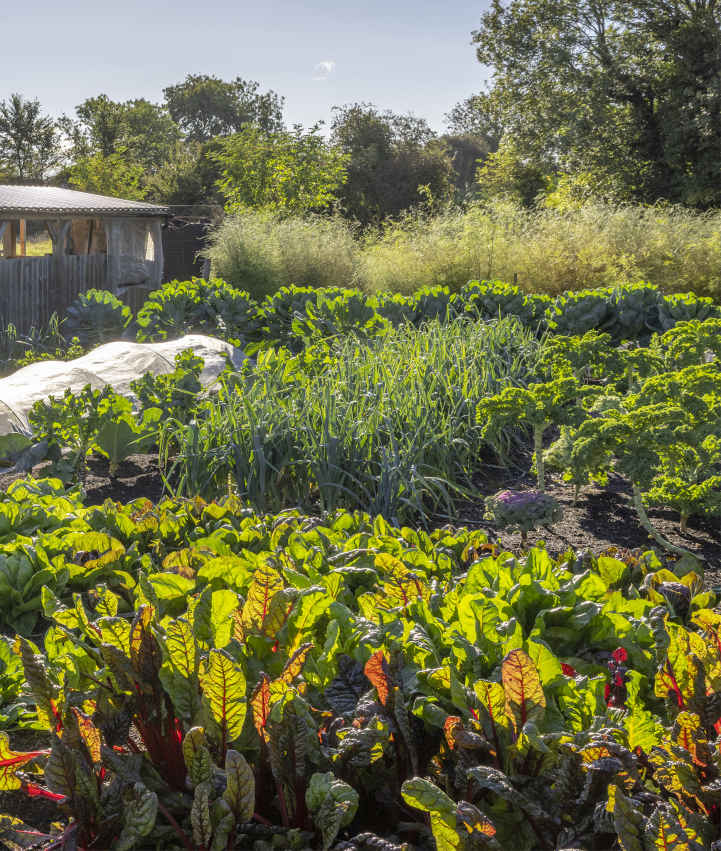
Selecting crops to suit your climate makes success easier to achieve. See the same beds in early spring
Even if your space is small, you can still grow a wonderful range of vegetables. Choose plants that are compact and continually productive, which includes all salad plants, along with leafy greens like kale, spinach, and chard. At the other end of this scale, just one zucchini plant can take up 3 ft (1 m) of a bed, which works if that’s what you want, but reduces your options. Large plants like Brussels sprouts, cauliflower, and many perennial vegetables also demand plenty of space. Consult the vegetable and herb profiles for my recommended spacings because you can often plant closer and crop more intensively than seed packets suggest. Try multisowing beets, leeks, radishes, and onions to grow more plants in a given space, and interplant when possible among maturing vegetables (see Interplanting and intersowing). Most vegetables can mature in half a season, depending on climate, and that knowledge can be used to plan and grow a second follow-on crop for two harvests per year in much of your space (see Organizing follow-on crops).
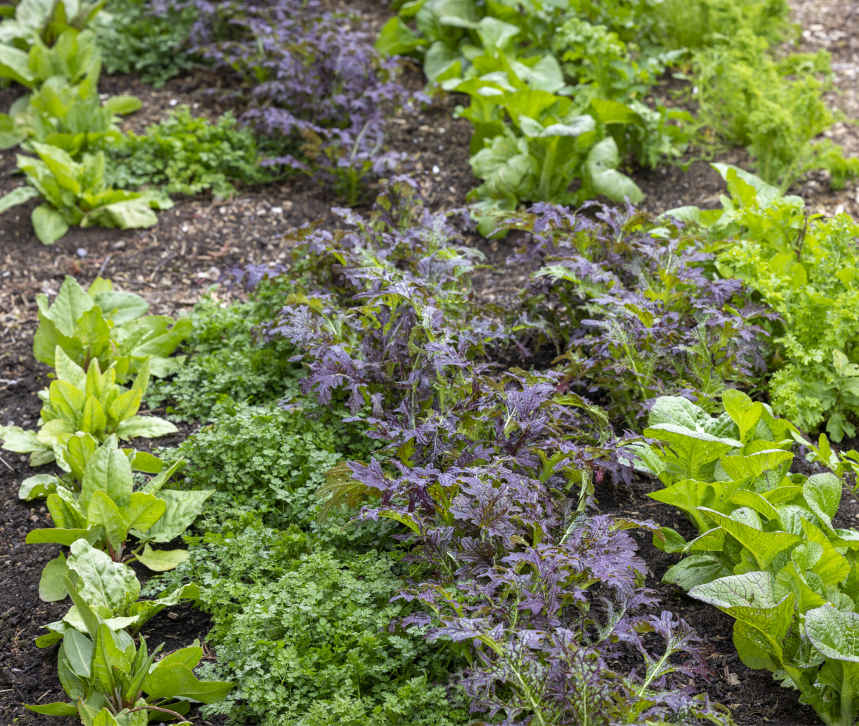
Salad leaves—including sorrel, chervil, and mustard—are compact and high-yielding.
Vegetable varieties are bred for different growing conditions and tastes to mature at particular times or to resist pests and diseases. An enormous choice is available, so seek out the varieties that best suit your needs. Look for those that mature early if your climate is cool, and dwarf varieties if your location is windy. Choose those with the best flavor if that is your main criterion, although vegetables grown in no dig soil often have better flavor than any you can buy.
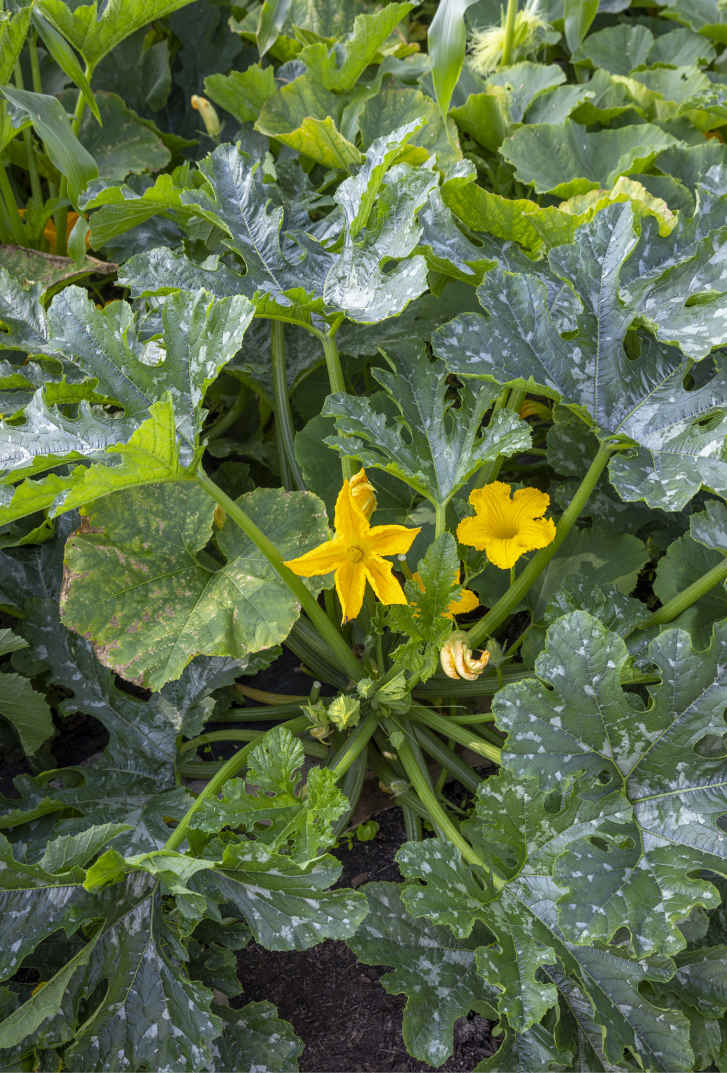
Large zucchini plants need warm summer weather to thrive; gray leaf markings are natural.
THE DIFFERENCE BETWEEN OPEN-POLLINATED VARIETIES AND F1 HYBRIDS
Open-pollinated varieties produce seeds as a result of natural pollination between selected plants with the desired characteristics and will grow into plants with almost identical characteristics to their parents. After this happens over many generations, they are sometimes referred to as “heritage” or “heirloom” varieties, and you can save your own seed from them.
An F1 hybrid is produced by cross-pollinating two inbred parent lines of the same vegetable, both with desirable traits, to give seed that grows reliably vigorous, uniform crops. The production of F1 hybrid seeds is not a natural process, but it is a method of plant breeding rather than any type of genetic manipulation. Seed saved from an F1 hybrid will not have the same characteristics as the parent plant. F1 hybrid varieties are more expensive but reliable, so you will avoid disappointment. I often grow them where no good open-pollinated varieties are available (see Delve Deeper Sourcing Successful Seeds).
I believe it’s a mistake to begin the year with a spreadsheet showing precisely what you’re going to grow where and harvest when because changeable weather will almost always throw those timings out of the window, or something will be eaten by pests and leave a big gap in your plan. It’s better just to have an overall outline by the end of winter—a plan or list showing roughly what you’re going to grow where in spring. This helps you get organized while giving the flexibility to be creative, react to what’s happening in the garden, and make any changes you see fit—perhaps because vegetables have matured rapidly in a warm spring or you’ve raised more transplants than expected and want to plant them all out.
Stable no dig soil is ideal for creating gently mounded, open-sided beds with edges that slope at an angle of approximately 30°. I use this method to minimize costs and pest problems. Beds can also be made at a convenient height using wood, plastic, or metal sides. Before creating beds, consider the slope of your site and how you will access pathways to make moving water, compost, and other materials as easy as possible.
When starting with an open piece of ground, the orientation of beds is your primary decision. It’s said that they should run north-south to prevent plants from shading one another, but this only applies if you grow mostly tall vegetables, such as runner beans, corn, and tomatoes. Where other lower-growing vegetables predominate in your plantings, shading will not be an issue, and I advise that your main focus should instead be on good access. Create pathways running away from the point where you enter the space to allow you to reach beds, compost bins, and the rain barrel or water tap as quickly and conveniently as possible.
If your site has a significant slope, this could be the overriding factor affecting the bed layout. Orienting beds up and down an incline works well for no dig soil (see The Benefits of No Dig Beds). It's also far more comfortable to walk on a path that runs up and down a slope because the level is the same for both of your feet. I successfully managed 21,500 ft2 (2,000 m2) of beds arranged in this way on the 10° slope of my previous garden, but on steeper hills you may need to consider terracing beds.
I see no advantage in creating beds narrower than 3 ft (1 m) because this results in a high proportion of path to bed, and it’s more work to look after a larger number of beds and paths. The width that I find easiest to manage is 4 ft (1.2 m). It is possible for no dig beds to be 6½ ft (2 m) wide or more, and I have a couple that large, but the widest ones I am happy with are 5 ft (1.5 m). This is partly because most crop covers are 6½ ft (2 m) wide, so beds more than 5 ft (1.5 m) wide need larger covers, which are heavy and cumbersome to work with and store.
Open-sided no dig beds free up space to squat down comfortably while working and maneuver a wheelbarrow, and allow the paths between beds to be fairly narrow. In my garden, 16 in (40 cm) path widths work well among the 4 ft (1.2 m) wide beds, while paths with a width of 12 in (30 cm) provide enough space among narrower beds.
The length of beds is not important because several blocks of different vegetables can be planted in a long bed, as though it were actually a number of short beds. You can have beds as long as your plot to crop in segments like this or create an attractive mosaic of smaller beds, each planted with a distinct vegetable. One of my trial areas has this pattern of smaller beds, which I really like for its flexibility and easily identifiable areas of growth.
Hold temporary wood sides for no dig beds in place using large stones, or hammer stakes into the ground and screw the wooden sides to them. Sides such as this are a template to contain the filling and are lifted off once the compost has settled. This allows the wood to be reused, keeping costs down. If you use wooden sides when starting on weedy ground, it’s vital that cardboard sits underneath them to control the new growth of perennial weeds. Beds with permanent sides can be useful to delineate the growing space in a small area or where children play.
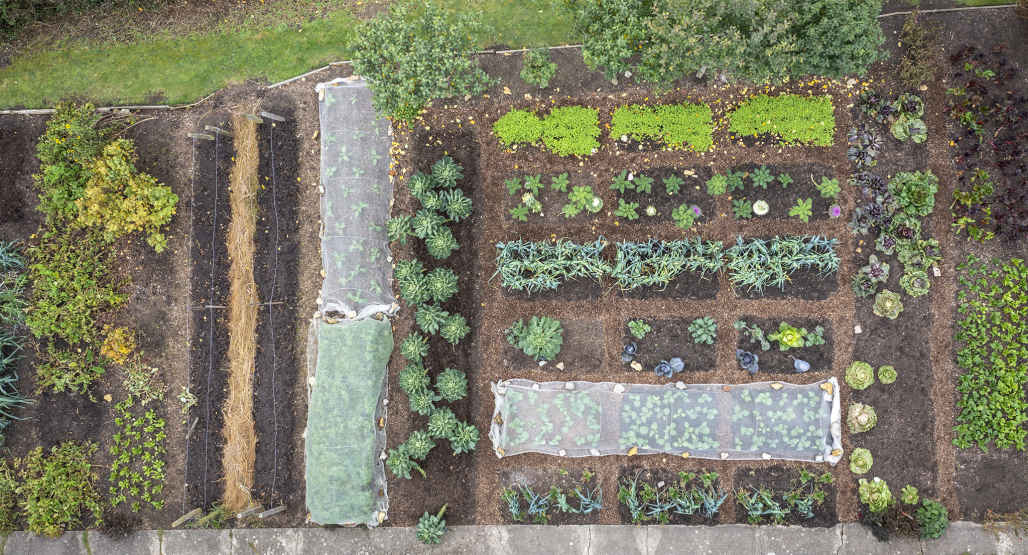
A trial area at Homeacres with a mixture of bed widths, lengths, and orientations.
No dig means less time weeding, largely thanks to careful and clever mulching in the first year, when new growing areas are often beset with weeds. Mulching can quickly eliminate established weeds and massively reduces the amount of subsequent weeding required. Here, I explain how my garden stays weed-free with minimal effort, giving me time to enjoy propagating, planting, and harvesting vegetables.
When setting up new beds and paths on weedy soil, suppress weed growth with a layer of overlapped cardboard sheets covered with 4–6 in (10–15 cm) compost. You don’t need to remove soft-stemmed weeds, but use a sharp spade to slice through and remove the woody base of brambles (Rubus fruticosus) and the top 6 in (15 cm) of large dock tap roots (Rumex spp.) before laying your mulch. Perennial weeds also need to be controlled in pathways to prevent them from spreading back into your beds. The first year is an attack on all weeds in the entire growing area.
The deep parent roots of perennial weeds will regrow and push new growth up through a mulch. Pull or lever these shoots out from the loose compost layer with a trowel every week; without any leaves to photosynthesize, the parent roots will eventually be exhausted. This happens within four months for creeping buttercup (Ranunculus repens), six months for dandelions (Taraxacum officinale), a year for couch grass (Elymus repens), two years for bindweed (Convolvulus arvensis and Calystegia sepium), and longer for mare’s tail (Equisetum arvense).
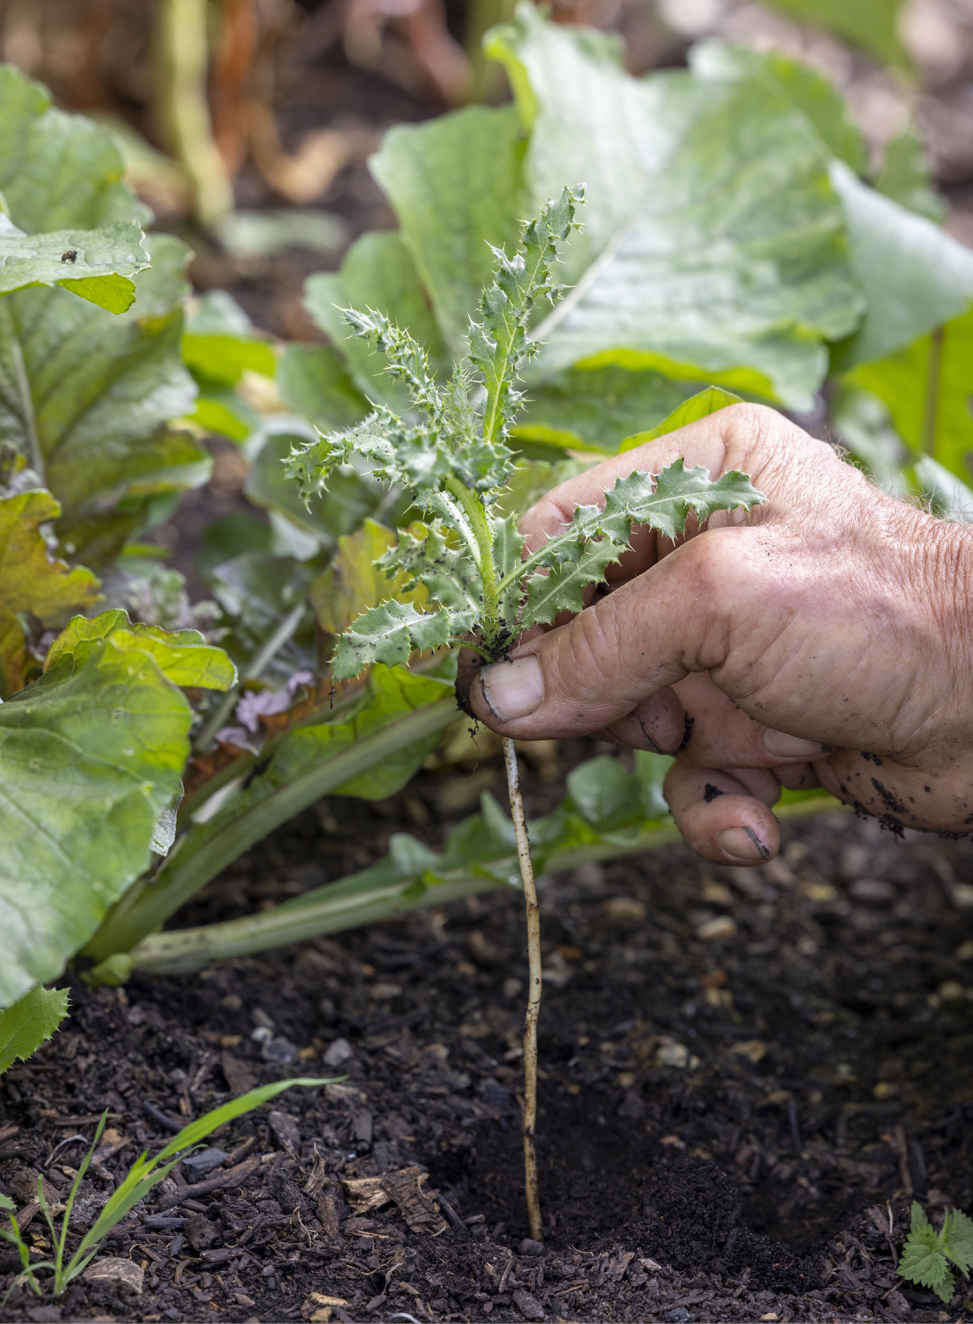
Removing long, thick weed roots is easy in the soft surface of no dig beds.
Sometimes perennial weeds are so vigorous that a longer-lasting mulch than cardboard and compost is required. Black plastic is a useful, durable mulch for clearing larger areas and can be planted through. I have used it successfully on an area of old pasture where a mulch of card and compost was not enough to prevent regrowth of bindweed (Convolvulus arvensis). The area was covered with old black plastic (600 gauge), through which were transplanted winter squash, potatoes, and winter brassicas. It was necessary to remove bindweed that grew through these planting holes, but that was far easier than weeding the whole area. After harvesting the crops, the plastic was removed for reuse and the bindweed had been controlled.
Woven polypropylene weed control fabrics are expensive and shed polluting plastic threads into soil. It is important to remove any plastic mulch as soon as it has served its purpose. Do not use them for long-term “weed suppression” on beds or paths.
Weeding little and often is the best way to control weeds and is easy thanks to no dig. This commitment to keep the ground clean saves time and work in the long run. Watch for weeds all the time and hoe or pull them when tiny, especially in early spring when you notice a surface shimmer of green. Grasses have fibrous roots and are best pulled as seedlings.
Regularly mow and trim adjacent grass and weed areas to reduce photosynthesis and root growth and slow the entry of creeping weeds into beds. Check for weeds under the foliage of large vegetables, where limited space and light may prompt them to flower and drop seed when small. Stay vigilant in dry weather, when weed leaves become matte with a gray tinge, making them less visible.
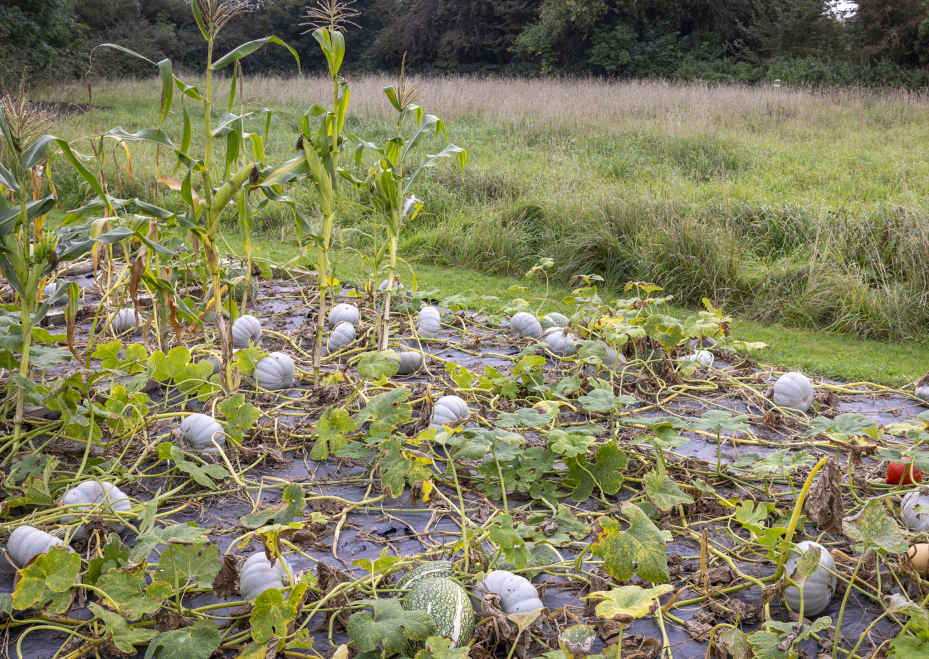
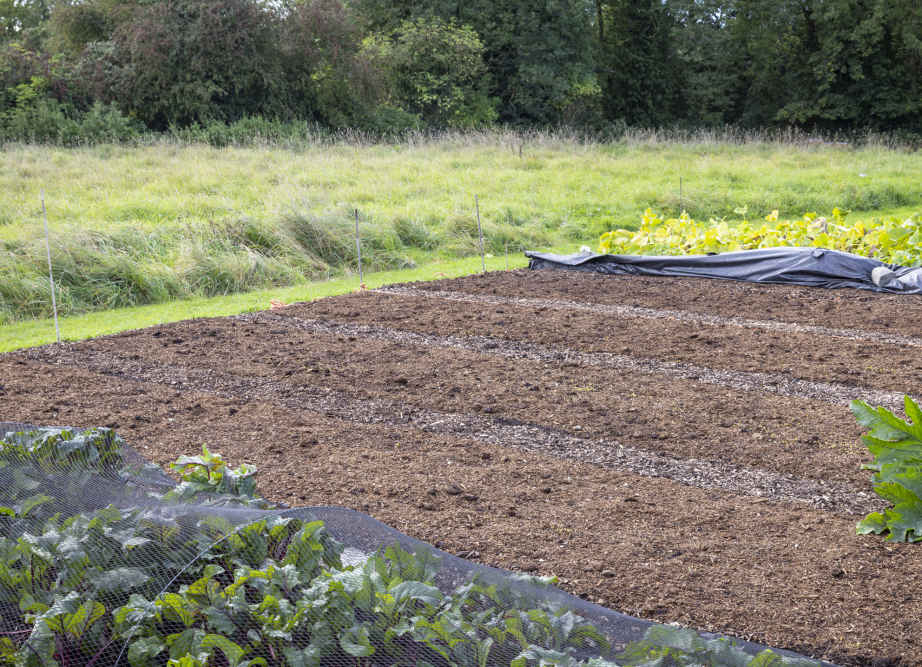
Weedy pasture yielding harvests while covered with black plastic (top) and weed-free (above).
If you add seeds to a cool compost heap, either from weeds or ornamental plants, these will germinate where the compost is spread. This need not be a problem in no dig beds where seedlings will be easy to hoe or pull from the soft compost. To avoid this, however, try adding a larger volume of material to compost heaps so they become hot (see Making Your Own Compost), or send seedheads to garden waste recycling.
g CONTENTS
Creating a no dig bed is an easy way to transform weedy ground into a productive garden in just a few hours without disturbing the soil. Construction requires few materials, and you can modify the dimensions to suit any growing space. Plant up your new bed immediately in spring and summer, on the same day you make it, and you can be harvesting homegrown vegetables in as little as three weeks.
No dig beds can be made on any type of soil, including heavy clay, sites containing builders rubble, and even on top of concrete or slabs, as long as the surface slopes to aid drainage. Remove any protruding rocks and dig out the main stems of woody plants, such as brambles. If the ground is uneven, fill hollows with new soil or compost or use a sharp spade to shift the soil from ridges into any dips. Cut or trim down weed growth before beginning so that mulches lie flat on the ground. You do not need to dig heavy soil beforehand because soil life will aerate it for you, and all weed roots can be left in the soil.
Lay cardboard over the base of the bed to create a temporary barrier that suppresses weed growth during the eight to twelve weeks it takes for cardboard to decompose. Most weeds will be killed by this period of darkness, but the strong roots of perennial weeds will continue to push new growth up toward light, which needs to be removed regularly to weaken and eventually kill the roots (see Initial cover to control weeds). Wooden edges are best as a temporary measure and aren’t essential, but they make it easier to create a bed and maintain weed-free edges initially.
Filling your bed with compost rather than soil will enable stronger, healthier plant growth for several years. Although I recommend a large quantity of compost for this initial stage, you will need much less in the future. Use any well-decomposed compost (see Compost types for soil fertility) to fill the bulk of your bed, even if its texture is coarse. Just ensure that the top 2 in (5 cm) is soft and friable, with no large lumps. Firm the compost to hold moisture and allow plants to anchor their roots. Have trays of young plants ready to transplant on the day you build your bed for quick crops while the weeds underneath gradually die.
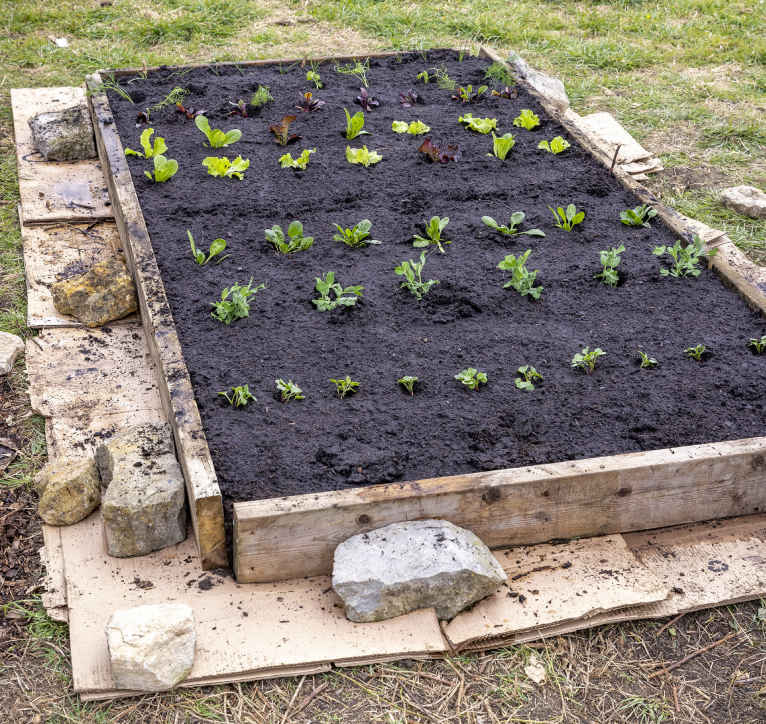
Fill your no dig bed with cell-raised plants for a quick and easy vegetable plot.
You will need
Getting started | BUILDING, PLANTING, AND MAINTAINING A NO DIG BED
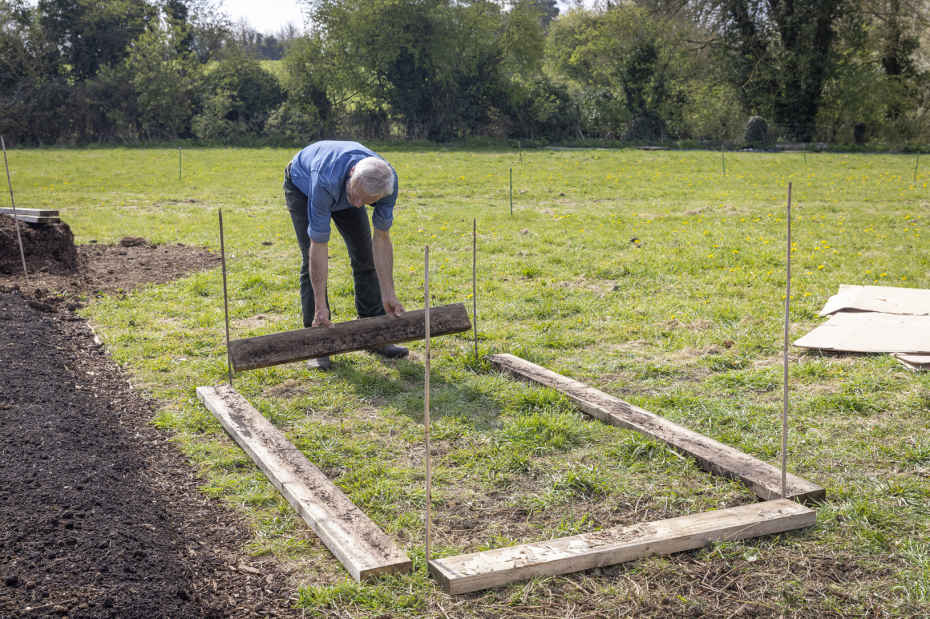
1 Stake out the dimensions of your bed (here, 8 ft x 4 ft/2.4 m x 1.2 m) by pushing canes into the ground. Lay planks of wood flat to mark the bed edges, so their corners meet, and remove the canes.
Getting started | BUILDING, PLANTING, AND MAINTAINING A NO DIG BED
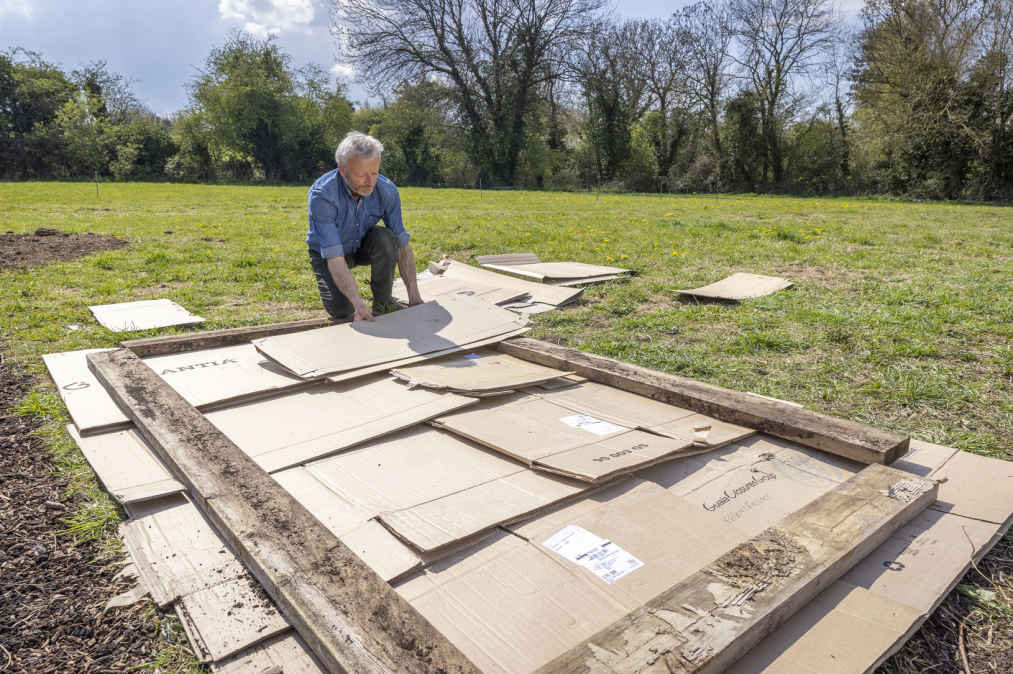
2 Lay cardboard over the base of the bed and underneath the planks so that it protrudes at least 6 in (15 cm) outside the bed’s edge. Ensure that each piece of cardboard overlaps by 4–6 in (10–15 cm) so that the ground is completely covered. In dry conditions, water the cardboard thoroughly once it is laid.
Getting started | BUILDING, PLANTING, AND MAINTAINING A NO DIG BED
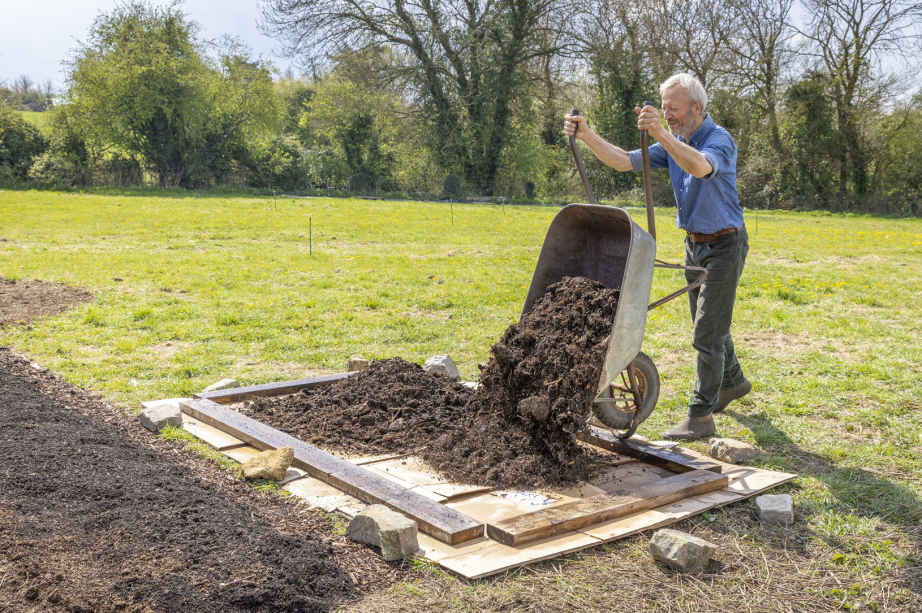
3 Add the first layer of compost to make a mound in the center. Place the wooden planks upright and keep them in position by pushing heavy stones against them on the outside of the bed while pulling compost against them on the inside.
Getting started | BUILDING, PLANTING, AND MAINTAINING A NO DIG BED
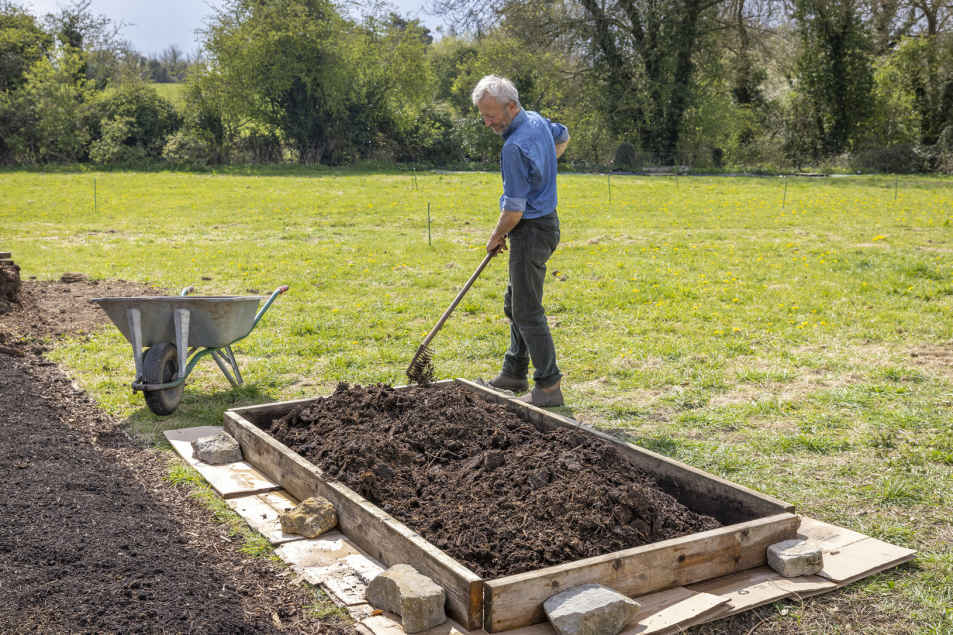
4 Top up the compost until it is at least 6in (15 cm) deep and spread it out evenly with a rake to level the surface. Firm the compost by methodically treading the surface of the bed with your boots.
Getting started | BUILDING, PLANTING, AND MAINTAINING A NO DIG BED
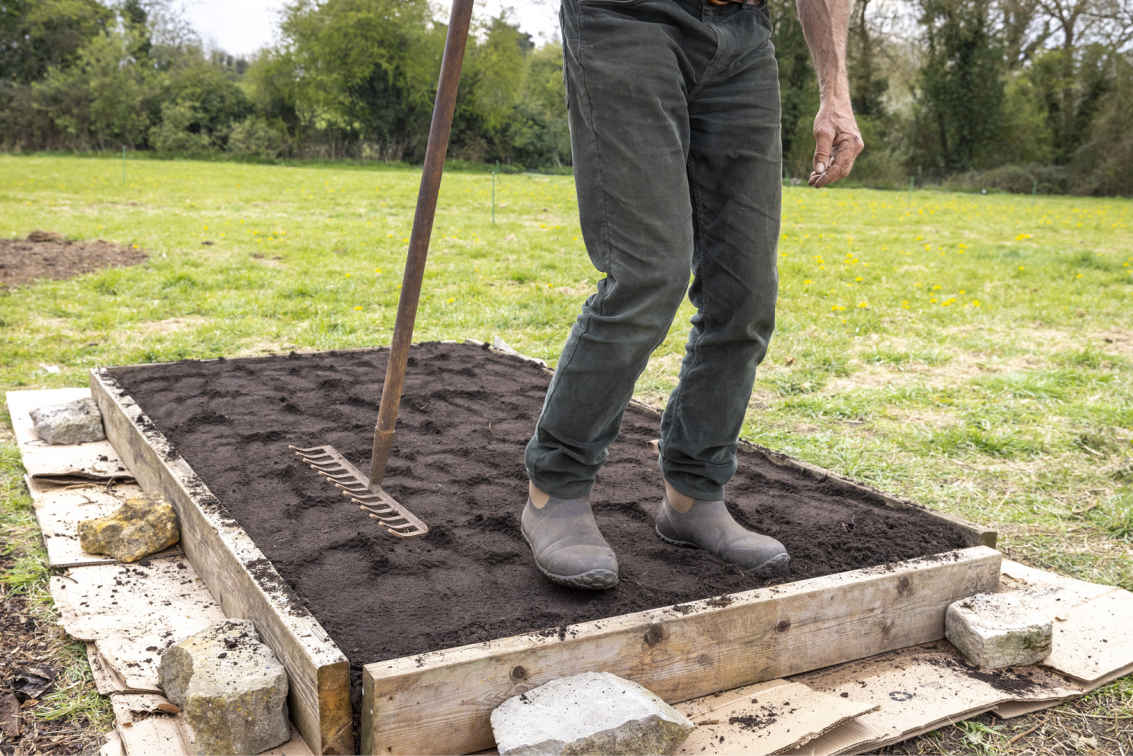
5 If the compost used to fill the bed has a coarse texture, add a final layer of peat-free multipurpose potting mix with a fine texture suitable for transplanting and sowing. Level this layer with a rake and tread the surface of the bed lightly.
Getting started | BUILDING, PLANTING, AND MAINTAINING A NO DIG BED
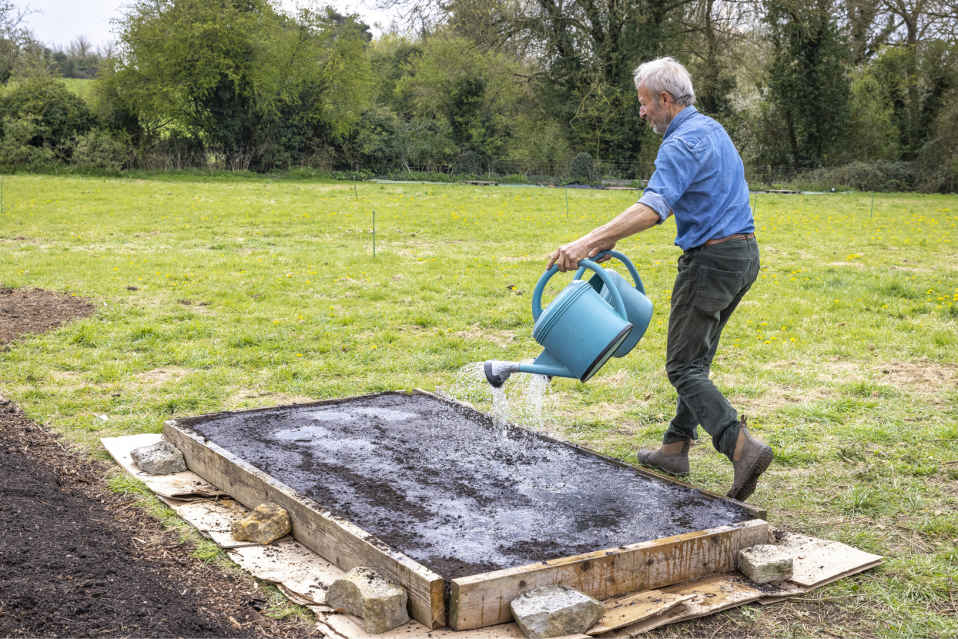
6 Finally, level the surface of the compost with the back of your rake, then water thoroughly using a watering can fitted with a rose, and your bed is ready for seeds and plants.
Getting started | BUILDING, PLANTING, AND MAINTAINING A NO DIG BED
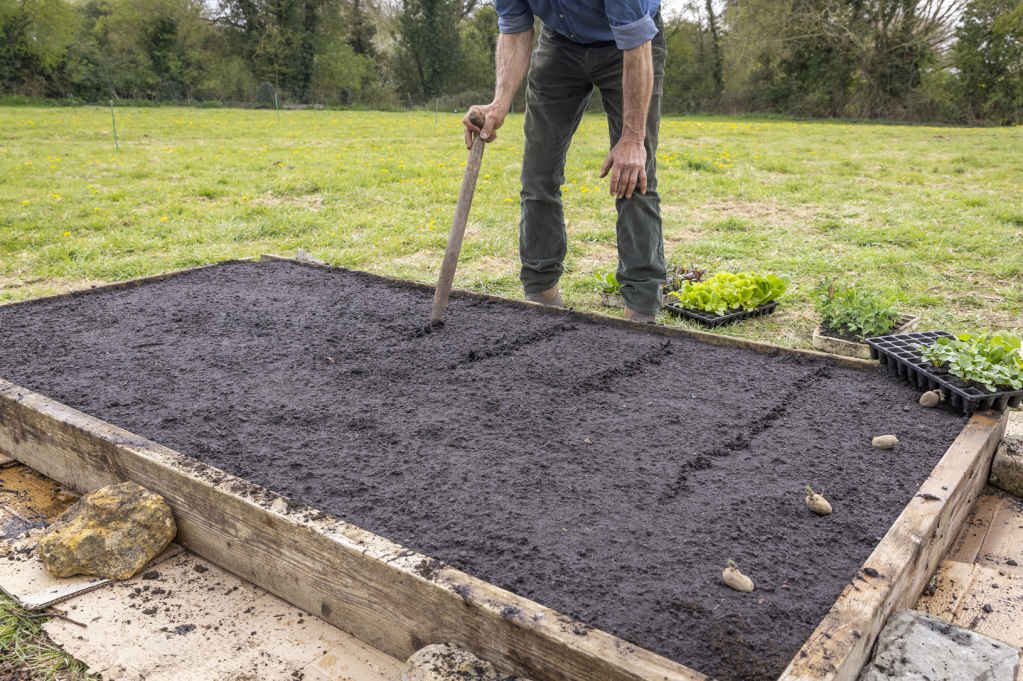
7 Measure the spacing for each row of vegetables, dib holes for transplants, and push them in firmly—a little below surface level. Sow seeds, such as carrots, into drills made with your fingers or the back of a rake and plant seed potatoes into slits made with a trowel. Water the bed after planting.
Getting started | BUILDING, PLANTING, AND MAINTAINING A NO DIG BED
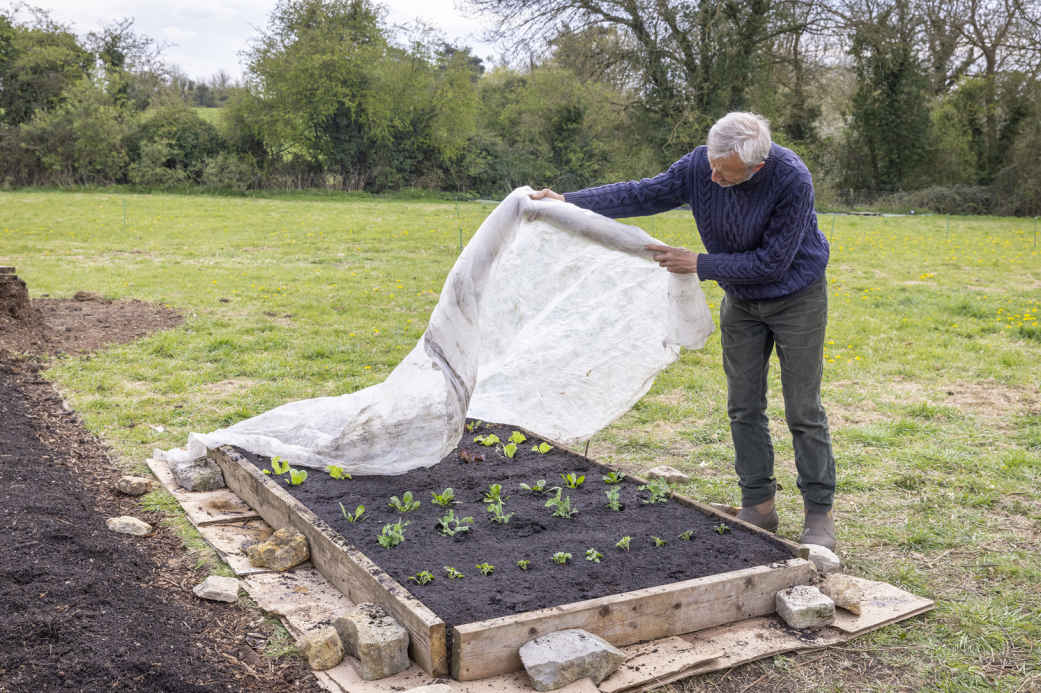
8 In spring, protect young plants from cold weather and pests by covering the whole bed with fleece after planting. Lay the fleece directly on top of plants and secure it at the edges with stones.
Laying cardboard to cover weedy soil, then adding a 6 in (15 cm) layer of compost, is just one of many ways to create no dig beds. The exact method you use will depend on the condition of the ground and the amount of space you’re dealing with. There is no need to lay cardboard on largely weed-free ground; simply rake soil level, spread a 2 in (5 cm) layer of compost, then sow and plant right away. To make beds on a lawn, where grass and weed plants have weaker root systems thanks to regular mowing, cardboard with only a 2 in (5 cm) compost mulch can be enough to suppress weed growth. Wait a month for most of the lawn plants to die before planting, however, so that they don’t grow through where vegetable roots make holes in the cardboard. When preparing ground on a larger scale, especially where perennial weeds are persistent, plant vegetables through a black plastic mulch (see Controlling Weeds).
No dig methods reduce weed growth, but regular weeding is still essential to keep the soil clear.
New weeds from seeds that were in the surface compost are easily removed when they are very small by hoeing or pulling. The more difficult and ongoing weed growth is from roots of any strong perennial weeds underneath the cardboard, the new growth of which needs to be removed at weekly intervals using a trowel so that the parent root is weakened and eventually dies (see Initial cover to control weeds).
It’s important to control perennial weeds at the edges of beds to prevent them from spreading. New weeds often push shoots through surface cardboard around bed edges as it decomposes, after about six weeks. When you see this happening, place more cardboard on top to suppress their growth further and repeat a third and fourth time if necessary.
Watering depends on weather conditions, the consistency and maturity of compost, and how firmly you trod it down when the bed was made. Water new plantings every two days for their first week; after that, you should not need to water often if your bed was thoroughly watered after construction (see Watering). If fresh, hot compost was used to fill beds, they will need to be watered more frequently and with larger amounts for the first two or three months.
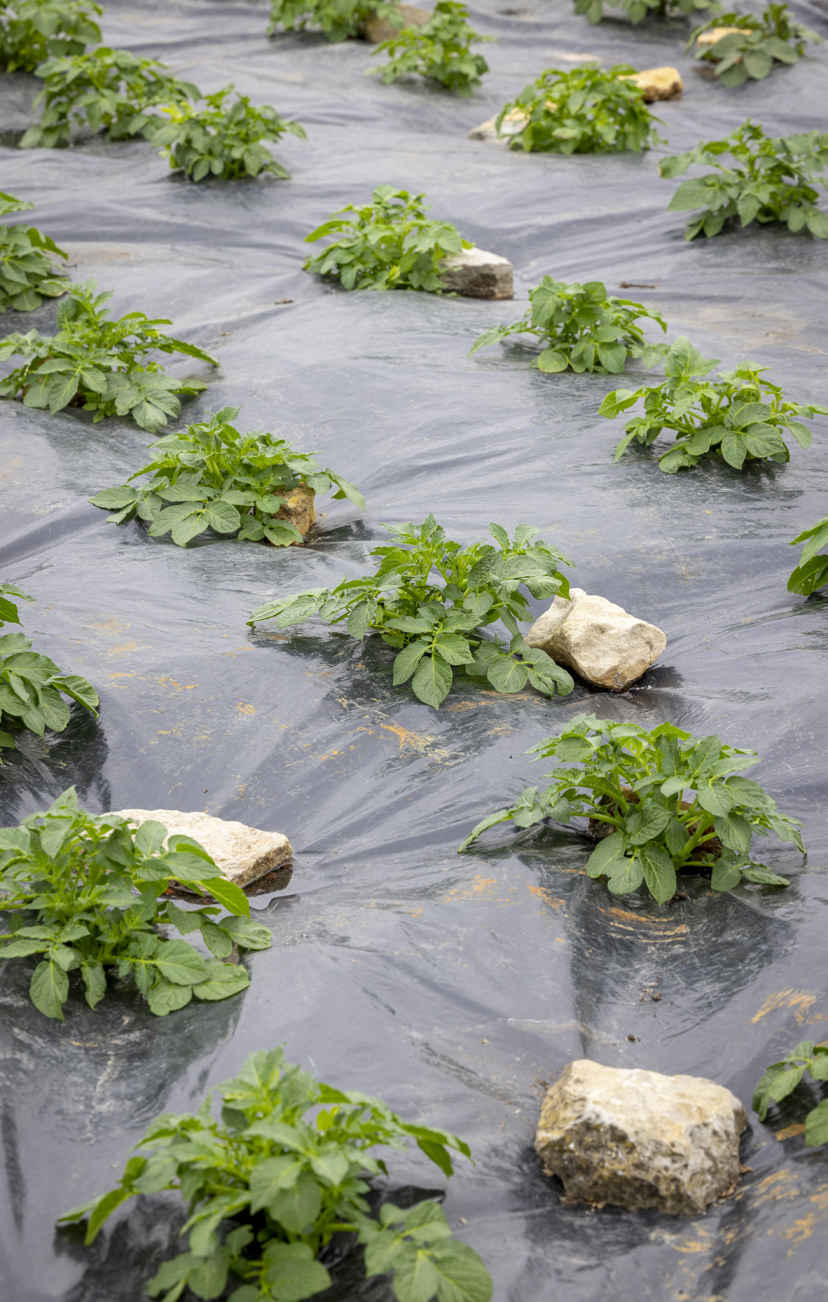
Plant potatoes through black plastic to produce a heavy crop while the weeds underneath die off.
Plan successional planting for your bed so that you have seeds or young plants ready to go in as soon as space becomes available when your first planting is harvested and cleared. In this bed, for example, I planted leeks after potatoes, kale followed spinach, and lettuce filled the space left after radishes and peas. You can also help maximize the productivity of your bed by interplanting or sowing new crops between vegetables that are still growing.
The temporary sides of your bed can be removed by its first fall because the initial 6 in (15 cm) depth of compost will measure less than 4 in (10 cm) deep within three months as a result of decomposition and consumption by soil organisms. With little left to hold, the sides become irrelevant and their removal allows plants to root into path soil.
First, lay fresh cardboard on the path, then remove the wooden edges of the bed and add a little extra compost along the newly exposed sides of the bed before pushing them into a 45° slope. Finally, spread a little compost along the edge, then top with wood chips to define the edge of the bed, reduce weed growth, and keep the soil fertile.
Add a new 1¼ in (3 cm) mulch of compost to the bed every year, from late fall, whenever there is space to spread it, along with a similar depth of old wood chips or compost to the paths. This provides food for soil organisms and maintains fertility for plantings throughout the following year.
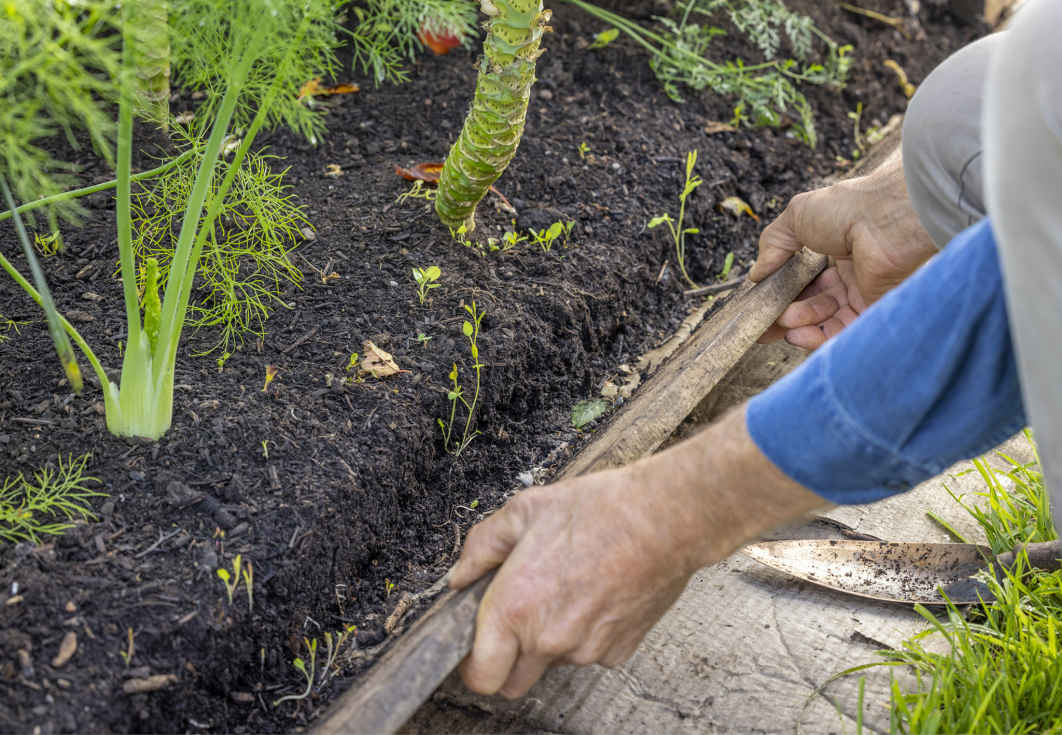
Remove wooden sides during the first growing season, along with growth from perennial weeds.
It’s important to realize that when you have open-sided beds, you need to create and maintain weed-free paths because there is no barrier to prevent weeds rapidly spreading into your growing area. This is simple to achieve by covering fairly weed-free ground with a 1¼ in (3 cm) layer of wood chips. Where there are thick weeds, lay cardboard topped with a little chipped wood to suppress their growth and remove any shoots that grow through with a trowel. Alternatively, just lay bare cardboard, held in place by a few stones, and add more cardboard on top if bindweed or couch grass push up.
Using these methods, path soil can be as weed-free as your bed soil within a year or two, and after that, it’s easy to keep them clean without using more cardboard by removing any weeds that appear when they are tiny.
Rather than sowing seeds directly outdoors, I start almost all the vegetables I grow in cell trays under cover, for transplanting after three to five weeks. I find that this has many advantages and repays many times over the modest amount of time and effort required. The exceptions that I sow direct are carrots and parsnips because their long tap roots are often broken during transplanting, along with garlic, onion sets, and potatoes, which contain sufficient stored energy to start growth without extra help.
Sowing in warm, controlled conditions under cover gives precious seeds the best chance to germinate successfully, keeping losses to a minimum. Seeds sown outside, especially early in the growing season, are at the mercy of unpredictable weather, which means they are slow to germinate and have a higher failure rate. To compensate for this, you need more seeds to achieve a full stand of plants from direct sowings, and a full bed is less certain because of potential weather and pest damage. Sowing under cover gives more dependable results and reduces spending on seeds.
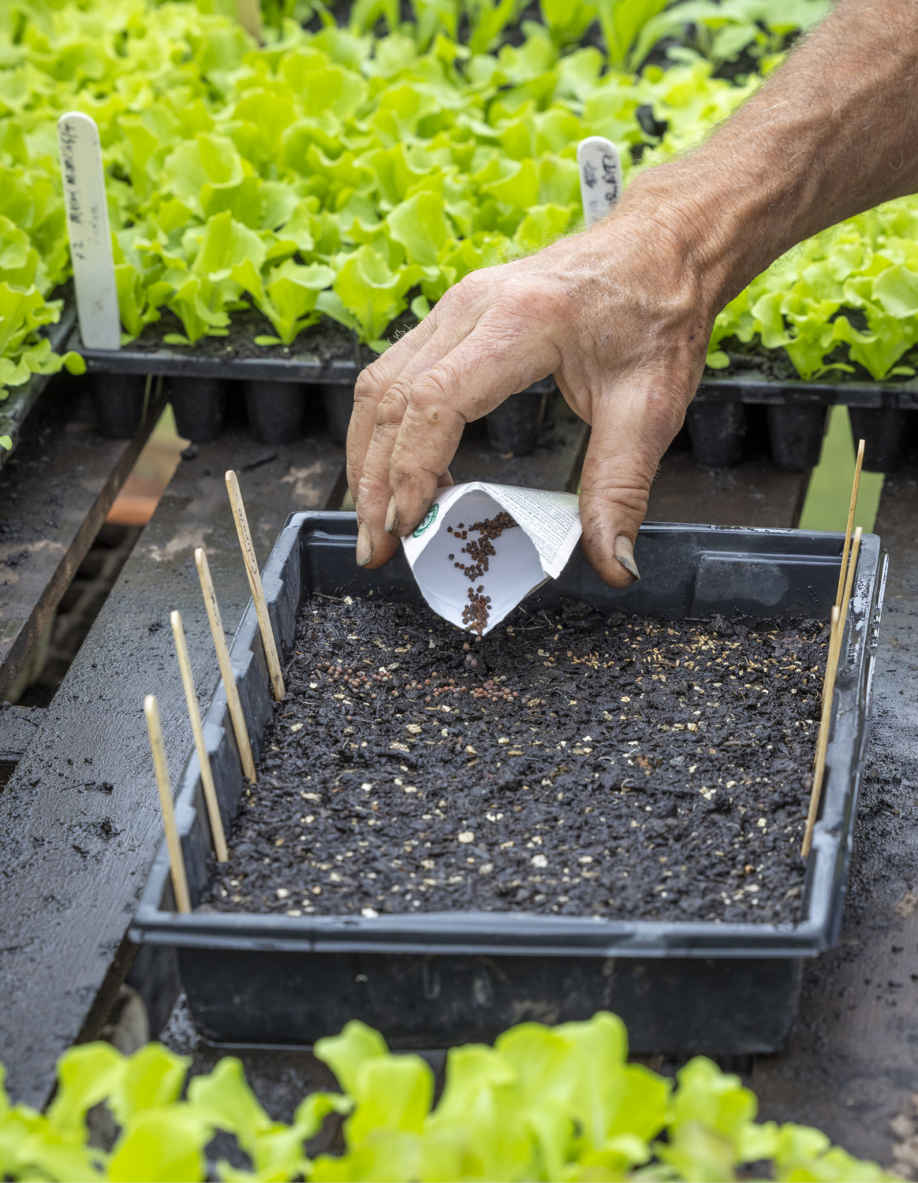
Sowing seeds under cover gives them the best possible start and allows you to keep beds full.
Raising plants under cover helps protect them from pests and bad weather when they’re small and at their most vulnerable. Think of it as a plant nursery or kindergarten, where delicate seedlings receive extra care and attention in the same way that we look after young children. A clean propagating area with no pests in damp corners or under rotting wood ensures that seeds have a healthy environment in which to germinate evenly and grow strongly. These sturdy little plants are then quick to establish outside, making them less likely to suffer pest damage.
Nights can still be very cold, even frosty, in a greenhouse during spring, which does not give seeds the consistent 24-hour warmth they need to germinate. Rather than heat my greenhouse in late winter and early spring, I get spring sowings off to an early start in the house, where nighttime temperatures are always around 54–59°F (12–15°C). After about a week, I move the more cold-tolerant seedlings out to the greenhouse, sometimes onto bottom heat for a week or two (see Achieving good germination). You could also use a small electric heat mat to germinate the first sowings. Providing this extra heat for your first sowings produces earlier harvests.
Pots or seed trays of young plants can be densely packed together under cover if you transplant seedlings young and small (see Transplanting). Move plants on quickly to prevent overcrowding and leggy growth as plants compete for light. Together with multisowing, this allows hundreds or thousands of seedlings to be grown, even in limited propagation space, and stops valuable bed space from being wasted while seedlings establish from direct sowings.
These transplants can be raised while a preceding vegetable matures in a bed, so they are ready to go in as soon as that crop is cleared. This ability to overlap the growing periods of vegetables is one of the best ways to get the most from a small space. Increase productivity further by setting young plants among a maturing crop, a technique known as interplanting, so that new plantings are well established by the time the first is removed. My 5 ft x 16 ft (1.5 m x 5 m) no dig trial bed yields 220 lb (100 kg) of vegetables annually because I produce two harvests from every part of the bed each year.
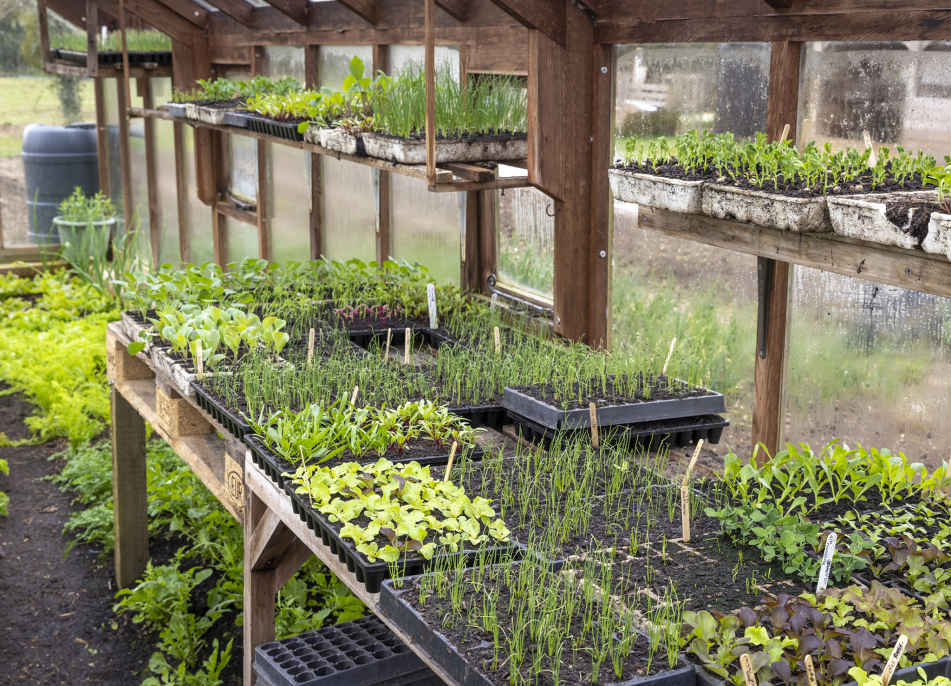
My greenhouse is packed with young vegetable plants throughout spring and summer.
A growing ability to produce hybrid seeds and the low price of seeds in general has caused the quality of many traditional or “heirloom” open-pollinated varieties (OPs) to be eroded, as seed companies focus on the production of more profitable F1 hybrids. From the seed of poorly maintained varieties grow plants with low yields, poor color, and even disappointing flavors, which gardeners may attribute to their own mistakes. I want to encourage an understanding of this issue that many gardeners are unaware of to help you choose seeds that will set you on the path to successful harvests.
THE PROBLEM WITH CHEAP SEEDS
There is pressure on seed companies to offer popular vegetable varieties at prices so low that they in no way reflect the amount of work required to produce genuinely good seed. Therefore, companies channel resources into more lucrative F1 hybrids, and some of the older or heritage varieties have not been maintained well enough to retain their desirable traits and qualities.
It is labor intensive to remove (rogue) any plants that are small, misshapen, or off-color from a large field of plants growing for seed production. If farmers are not being paid to rogue the crop properly, then these unwanted characteristics (traits) will be present in the seed harvest and affect gardeners’ crops.
I have noticed the deterioration of a number of popular varieties over the years, sometimes to the point where their poor growth has forced me to find alternatives. Beet ‘Boltardy’ still resists bolting when sown early, but now often produces pale or small roots and thick, chardlike stems. I avoid growing most open-pollinated varieties of Brussels sprouts, tomato ‘Gardener’s Delight’, and broccoli ‘Late Purple Sprouting’.
In July 2021, I voiced my concerns about the performance of open-pollinated varieties to seed producers in the UK through the Royal Horticultural Society (RHS). Brian Smith, who had a long career in plant breeding research at the National Vegetable Research Station at Wellesbourne and is now Chair of RHS Vegetable Trials forum, explained to me that, “After the introduction and success of F1 hybrids from the late 1960s, the effort to maintain OPs has diminished to the point where little maintenance is done on heirloom varieties.”
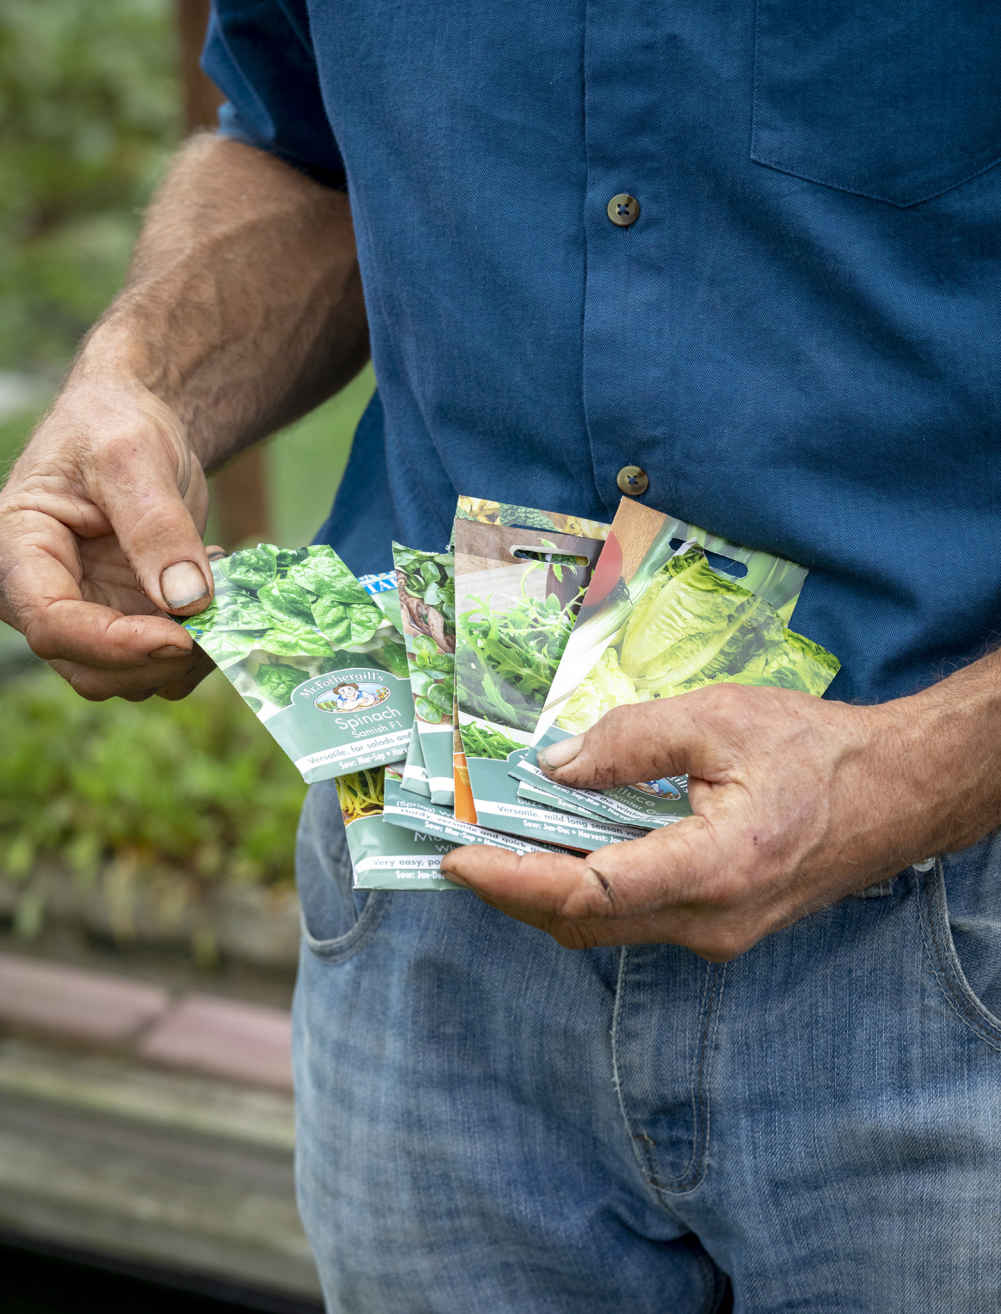
Choose reliable varieties and good-quality seed to avoid disappointing results.
USING F1 HYBRIDS
I grow F1 hybrids where there are no good open-pollinated alternatives because it’s such a maddening waste of space and time to grow a variety that gives poor results. Hybrid seed is more expensive and does deliver what is described on the seed packet, which is a crucial first step to success. When I first grew broccoli ‘Claret’ F1 in place of ‘Late Purple Sprouting’, I could scarcely believe the increased size of head and cropping period. The alternative to beet ‘Boltardy’ is ‘Pablo’ F1, which grows lovely uniform, round roots with small stems.
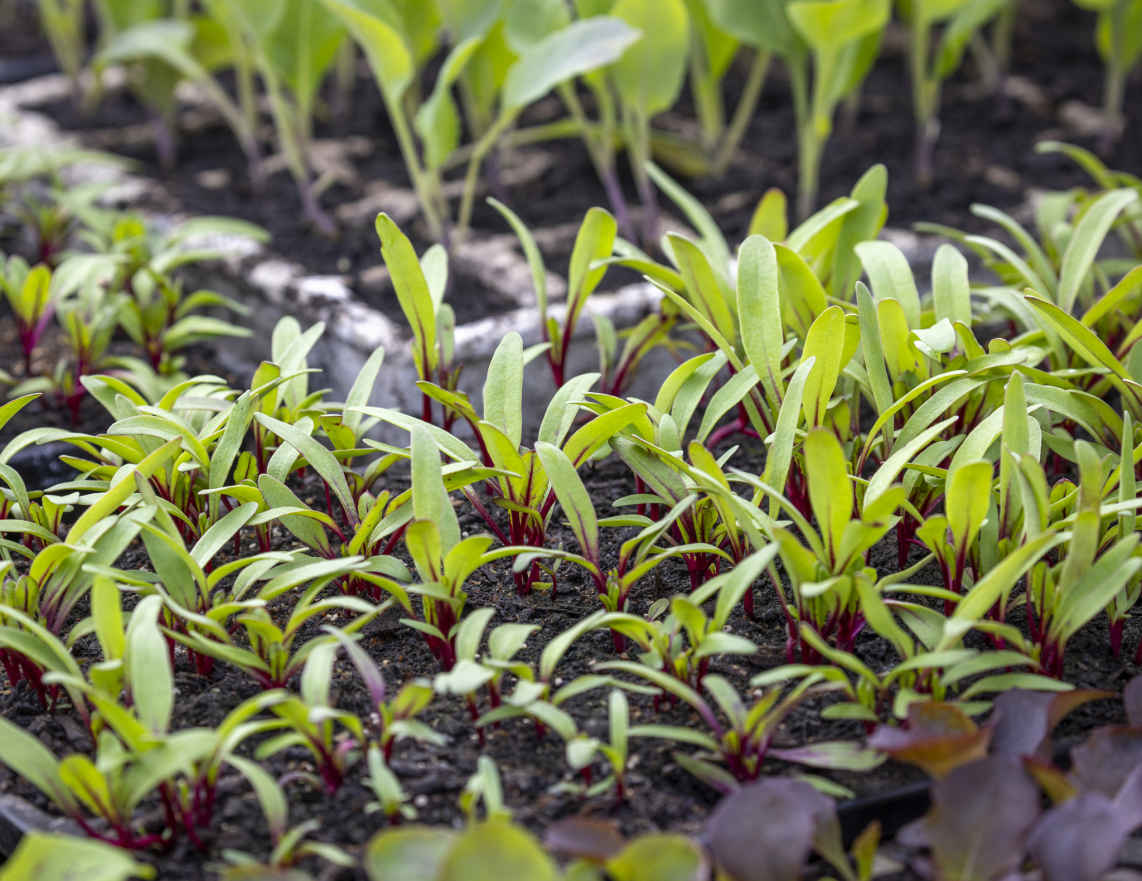
Use beet ‘Boltardy’ for early sowings but more consistent hybrid varieties for later crops.
SOURCING GOOD-QUALITY SEED
There are thankfully still some brilliant open-pollinated varieties available, so before you buy seed, check each vegetable profile in this book for the varieties that my gardening experience gives me cause to recommend. It is also worth looking beyond the price of seed packets to find seed companies that care about the future of OP varieties and work hard to look after them either by producing their own seed or subcontracting trusted gardeners and farmers to enable them to supply larger quantities (see Suppliers and Resources). Another option for many vegetables, although not all, is to save your own seed. I encourage you to give it a try, but only from OP varieties, because seed from hybrids does not grow true.
Compost heaps convert waste material into a valuable mulch and feed for your no dig soil. The process is fascinating, life-giving, and less precise than is sometimes suggested because there are so many variations in every garden and season. You have scope to tailor your approach and be creative with your setup. When this produces good results, making compost comes a close second to the fun of gardening. The first step is to understand the key principles.
Composting harnesses and hastens the natural processes of decomposition to transform organic waste into crumbly brown material. Many organisms facilitate the decomposition, such as bacteria, fungi, earthworms, and woodlice, and we need to create the right conditions in a heap for these to thrive. This means adding the best possible proportions of carbon-rich “brown” materials and nitrogen-rich “green” materials to feed the process, as well as to maintain a balance of air (oxygen) and moisture within the heap. Heat is generated when you add a mix of materials in decent quantities, and a heap’s temperature provides an indication of the speed of decomposition within it.
Compost heaps should not smell and can be an attractive feature rather than hidden away in a hard-to-reach corner. For larger spaces, I recommend a central location in order to save a lot of time transporting waste to the heaps (less so for spreading compost because of the decrease in volume). Place heaps in sun or shade, preferably on soil, but a hard surface will work if it’s the only option, as long as there is good drainage. You can also place a compost heap on weedy ground, including where there are difficult perennial weeds, because they cannot grow up through a heap’s thick layer of organic waste. Control weeds around the edges with a light-excluding cardboard mulch.
Match the size of your heap or heaps to your growing area because a small garden will not generate enough waste to fill a large bin, and bins make better compost when you fill them within two or three months. Most small and urban gardens will be well served by one or two plastic, cylindrical bins because they are light and can be lifted off easily when you want to spread the finished compost. For larger gardens and allotments, I recommend creating compost bays from pallets to generate at least a half cubic yard (half cubic meter) of compost from each filling (see Create a pallet compost heap). It is possible to manage with one heap, but two makes things easier because you can be filling the second one with waste while the first finishes decomposing. A third bay allows you to turn the first bay’s contents while you continue to fill the second one.
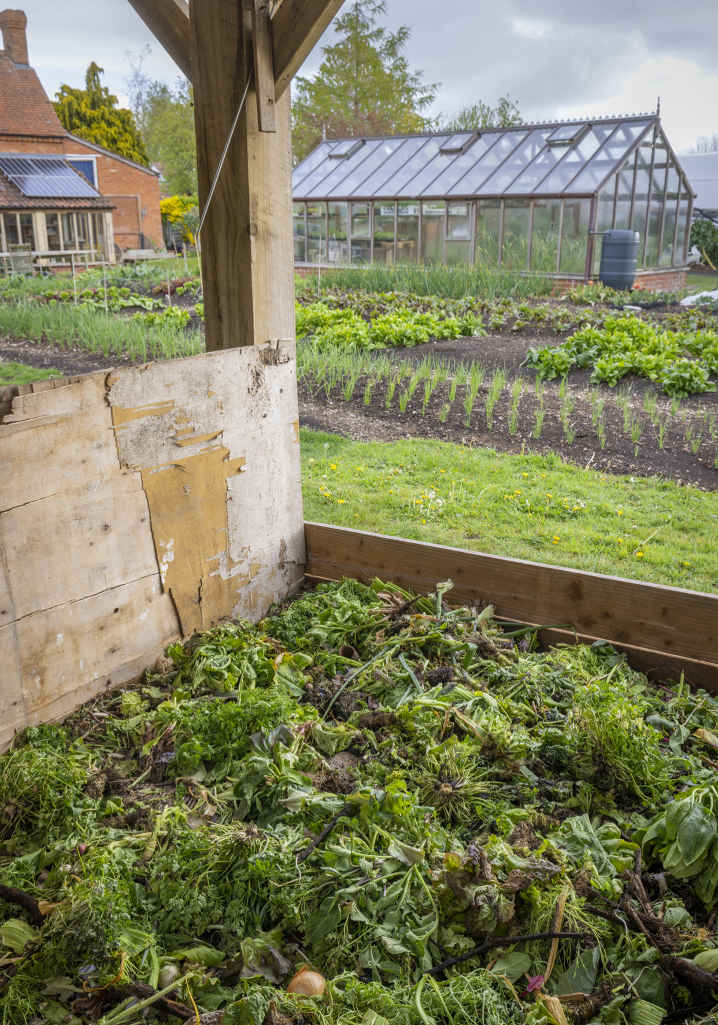
The main row of large compost bays is positioned at the heart of my garden at Homeacres.
Almost all organic waste can be composted, and successful decomposition happens when you achieve a good balance of ingredients and moisture, for an end product that is neither soggy nor too dry. Waste can be divided into carbon-rich “brown” materials, which feed fungi and other decomposing organisms and maintain air pockets, and nitrogen-rich “green” materials, which feed the bacterial decomposers. In terms of volume, you need to add 60 to 75 percent of mostly green materials to a heap to enable speedy work by decomposing organisms, whose numbers and activity will increase if the heap warms up.
Green materials are leafy and mostly green in color and often contain significant moisture, all of which means they decompose rapidly. Examples include grass clippings, weeds, and vegetable waste from the garden or kitchen, as well as brown-colored coffee grounds and fresh horse manure (without bedding), which fall into this category because of their high nitrogen content. Brown materials are woody, fibrous, slow to decompose, and sometimes dry. Common sources of brown material are woody prunings, wood chips, sawdust, straw, paper, nonshiny cardboard, and dry fall leaves. Many materials are not totally green or brown, but a combination of the two; for example, green tree leaves, green (new and unripe) wood, and tough vegetable stems have both green and brown characteristics. During summer, there is considerably more green waste than brown, so remember in winter to save dry leaves and chipped wood to mix with summer greens.
Smaller pieces of any material decompose more quickly because there is more surface area available to microbes, so chop and/or crush stems and fibrous materials so that they are less than 4 in (10 cm) long before adding them to the heap. Invest in a shredder if the garden generates large amounts of woody waste, or you can run a rotary lawnmower over fibrous (but not woody) materials laid on the ground, which chops and then catches the shredded waste in the grass collection box.
It’s easy to be put off by negative advice suggesting that you shouldn’t compost weeds, lemon peels, rhubarb leaves, diseased material, and many other wastes. I would like to reassure gardeners that you can add all of these and free yourself from these concerns. This saves much time spent in separating out “uncompostable” waste and allows you to enjoy filling heaps. To my heaps, I regularly add bindweed roots and the leaves of tomato plants with late blight, always without any adverse effects, and the same applies to heaps with little heat. The only thing I wouldn’t compost is Japanese knotweed.
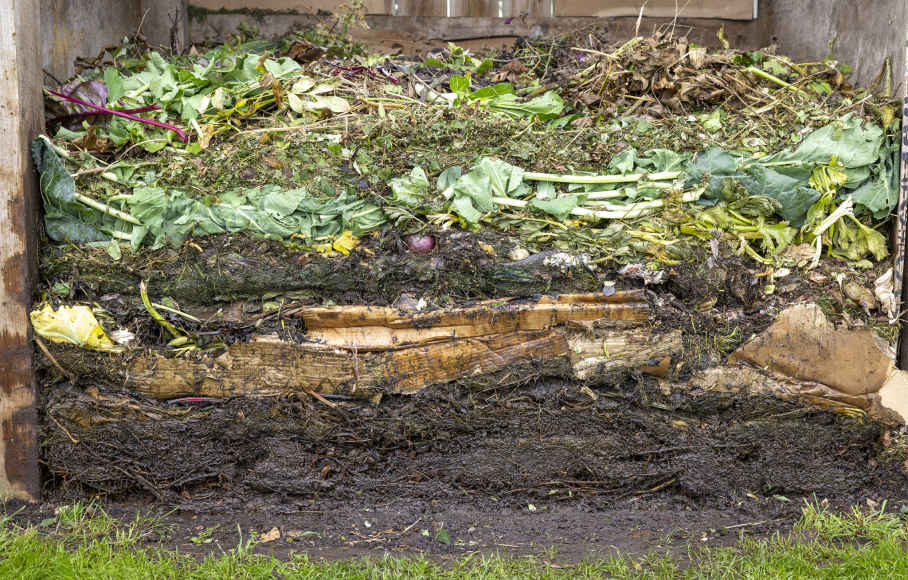
Adding to the heap in thin layers makes it easier to balance green and brown materials.
Heat is generated in a heap by the activity of bacteria, which feed on the recent additions of green material. It’s possible to make good compost without a heap ever going above 86°F (30°C), but the two issues with this are that weed seeds will survive (it takes 122–131°F/50–55°C to kill them) and that the process takes longer. The volume and frequency of additions to a heap determine how much heat is generated: bigger heaps get hotter and retain heat for longer. Pallet heaps of at least 11 square feet (1 square meter) can temporarily generate temperatures that kill weed seeds and speed up decomposition. But they generate and hold much less heat than my large main heaps of 32 square feet (3 square meters), which can maintain 140°F (60°C) even three weeks after I finish adding materials. The internal temperature of heaps can easily be monitored using a compost thermometer with a 12–16 in (30–40 cm) long probe.
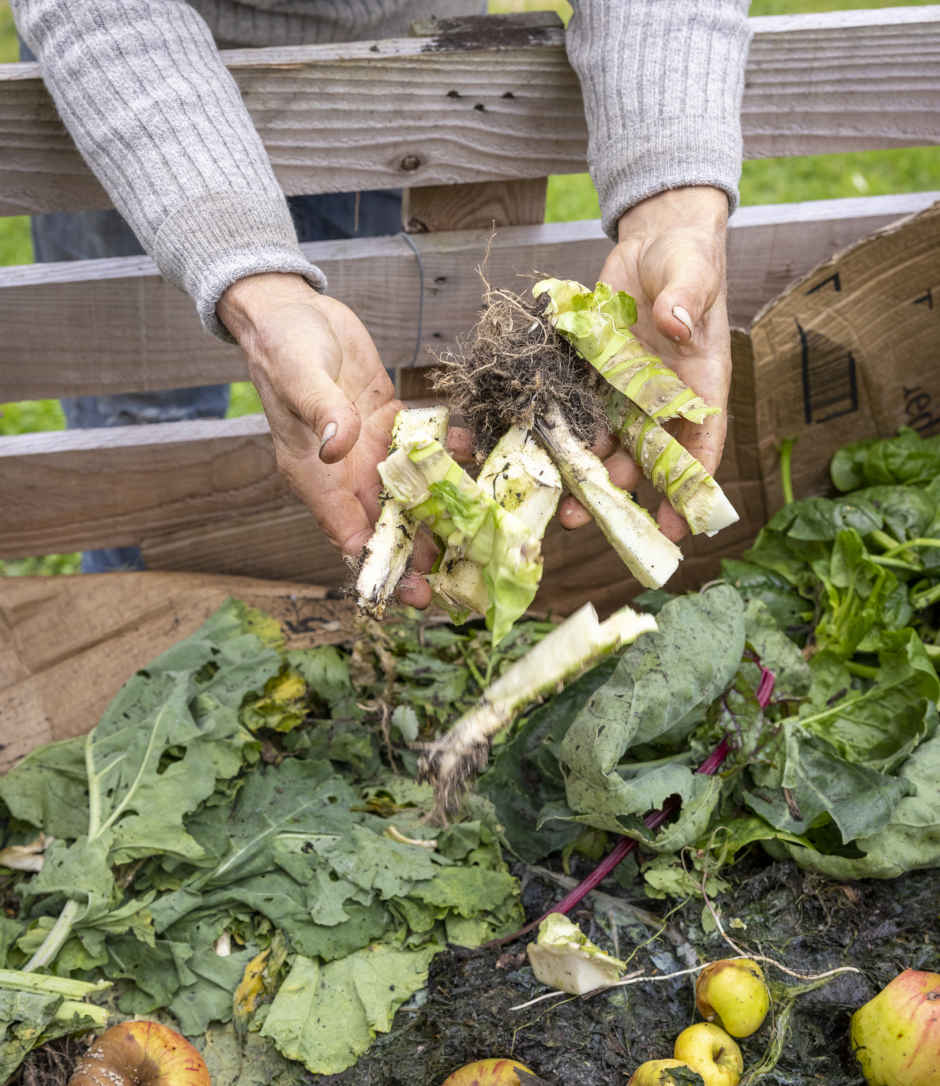
Split tough brassica stems along their length and chop before adding to the heap.
Air is vital for making sweet-smelling, aerobic compost. Without sufficient air, the bacteria that facilitate aerobic decomposition die and anaerobic bacteria take over, resulting in soggy compost and a sulfurous smell. An excess of green waste can add too much moisture, especially in a wet climate, which pushes out the air and causes anaerobic conditions. Fibrous brown materials add volume and hold air in a heap. It may be necessary to water compost heap materials in hot, dry climates, but this is rarely good advice in the UK, where it’s often best to add dry cardboard or paper to soak up the moisture held in lots of green leaves. It is also worth keeping a lid or cover over compost heaps to exclude rain and prevent waterlogging. That’s why I have a roof over my main compost bays and use corrugated iron covers over pallet heaps that are not currently being filled.
Turning speeds up decomposition by introducing oxygen for aerobic bacteria and ensures a more even end product from your compost heap. It is also a chance to discover that trowel you lost a few months before! A heap needs turning only once, from five to eight weeks after making the last additions, when the contents have cooled and are no longer subsiding fast. There is no hard and fast method, but it’s easiest to move all the contents of a heap into an adjacent empty bay using a manure fork to mix soggy and dry materials and shake out the lumps as you lift them, which mixes materials and introduces air. If half-finished compost looks wet, check the moisture level by squeezing a handful. If more than two droplets of water fall out, then it’s too wet, probably from too much green material or rain. Add dry paper while turning to soak up the excess moisture.
Ready does not mean perfect, so don’t wait for or expect your homemade compost to be as finely textured as bagged composts you buy. For spreading on beds, as opposed to using for propagation, small woody pieces are good because they contribute to a lovely, fungi-rich soil surface. Break up larger lumps with a fork and pick out more substantial woody bits to put back on the current heap. Look to have finished compost within a year of starting to fill a heap, and if your heap reaches 131°F (55°C) for a decent amount of time, you can have excellent compost within six months. Aim to produce something that’s reasonably dark brown, with a soft, fairly dry texture, so that when lifted and shaken it falls through a fork. Soggy black compost suggests anaerobic decomposition, which isn’t ideal, but it can still be used, spread onto a bed as a mulch to allow it to dry out, so that decomposition can continue.
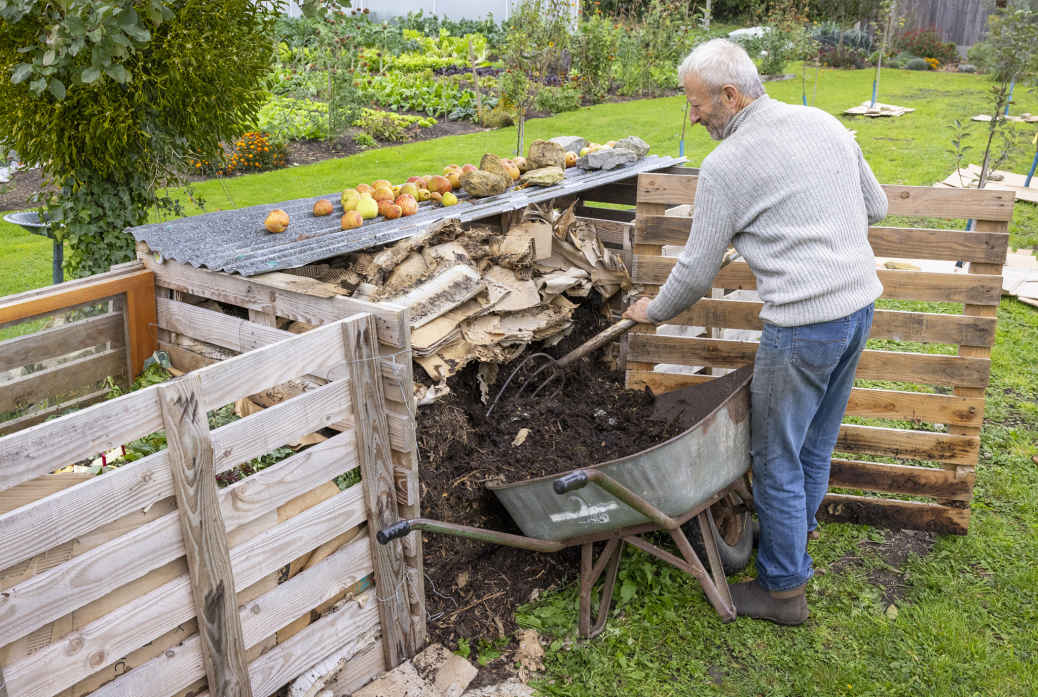
Use a fork to extract crumbly finished compost from the heap and break up any lumps.
Pallets made from untreated wood make excellent sides for a compost heap because they are cheap or free and will serve for between three and five years. They are quick to assemble using only wire, which makes the bays easy to open, move, or repair if needed. I knock the bottoms off the pallets and enclose heaps with just the top frame because full-depth pallets need extra space, are heavier to handle, and are more difficult to keep weed-free at the base.
You will need
Getting started | MAKING YOUR OWN COMPOST
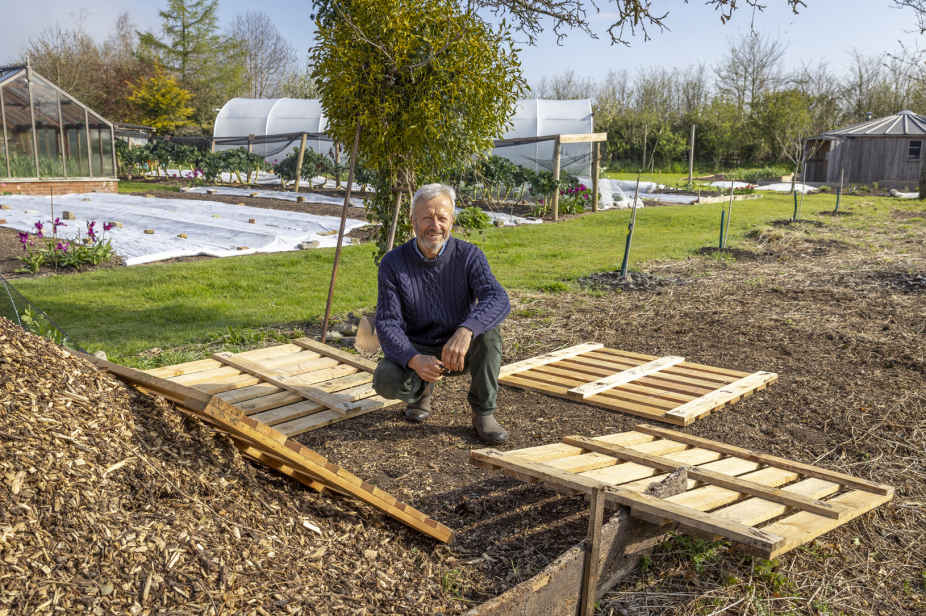
1 Lay out four pallets on the ground around a square base of at least 11ft² (1m²).
Getting started | MAKING YOUR OWN COMPOST
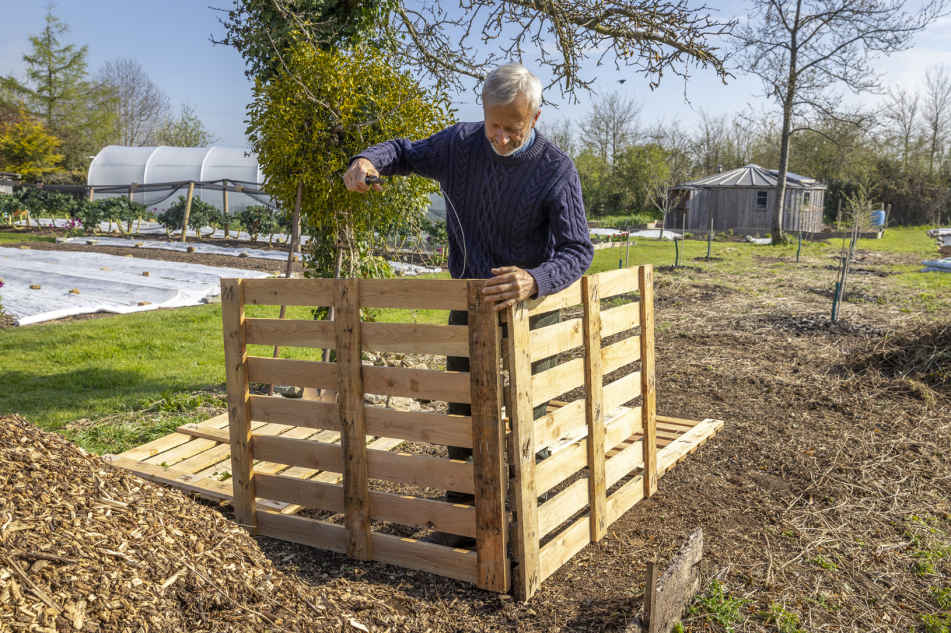
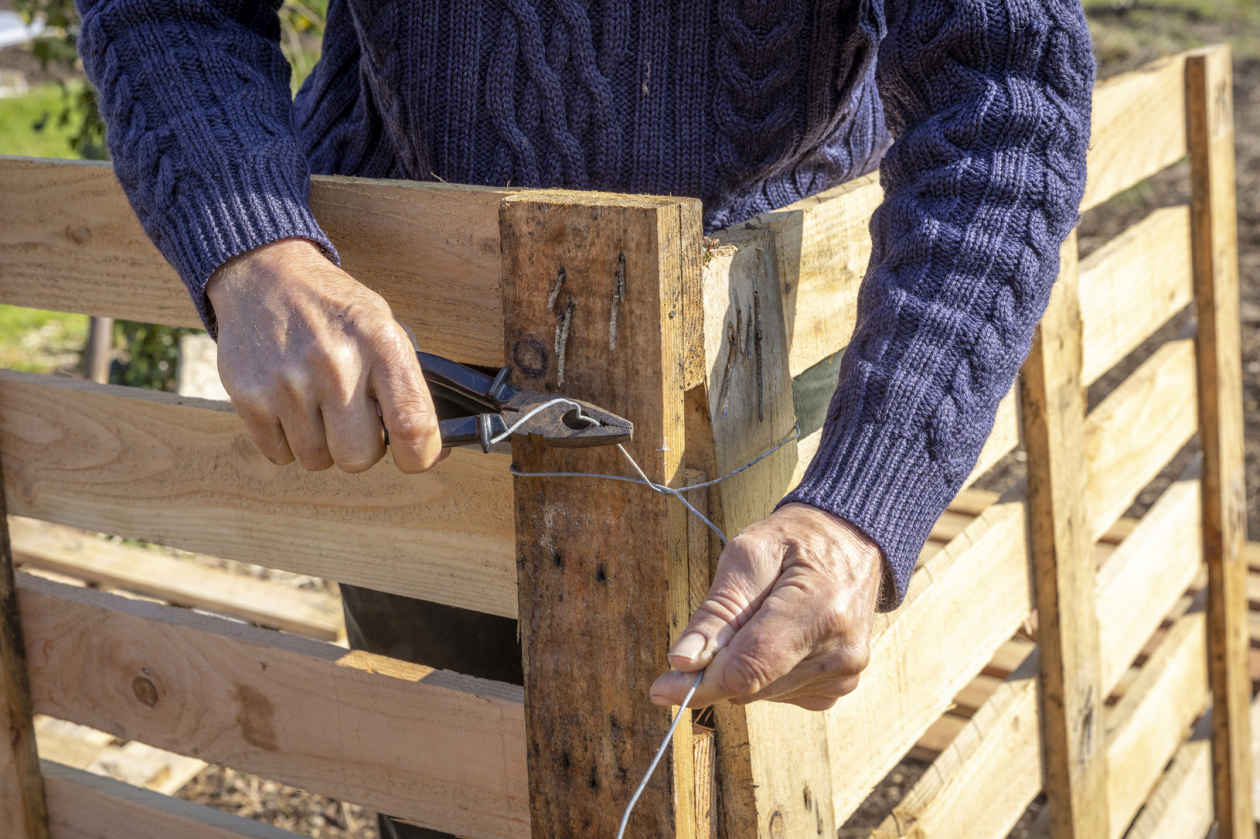
2 Lift two pallets to make a 90° angle at their corner and attach them at this corner by wrapping ⅛ in (3 mm) thick wire around the uprights, one wire near the top and one near the bottom. Twist the wire ends with pliers or by hand to fasten securely.
Getting started | MAKING YOUR OWN COMPOST
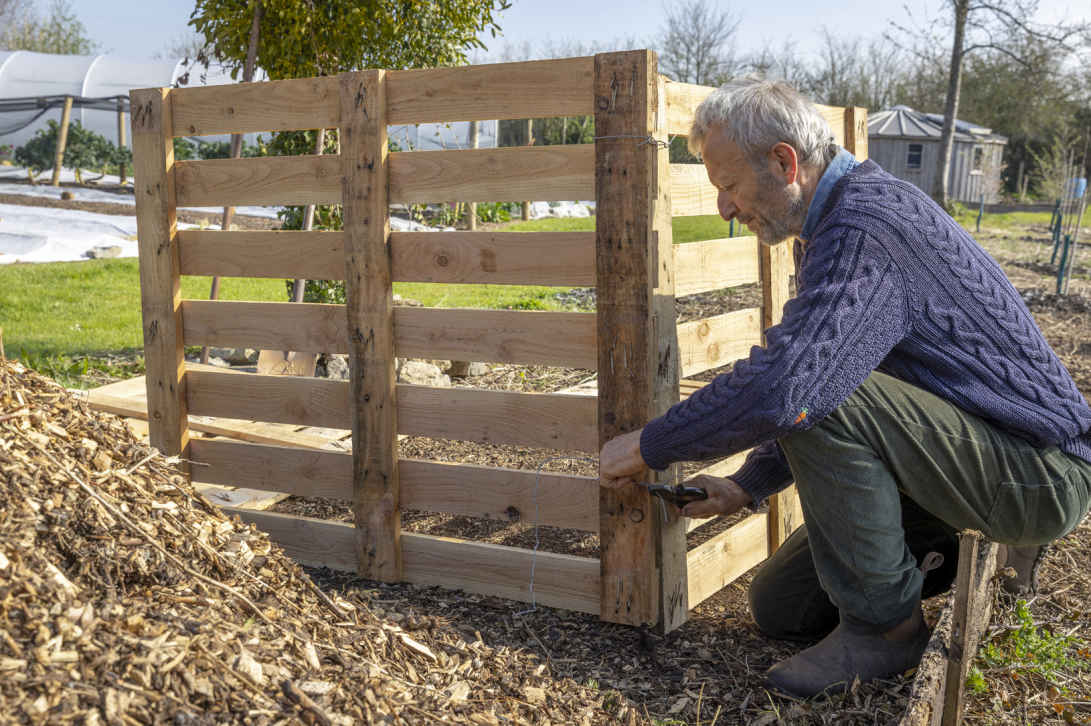
3 Use the same technique to attach each remaining side and form a rigid, square bay.
Getting started | MAKING YOUR OWN COMPOST
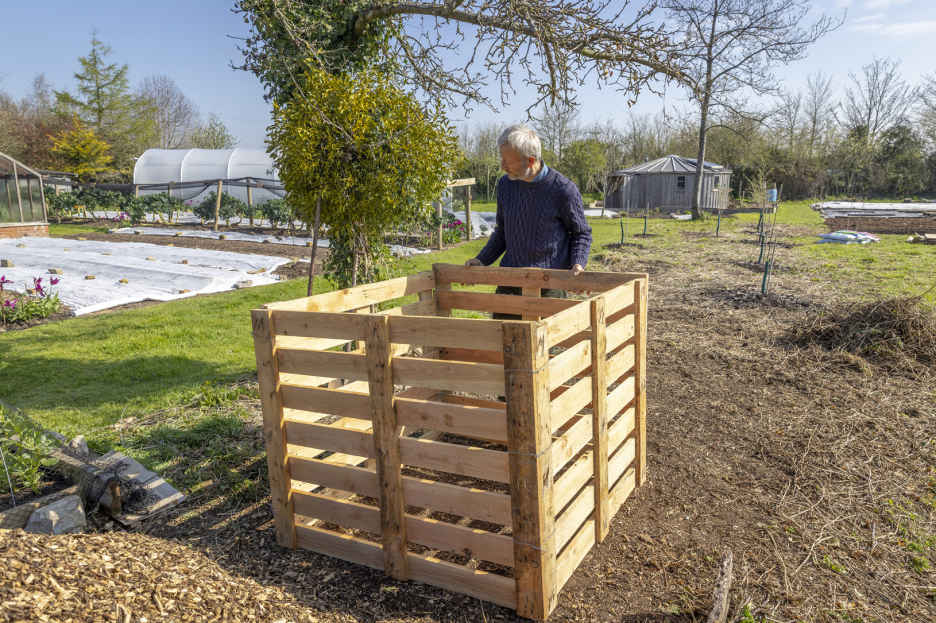
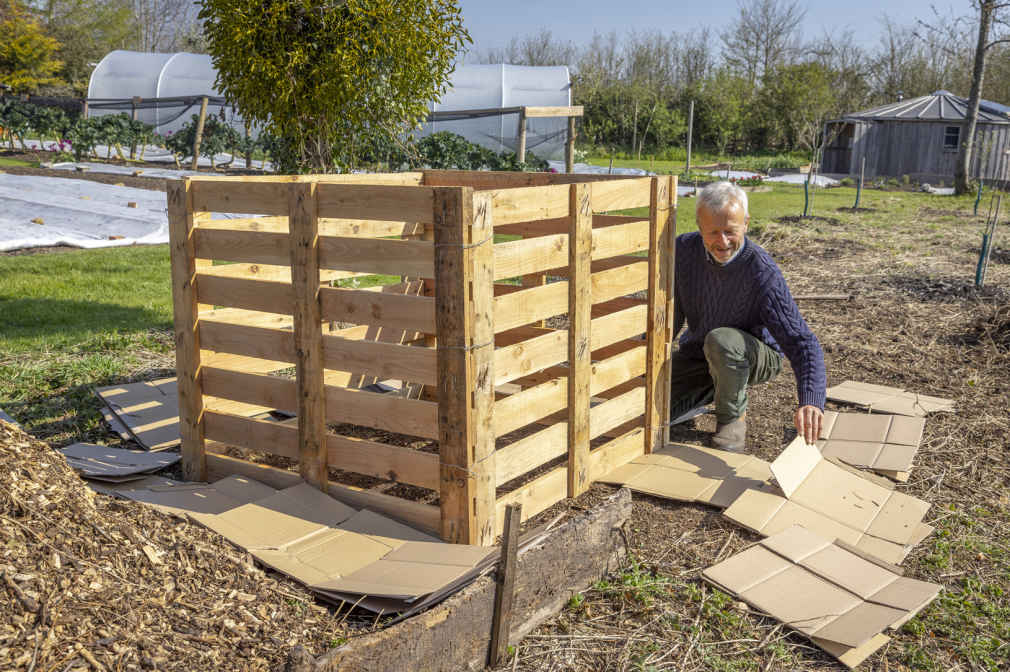
4 Lay cardboard around the edge of the heap, tucked under the sides and not covering the base, to reduce regrowth of any perennial weeds and stop them from spreading into the heap.
Getting started | MAKING YOUR OWN COMPOST
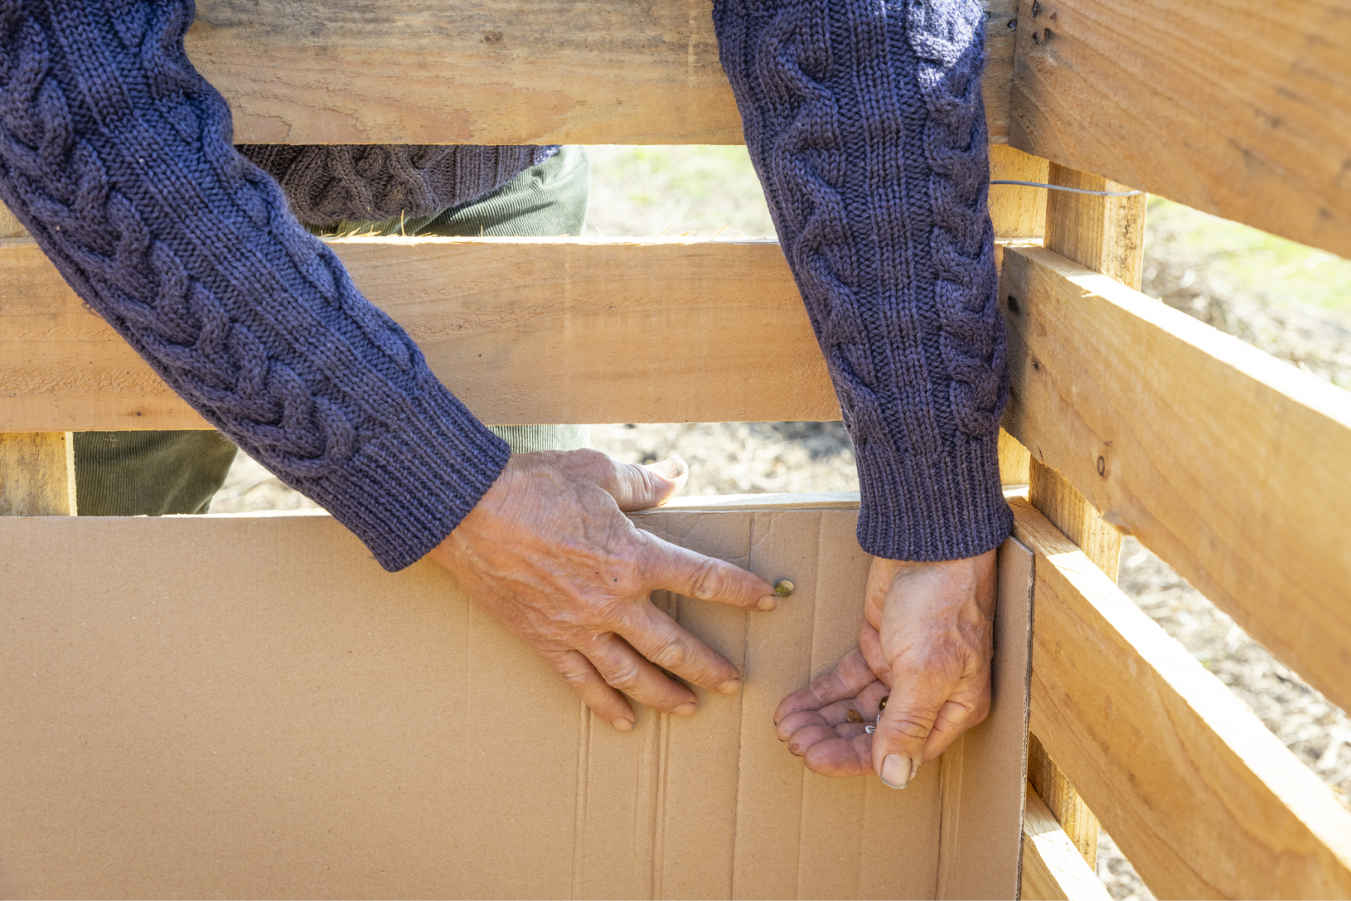
5 Line the inside of the heap with cardboard to retain warmth and moisture. Attach it to the pallets with thumb tacks. In windy locations, add the cardboard a little at a time from the base, pushing it back into place as the heap is filled with waste.
Getting started | MAKING YOUR OWN COMPOST
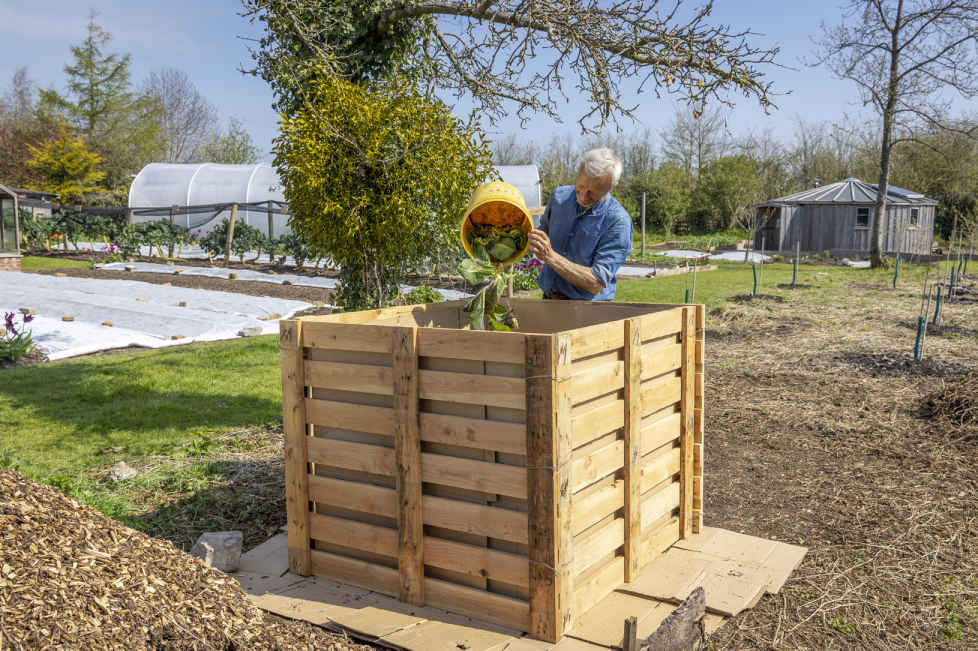
6 Add organic waste from your garden and kitchen (see Compostable materials). Tread down any bulky materials, at the beginning especially, to prevent large gaps and air pockets. You could fill the heap in anything from six weeks to six months.
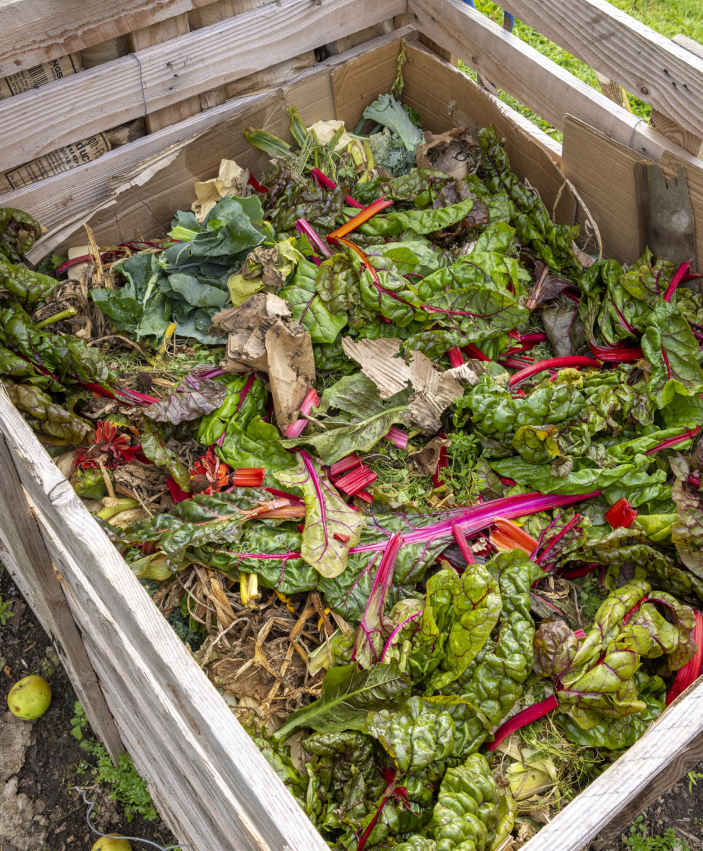
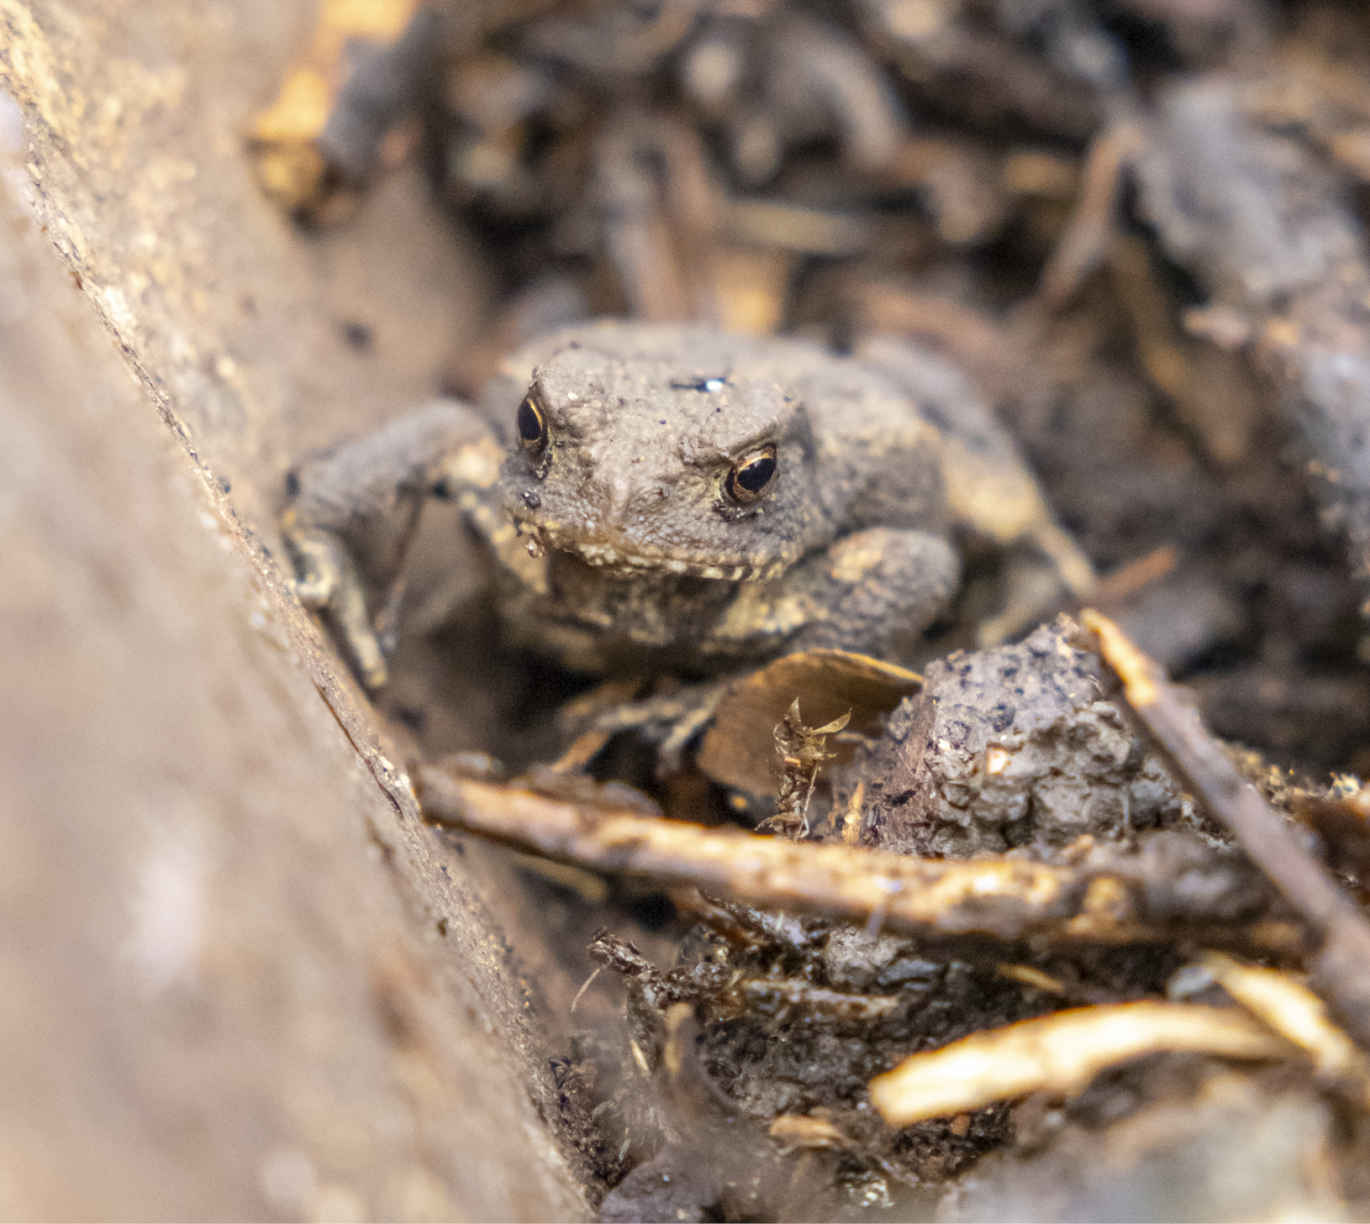
Pallet heaps hold waste from larger gardens (top) and are home to toads and other wildlife (above).
No dig needs fewer tools, and they are used less, as there is so little work to do with the soil. Keeping the number of tools to a minimum means they are always on hand and makes it more affordable to buy the best quality. It’s vital that you feel comfortable using them, so try tools before buying if possible or study reviews online carefully, paying as much attention to the handle as the tool’s working end. I use copper tools, which minimize soil disturbance because the blades don’t rust and stay sharp and smooth, which means they rarely need to be cleaned after use. If you have steel tools, brush or scrape any soil from their blades before putting them away.
This is a key planting tool that keeps soil disturbance to a minimum and can be made from an old wooden tool handle or bought. I’ve used one since the 1980s because the 2 ft (60 cm) long handle makes it easy to use, with less bending, a better overview of the planting area, and more leverage to make slightly deeper holes when necessary. Its 2 in (5 cm) diameter makes holes the perfect size for the root balls of cell-raised plants—you do not need a hole any larger—while the rounded tip pushes easily into soft no dig soil without leaving a cavity below the root ball.
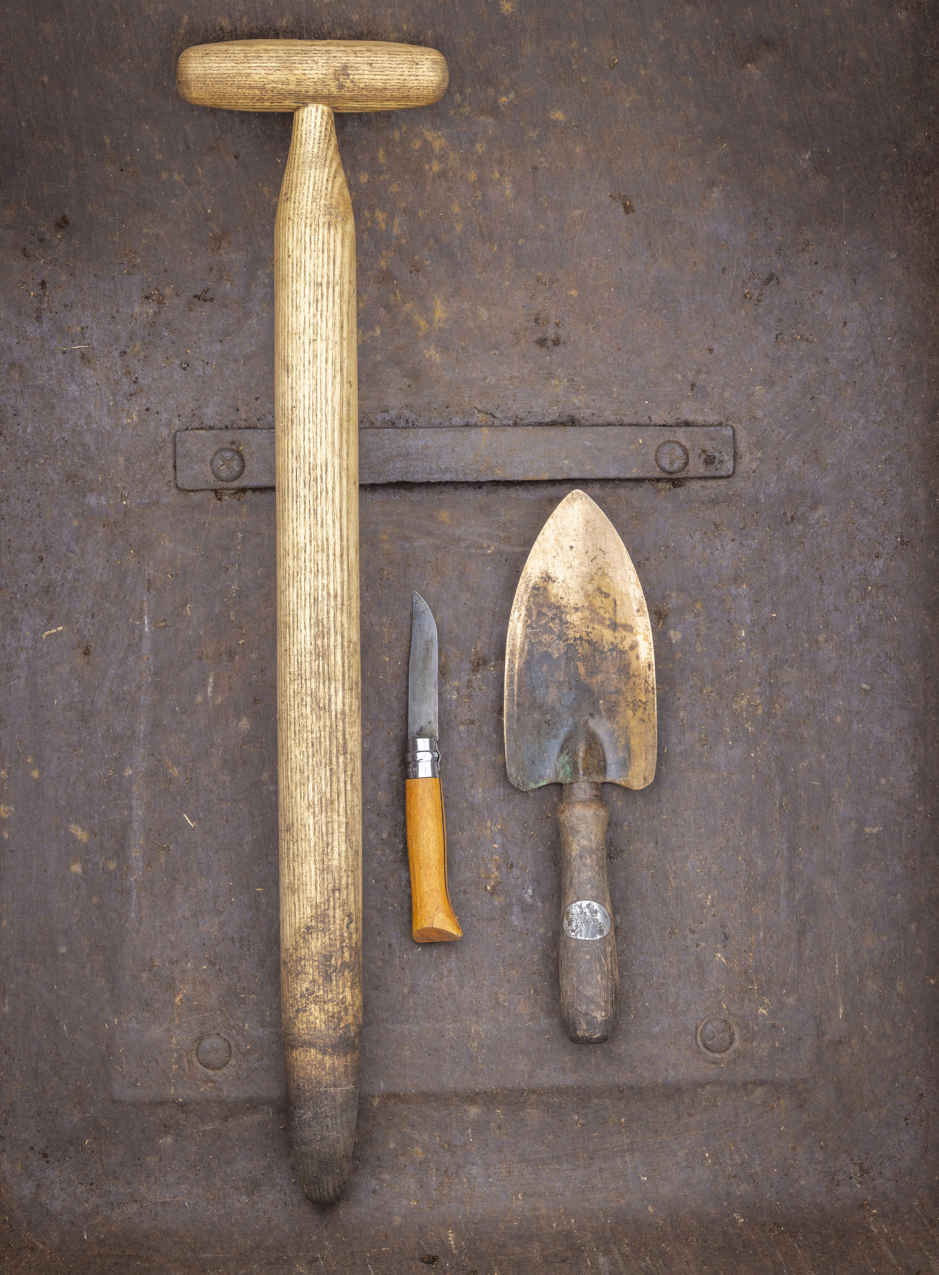
Long-handled dibble, knife, and copper trowel.
A trowel is so useful for removing new growth of perennial weeds, as well as planting potatoes and plants that have been raised in pots. It needs to slide in and out of the soil easily and have a sharp blade, and I find that a copper trowel retains those qualities with little maintenance. There is a choice of blade shapes, but I find that one about 6½ in (16.5 cm) long and 2½ in (6.5 cm) wide does everything well.
A small pocket knife with a folding blade that’s easy to open and shut is invaluable for so many little jobs, including harvesting, trimming vegetables, cutting string, and cutting up plants to put on the compost heap. Make the size comfortable for you and something that will fit easily in your pocket, so you will always have it handy. Buy a good-quality knife that stays sharp and learn how to use a sharpening stone to sharpen the blade. Over many years, I’ve found that the blades of Opinel knives stay sharp for longer than most other knives.
This is the workhorse in a busy garden, so avoid cheap, flimsy models and invest in a robust one made of galvanized metal with a simple pneumatic tire. Size is an important consideration, and I would suggest opting for a larger one than you think you’ll need because most materials you move around the garden will be light and it’s efficient to transport a bigger quantity in one go.
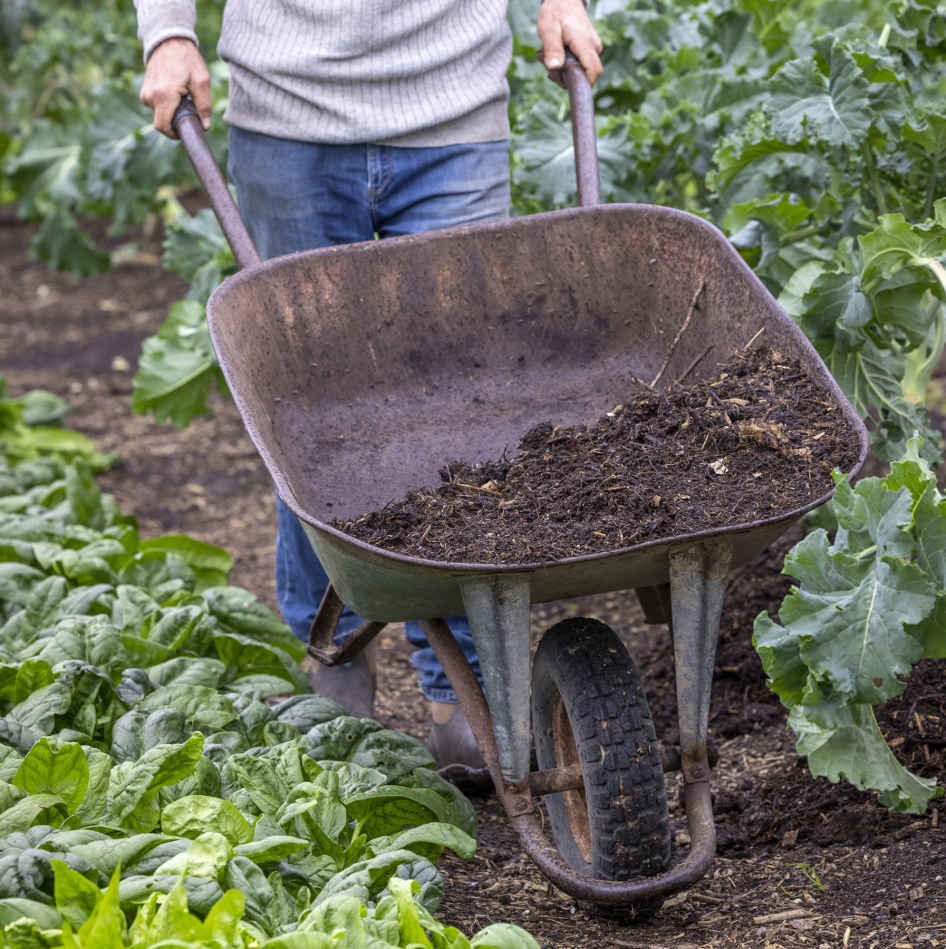
My galvanized metal wheelbarrow is now 30 years old and has moved hundreds of tons of material.
I use a rake for leveling the surface of beds that have been disturbed by harvesting or where compost has been applied and it’s a bit uneven. Choose a rake with a short, solid blade, about 12 in (30 cm) wide, rather than a wiry spring-tine rake. You will use it for light work only, leveling soft compost when filling beds or before planting.
Don’t laugh! This is a no dig book, but it’s worth having a good spade even if you are a no-digger. Spades are useful for planting larger trees and shrubs, removing bramble or dock roots, chopping large plants, and levering out parsnips. Although it seems counterintuitive, choose a large spade with a heavy handle, since this will actually make it easier to do heavy work. Copper blades slide into soil easily and retain their sharp edge.
With curved prongs that are longer and thinner than those of a digging fork, this is an absolute must for turning, moving, and spreading compost. It slides effortlessly past fibrous and woody material in a heap, unlike the blade of a spade, allowing you to lift up a lump of material and move it to wherever it’s going. I often use it to spread compost, too.
This tool is only appropriate where there is a large surface area of soil and won’t be needed for one or two beds. Hoeing disturbs only the top ½ in (1 cm) of soil and is a fantastic quick way to kill tiny weeds. I use an oscillating or swivel hoe, which has a pivoted head and a thin blade that is sharp on both edges, to cut weeds on both the push and pull stroke.
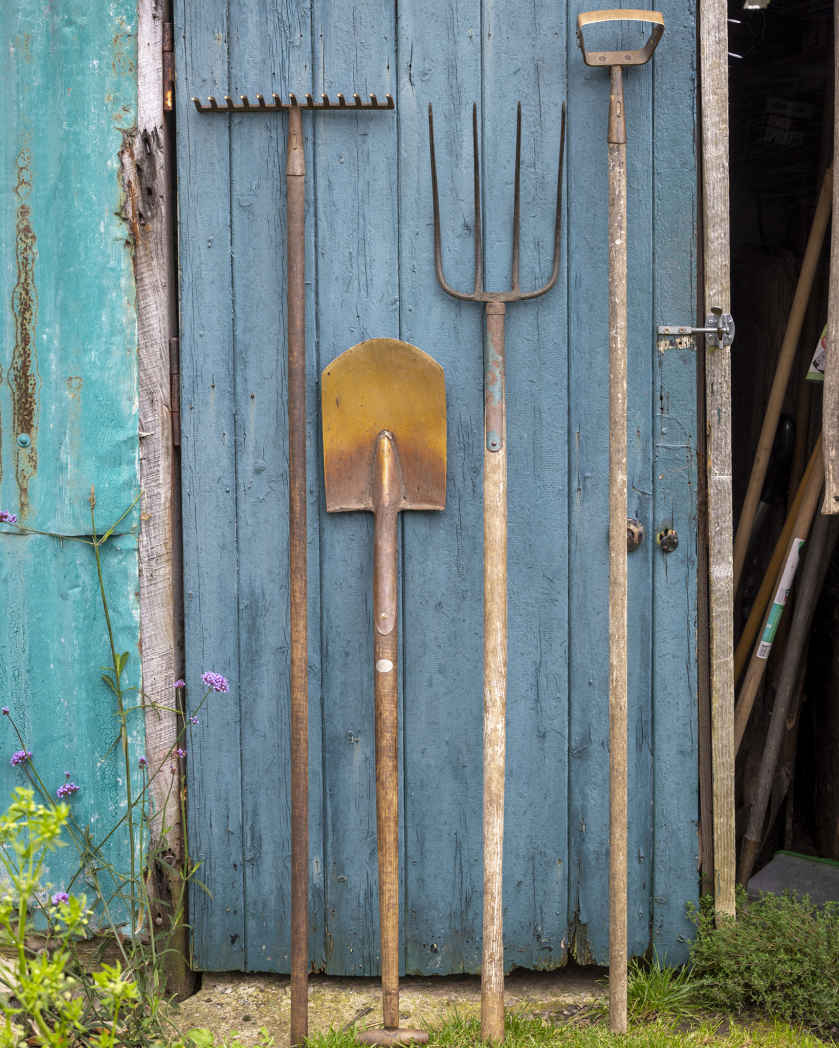
Copper rake, spade, manure fork, and swivel oscillating hoe.
My watering cans and roses are made of plastic. Quality plastic cans are durable; the can in my greenhouse is 17 years old and I really value it. In my experience, steel cans and metal roses don’t perform as well. A large can could hold up to 2½ gallons (12 liters), which is obviously heavy. Use the biggest one your strength allows to enable you to water beds efficiently. Usually, larger cans come with a larger rose that produces bigger water droplets, which is fine for watering beds containing established plants, but a smaller can (1½–2 gallons/7–10 liters) with a finer rose is better for watering young plants and seedlings in cell trays.
There’s a certain dynamic to a good watering can, which means they are not all equal and should be chosen carefully. Keep cans and roses clean so that they can function well. Roses are easily clogged up with debris from dirty water barrels.
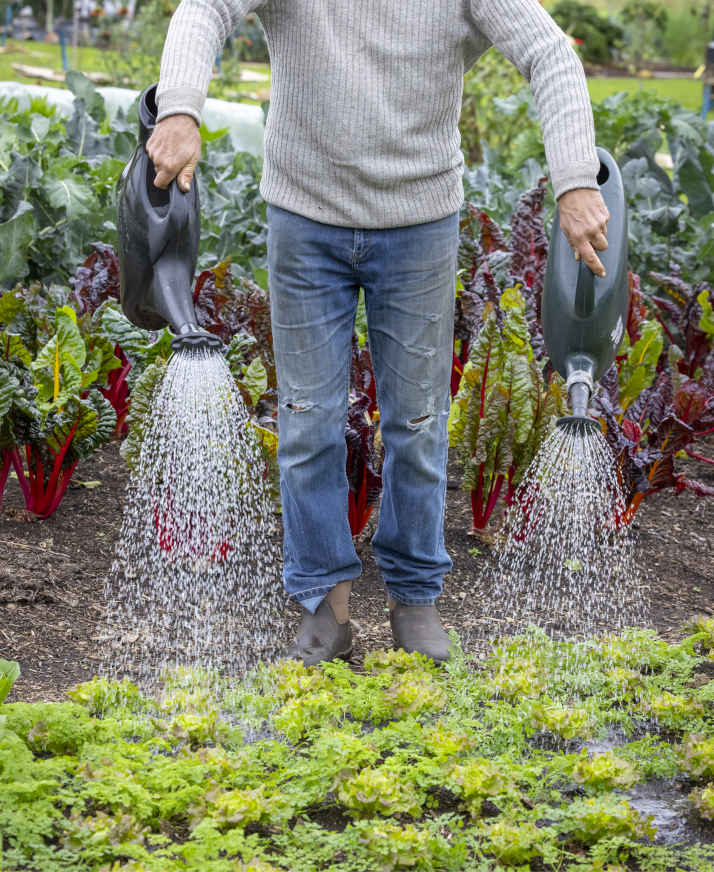
Watering using large (left) and fine (right) roses.
These tools are used to keep the edge of turf neat and prevent grasses and weeds from spreading into beds. The half-moon edger has a thin, straight blade that is useful to cut a clean new edge twice a year, a little back from its current position, to stop the lawn from creeping forward. A copper half-moon edger stays sharp, but a steel edger will benefit from sharpening. Long-handled shears are designed to tightly trim grass edges. Do this about once a month to maintain a tidy perimeter to the plot. Sharpen them every two or three months, depending on how much you use them.
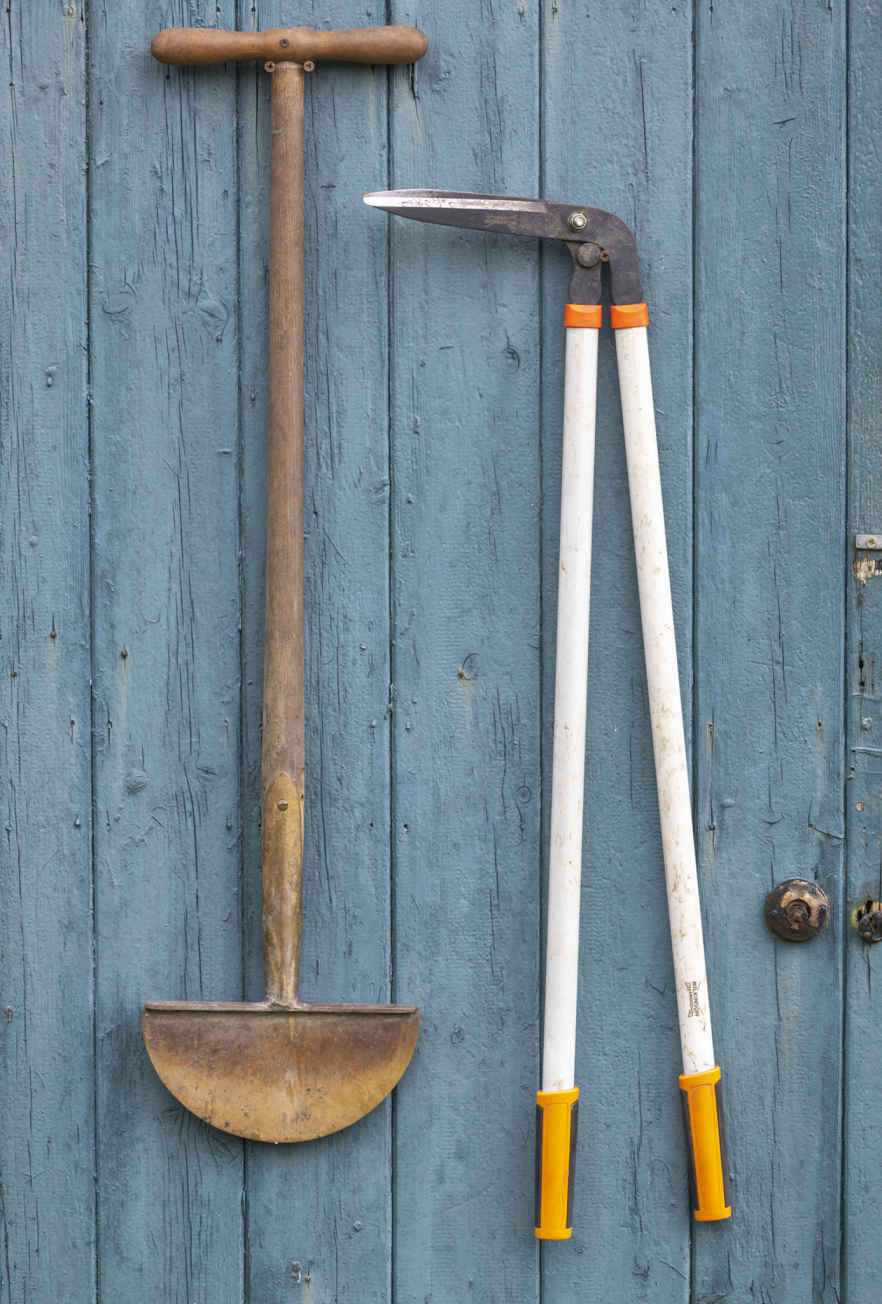
Long-handled edging shears and half-moon edger.
g CONTENTS
CHAPTER 3
The principles of growing vegetables
The principles of growing vegetables | Contents
Finding the best time to sow each vegetable makes success more likely. Temperature is a key factor, so check before you sow that conditions will be warm enough for germination and transplanting. It is also possible to time sowings to avoid potential pests and the natural flowering time of leaf vegetables. I have condensed the knowledge you need to do this into sowing times given in the vegetable and herb directory. They are a starting point for you to discover the timings for sowing that work best in your garden and climate.
Vegetables fall into two broad categories: hardy, cold-resistant plants and tender, warmth-loving ones. Hardy plants are not killed by frost, which means they can be sown early in the year. I recommend making your first sowings in mid-February rather than January so that they have less chance of meeting extreme cold when transplanted and can grow more strongly in the all-important, improved light levels. From mid-February to mid-March under cover, you can sow a good third of all the vegetables you’re going to grow.
The second phase of sowing is tender plants, such as cucumbers and pole beans, that would be killed by frost and also need warmth to grow successfully. Many of these are fast growing and do best when sown under cover between one and four weeks before your last frost date (see Deciding What To Grow). This allows them to grow steadily in sufficient warmth and avoids having plants stuck under cover when it’s too cold to transplant them. Wait until after the last frost date to make sowings outdoors. One exception to this is the warmth-loving vegetables that are slow growers, especially peppers, eggplants, and to some extent tomatoes, which are best sown earlier under cover to extend their growing season and produce plants that are already large when planted out.
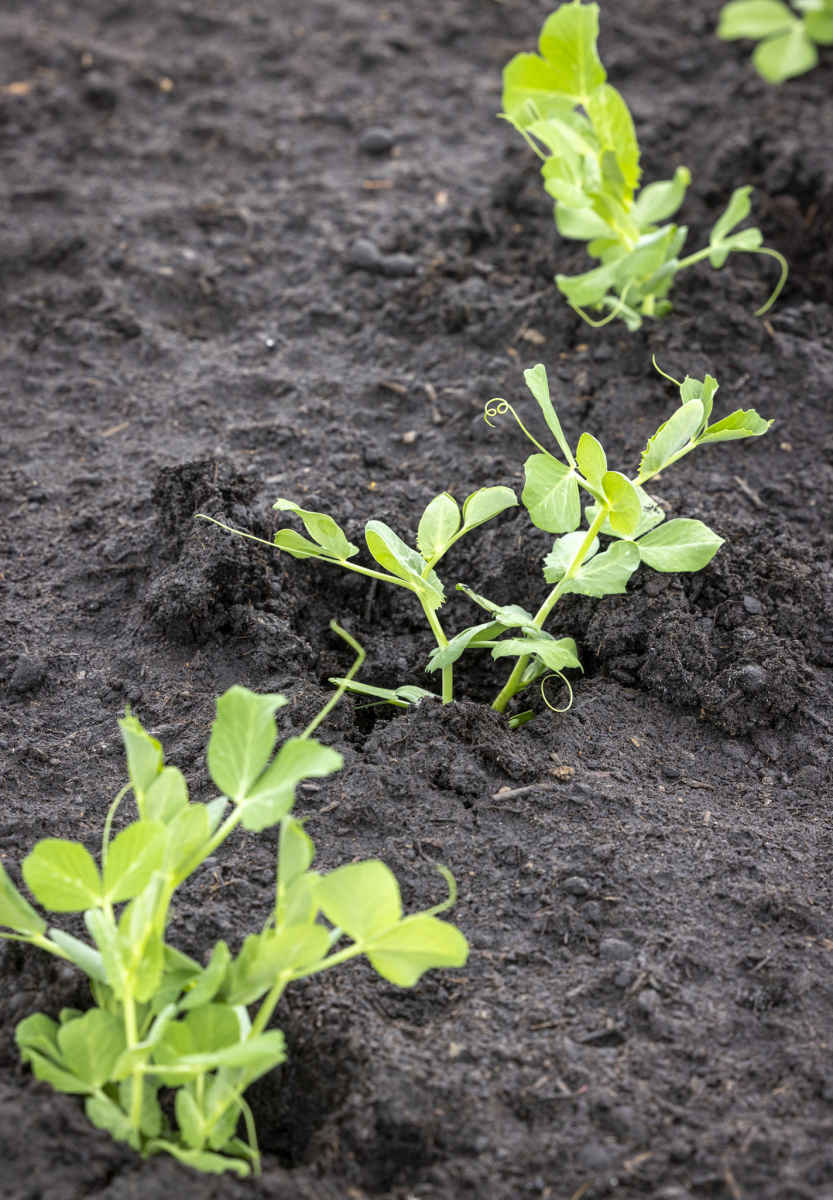
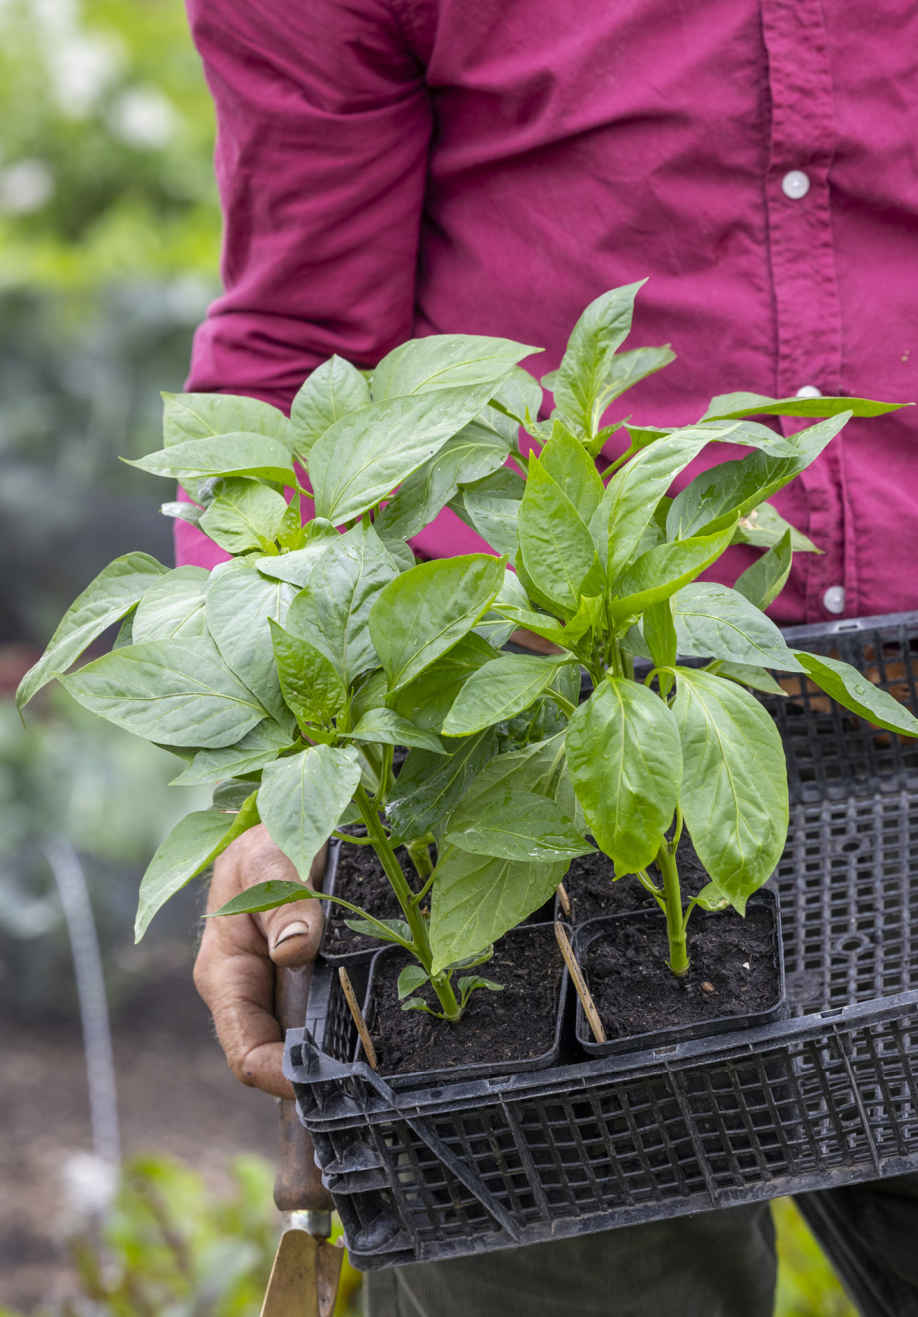
Hardy peas (top) grow in cold conditions, while tender sweet peppers (above) must have warmth.
Many leafy vegetables, salad crops, and annual herbs rise to flower in spring or late summer, bringing your harvest to an end even if it’s only recently begun. This is known as bolting, and you rarely find information about these important flowering times on seed packets. A common example is salad leaves of the brassica family, including pak choi, arugula, and mizuna, which rise to flower in late spring. Seed packets say to sow in March and April, but this means the plants soon flower without many leaves to pick. A far better alternative is to make sowings in late summer, from which these plants are all highly productive over a long period.
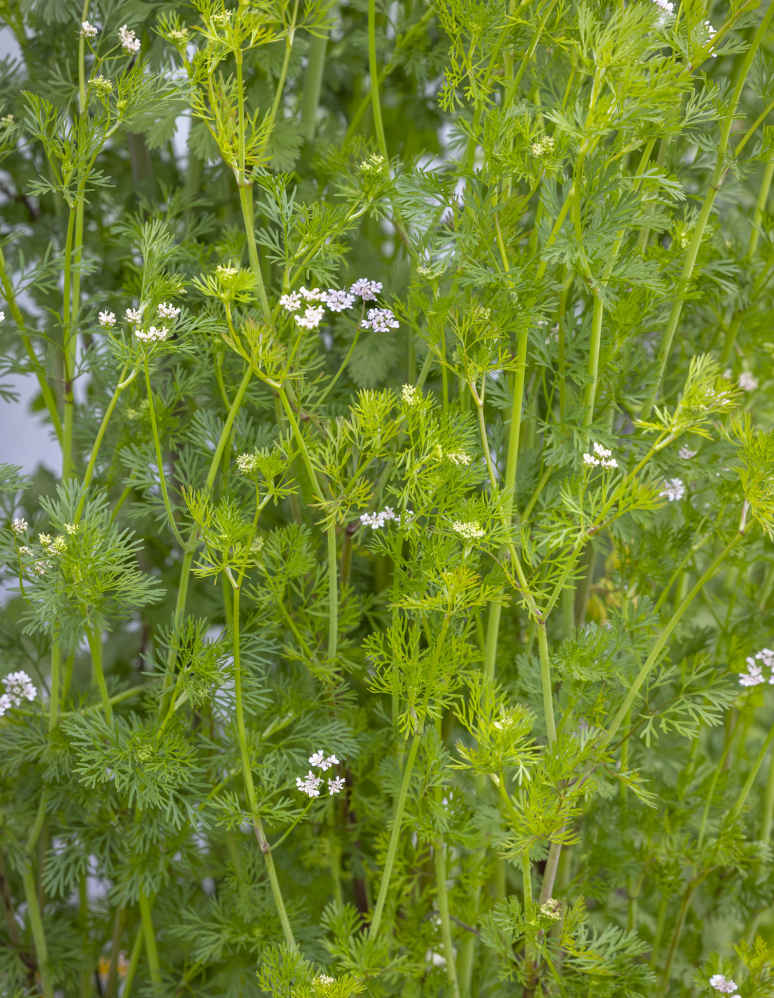
Cilantro rushes to flower in summer.
Pests tend to be prevalent at particular times of year, and carefully timed sowings can sometimes allow plants to grow with minimal damage. This is another reason to delay sowing brassica salad crops until late summer because the young leaves of spring and early summer sowings are often eaten by flea beetles, which pepper young leaves with holes. For peas and broad beans, it’s the other way around—early sowings are more likely to escape the insect pests that arrive in early summer and cause more damage to later sowings.
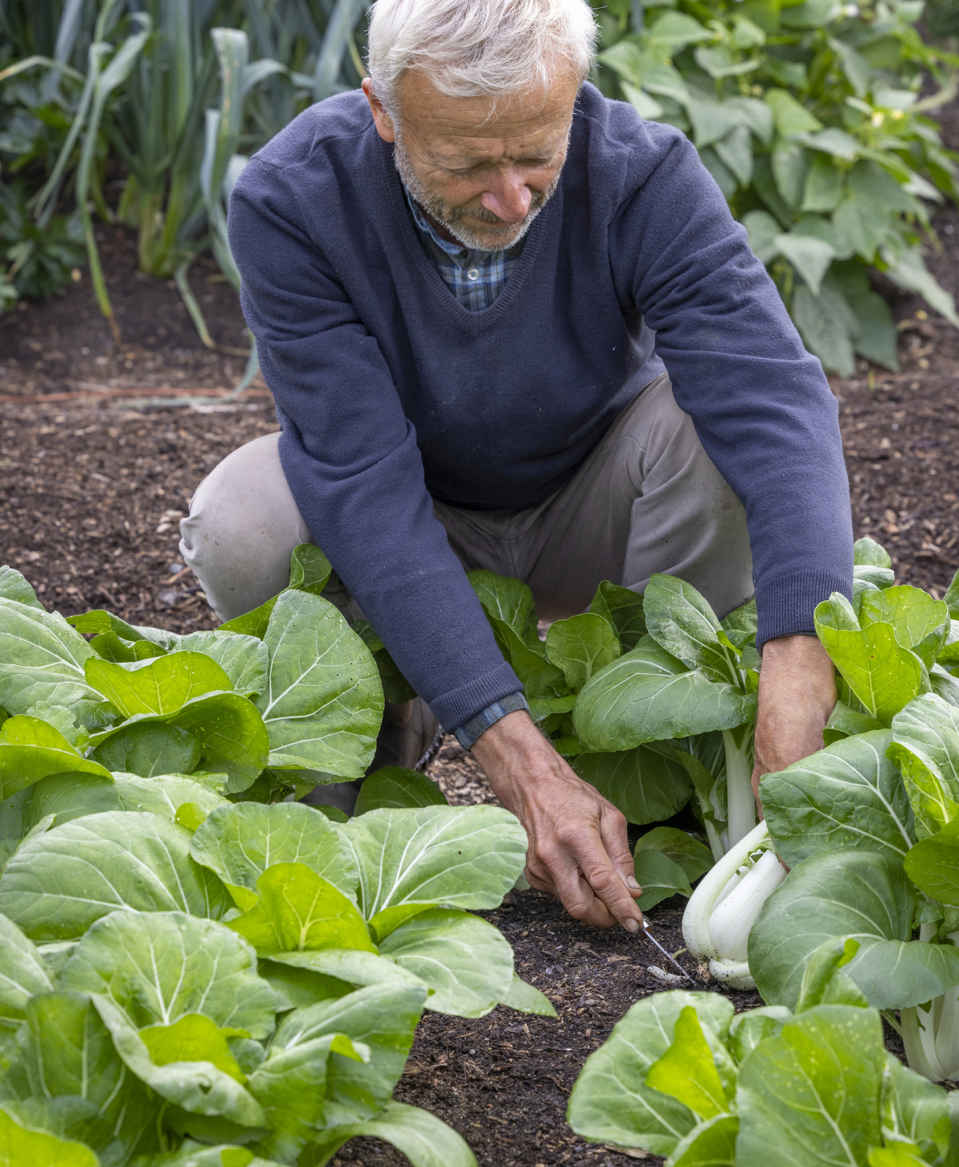
Pak choi sown in August avoids insect pests.
The idea of succession is that you keep your ground planted all the time, at least until winter. Soil doesn’t need a rest and is, in fact, healthier with plants rooting into it (see Delve Deeper Soil Carbon and Structure). With your beds filled in this way, no sunlight is wasted because there are always leaves converting solar energy into organic carbon, which plants make available to the soil food web. Succession plantings also reduce the amount of space you need to grow vegetables. It’s often assumed that each vegetable takes a whole year to reach maturity, but most grow from seed to harvest within half a year (half-season crops), which gives you time to grow a second, or even a third, follow-on or second planting for fall and winter harvests.
Rather than sowing direct into the soil once you’ve cleared a vegetable, you can add significant time to the growing season by sowing under cover three or four weeks earlier to overlap the growth periods of first and second plantings. Doing this will give you new transplants ready to pop in on the day that the soil is cleared, preventing valuable growing time being wasted.
No dig means that you don’t need to “prepare” soil or spread compost for these summer plantings, which makes the process quick and easy at a busy time in the garden. You’ve already done your soil feeding and preparation by spreading compost in late fall or early winter, making the ground ready for the rest of the year (see Maximizing growth year after year).
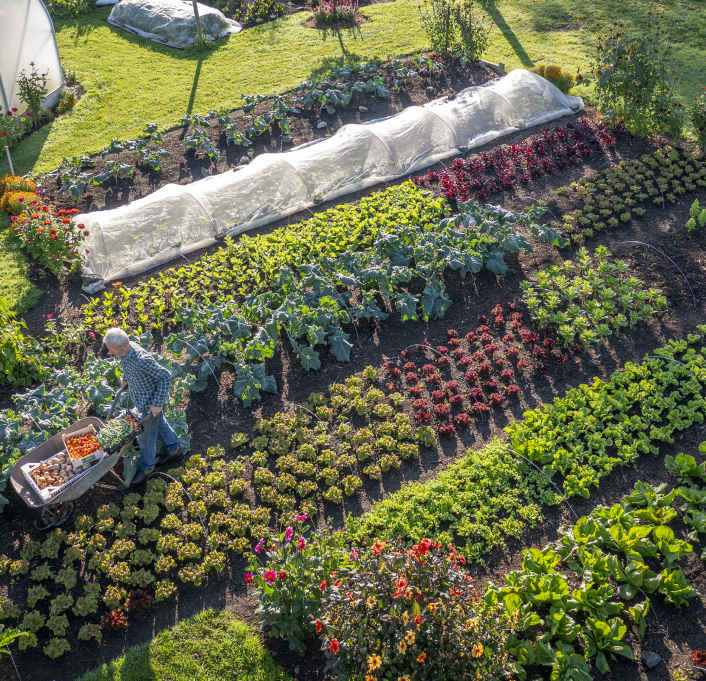
Succession planting keeps beds productive. By August 25, these beds are filled with second crops. Top to bottom: spring broccoli after broad beans; brassica salads under mesh follow onions; lettuce and beets replace spring onions; broccoli follows lettuce; lettuce is newly interplanted with spinach; and endive and radicchio follow cauliflower and cabbage.
Timing is key in order to have transplants of second follow-on vegetables ready at the best moment. To enable you to do this, it’s important to work out the approximate last harvest date for a first crop so that you can sow the follow-on crop three or four weeks beforehand. Check the lists of crops for the first and second halves of the year, alongside a list of what you want to grow, so you can create your own planting sequences. Consult each vegetable and herb profile for precise timings.
Many vegetables that grow through the first half of the year are harvested and cleared by the middle of July, and often earlier, so it’s good to be thinking about making most sowings for follow-on crops through May and June, with a few in July to follow later harvests. For the second half crops, choose vegetables that succeed when sown in summer—beets, carrots, and broccoli are great for both first and second plantings, but not all vegetables are. Plants grown outside their natural season will have more problems with pests and diseases and deliver a lower yield. I don’t recommend potatoes for summer planting because of the risk of late blight and the fact that they will only produce a small harvest if they do manage to grow.
Keep records of the dates that you sow and clear each variety of each vegetable to build up knowledge of the sowing dates that work best in your climate and when crops are usually cleared after the last harvest. This is the route to rewarding succession plantings for a whole year of growth and harvests.
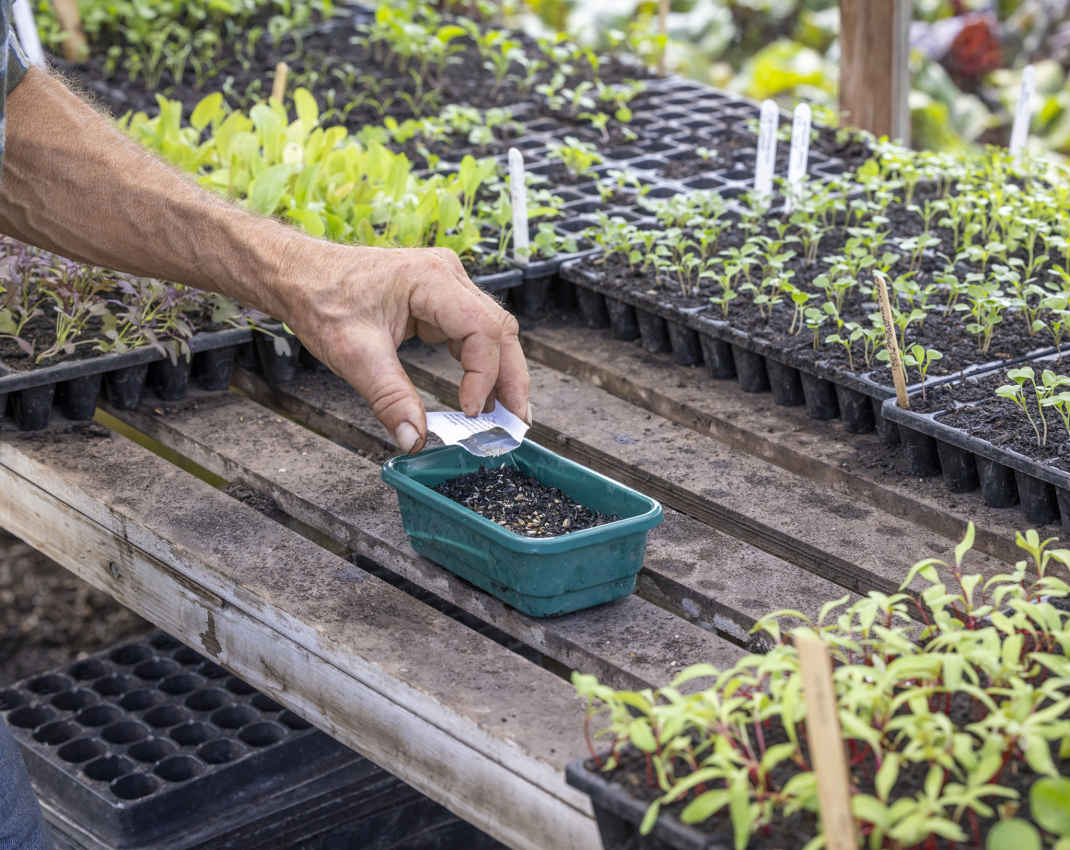
Careful planning is needed to have seedlings ready when space becomes available.
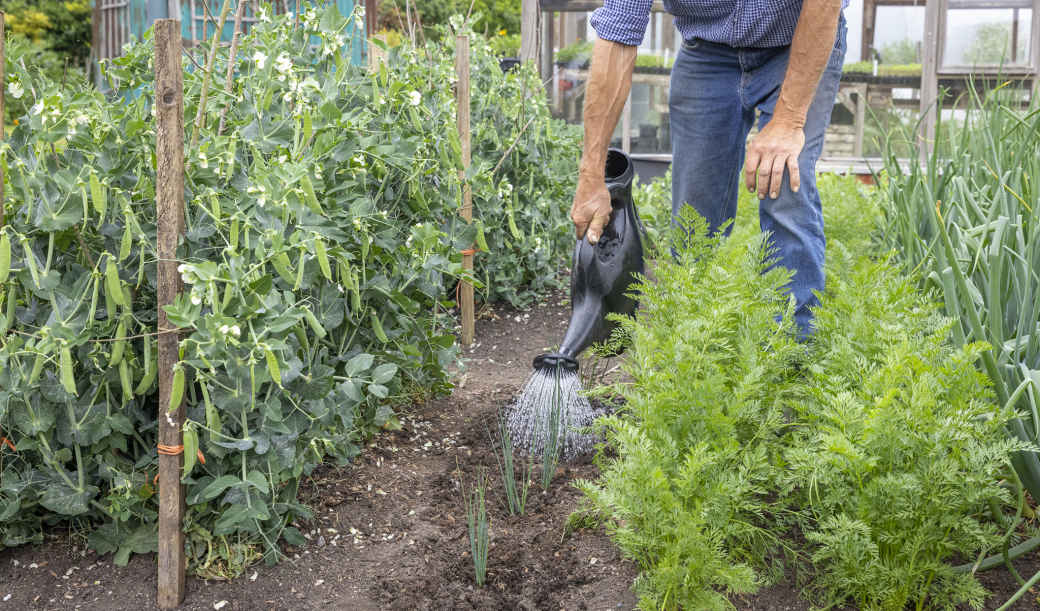
Watering leeks planted in June, after cabbages were cleared.
FIRST HALF CROPS
Vegetables whose final harvest is before the end of the summer and often earlier.
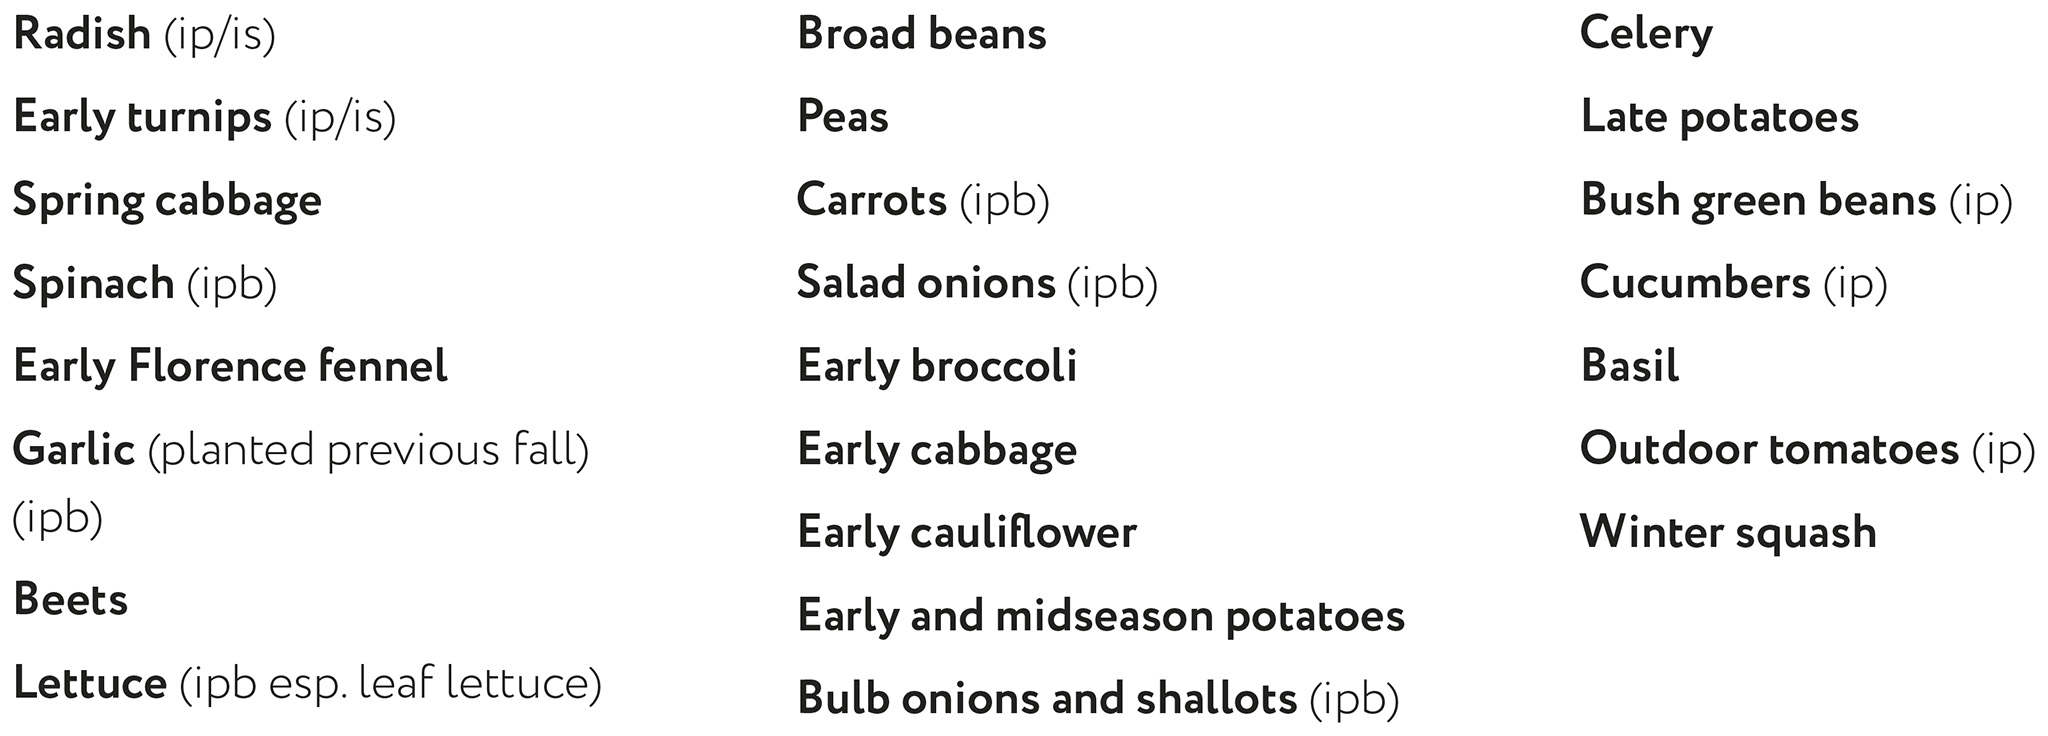
SECOND HALF CROPS
Vegetables that have time to crop before or during winter from a summer sowing.
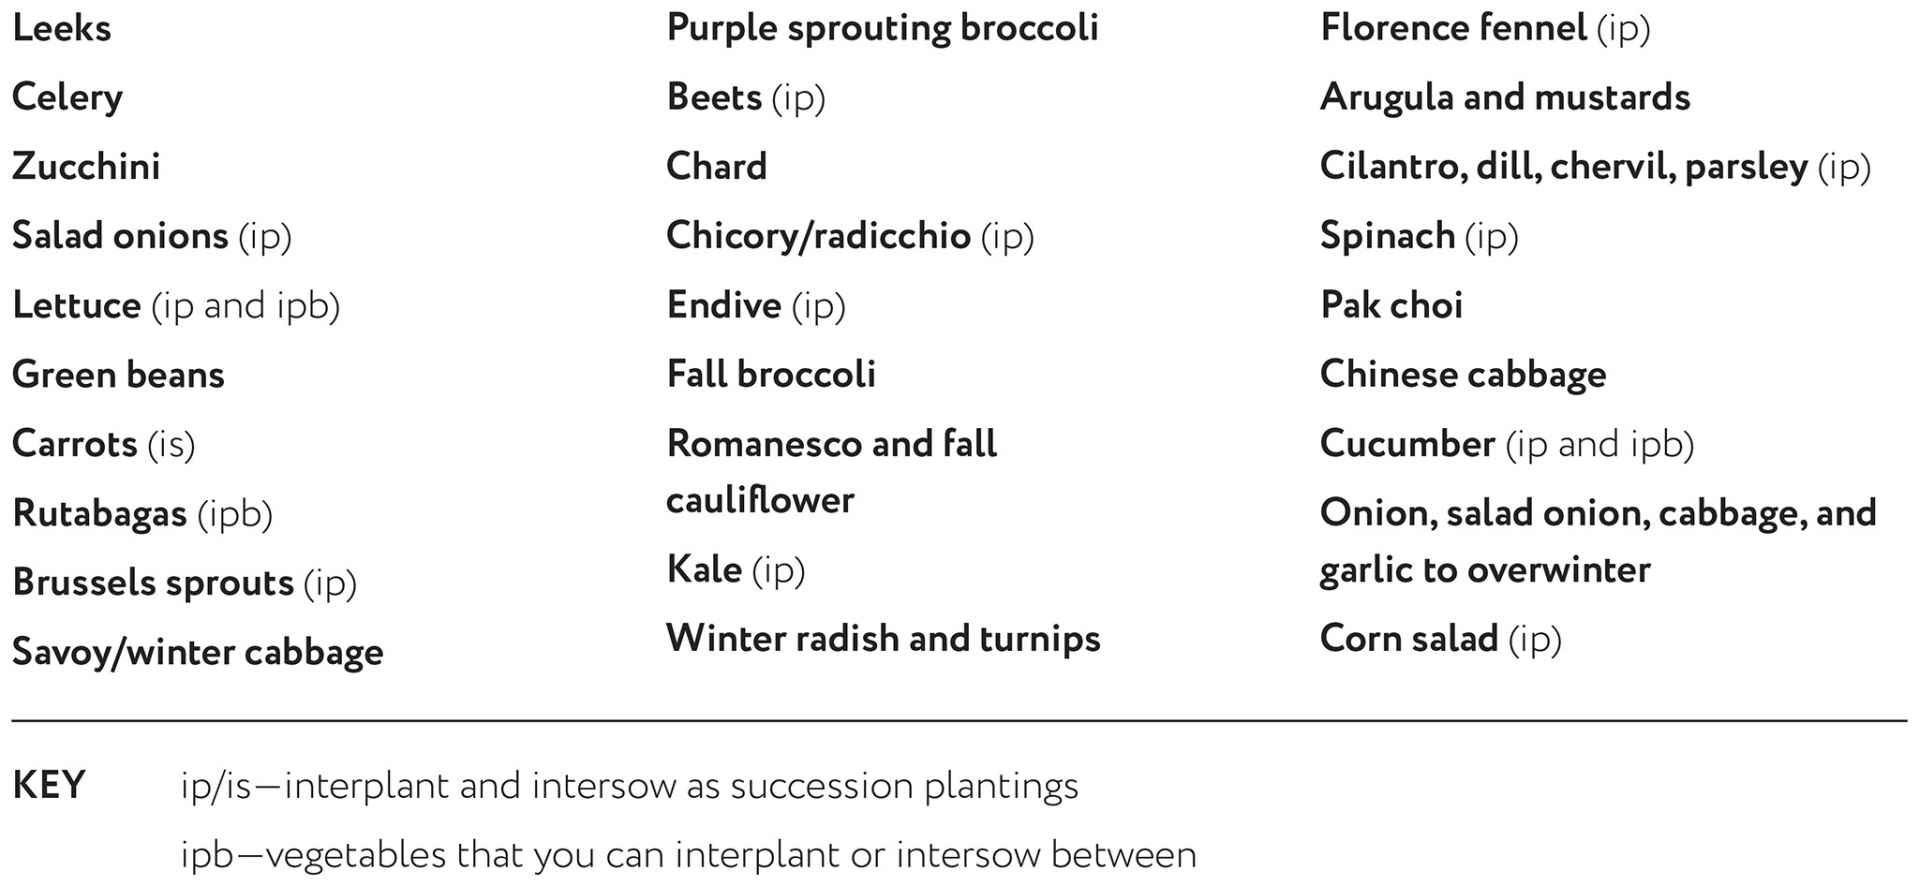
The next progression from succession is to notice vegetables still in the ground that are approaching their final harvest and to transplant or sow among them. This is known as interplanting, or intersowing if seeds are sown direct, and it gains even more growing time for your follow-on plantings because they are in the ground three or four weeks before the first vegetable is cleared. It’s satisfying to feel that beds can be more than 100 percent full!
This is especially useful in summer and early fall, when plants you’ve raised need to go into the ground promptly in order to have enough growing time before winter. Beds are often full, but interplanting allows you to find the small amount of space needed by transplants or newly sown seeds. Two combinations I particularly like and plant every year are Brussels sprouts among carrots and spinach between lettuce. Interplanting can maximize space in spring and early summer, too, when you can interplant fast-growing radishes and turnips between early potatoes and pick them before the potatoes need that space. Or you could finish harvesting a few lettuce or clumps of beets a couple of weeks early to make space for cucumber or tomato plants.
In my experience, small transplants thrive in the companionship of other plants—and grow better than they would if there were large open spaces around them. Gardeners worry about competition, but as long as you don’t try to plant among crops that cover the ground completely and ensure that the existing vegetable will finish within a month, this will afford the new plantings enough light and space just to become established. Growth is subsequently rapid, as soon as the plants that have finished cropping are removed. There is a notion that some plants don’t grow well alongside other plants, but I have never found this to happen. You are free to try many combinations and will notice how successful interplanting is in healthy, no dig soil. I believe this is because young plants have access to an established fungal network (see Delve Deeper Universe Under Our Feet) and profit from being part of an existing community of plants.
Interplanting also creates beautiful combinations of foliage colors and textures, and these possibilities are fun to explore. A lovely example is the red, frilled foliage of summer-sown lettuce ‘Lollo Rossa’ interplanted with bright green spinach before the lettuce plants are twisted out in September.
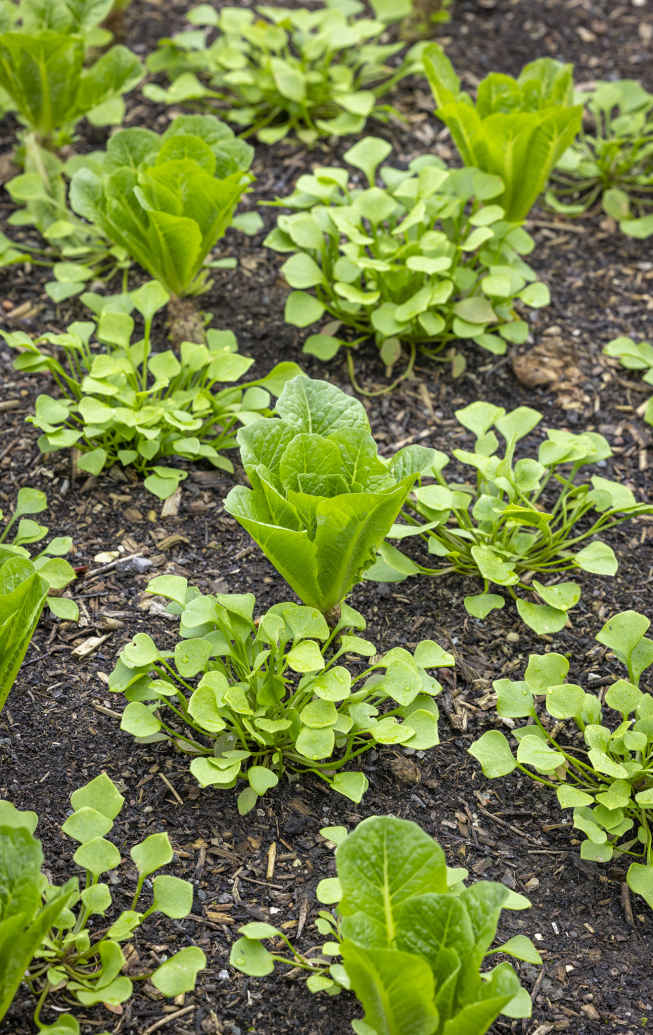
Winter purslane thriving alongside lettuce (above). Other interplanting combinations include (clockwise from top left): Florence fennel among cucumber, chervil between lettuce, spinach between lettuce, Brussels sprouts with carrots.
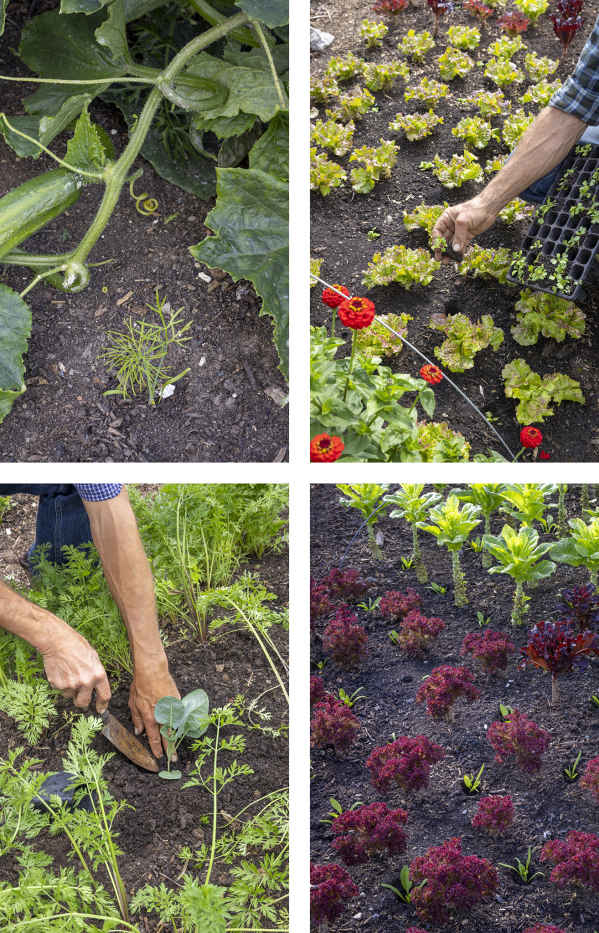
A four-year rotation, which involves grouping related vegetable plants together and growing each family in a different area of the garden in successive years, has long been presented as an essential practice to achieve strong growth and prevent a build-up of pests and diseases in the soil. However, this system stems from agricultural rotations, which are impractical to implement on a garden scale and don’t take into account the range of vegetables often grown in gardens. They also discourage gardeners from planting follow-on crops.
I don’t practice formal crop rotation because I find it restrictive and unnecessary to prevent disease on plants growing in healthy no dig soil. I am conducting trials where broad beans and potatoes have been grown in the same piece of ground for the last seven years. So far, good, disease-free harvests have been recorded each year. Having said that, I don’t advocate growing the same vegetable in the same place every year; it’s healthy to move plants around, but without formal rules, so you can fit the vegetables you want to eat into your space.
Flexibility is valuable because although we all start with an idea or plan of what’s going where, things don’t always work out and growth varies with the weather. You may be popping in plants somewhere entirely different from the original plan, and it is developing this ability to respond that allows you to get the most from a growing space. For example, I would usually follow broccoli with vegetables from a different family, such as beets, but I’m not rigid about it. Sometimes, and very successfully, I have followed broccoli with another crop of broccoli because circumstances meant that was the only place available for them to be transplanted.
Succession planting and interplanting are good for mixing things up within a single growing season, creating mini-rotations that have the added benefit of providing a varied diet to soil microbes. Rather than occupying soil with potatoes for a whole growing season, grow midseason potatoes as a half-season crop to be harvested in summer and follow with a planting of leeks for winter. This not only rotates crops around the garden quickly, but also yields two harvests where otherwise there might only have been one.
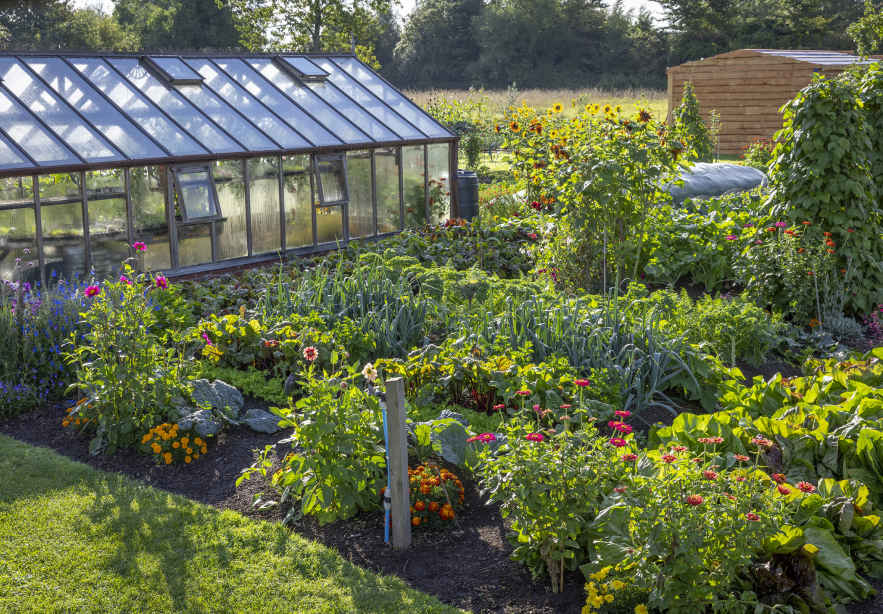
An attractive patchwork of crops without formal rotation.
Good propagation skills are important to achieve reliable germination and raise strong young plants that will thrive when transplanted. Looking after seedlings carefully when they are at their most fragile has incredible benefits. The keys to success are selecting the right containers, the right potting mix, and a suitable growing space so that your seedlings start strongly.
The four types of containers that I use for propagation are seed trays, cell trays, and small pots in two sizes (2¾ in/7 cm and 3½ in/9 cm diameter). My recommendation is to sow into small containers to avoid an excess of potting mix around seeds. This helps prevent waterlogging and saves valuable space in your propagation area. Small seed trays allow you to germinate a large number of seeds in surprisingly little space, and they fit easily onto a windowsill. Cell trays with 1¼ in (3 cm) diameter cells require little potting mix and enable you to sow many seeds in a small area. Cells that taper toward the bottom work well for almost all vegetables, with the exception of beans with large seeds, which grow best in trays with 2 in (5 cm) cells. Drainage is vital, and any container must have large enough holes in the base to allow excess water to pass through.
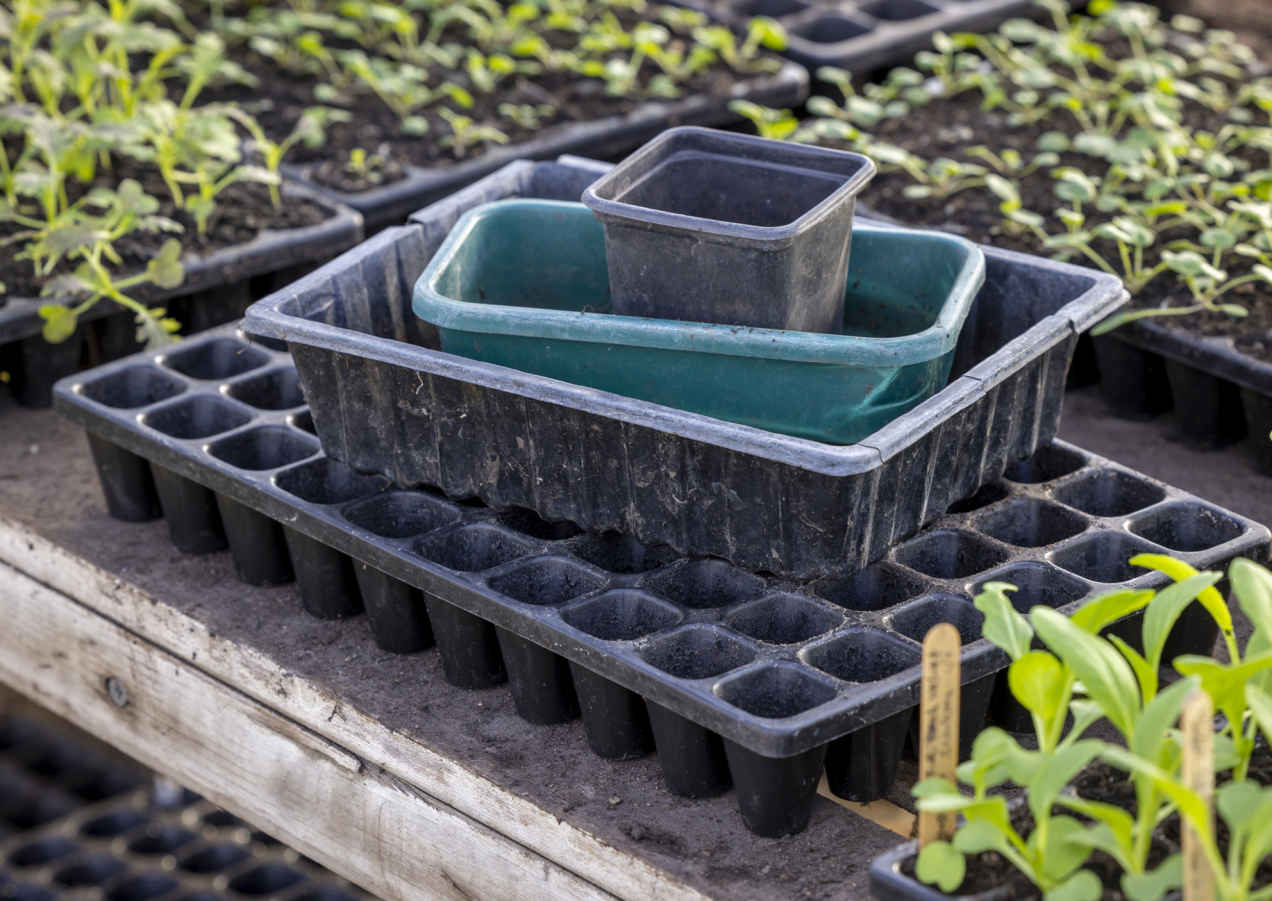
Select the right container for each sowing to save space and encourage good germination.
PLASTIC USE
Plastic remains the most practical material for pots and trays, and sadly it’s possible to generate a lot of plastic waste when flimsy products disintegrate after one or two uses. To avoid this, invest in durable polypropylene containers, which can be reused for many years and even over a lifetime if treated with care. I became so fed up with throwing poor-quality plastic away that I had a cell tray manufactured to my own design (see Suppliers and Resources). Also watch out for pots being given away for reuse outside garden centers, or reuse plastic food pots and trays for sowing after making drainage holes in the base. Making your own soil blocks with a special machine is one way to avoid plastic entirely, but this time-consuming process is unlikely to be practical for all gardeners.
Good-quality compost is key for propagation because seeds need free-draining conditions and sufficient nutrients to allow them to grow into surprisingly large young plants in proportion to their root balls. Choose carefully because not all mix on sale is suitable for seed-sowing and quality varies between brands, over time, and even between batches with the same label. Look for the words “potting,” “potting and container,” “multipurpose,” or “all-purpose" mix, all of which suggest that the product will contain sufficient nutrients to grow seedlings in small cells and pots.
Once you purchase potting mix and open the bag, there are clues to its quality. For propagation, the texture needs to be fine enough to fill cells evenly. It also shouldn’t contain too much undecomposed wood, which will deprive plants of nitrogen—but this may be in small pieces and difficult to see. Dark or black material is not necessarily a sign of good quality—a paler brown color can also be good. Homemade compost works well but needs to be sufficiently dry to pass through a ⅛ in (4 mm) sifter to remove large pieces. The word “organic” can be used to describe any compost and does not indicate that it is free from synthetic chemical residues or fertilizers. Materials may be contaminated with pyralid weedkiller, which will harm susceptible seedlings.
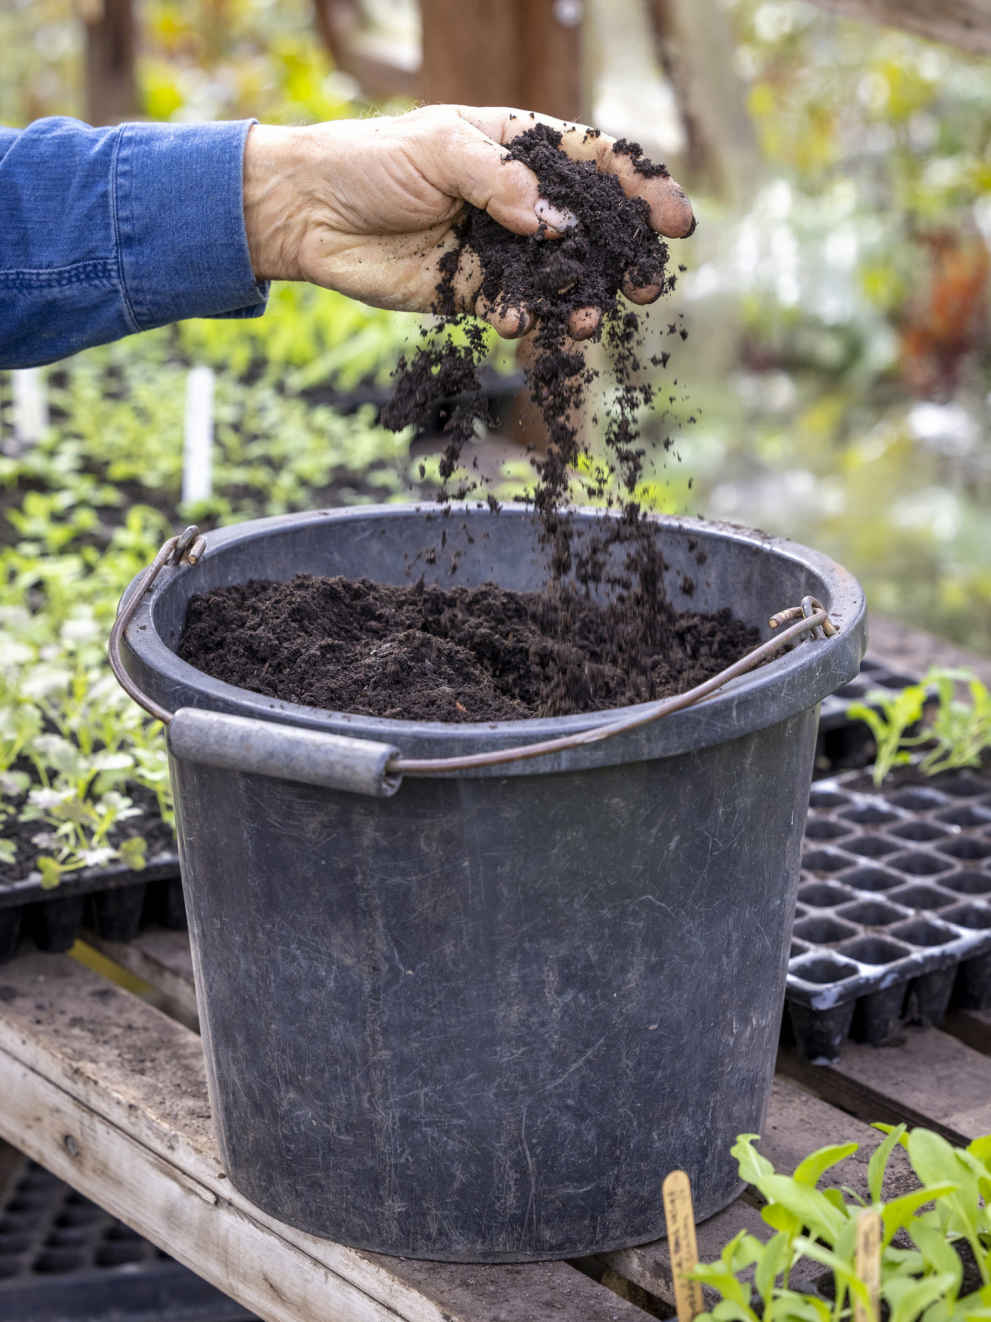
Check that compost for sowing has a fine texture and contains plenty of nutrients.
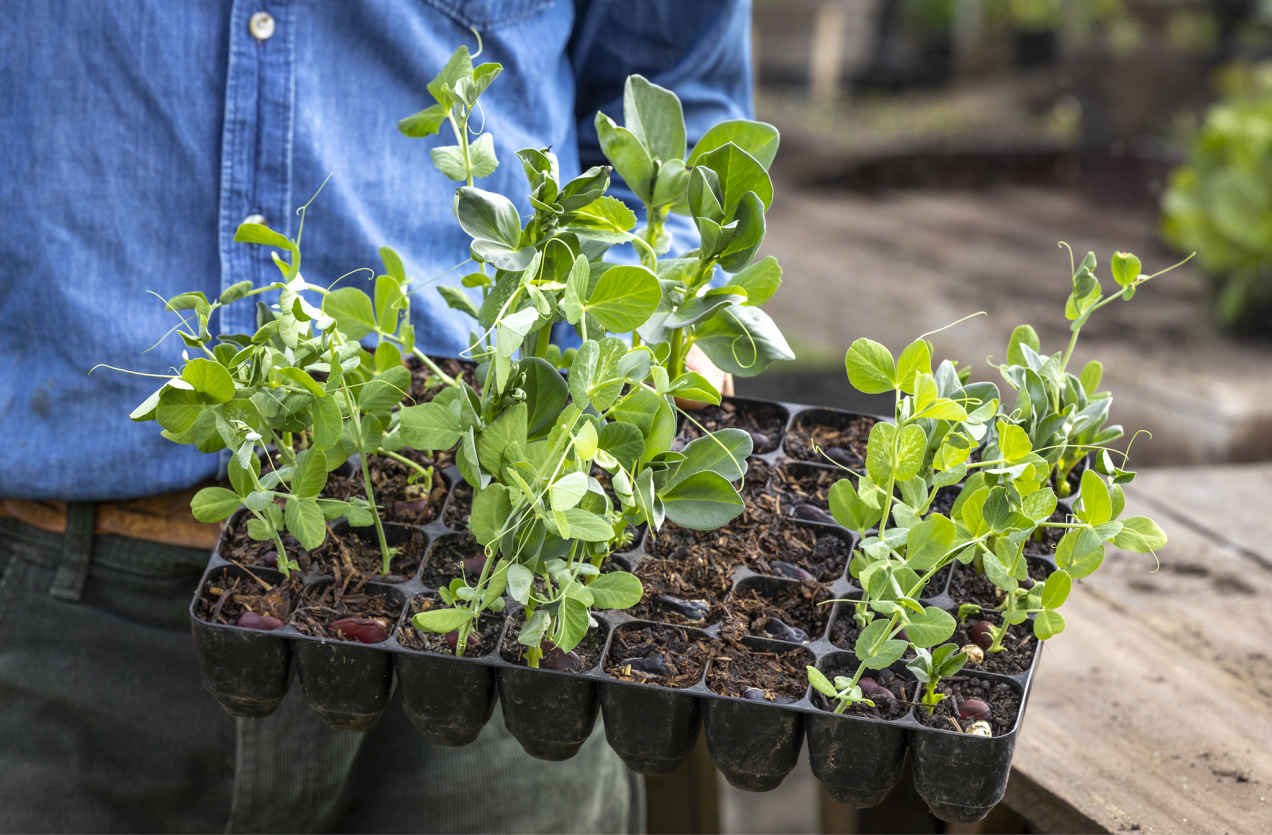
Peas and broad beans sown into four different mixes show how quality can affect growth.
To maximize the likelihood of germination, you need to know how best to sow each type of seed. Advice for individual crops can be found in the vegetable and herb directory, which will enable you to choose whether to sow into cells or a seed tray, singly or in groups, and at what depth to place the seeds. Then you need to provide the correct amount of moisture, warmth, and occasionally light to stimulate germination.
Trays of small cells are ideal for making quick sowings of seeds that are large enough to handle, such as onions, leeks, beets, chard, peas, and beans, because they can be dropped in accurately. Seeds can either be sown individually or multisown to make clumps of particular number. You can transplant many vegetables as small, cell-raised seedlings directly to their final growing position or pot them on to grow larger before planting.
You will need
The principles of growing vegetables | HOW TO SOW
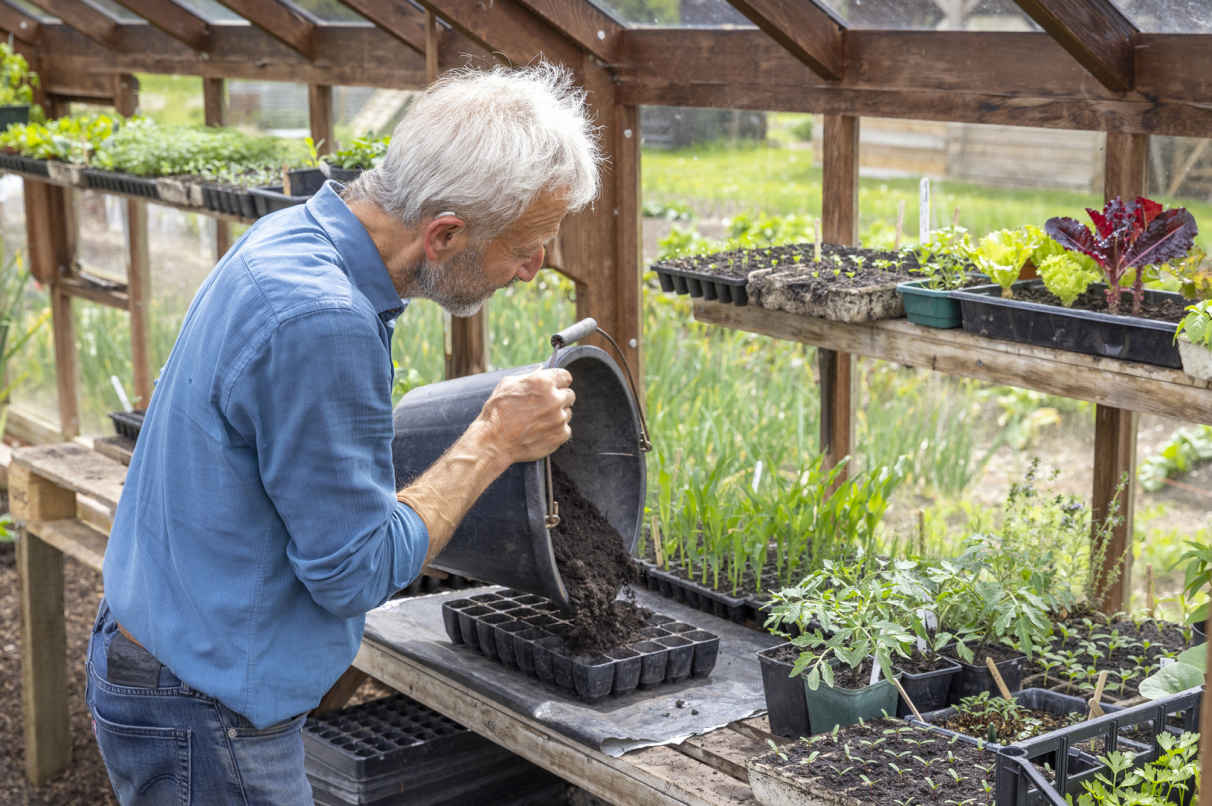
1 Fill a cell tray generously with potting mix, pushing the mix down quite firmly so that there is a decent amount in each cell to provide nutrients for growth. This also ensures that the root ball holds together when you pop the young plant out of the cell.
The principles of growing vegetables | HOW TO SOW
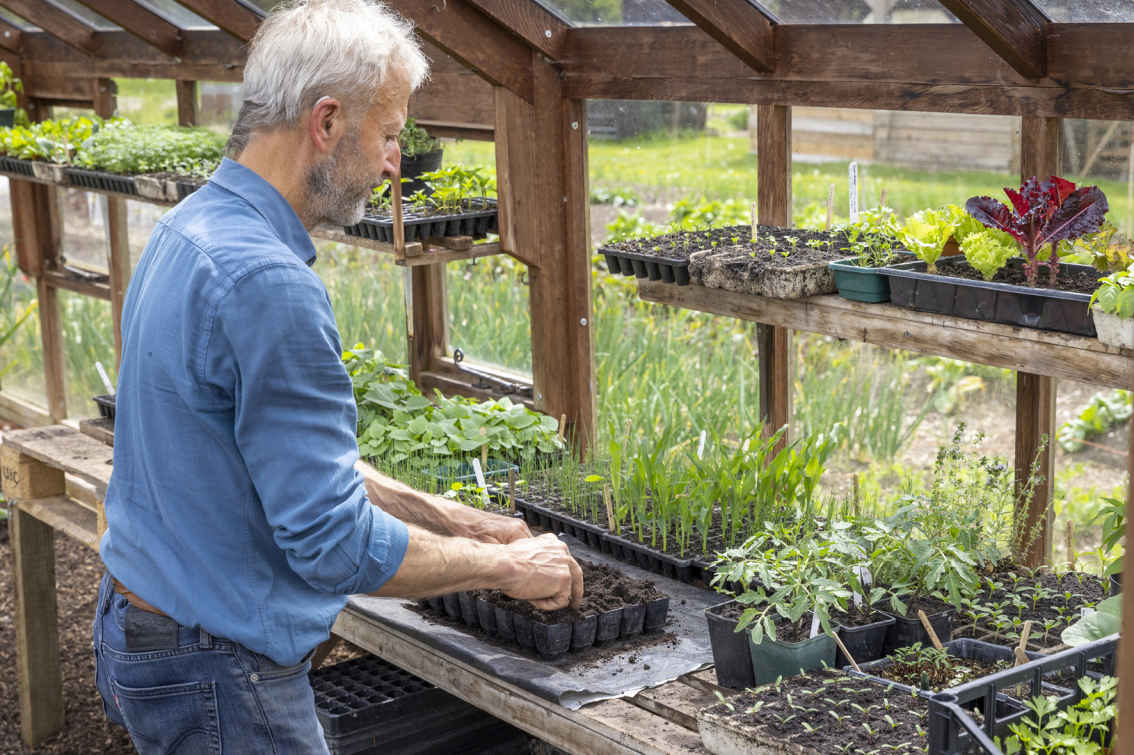
2 Push down gently with your finger to make a little indent in the center of each cell.
The principles of growing vegetables | HOW TO SOW
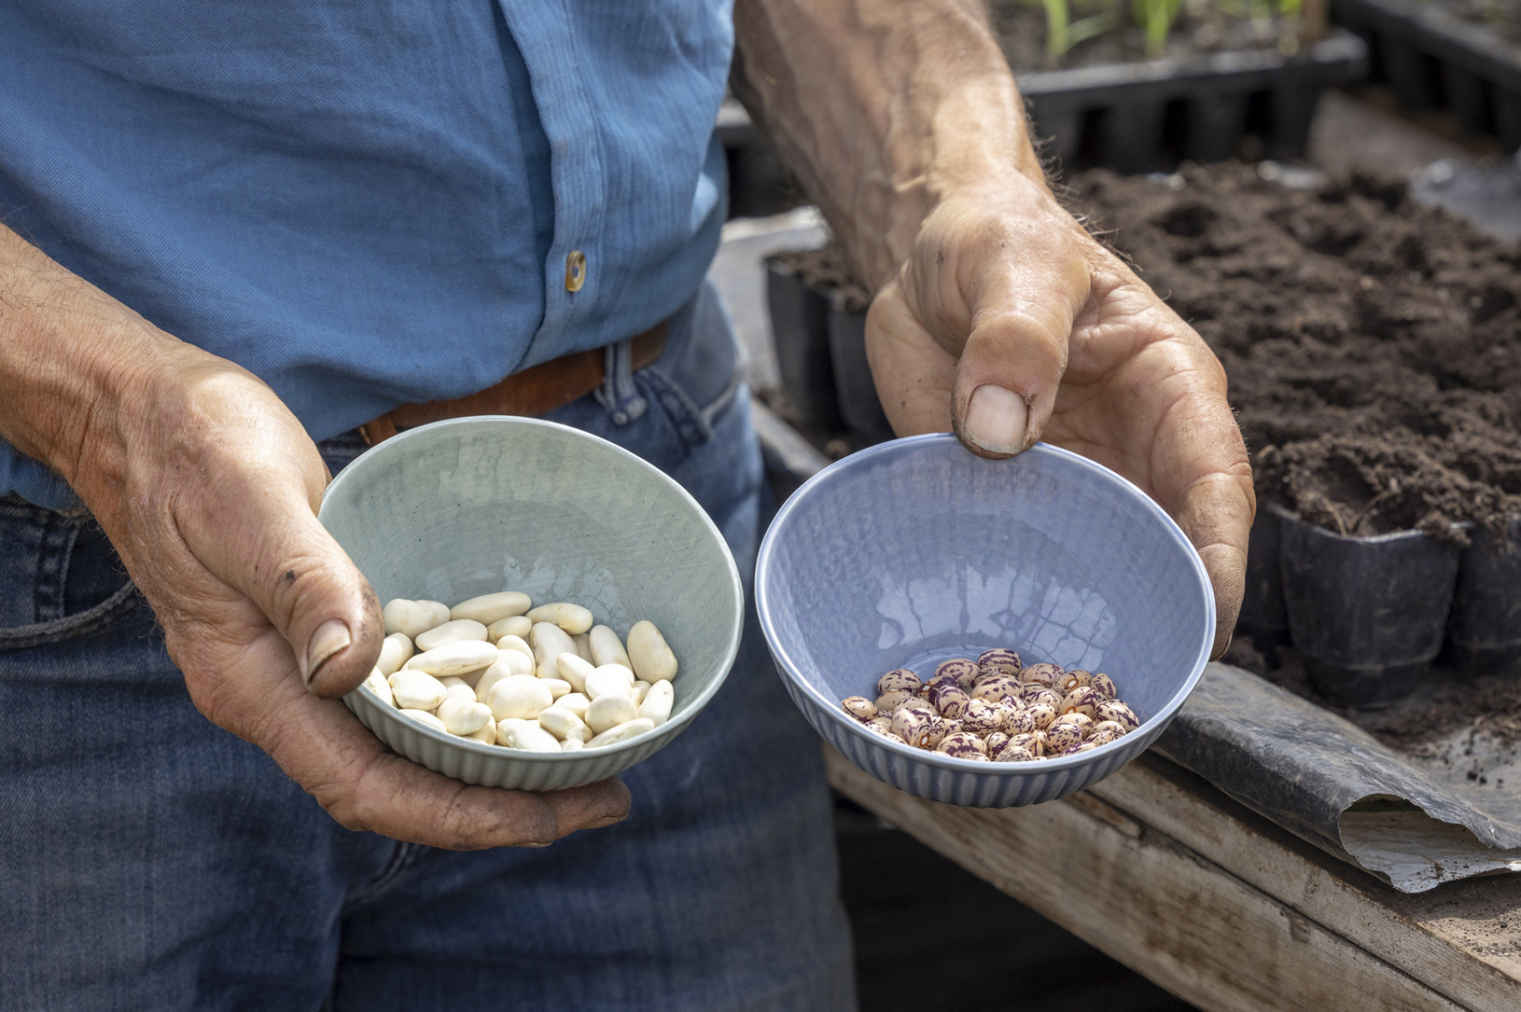
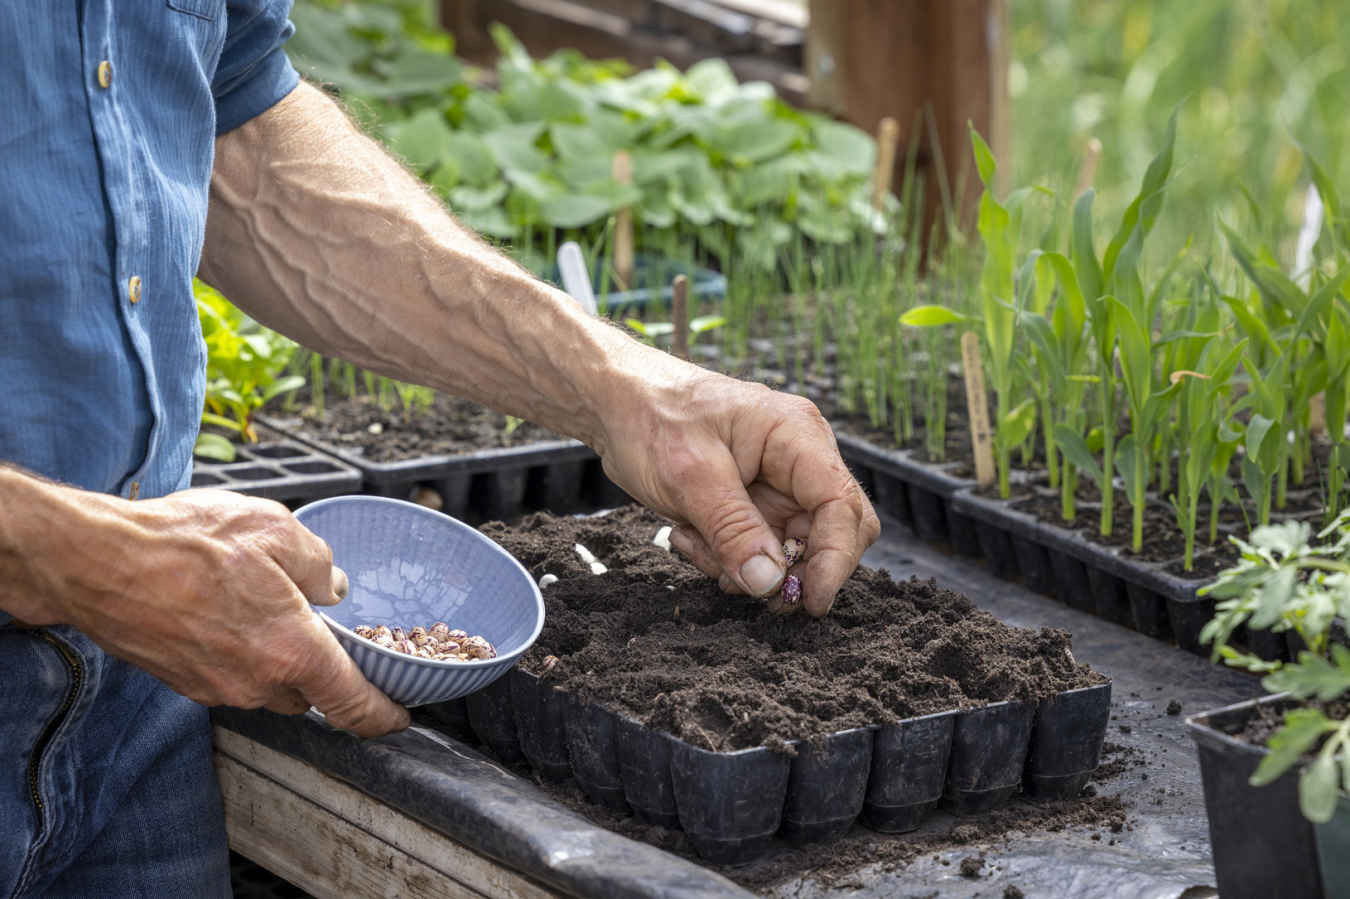
3 Drop the seed or seeds into each indent. It’s easier to lay larger seeds like zucchini on their side than to push them in vertically, and they will germinate just as well.
The principles of growing vegetables | HOW TO SOW
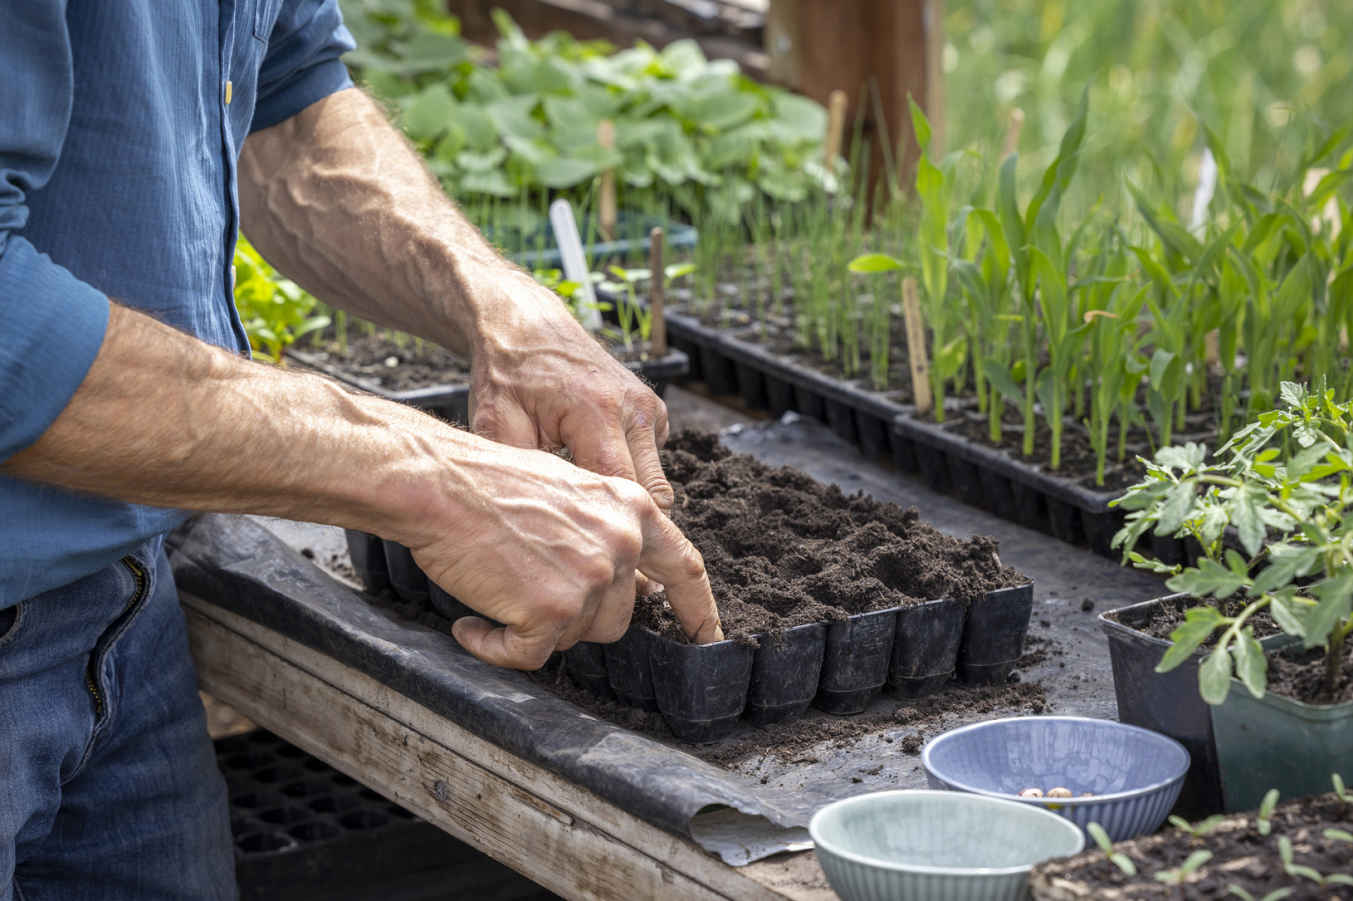
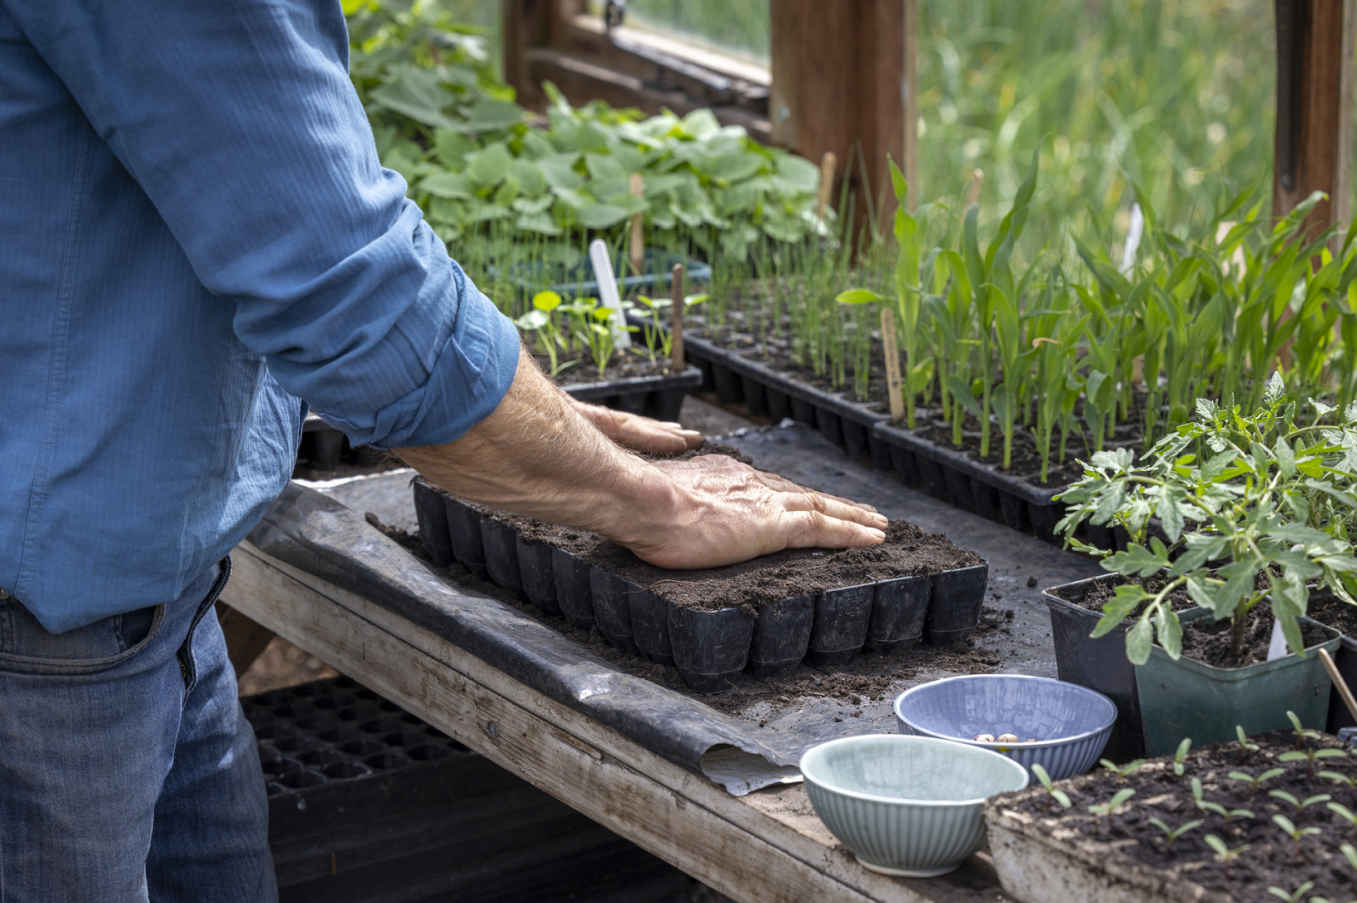
4 Drop or push potting mix into the cells to refill the indent. A rule of thumb is to add a depth of cover roughly equivalent to the thickness of the seed. Lift up the tray to feel its weight before watering.
The principles of growing vegetables | HOW TO SOW
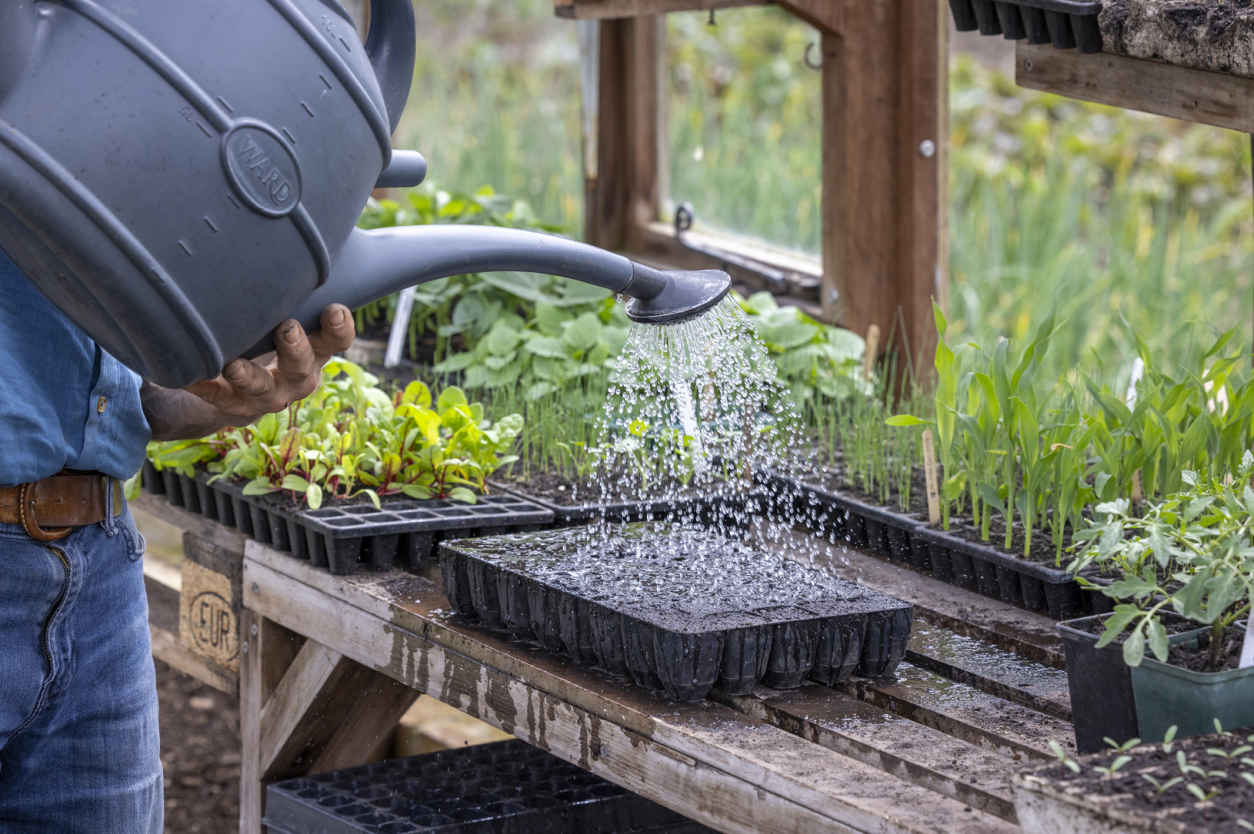
5 Use a can fitted with a fine rose to water generously at this stage to be certain that the potting mix is fully moist in every cell, giving all seeds the opportunity to germinate.
The principles of growing vegetables | HOW TO SOW
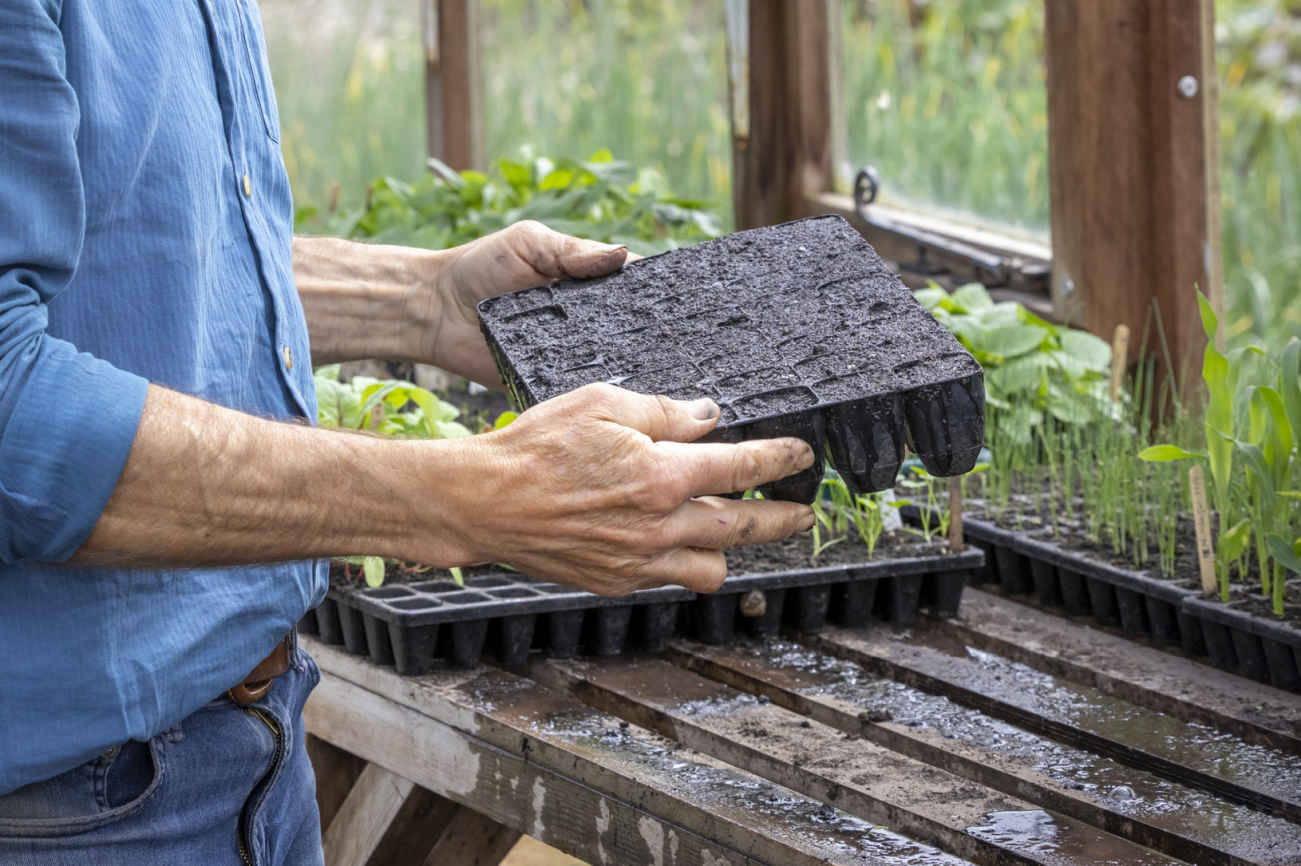
6 Lift up the tray to see if water is coming out of the drainage holes and to feel the weight of the tray—wet potting mix feels remarkably heavy. Dry potting mix will need to be watered a few times, allowing time for the water to soak in between each watering.
Label trays immediately to keep track of each sowing. You can reuse plastic labels many times. Check that alternatives, such as wooden labels, are strong; otherwise, they rot in the moist potting mix and you lose useful information before transplanting. I recommend writing in permanent marker because pencil can wash off labels when you water. There is limited space on labels, and the two most important things that I record are the variety and sowing date, which immediately tells me what I need to know. The variety is important to label because it’s often difficult to distinguish between young plants of varieties that need to be treated differently, such as tomatoes destined for growing under cover or outside.
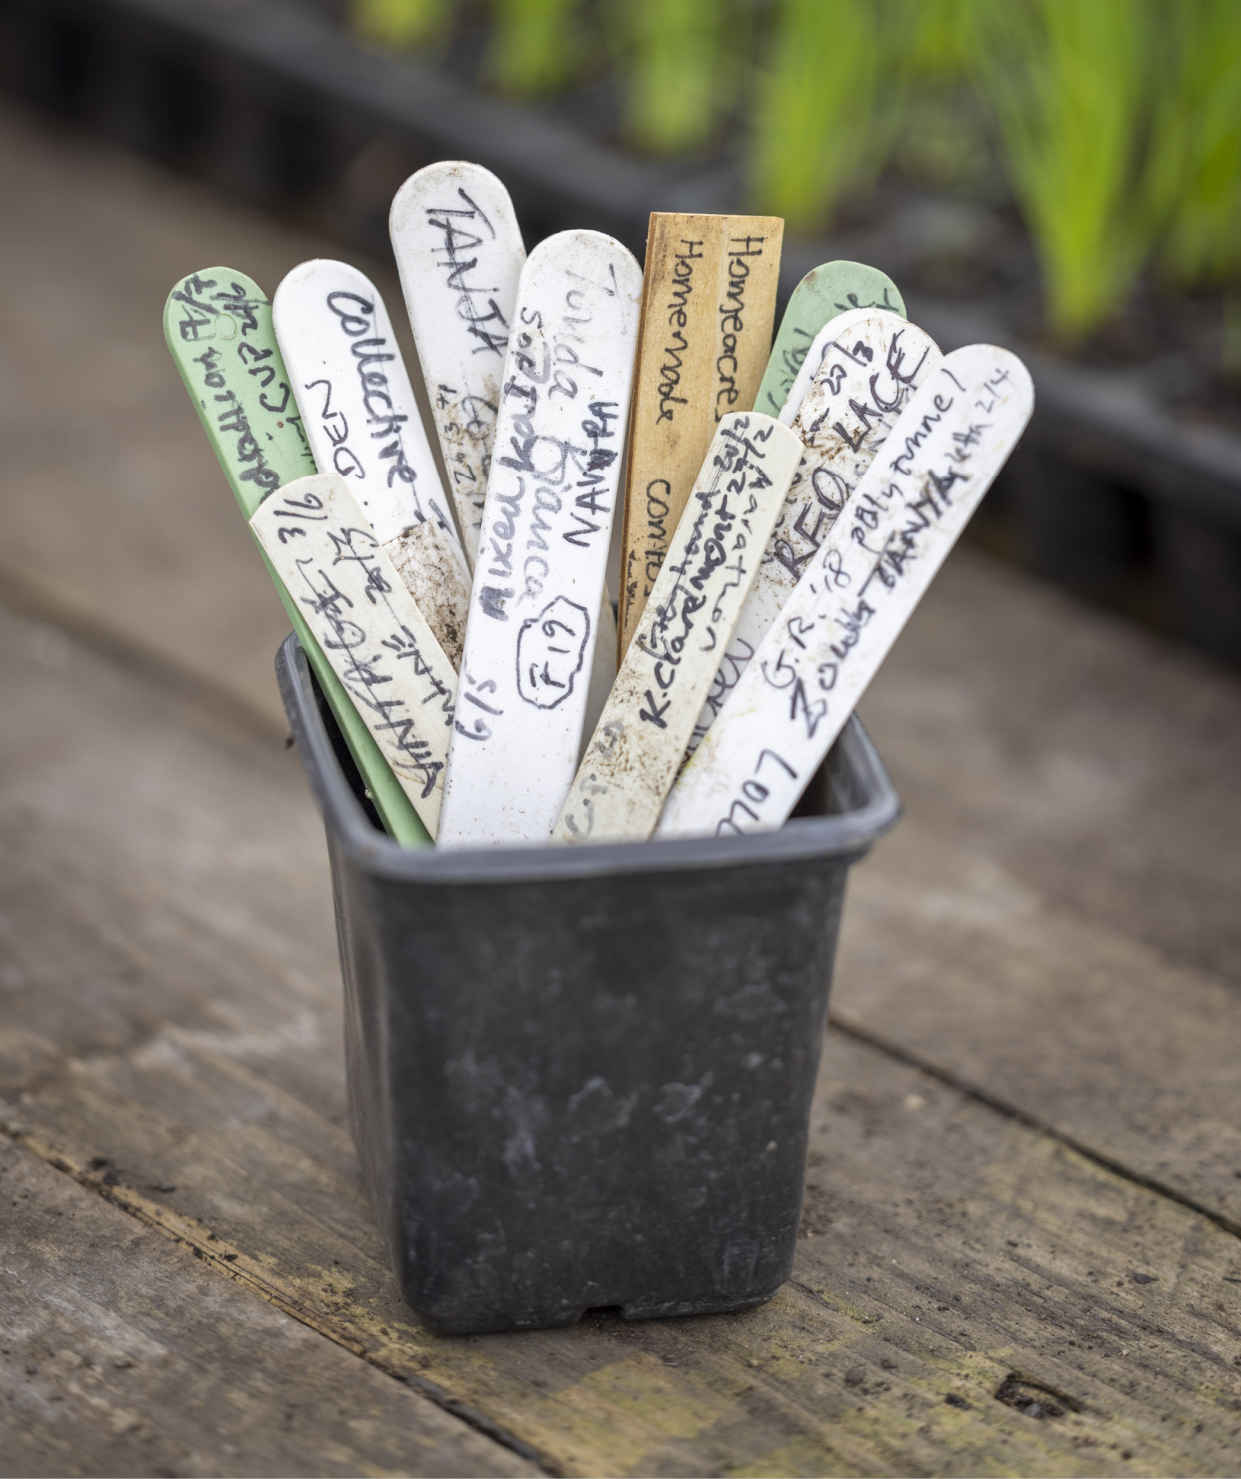
Keep labels to reuse repeatedly.
Tiny seeds, such as celery, celeriac, and even lettuce, are difficult to handle with any precision and are best sown into a seed tray. Seedlings can then be pricked out individually into cells to give them more space to grow on.
Fill the seed tray with potting mix and push down only gently to give a loose fill. This aids the drainage of water from the trays, which often drain slowly, and also makes it easier to lift out seedlings. Water with a fine rose before sowing because small seeds may float away if you water after sowing. Failure is often the result of sowing too deep, so sow onto the surface and cover as lightly as you dare. Celery and celeriac need light to germinate and should not be covered at all; instead, cover the tray with a sheet of glass or slide it inside a clear plastic bag to keep potting mix moist during germination.
Sowing several seeds together to develop into a cluster of plants is a wonderful way to sow quickly and raise large numbers of seedlings in a small space using less potting mix. Another remarkable benefit is that seedlings actually grow better when they’re close to one another, both in cells and after transplanting; there is no diminution of growth through what people might think of as competition. For many vegetables, multisowing gives a higher overall yield than single plants and means that you can grow more food in a small space. The important thing is to work out which vegetables to multisow and with how many seeds because one result is a larger harvest of medium-sized vegetables, so this would not be the right option if, for example, you want large rutabagas or celeriac to store. Check the vegetable and herb directory to find the suitability of individual crops and the recommended number of seeds to multisow into each cell.
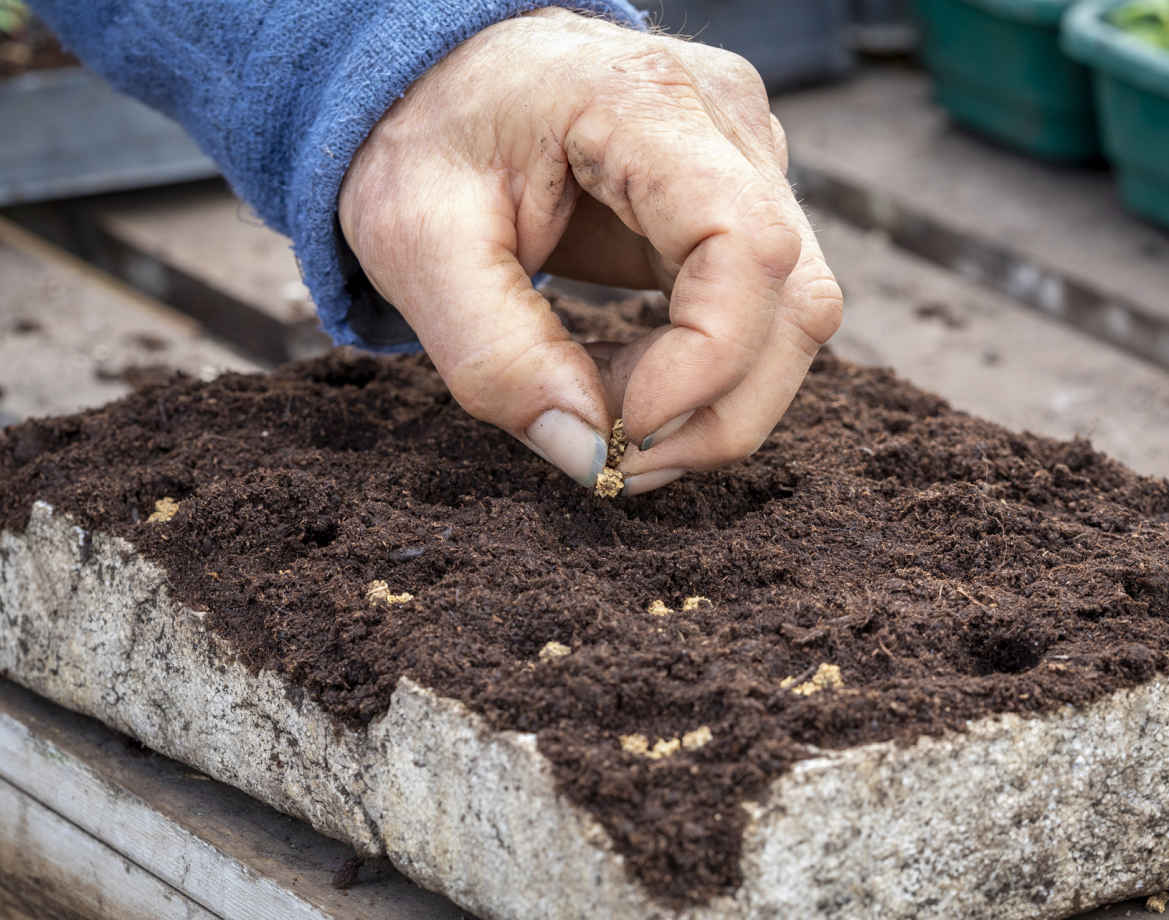
Multisowing optimizes your growing space. I’ve reused this polystyrene tray for 35 years.
BEST VEGETABLES TO MULTISOW
Radishes, turnips, salad onions, onions, leeks, beets, peas, spinach, and many salad plants to harvest for smaller leaves.
A key condition for successful germination once seeds are sown is warmth, and that means 24-hour warmth until you see that first tiny leaf appear. During late winter and much of spring, this is difficult to achieve in a greenhouse or other garden structure, where nighttime temperatures can easily fall low enough to stop the germination process. To avoid this, I germinate all of these early sowings in the warmth of the house and then quickly move the hardier seedlings into the greenhouse because germination needs more warmth than subsequent growth. Germination can occur in darkness (except for celery and celeriac), so cell trays can even be stacked on top of each other or kept in a warm cabinet until the first shoots appear. Check trays regularly because the first shoots can emerge from three days after sowing and will usually appear within a week.
Before or right after sowing, I advise watering trays so that the potting mix is fully moist. Then they are unlikely to need watering for several days because germinating seeds and the first tiny leaves are not pulling much moisture from the mix. You could also cover trays with plastic or a sheet of glass to retain moisture.
In late spring and early summer, once nights warm in your climate, seeds will germinate evenly in any garden structure, and outside in summer. Sometimes trays may need to be kept in shade, perhaps under staging, to keep direct sun off the potting mix and prevent it from drying—I find that this helps with summer sowings of lettuce. One last consideration is that rodents may eat larger seeds like peas, beans, and corn, so keep a mousetrap nearby when they are germinating in an outdoor space.
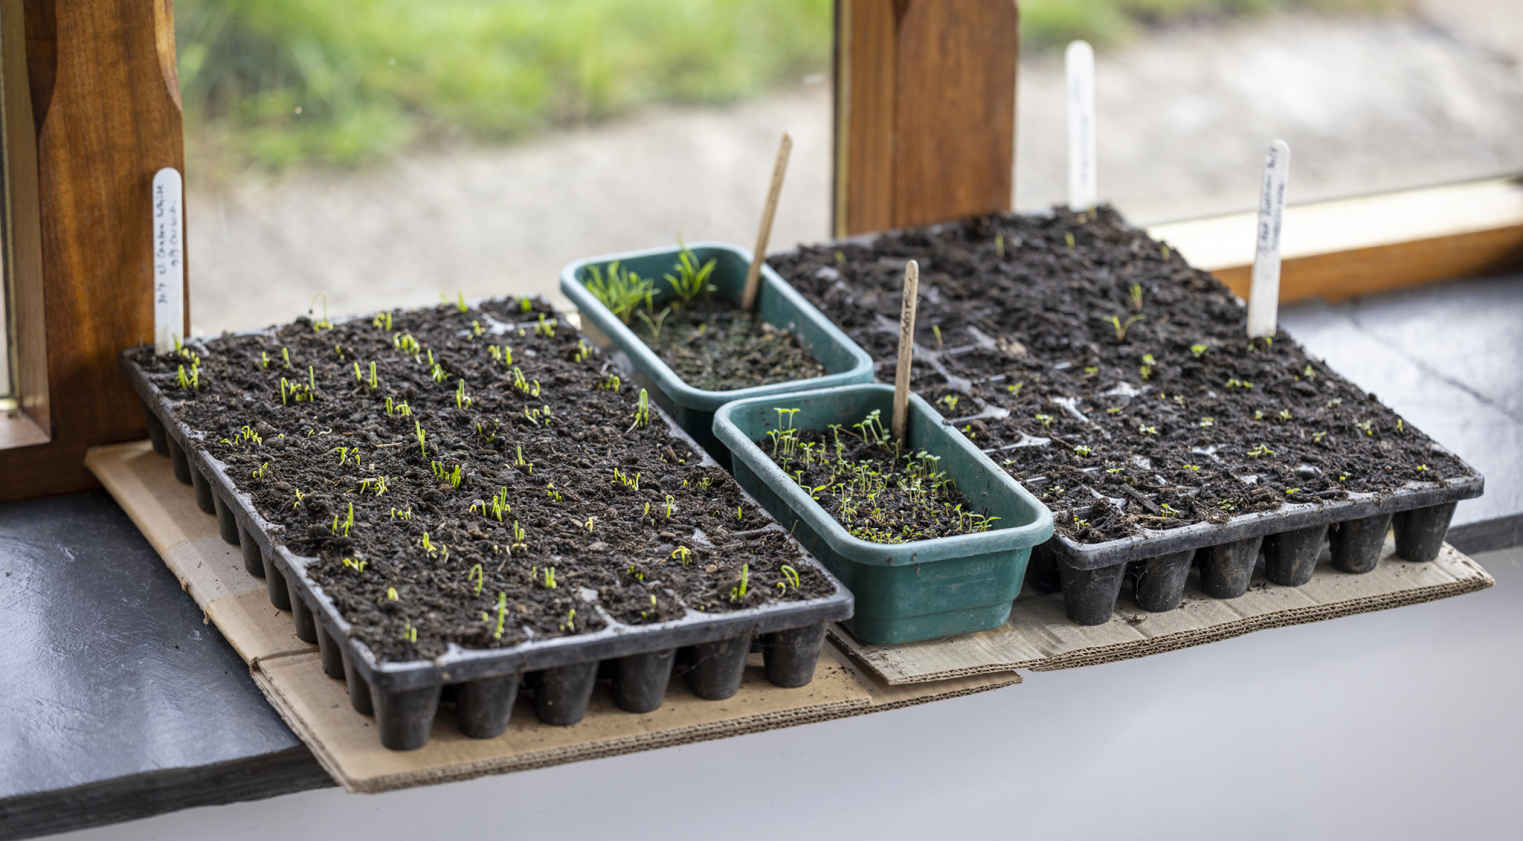
Germinate seeds on a windowsill in the warmth of the house during spring.
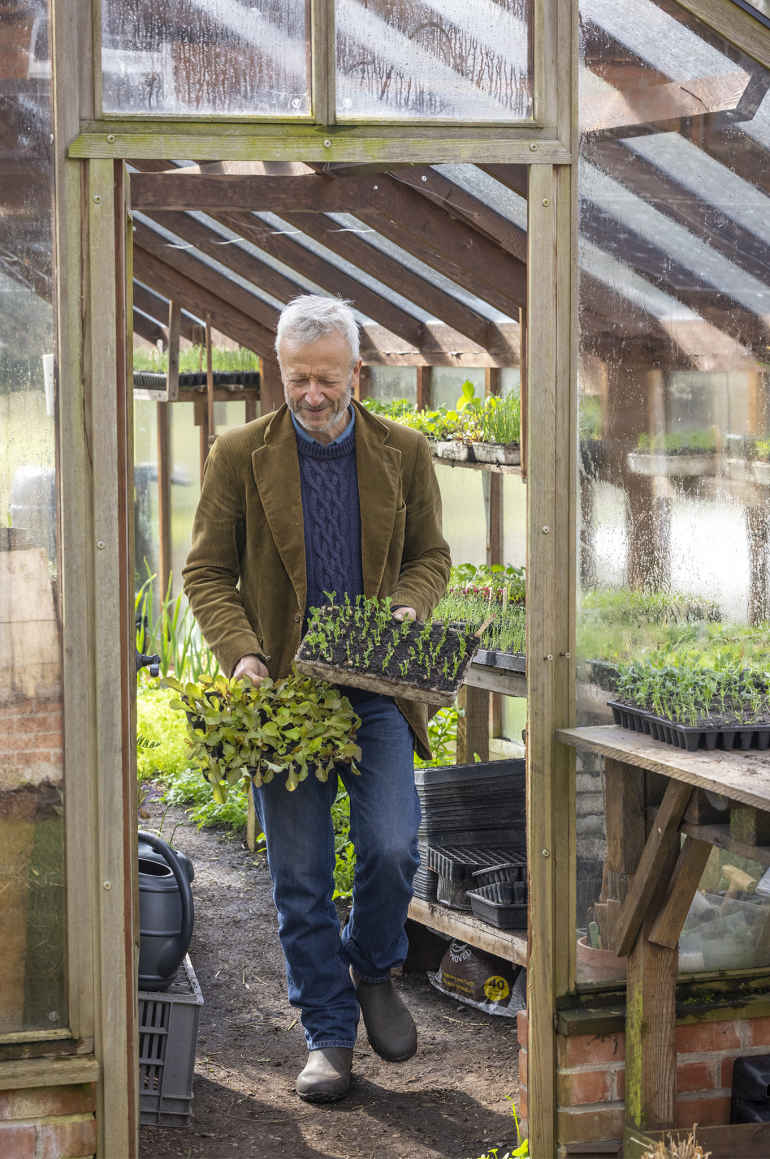
Hardy seedlings grow well in the greenhouse during early spring.
Once seeds have germinated, seedlings need full light to keep them from becoming drawn upward with long, spindly stems. This will be an issue anywhere with restricted light and especially if you plan to raise plants on a windowsill for a week or more after germination. I suggest using LED grow lights to provide additional light and ensure you grow sturdy plants. All seedlings do best in full light, but many need less warmth than for germination. Check the requirements of each vegetable and herb in the directory. Be careful at this stage to not overwater and to have bed space ready for transplanting seedlings.
Unless you use indoor lights, seedlings need to be moved out of the house into the fuller light of a garden structure as soon as possible, but before you do this, check the vegetable and herb profiles to find out how hardy each crop is and whether the temperature will be suitable. Hardy seedlings like peas, lettuce, and spinach will tolerate some spring frosts, but tender vegetables, such as cucumbers, will be killed. This links back to timing sowings correctly so that tender plants do not get too big before it’s warm enough for them to move out of the house.
You could also provide a heat source in your structure outside, which can make all the difference, especially when nights are cold. I use a traditional hotbed to give heat from below, and likewise an electric propagation mat is ideal to warm plants from underneath rather than trying to heat the whole space. Alternatively, move tender seedlings indoors before any frosty nights that are forecast.
It is essential to avoid overwatering young plants, and the frequency of watering will depend on the weather and where your plants are. In cloudy conditions during early spring, I may water seedlings every two or three days, compared to every day or sometimes twice a day when the weather is bright and sunny. It’s best to water in the morning rather than the evening to allow leaves to dry more quickly and reduce the likelihood of fungal diseases. Also make sure your greenhouse is clean and uncluttered to reduce places for pests like snails to hide.
The most wasteful thing in propagation is an empty cell or pot, so sometimes you sow two seeds when you want only one plant to ensure that a cell tray is full. Individual beet and chard seeds often produce more than one seedling, which may also result in more than you need. Where you have too many seedlings, remove the excess (thin) to allow the best seedlings to grow into sturdy plants. Thin when seedlings are small, even before they have a true leaf, by gently pulling the weaker ones upward and out so that no stem is left behind.
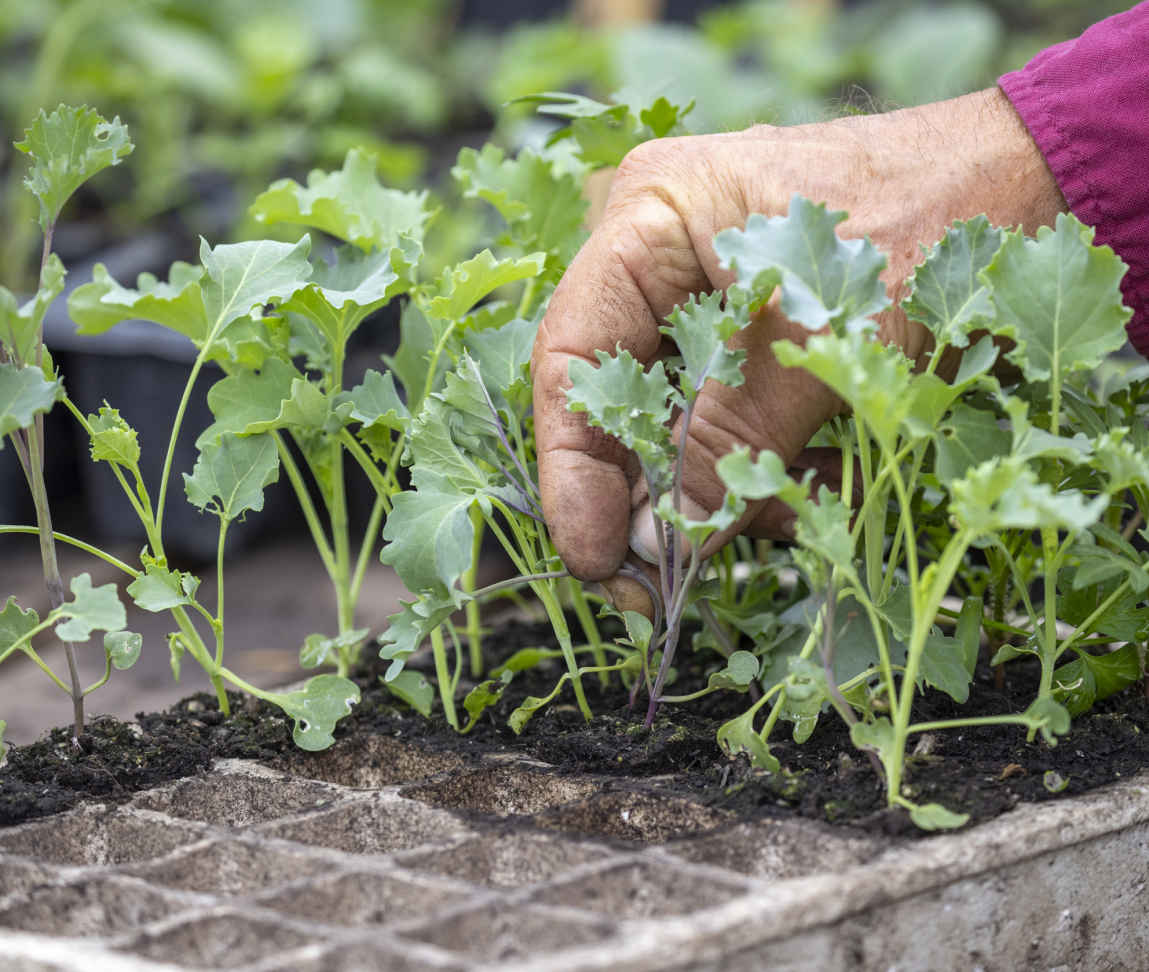
Thin brassicas by removing the weaker plant in each cell. I should’ve thinned these sooner!
On average, plants can stay in cells for three or four weeks before they start to run short of space and nutrients. Ideally, you will transplant them or pot them on before they look stressed in any way. Check for maturity by popping out a root ball from the base using your finger or a pen, and look for plenty of roots but also a little potting mix that’s unfilled. Transplant at this stage and you’ll see much better growth than if you wait another week, when roots may become congested, leaves turn pale or discolored, and plants draw up and become leggy from lack of light due to overcrowding.
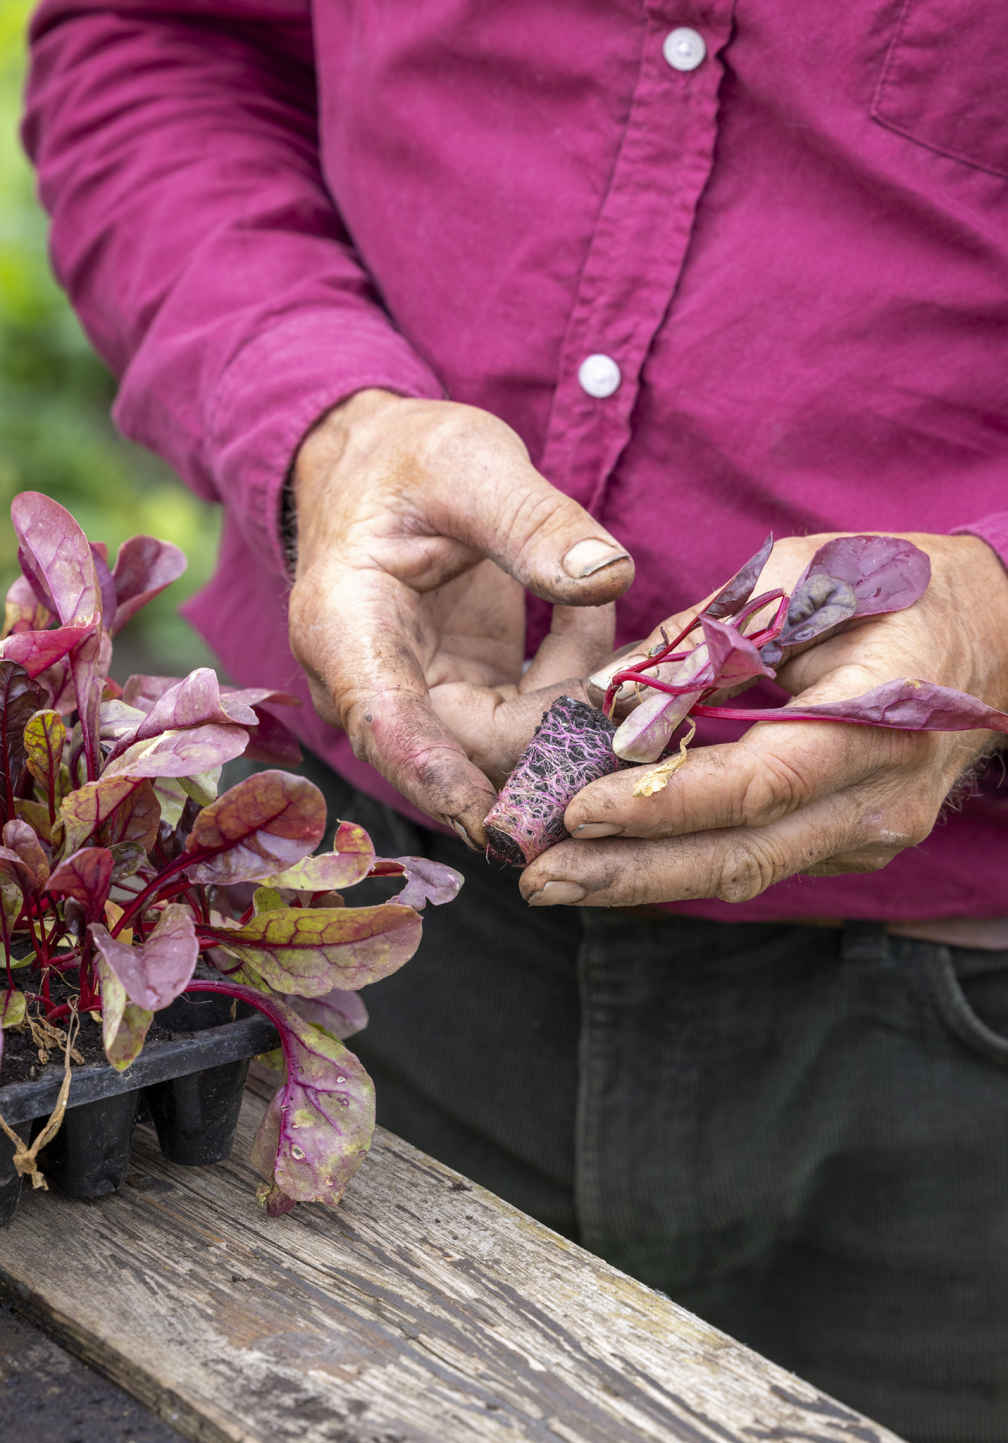
Chard seedlings left in cells for too long have overcrowded roots and dark, discolored leaves.
This process simply moves growing plants into a larger amount of potting mix and growing space so that their development can continue unchecked. It’s a way to keep plants growing under cover when space isn’t yet available outdoors or to extend the growing season for plants that are both warmth-loving and frost sensitive to give them more time to ripen a harvest where summers are shorter. The best results come from potting into only slightly larger pots to save propagation space and to reduce any risk of roots becoming waterlogged. Pot cells into 2¾ in (7 cm) pots, then later into a 3½ in (9 cm) pot if necessary. Half-fill the pot loosely with potting mix, make a deep hole with one or two fingers, and place the plant in. Bury as much of the stem as is feasible to provide support and produce sturdy plants. Push the root ball down firmly and fill around roots with potting mix. Water plants thoroughly.
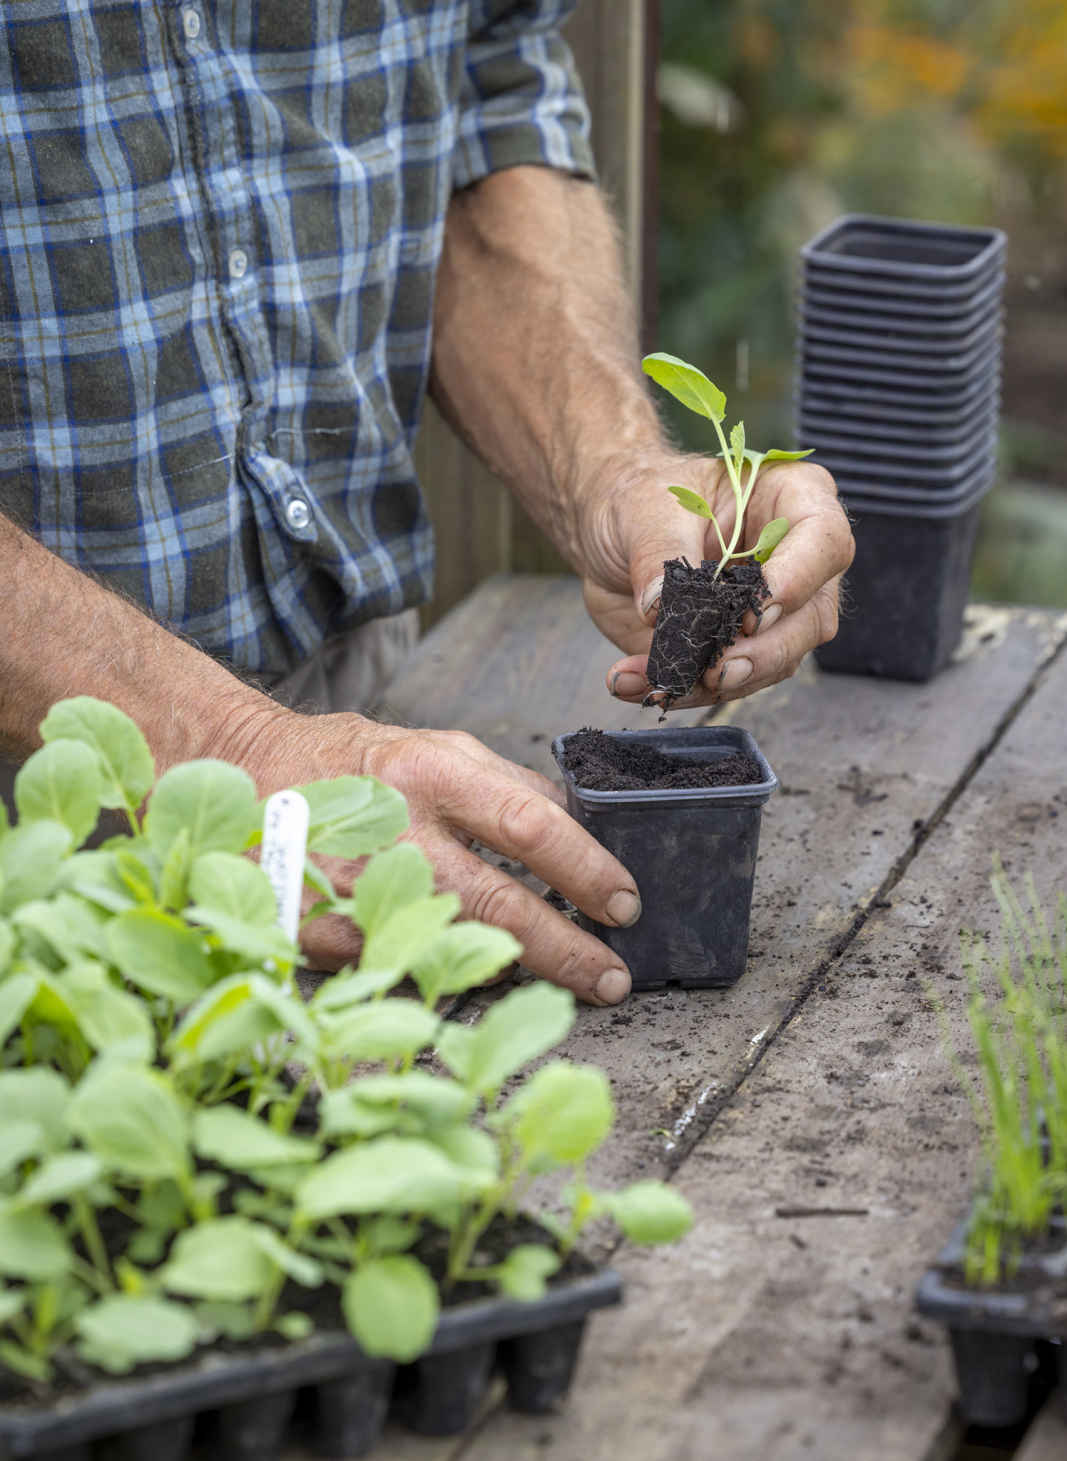
Cell-raised brassicas of this size can be planted out or potted on.
Pricking out means transferring seedlings from a seed tray into individual containers—preferably cells—and is most successful when seedlings are very small. I prick out seedlings that have only their first two cotyledons (seed leaves) before they develop too much root, so the transference process is quick and simple.
Fill the cell tray (or small pots) firmly with potting mix and water with a fine rose so that the mix is soft and it’s easy to push in a mini dibble, such as a blunt pencil. Tease out a group of seedlings from the tray with your tool, lift each seedling by one leaf, and drop the root into a small hole dibbed in the potting mix. Bury the stem as much as possible, so the leaves are just above soil level. Push potting mix firmly around the seedling and repeat to fill the cell tray. Water again using a can fitted with a fine rose to help settle potting mix around the seedlings. Growth will restart a couple of days after pricking out and will continue quickly after that. You can prick out several different vegetables into a single cell tray.
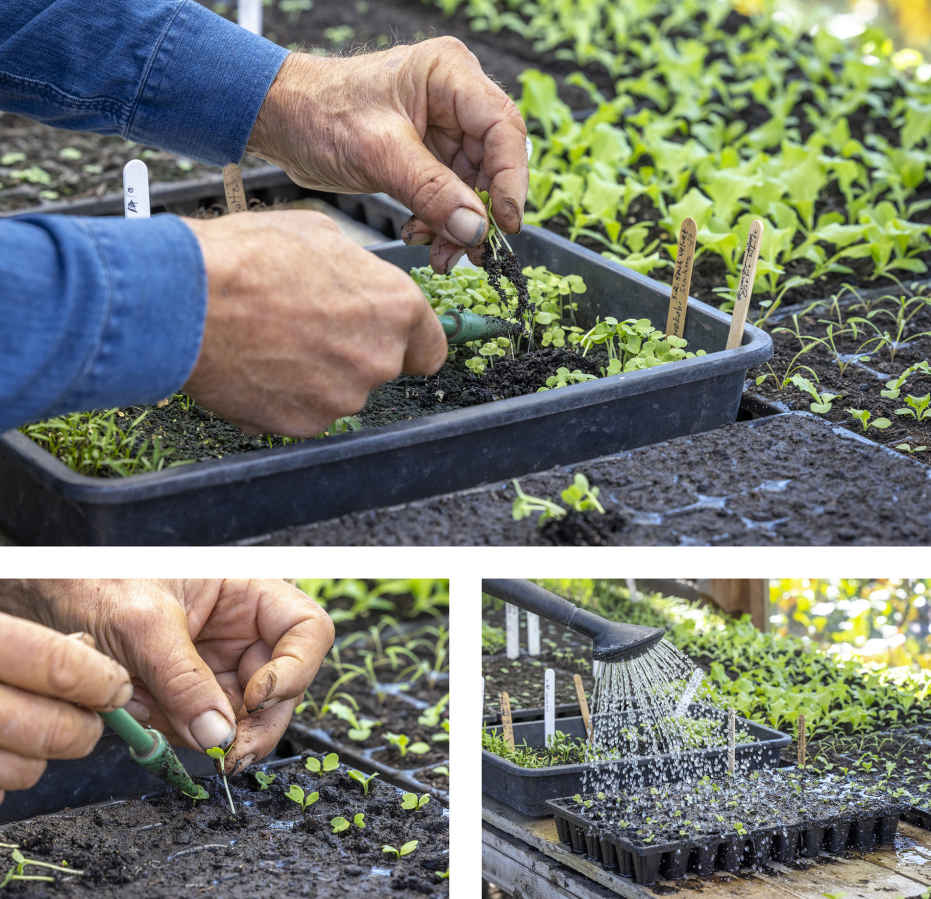
Gently lift groups of seedlings from a tray before planting them individually and watering in.
I transplant small seedlings, often as little as two or three weeks after sowing, with only one or two true leaves. This is easy, hugely successful, and more efficient than growing transplants to a larger size. People worry that little seedlings are vulnerable to pests and setbacks. However, there is every reason for them to thrive when you have raised sturdy transplants in full light and quality potting mix, each planting is made at its best time, and beds provide minimum habitat for slugs and other pests.
Seedlings are ready to transplant when they are big enough to handle and place into a premade hole with the root system intact. There are several significant benefits of transplanting small. First, young plants establish quickly, making new growth in just two or three days when it’s warm, compared to a week for larger plants. Moving plants to their final positions quickly also allows many seedlings to be raised in a small propagating area and means that there is no need to pot on most plants, saving time and reducing potting mix use. Little transplants need only one watering with a fine rose after planting, whereas bigger transplants need watering repeatedly while their roots establish.
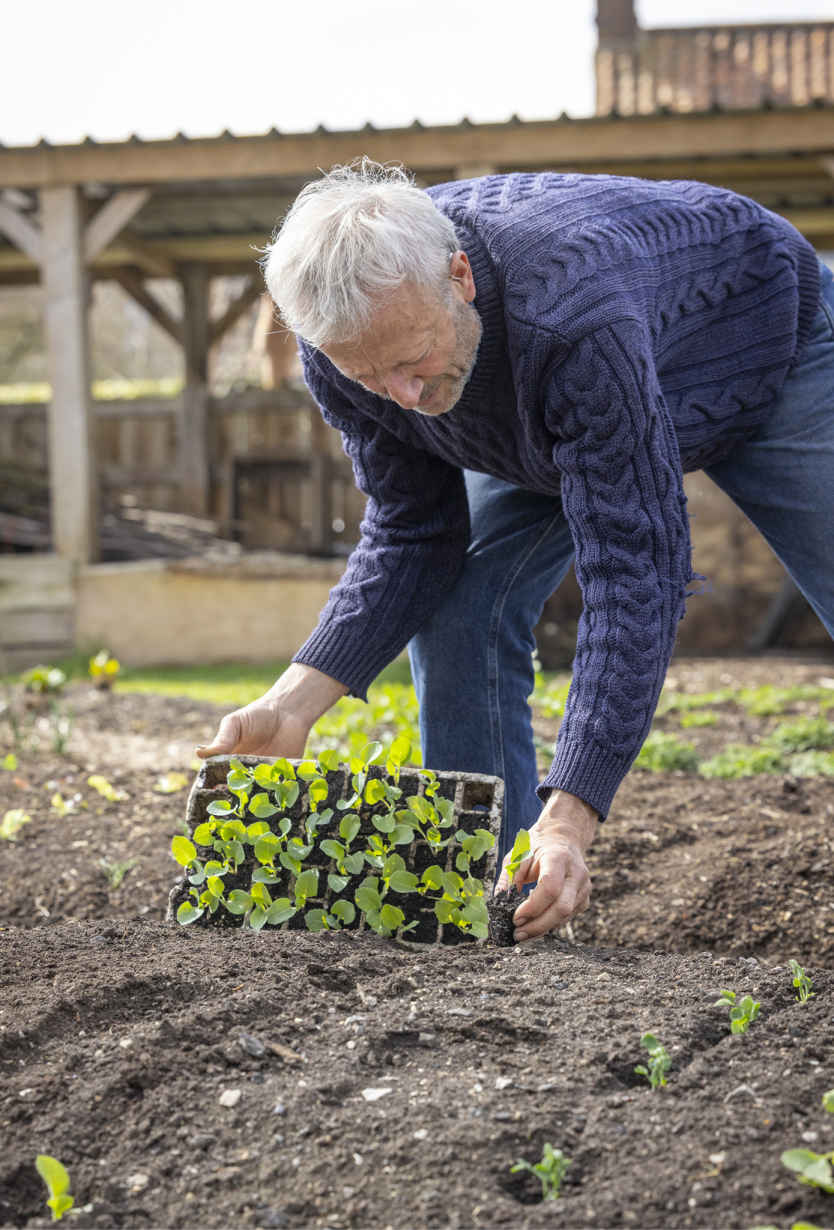
Small plants are tough, quick to establish, and do well when transplanted outdoors.
Traditionally, plants raised under cover are gradually acclimatized to outdoor conditions using a process called hardening off. I find this is unnecessary and instead use fleece to soften the transition for plantings in cold weather. Plants raised in an unheated greenhouse or polytunnel are surprisingly tough because at night, these structures are nearly as cold as outside. From early spring, plants from my greenhouse go right into open ground and are then covered with fleece to provide warmth and wind protection (see Using Crop Covers). When the weather warms and the last frost date passes, fleece covers become unnecessary. In fall, use mesh covers to protect new plantings. Only plants raised in the house with artificial light need hardening off because they won’t be at all used to outdoor conditions—move them outdoors by day and indoors at night, for three days before planting.
Water trays of seedlings before transplanting so that their root balls are moist. Plant deep to shelter young plants from wind, and stabilize any long, slender stems. Before transplanting, check the stem length of plants and make holes deep enough to keep them largely below surface level.
A wooden long-handled dibble reduces soil disturbance because it creates a precise hole just bigger and deeper than a seedling’s root ball. Push the dibble in and rotate a little so it comes out cleanly. It’s quick to predib all the holes first, then slide a root ball into each and push down on it on either side of the stem to ensure contact between potting mix and the surrounding soil. Don’t fill in the holes, as they channel water to roots and soon refill with surface compost.
Use a trowel to plant larger transplants that have been potted on. Push the blade down vertically on four sides to make a hole deeper and slightly wider than the root ball. Slot the root ball in and push it down with most of the stem below surface level. To plant through a black plastic mulch, cut two slits in the sheet to make a cross, fold the triangles of plastic underneath, and plant in the same way, folding the plastic back out to cover the soil after planting. Cut slits rather than holes when planting seed potatoes (see Sowing and transplanting) to keep the plastic as intact as possible for reuse.
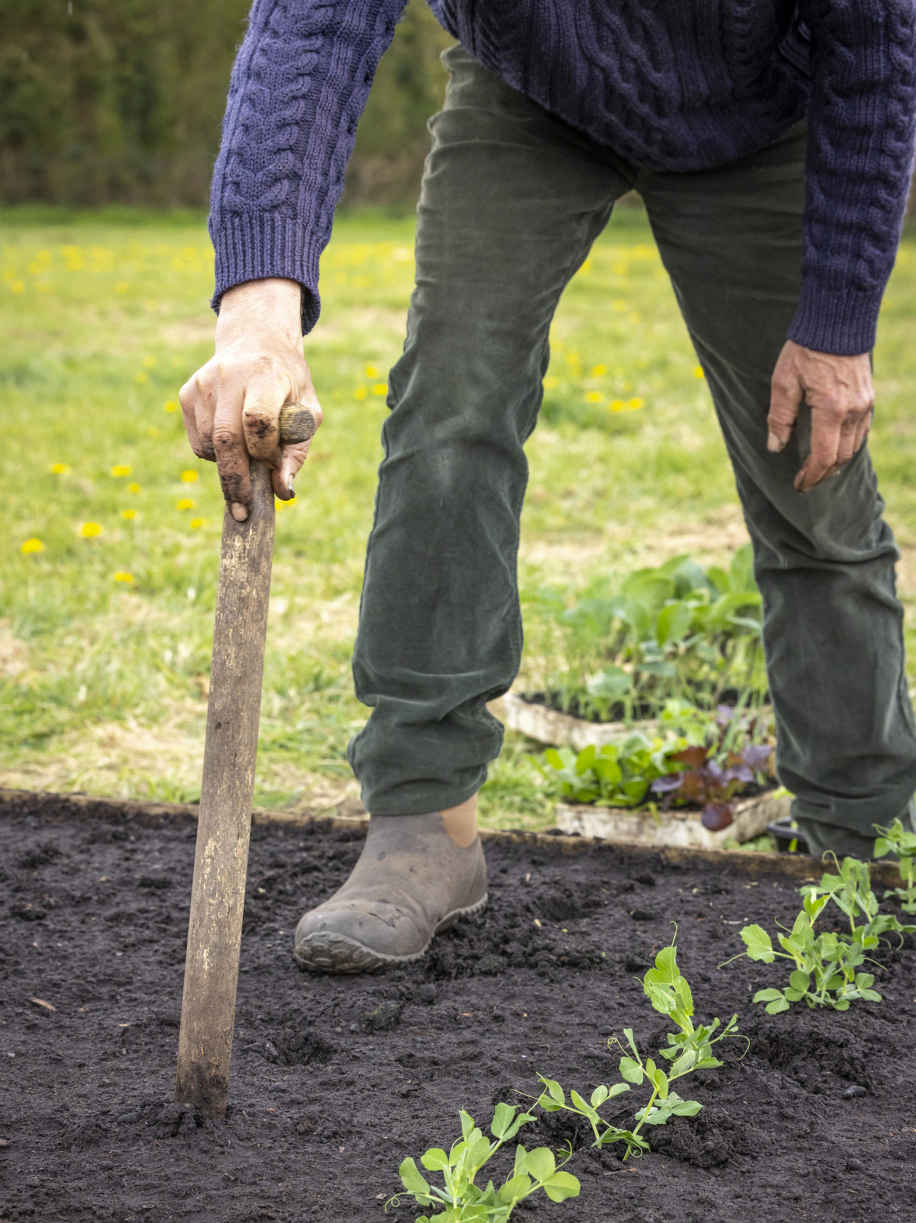
A long-handled dibble is the perfect tool for planting cell-raised seedlings.
If you plan to use string supports for tall plants under cover, place the knotted end of each string at the bottom of the hole before your transplant goes in (see Sowing and transplanting). All other types of supports can be added later, once plants are more established. This will barely damage their roots, and allows new transplants to be protected with fleece or netting if necessary.
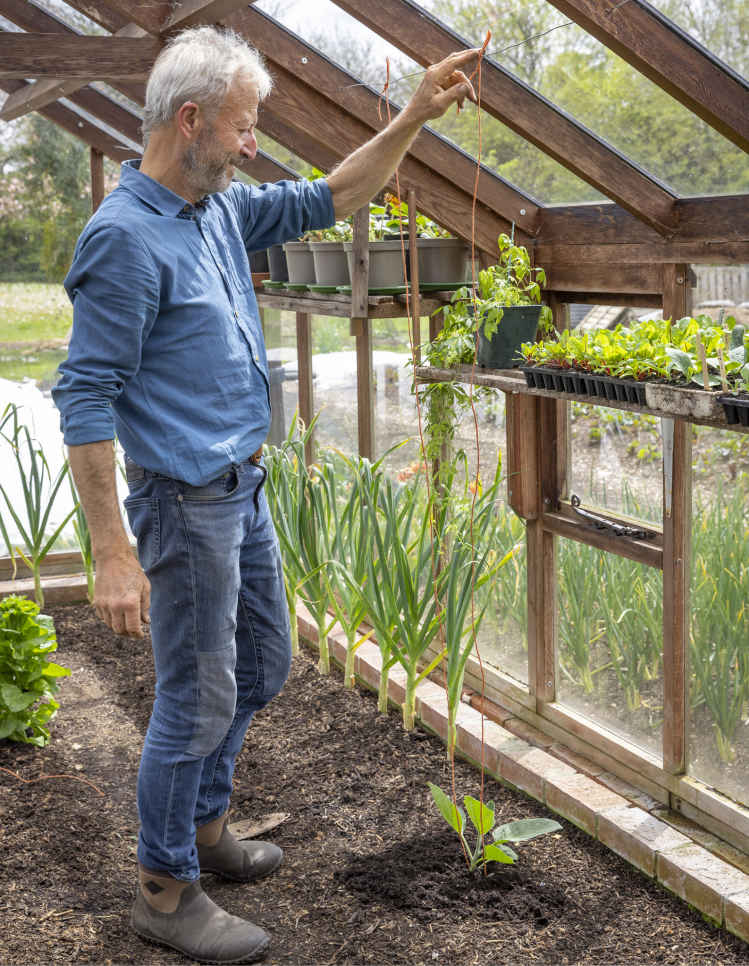
Strings for eggplants have knotted ends under the root ball and are tied to a wire above.
Planting distances for the same vegetable can be varied according to the size and regularity of the harvests required, and you can manipulate spacing to achieve the returns you want from your garden. The information below describes the effects of varying the distance between plants and different planting patterns, but check individual vegetable and herb profiles to find the spacings that I use and recommend.
Before starting, be clear what you hope to harvest from each planting: do you want to grow large lettuce heads that need lots of room to develop, or plants to pick for outer leaves that stay more compact? General advice on seed packets doesn’t always explain these differences, or that you can use spacing to influence the size of vegetables, for example, by planting closer together for more small onions or farther apart for fewer large ones. My rule of thumb is to plant as close as possible without overcrowding. I find time and again that seedlings benefit from being planted close to one another because they seem to like contact with neighboring plants—think of it as a form of companion planting.
Specific growing conditions can influence your chosen spacing. For example, it may be necessary to grow plants farther apart in a dry climate to allow them sufficient moisture. Wider spacings are also useful in damp climates to increase air circulation around leaves, helping them dry after rain, which reduces their susceptibility to fungal diseases. The relative absence of new weeds in no dig soil makes close spacing considerably easier. Larger distances between plants are often recommended to enable hoeing between them, but as undisturbed soil grows few weeds and it’s quick to pull them by hand, closer spacings are easy to manage.
Just 50 years ago, it was revolutionary to grow on a bed system in gardens, but gardeners now appreciate the advantages of growing in clearly defined beds, with access from paths, over growing vegetables in rows with space left between to walk on the soil. Beds allow vegetables to be grown closer together, arranged in blocks with equal space between each plant, creating a series of triangles and staggered rows. This is an efficient use of space that gives plants equal access to moisture and soil, reducing competition and increasing the yield from your bed. A single planting distance is all you need for equidistant spacing, while growing in rows requires two spacings, within and between rows.
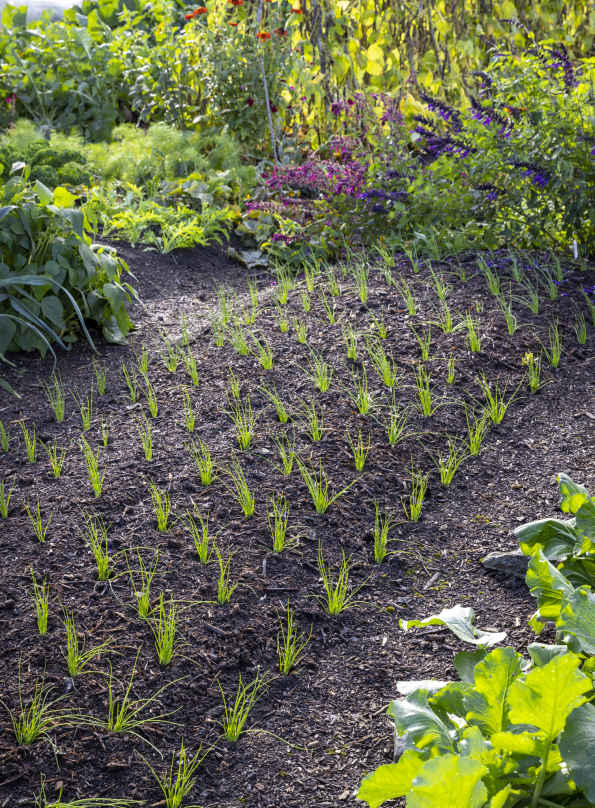
Multisown spring onions accurately planted at an equidistant spacing will deliver a large harvest.
I lay out plants by eye, but there are many ways to achieve even spacing. You can use a tape measure or a stick cut to length to check planting distances. A string tied tightly between two sticks serves as a guide to plant straight lines, which is helpful when there are no wooden sides to beds. Keeping the edge lines straight and defined when you spread compost and wood chips on beds and paths respectively is also worthwhile, although with no dig, there is no significant difference between the underlying soil in beds and paths because, in both cases, the structure is firm while being open to roots. Plants grow well, and sometimes even larger, when they are close to pathways, as they can access extra moisture from path soil. Closely spaced vegetables can be planted very near the edge of a bed, while larger, spreading vegetables are best set farther into the middle so that they don’t block pathways.
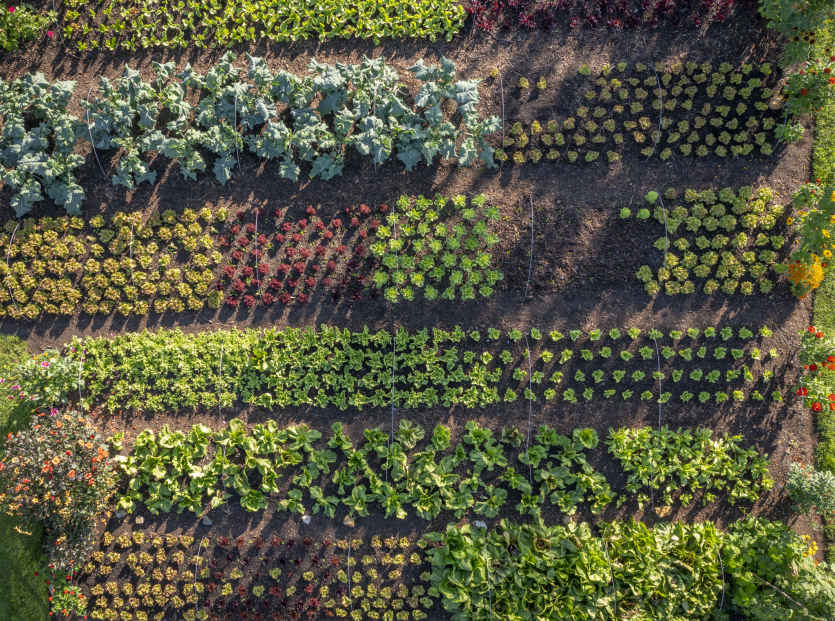
Careful spacing keeps beds full, maximizes yields, and creates some striking patterns.
Watering brings you into close contact with your plants and is a wonderful way to gain a better understanding of their growth. You can use your observations to work out when and how much to water at each stage of development. Watering requirements vary widely among different vegetables and will also differ depending on whether plants are in open soil, outdoors, under cover, or in containers. It’s also important to know when not to water because overwatering can be more damaging than underwatering.
The frequency of watering depends on the weather, on the type of plant, and above all on its stage of growth. Always water each plant individually after transplanting to help settle its roots into the hole, ensuring contact between the root ball and surrounding soil or compost. If it’s hot and sunny, check new plantings every two days for the first week and water until you see the first signs of new growth. Established plants growing outdoors in open soil may need watering twice a week in warm, dry weather, but focus on the vegetables that are currently cropping. Advice for each crop is given in the vegetable and herb directory, but generally any plants being picked for leaves will need more frequent watering than those grown for their roots. Fruiting and podding crops grow fast during summer and need regular watering once you see flowers to help fruit and pods set.
Plants growing under cover experience higher temperatures, which means they need to be watered more often than plants outdoors, although I still would not water plants in open soil under cover every day. During fall and winter, when the air is cool and moist, most plants under cover need watering maybe once a week. From December to February, salads growing under cover in my polytunnel are watered as little as once or twice a month.
Observe plants closely so that you develop the ability to notice changes in their appearance when water is in short supply. You will see how leaves turn a darker shade of green (or even slightly blue for brassicas) and their surface develops a dull, matte appearance. A plant showing these symptoms won’t die, but it is under stress and its growth has shut down. This may not matter during summer for a vegetable that will be harvested in fall or winter, but plants nearing harvest need to be watered immediately.
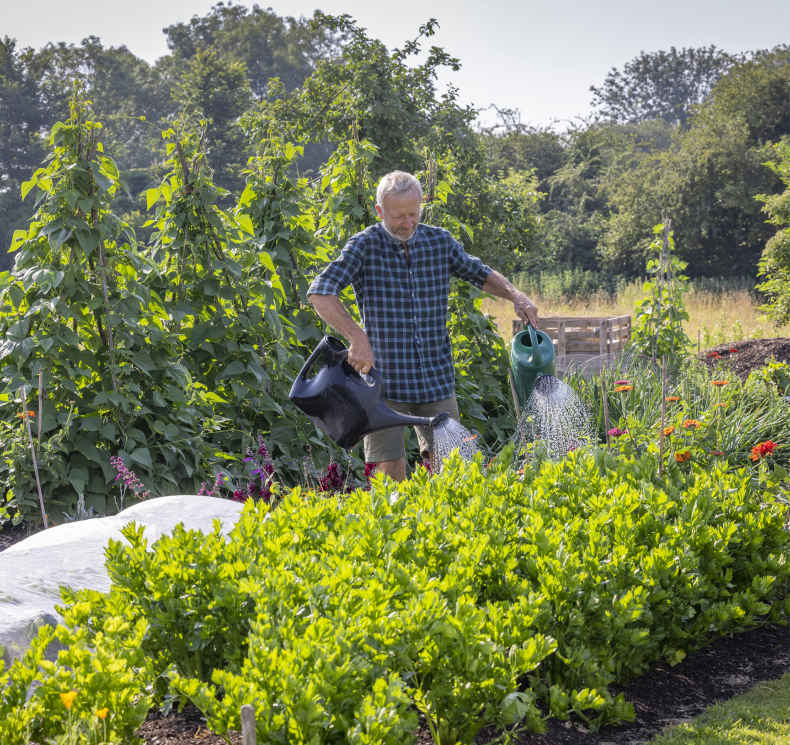
Moisture-loving celery needs frequent watering to produce lush growth and a good harvest.
I water with a can and rose, or with a hose if the rain barrels are empty, so that water can be used efficiently and directed precisely to where it’s needed. Ensuring that the rose points downward makes this easier and does not damage even the tender leaves of young plants and salads. Apply water to soil at the roots of wider-spaced plants to reduce evaporation and save water, but where dense foliage covers a bed, it is fine to water from above. I water in the morning rather than the evening so that leaves and the soil surface are dry before nightfall, which reduces damage from slugs and fungal disease.
It’s more efficient to apply a larger amount of water less frequently—rather than watering little and often—so that water soaks deeper into soil, where it can be accessed by roots and with less evaporation. Dry soil needs more water than you might think to be moist to a depth of at least 2 in (5 cm)—check after watering by dibbing a small hole. Avoid using sprinklers that shoot water up in a way that is hard to control, as this wastes water on empty soil, on plants that may not need it, and to evaporation.
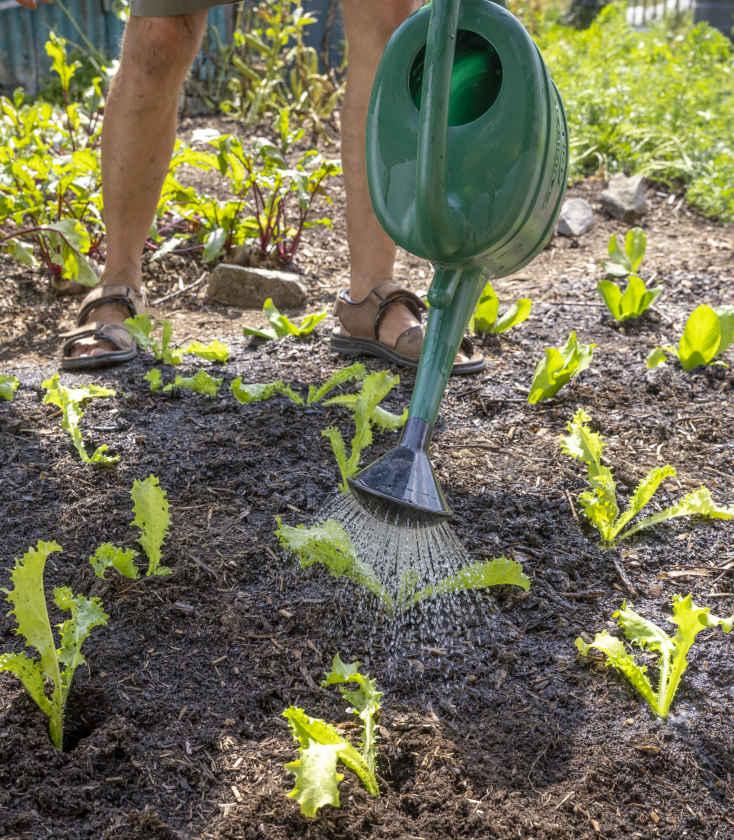
Watering with cans delivers water precisely where it's needed.
WETTING DRY SOIL AND COMPOST
In hot weather, compost and soil can become so dry that water simply runs off the surface without soaking in and wetting the layers below. This can be counteracted by watering in stages. Apply a little water and stop when you see surface run-off. Leave it for a minute so that some moisture soaks in, then water lightly again. Pause and repeat this five or six times until the soil is more receptive to water and it soaks in better. Once this happens, you can water as normal.
Plants growing in containers have a restricted root run and need to be monitored and watered frequently in order to flourish. This is especially true for those in porous clay pots, which dry out faster than plastic containers. Even so, it is possible to overwater plants in containers—it’s best to let the potting mix dry out a little between waterings rather than keep it fully moist all the time. The simplest way to check whether watering is required is to lift the pot; give water only if it’s light and therefore dry. Apply a good dose at each watering, which will be at least every day during sunny summer weather and perhaps every two days when it’s overcast. Pay attention to the requirements of different plants because established plants will need more water than recent transplants. You can even control fruit and root sweetness by varying the amount of water given. Reduce watering in cooler spring and fall weather.
Automatic watering systems are useful if you’re going on vacation and have nobody to care for your plants, but otherwise I would not recommend them. They are expensive; tricky to set up; use a lot of plastic; and crucially cannot adapt the amount of water given to each plant, which can easily lead to over- or underwatering.
Use rain barrels to collect and store rainwater from the downspouts of any roof. Diverter devices are available that slot into existing downspouts from buildings so that water can be directed into barrels for storage. Collecting rainwater is particularly useful in large gardens and on allotments, where utility water isn’t available. Unfortunately, rain barrels are not the total solution because they empty quickly in dry weather, which is exactly when you need the water most. I have installed two 220-gallon (1,000-liter) intermediate bulk containers to collect a larger amount of rainwater and help prevent summer shortages.
The taps on most rain barrels are too small to be useful, so I enlarge the hole at the top so it’s possible to fill a watering can by submerging it in the water. The downside of this is that the lid no longer fits, so algae are able to grow in daylight and the water becomes smelly. I take the opportunity to clean rain barrels when they are almost empty, at least four times a year, by brushing the insides and rinsing. This prevents the water from becoming putrid and makes it sweeter for watering plants, especially seedlings.
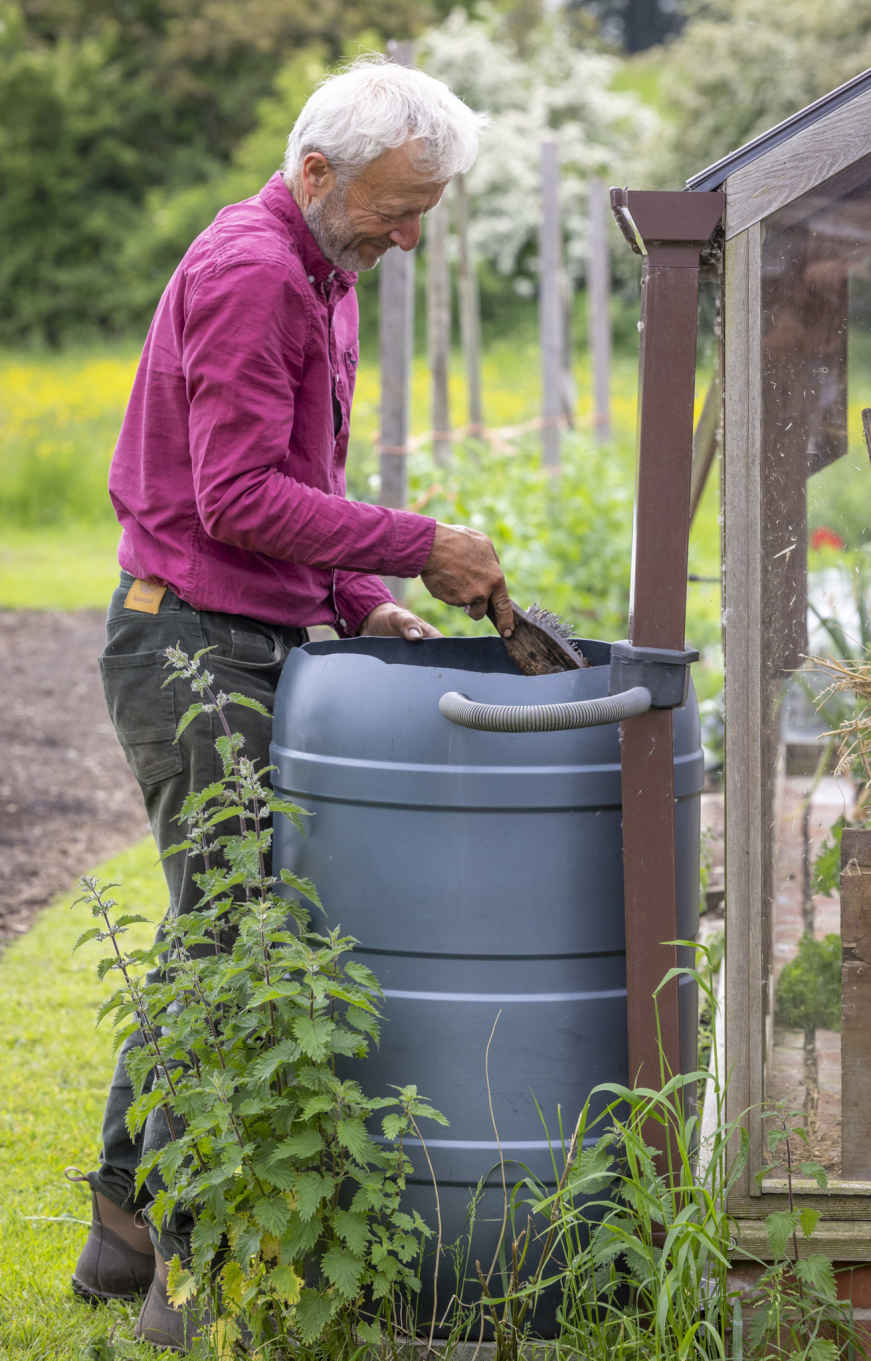
Cleaning removes algae from rain barrels.
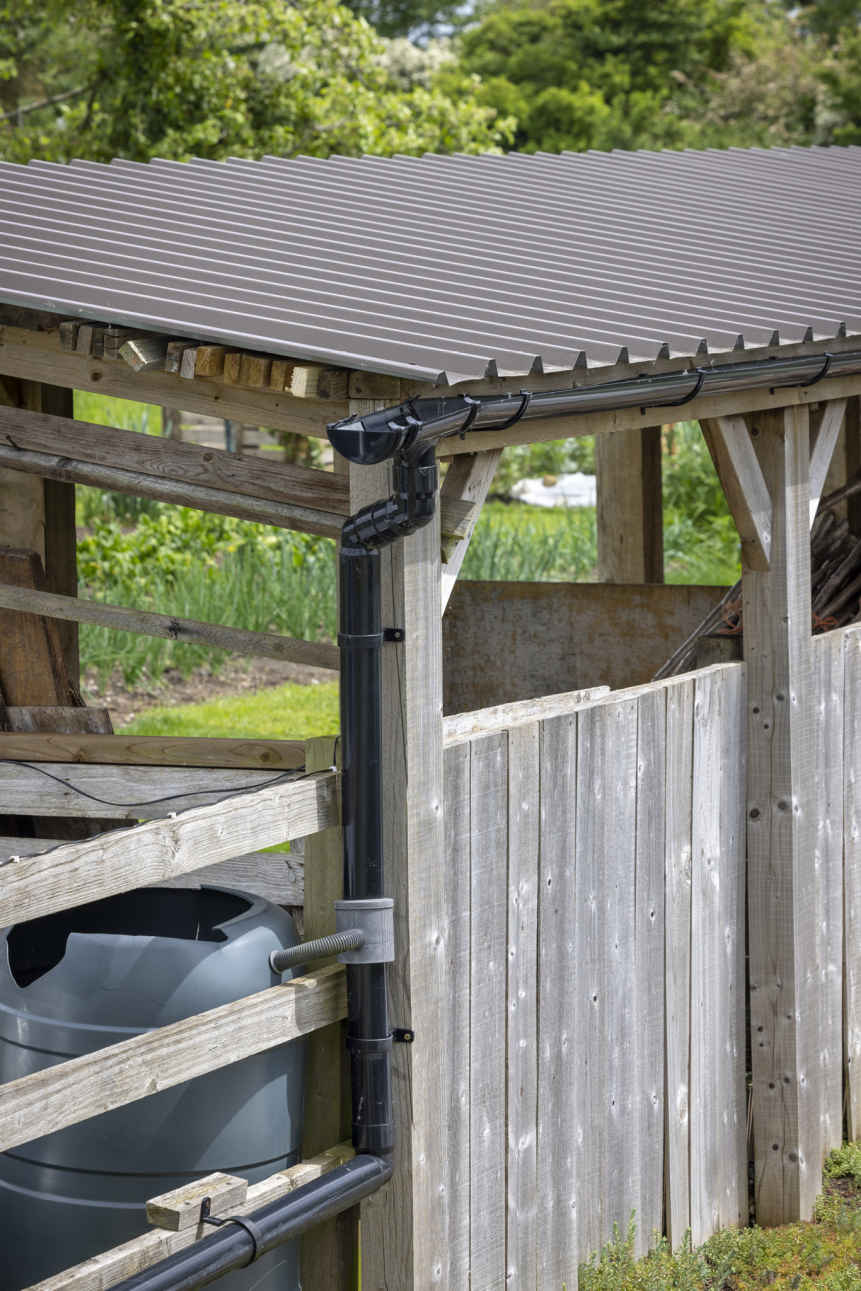
A diverter directs rainwater for collection.
Crop covers include fleece, netting, and mesh, and their judicious use can be the difference between success and failure. Inform yourself about the activity of pests that might damage each vegetable (see Vegetable and herb directory) in order to choose the right cover to protect your plantings and produce healthy harvests without any need for synthetic pesticides. Fleece covers provide pest protection but mostly serve to insulate young plants from cold weather in early spring. Invest in good-quality covers because they can be used repeatedly over many growing seasons.
Crop covers allow rain and air through, with no need for extra watering or ventilation while they are in place. The most effective stage for use is when plants are young and vulnerable. They are quick to lay, then need occasional lifting to remove weeds, take harvests, and carry out any plant maintenance. I find that covers with a 6½ ft (2 m) width are ideal for 4 ft (1.2 m) wide beds because there is enough spare width to anchor the cover with large stones along each side, whether it is supported on wire hoops or laid directly on plants so that it will be pushed upward as they grow.
Fleece is the best cover from early to midspring, for warmth and to protect plants from wind. It filters air rather than blocking it, which makes it less prone to blowing away or suffering damage in high wind. It is especially effective in windy conditions when laid directly on top of plants, where it holds valuable warmth at soil level. Fleece also protects plants from pigeons, rabbits, and even insect pests if well secured. I lay a fleece cover over every new sowing and planting during March and usually continue to use it until the end of April. It is less useful later in the year because in late spring and summer it retains too much heat and in fall plants tend to lack daylight rather than warmth. Thin 17 gsm (3⁄5 oz/square yard) fleece shreds easily and will not last more than one growing season, so check that what you purchase is 25–30 gsm (1 oz/square yard)—anything more than this will be too thick and heavy for vegetable seedlings.
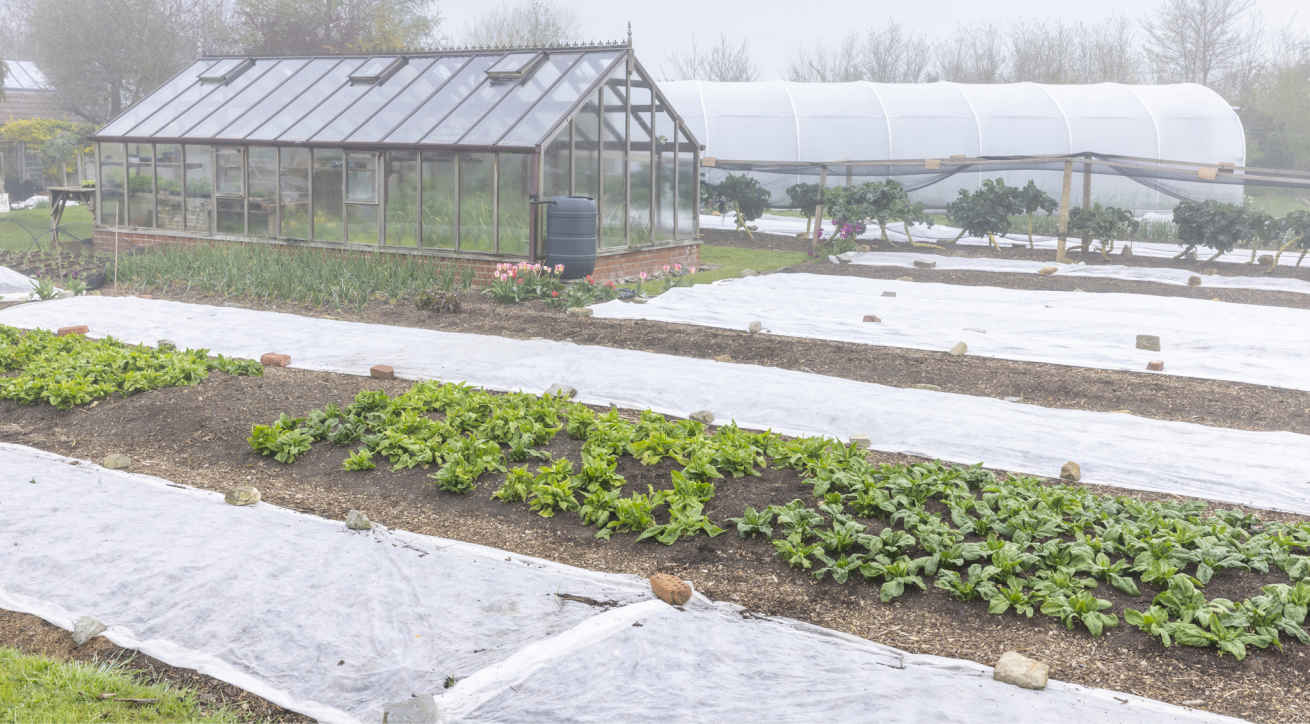
Fleece is used extensively in early spring to protect young plants from the weather.
As the weather warms in late spring, I transition to covering susceptible plants with mesh. This allows more airflow and keeps the temperature underneath the cover lower than fleece while also excluding pests. Buy the finest grade available (ideally around 1⁄16 in/ 1 mm) so that it will exclude even small pests like flea beetles. Check which pests are likely to affect each vegetable and when so that mesh can be used preventatively, before pests arrive. It is a heavier fabric than fleece, particularly if wet, and is best supported on hoops that span the bed, but its strength and ability to let air pass through make mesh better than fleece for wind reduction and pest protection during winter. Mesh is also easy to see through, which is useful for keeping an eye on the plants underneath.
A hybrid cover, thermacrop holds more heat than mesh but has larger holes so it is possible for insects to wriggle through. It offers wind protection with good ventilation throughout the year, provides shade against strong sun in a heatwave, and will protect against all but the smallest insects. A disadvantage is that you can’t see through it, and if I had only two covers, I would use fleece and mesh.
Black bird netting with ½ in (12 mm) squares provides a protective but almost invisible shield against large pests. Buy UV-treated polypropylene and it will last for many years. Support netting on hoops spanning a bed or, for taller winter brassicas, create a wooden structure with posts to hold the netting mainly as a roof, which deters birds from feeding underneath because they can’t take off quickly. This allows access from the sides without having to lift the netting, which is a chore when you want to pick a few Brussels sprouts.
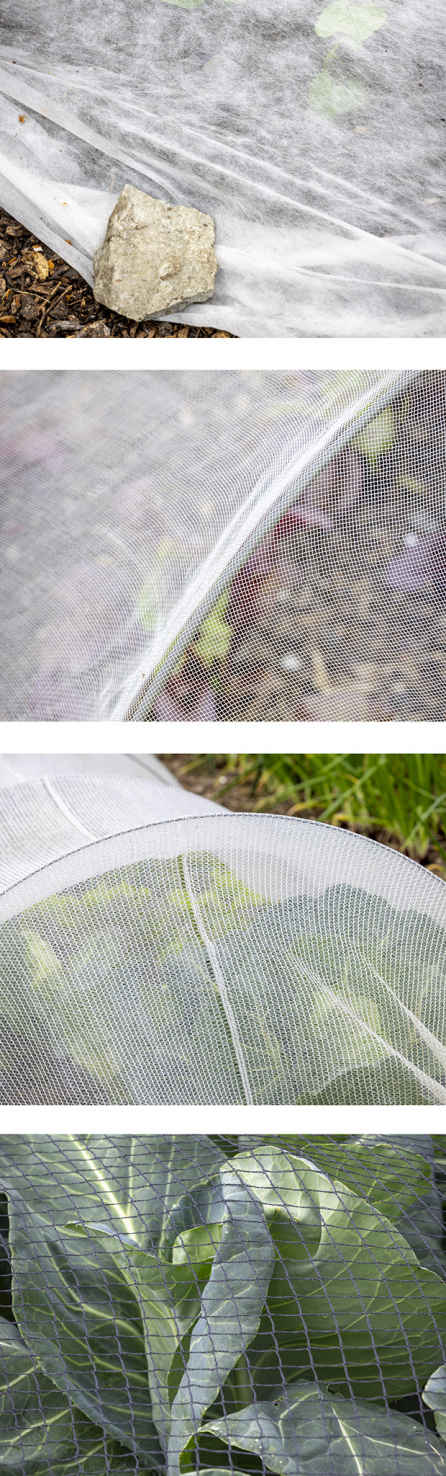
Crop covers (top to bottom): fleece, mesh, thermacrop, and bird netting.
For 4 ft (1.2 m) wide beds, I use 8 ft (2.5 m) lengths of ⅛ in (4 mm), high-tensile, galvanized wire to support crop covers. The strong wires are easy to push into soil on each side of a bed, exclude little light, and are simple to store when bought in straightened lengths. Supports of slim wire look and perform better than plastic PVC pipe. Find a supplier to cut and straighten the wire for you (see Suppliers and Resources); otherwise, it will be in a coil that is springy and awkward to handle.
These crop covers are all made of plastic, and I find that the best-quality products can be reused for many years. Thicker grades of fleece should last four years, while mesh and bird netting can last for 15 years, provided you use and store them carefully. Prevent rips by securing the sides well in windy weather, and hang covers over a wood batten in the shed when not in use. Mice may chew through to nest in covers left on the floor, leaving holes that render them useless. You can use a single cover on multiple crops through the growing season, increasing the quality and quantity of your harvest and reducing the amount of imported or plastic-wrapped food you need to buy, which means that the careful use of suitable covers can reduce plastic waste.
I have tried out cotton muslin and a sheep’s wool cover as plastic-free alternatives to fleece, but so far I have found that they are expensive, heavy, less permeable to light, and degrade when in contact with soil. They don’t match fleece’s ease of use and boost to early growth.
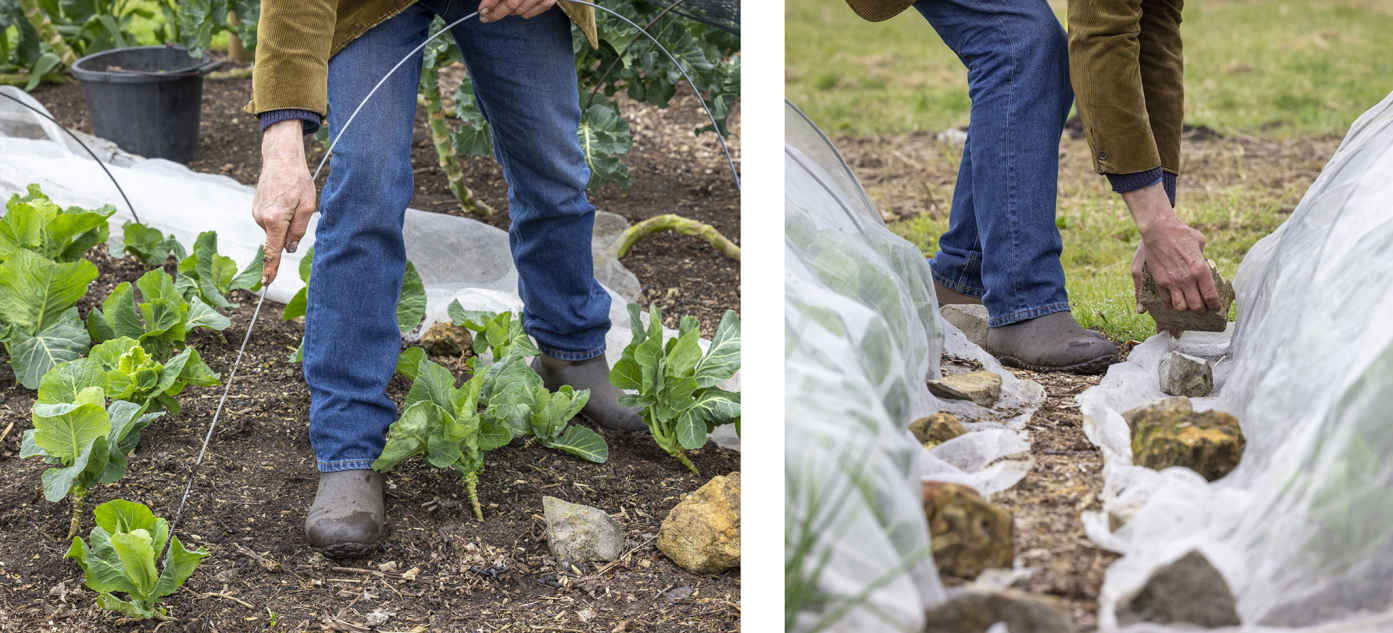
Crop covers supported on galvanized wires (left) and anchored with large stones (right).
No dig soil grows stronger plants that tend to suffer less damage, but Dr. Elaine Ingham has also discovered that compacted layers in cultivated soil, where anaerobic fermentations of organic matter produce alcohol, actually attract slugs. Leaving soil undisturbed helps establish a balance between the populations of pests and beneficial organisms, including ground beetles, which eat slugs, snails, and their eggs. Such predation controls rather than eliminates pests, and where slug numbers remain significant, you can take action to reduce them.
Reducing slug and snail habitat dramatically improves the chances of survival for plants. The biggest potential hiding places are the wooden sides of raised beds, where colonies of slugs lurk in cavities formed as the softwood sides decay when in contact with the soil. This happens after three or four years and makes it easy for slugs to emerge and feed on plants by night. Open-sided beds (see Planning Your Beds) are free of this problem.
Avoid growing vegetables close to slug habitats, such as overgrown and shady areas. Keep your plot edges neat and nearby grass mown short. If there’s an overgrown area nearby, such as on a neighboring allotment, lay a strip of black plastic between it and your plot to lift regularly and remove slugs sheltering underneath. Keeping the garden tidy means it has a beautiful sense of order, as well as reducing pest problems. Weed regularly and remove fading lower leaves from plants to minimize potential slug habitat.
Another way to reduce the slug and snail population is by going out regularly at dusk with a flashlight, picking up any that you find, and dealing with them as you see fit. Barriers of wool and copper may protect individual plants but do nothing to reduce slug numbers and are not guaranteed to be effective.
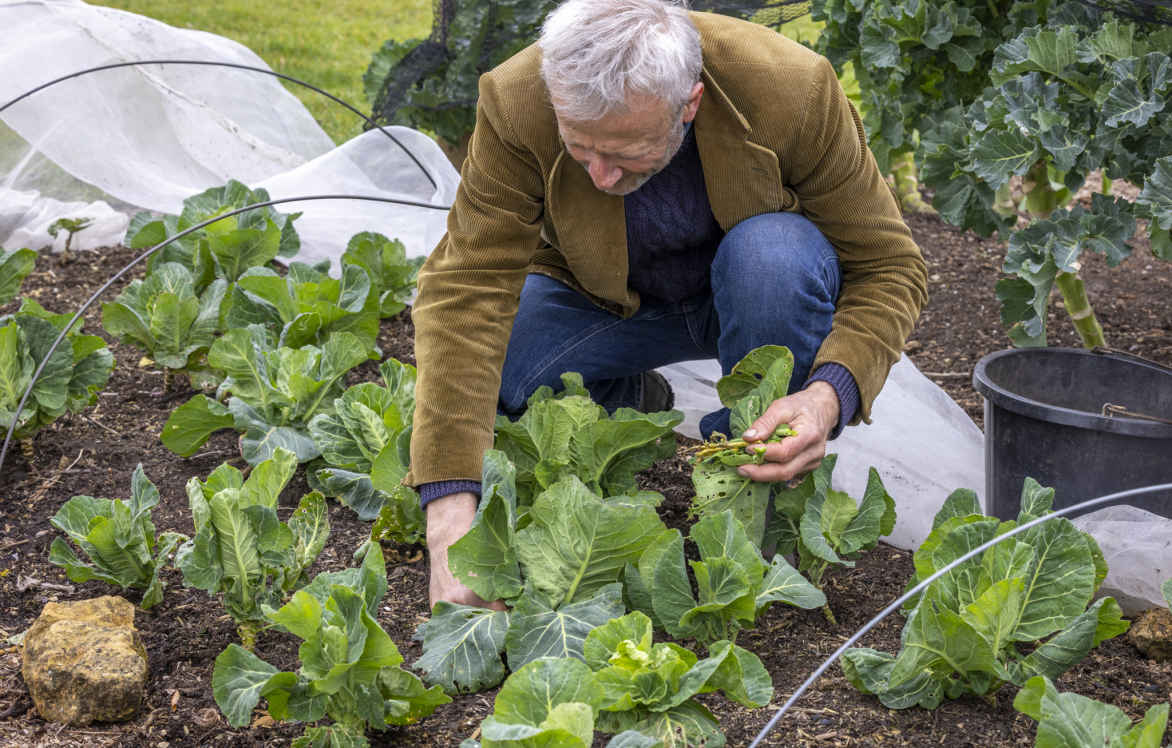
Pick yellowing and damaged lower leaves regularly to reduce food and hiding places.
The term “under cover” applies to any structure made of glass, polyethylene (plastic), or polycarbonate, which admits sufficient light for plant growth. This includes greenhouses; polytunnels; cold frames; and also the house, where the light from windows needs to be augmented with electric grow lights. A greenhouse or polytunnel can be expensive, but it is a worthwhile investment to extend your growing season in both spring and fall.
At all times of year, under cover spaces provide extra warmth, as well as protection from wind and extreme weather. In summer, they enable you to grow more exotic vegetables, such as melons and eggplants, while keeping tomato foliage dry and free of late blight. Growing leaf vegetables under cover in winter increases harvests substantially compared to outdoors and provides a pleasant space to work through the colder months.
Growing under cover also makes it possible to raise young plants almost year-round, and with the added advantage of fewer pests (see Sowing For Success). Starting in late winter extends the growing season to produce earlier harvests, giving more time for planting second crops in summer.
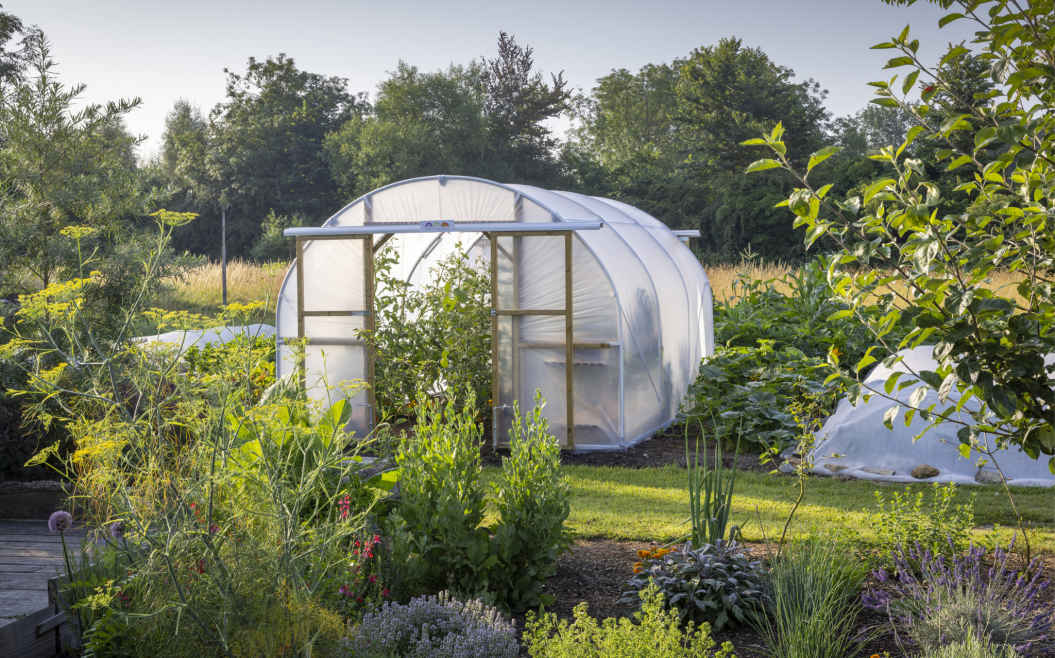
A polytunnel provides ample space to raise young plants and grow a range of heat-loving crops.
Glass and polycarbonate hold a little more warmth than polyethylene (plastic), which is of particular benefit on cold nights during springtime. Greenhouses are expensive new but can sometimes be obtained secondhand. It is usually necessary to anchor and stabilize a greenhouse frame on stone or concrete. Polytunnels are a more cost-effective option and need no concrete to hold their frame, but their cover of UV-treated plastic needs to be replaced at least every 15 years.
If space or budget are limited, ground-level cold frames of glass or plastic are a more compact and cheaper option, along with plastic-covered metal frames, which can be attached to a wall. Both are a good way to start raising plants under cover.
It is practical to germinate seeds in the warmth of the house because most don’t need light, although growing plants on in the restricted light on a windowsill is not easy without LED grow lights. It’s possible to grow salad leaves and pea shoots in a tray on a windowsill, along with dwarf varieties of heat-loving vegetables, but watering plants may cause a mess.
It’s much easier to grow plants in soil than in containers because the extensive root systems in soil mean that plants need less feeding and watering. I add compost to the soil in my greenhouse and polytunnels once a year in May at the changeover between winter and summer vegetables, but with an extra ¾ in (2 cm) depth compared to outdoor beds because they are cropped more intensively.
If you cannot access the soil under cover, fill the largest containers available with your best compost, which can serve for two years or more. Plastic pots are lighter and retain moisture better than clay, but ensure that there are drainage holes underneath. Grow bags are another option, but be careful not to overplant them—even large bags are better with two tomato plants rather than three.
The lack of rainfall and higher temperatures under cover mean that plants need more frequent attention than those outside, especially in summer. Regular watering is vital, although the need for this is reduced where plants are growing in soil. Ventilation is essential to circulate air around plants and reduce summer temperatures. Open doors and greenhouse vents daily and, when in doubt, provide more air rather than less. Plastic retains very little warmth at night and during frosty weather. Closing polytunnel doors will only keep in warmth in windy conditions. To maximize light levels, clean glass and plastic annually using water (with no added products) and a cloth. Keep the space tidy and uncluttered to leave the maximum space for plant growth and fewer hiding places for slugs, snails, and woodlice.
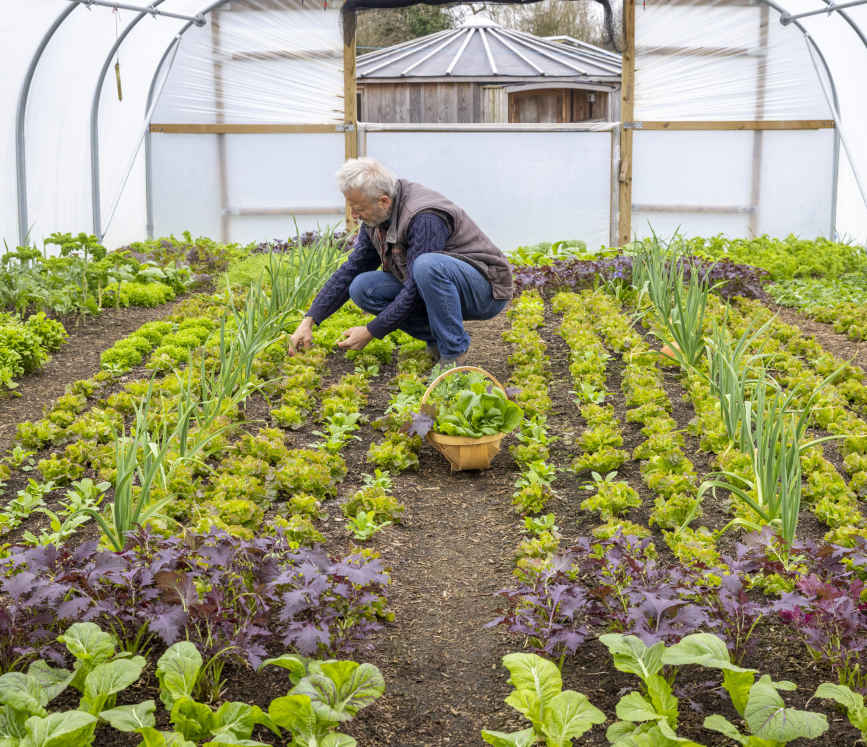
September-sown salads can be picked regularly of larger leaves all winter with no extra heat.
Harvesting is a result of good growth and, when done carefully, also enables further growth and productivity. Many vegetables are picked repeatedly, so it makes sense to look after their growth and health as you harvest to enable them to remain prolific over a long period. This is also an opportunity to remove weeds, pests, and fading leaves and maintain the garden at a top level.
There is no single perfect moment to harvest, but there will be a stage when each vegetable’s flavor and texture reaches its peak, which becomes easier to recognize with experience. After this, some vegetable harvests lose flavor and quality or develop a texture you may not like. To get the best from my crops, I check maturing plants every day or two in summer and maybe once a week in cooler conditions, when development slows.
Knowing what to look for is important, so check each profile in the vegetable and herb directory for my harvesting advice and read the characteristics of each variety on seed packets. When to harvest is also down to personal preference; some like small broad beans, while I prefer them larger because of the higher proportion of sweet flesh to bitter skin. When winter arrives, delaying some harvests allows frost to increase sweetness (see Delve Deeper How Growing Conditions Influence Flavor).
Specific techniques can prolong the productive period of many vegetables, which increases total yield and allows you to make fewer sowings. My method of harvesting lettuce by picking outer leaves so that the central rosette continues to grow produces a steady supply of leaves for two months or more from just one sowing. Pick fruits and pods promptly so plants continue flowering. Carefully twist only the largest roots from multisown clumps to create more space for the rest to continue growing and prolong the harvest period from each sowing. Sweet vegetables harvested when they’re small are a treat, but eating them all at this stage would dramatically reduce yields. For more to eat, enjoy a few baby vegetables and leave the rest to swell. You have many options.
Cut or push down on pod stalks gently to avoid ripping and weakening the main stems. Twist and push down on leaves such as lettuce, leaving the main stem clean and free of rotting stalks, where slugs could hide. Picking by hand may seem slow, but you will increase speed with practice, and it causes less damage than cutting across plants to harvest leaves, giving faster regrowth and longer-lived plants.
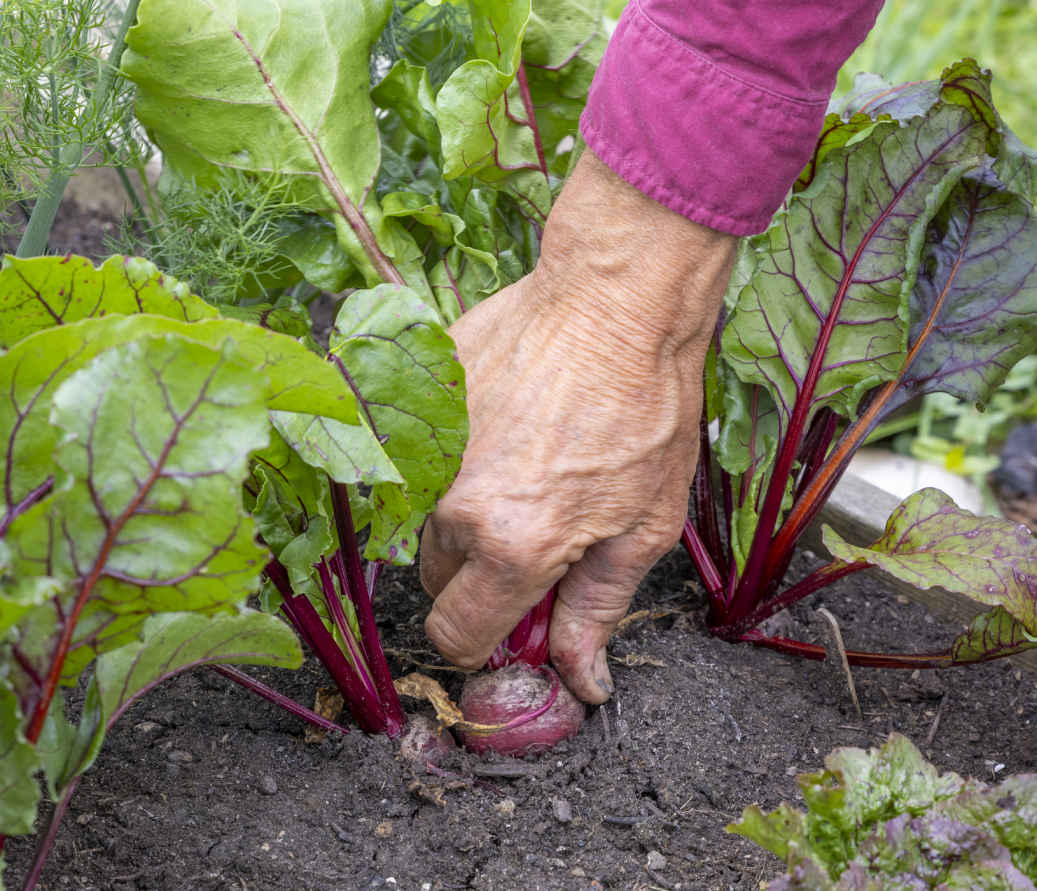
Gently twist the largest beets from multisown clumps to avoid disturbing nearby roots.
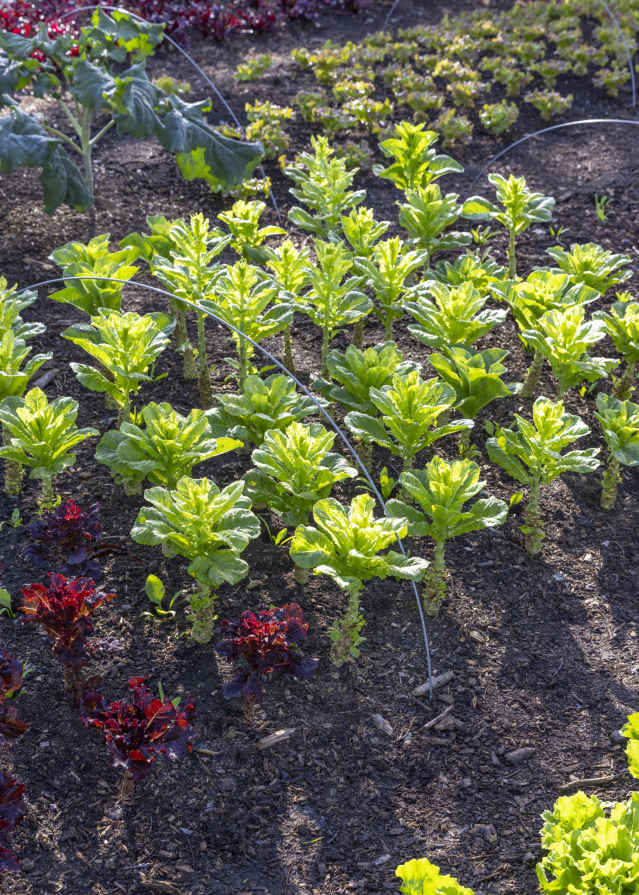
Repeated picking leaves lettuces with long, bare stems so that they resemble little trees.
Weather conditions and watering have an impact on the taste of vegetables. It’s fascinating to notice the flavor changes through a season of growth in harvests from the same plants. Sometimes it’s worth accepting a smaller harvest as payoff for maximizing flavor, and an understanding of the processes involved allows you to decide whether this is worthwhile.
Soil moisture affects both flavor and yield because lower moisture levels limit growth, which increases sweetness in fruiting crops, such as tomatoes and sweet peppers, and in root crops, like carrots and beets. It’s easy to influence the moisture available to plants grown under cover and in containers by watering sparingly. Similarly, I rarely water carrots and beets growing outdoors during summer to avoid diluting their sugary flavor. In trials where I have grown the same variety of cherry tomato in outdoor containers and in soil in the polytunnel, the harvest from the drier containers was significantly sweeter than fruit from moister polytunnel soil. Watering less also speeds up the ripening of fruit.
Winter conditions affect flavor in a different way because plants defend themselves from freezing by converting starches in their leaves and roots into sugars. These act as an antifreeze in plant tissues and they make Brussels sprouts, kale, and cabbages sweeter after frost, along with overwintering roots such as parsnips and rutabagas. When harvesting leaves from overwintered spinach in March and April, I find incredible sweetness in some of them, as though they had been sprinkled with sugar. This is a great advantage of winter gardening and is a fantastic reason for growing hardy vegetables through winter.
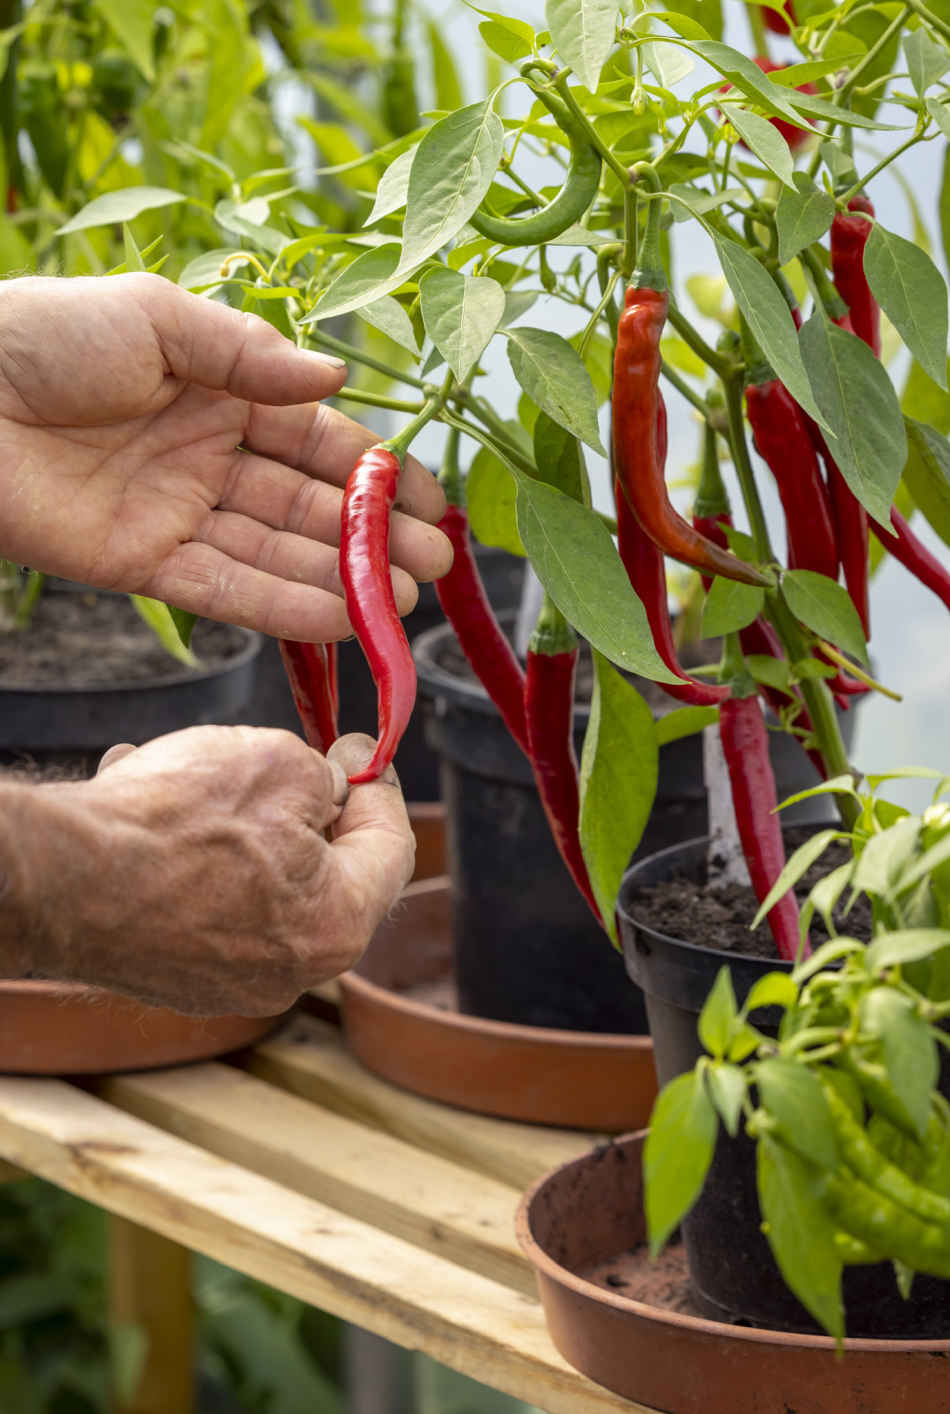
Water chili plants in containers minimally to concentrate the spicy heat of their fruit.
Storage is not a complicated process and you will be successful because vegetables grown in healthy no dig soil keep much better than those you buy. Storing vegetables allows you to eat much more food from one planting, especially through winter and early spring, and harvesting to store also frees up space to plant a succeeding vegetable. Here, I summarize the quickest and most convenient methods of storage and highlight some of the most rewarding vegetables to store, but check each vegetable profile for further detail.
I keep very few vegetables in my tiny fridge and don’t have any kind of cold store. A perfect place to store vegetables all year is an outbuilding of stone or brick with a tiled roof, similar to my shed, all of which helps mitigate large fluctuations in temperature. A cellar would also be perfect if you have one, for a constant temperature of around 50–54°F (10–12°C), while my shed is often 68°F (20°C) or more in summer. Buildings with a metal roof and wood or tin sheds may get too cold in winter and too hot in summer to keep produce in good condition. A few vegetables store well in the dry warmth of a house.
Roots store nicely in two- or three-ply paper bags—I use old flour bags from the local bakery. Harvest beets, celeriac, and carrots as late as possible so that they’re fresh going into store and will keep until early spring. Leave some soil on most roots and cut or twist off leaves at harvest to retain moisture in the roots. An exception is potatoes, which need to be dry going into storage and kept in the dark. Fold over the top of a potato sack to prevent them from going green.
About halfway through winter, empty the bag and remove any roots that are rotting. Root vegetables are living storage organs and will sprout to grow again in mild temperatures; just rub off the sprouts and the roots are still good to eat. Again, potatoes are different because they need 68–77°F (20–25°C) warmth after harvest to cure, then remain dormant for a long time before sprouting in early winter.
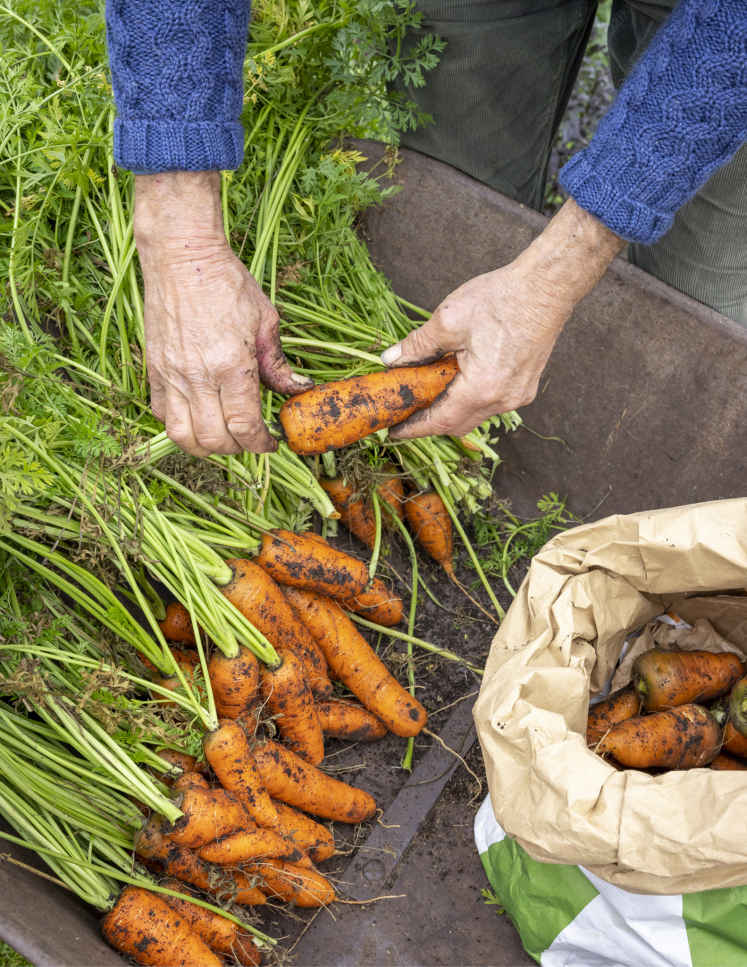
Twist leaves off maincrop carrots ‘Oxhella’ and ‘Berlicum’ before storing in a paper bag.
These vegetables are easy to keep for long periods and store best in the dry warmth of a house. Winter squash have a strong skin to retain moisture and will keep on a sunny windowsill for months, whereas in the dampness of a shed, mold develops on their stalks and spreads down into the flesh. Onions and garlic are similar and, when kept indoors, mostly remain in good condition until late spring. They are convenient to use and look attractive hanging in the kitchen with their stems braided, while squashes make a pleasing display anywhere in the house.
Garlic bulbs with braided stems keep for 10 to 11 months when hung in my conservatory.
Keeping moisture in freshly picked leaves is the key to successful storage. I wash freshly harvested salad leaves and don’t dry them so that the residual humidity enables them to stay alive and in good condition for several days. To retain this moisture, they either need to be sealed in a plastic bag or in a covered plastic box; paper bags and other nonplastic containers are not as effective at retaining humidity. Wash and reuse any plastic used for storage to minimize plastic use and waste. In plastic crates, covered with a sheet of reusable plastic, salad leaves store for a week in winter and three days in summer at ambient temperature in my shed. Brassica leaves and broccoli store best in a fridge, especially salads like arugula and mustard, which often go yellow after three days at room temperature.
Tight heads of cabbage and chicory retain moisture well and can store for two to three months over winter in cool and damp conditions. They start to go moldy on the outside, but carefully peel away that protective layer of unappealing leaves and you’ll be amazed to find a beautiful heart inside.
You can process excesses of vegetables that wouldn’t otherwise store well. I cut tomatoes into ¼ in (5 mm) thick slices and dry them in a food dehydrator. This concentrates the flavor into something special, and once dry, they store in a jar for two or three years. Dry beans and peas store for more than a year in jars, paper bags, or buckets with lids. Freezing adversely affects the flavor of many vegetables but is an option for peas, broad beans, corn, and whole cherry tomatoes, if you harvest more than you can eat fresh.
Producing your own fermented pickles is a fantastic way to store leaves from hearted vegetables, roots, and fruits. It’s easy to shred excesses of cabbage hearts, Chinese cabbage, carrots, and cucumbers to pickle so that they ferment and store in jars. I’ve only done it for the last three years and love the results.
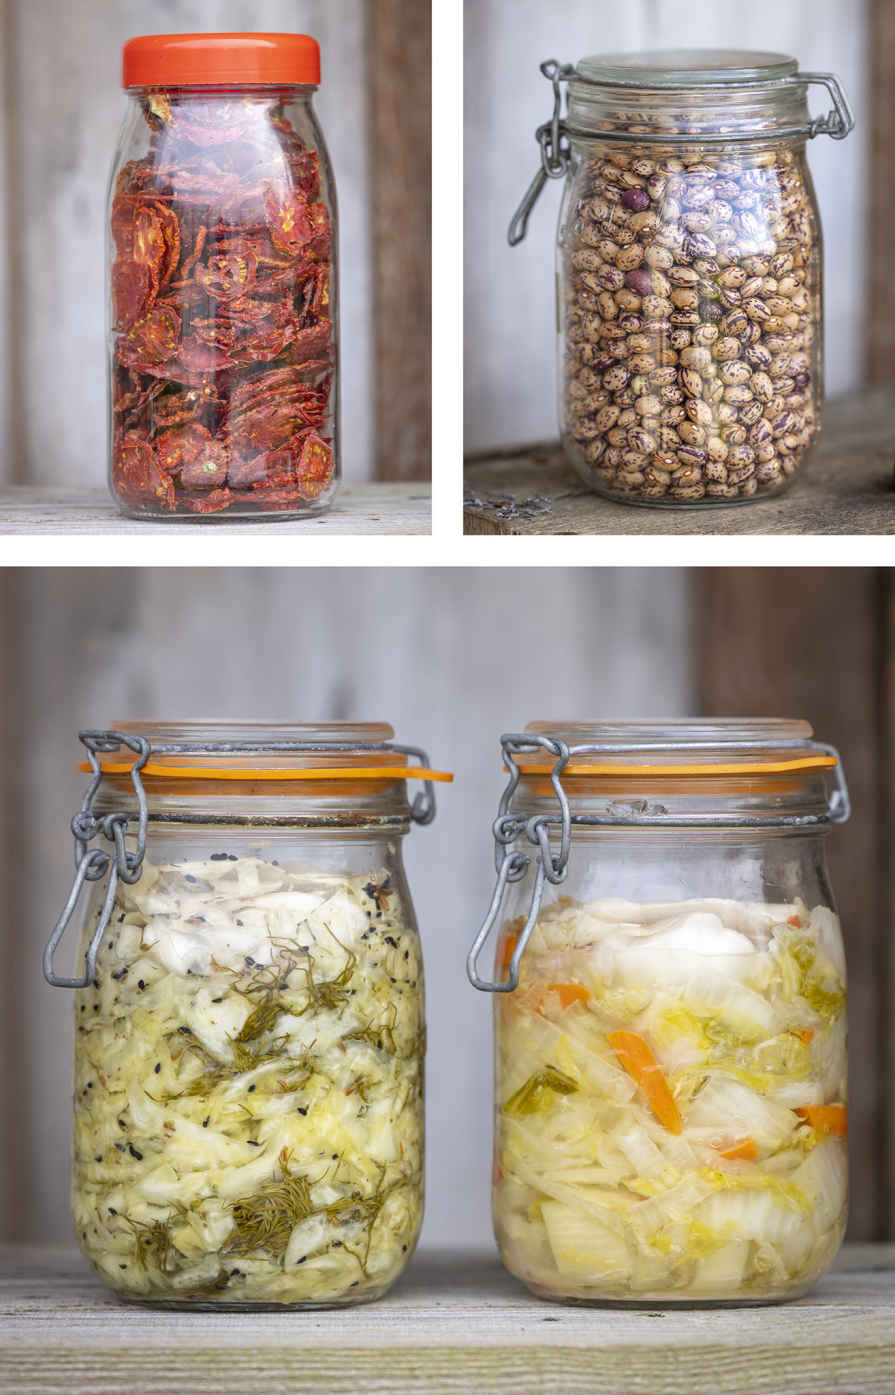
Clockwise from top left: dehydrated tomatoes, dried borlotti beans, fermented Chinese cabbage with carrots, and sauerkraut with dill.
Saving and sowing your own seed is empowering not only for you, but also for your plants, which often grow more strongly from home-saved seed. Start with the four simplest vegetables, then progress to those that need a year of growth before they flower and set seed, as well as neighboring plants for cross-pollination. Seed matures best in dry weather, so saving seed can be difficult in wet climates, where rain in late summer may cause seeds to rot before ripening.
There are four vegetables that it’s easiest to save seed from because they rarely cross-pollinate with other varieties of the same vegetable nearby, and only a single plant is required to provide a strong pool of genes. Peas are an ideal first vegetable to try because you need only leave pods of mature peas on one plant for three to four weeks after they reach eating stage. Pick them when they dry and turn brown and shell them for seeds. Green bean seeds are saved in a similar way, but pods need more time to mature and dry on the plant. Ripe tomatoes already contain seeds that are easy to collect and process for sowing the following spring. Ensure you are not saving seed from an F1 hybrid variety. Lettuce needs a long season to mature, and your seed crop can be spoiled by summer rain; therefore, it’s more reliable to grow for seed under cover. It’s also simple to save harvested potatoes and garlic to plant for your next crop—just be sure they came from healthy plants.
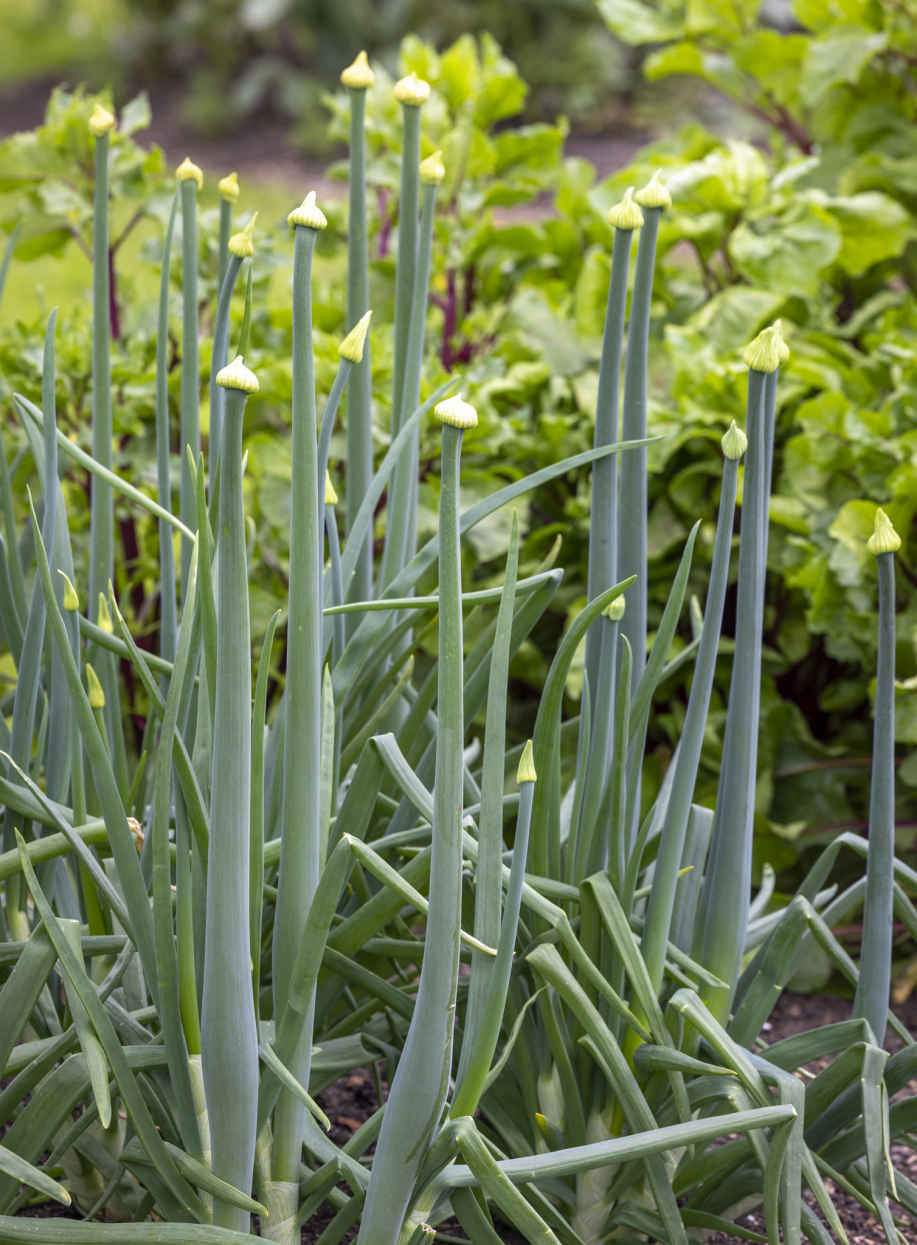
Stored onions and beets, replanted in spring for seed production, come into flower in June.
Some vegetables need to be grown in a group with other plants of the same variety to provide sufficient genetic diversity for the production of healthy seed. This applies to broad beans, runner beans, beets, carrots, onions, corn salad, and brassicas, all of which I’ve saved seed from successfully (see directory entries). Saving seed from single plants of these crops results in inbreeding and seed that either doesn’t germinate or grows weakly.
It pays to be aware of some of the pitfalls that commonly affect gardeners trying to save their own seed. If you don’t collect seed at the right moment, seeds will fall onto the soil and result in a lot of extra weeding. Plants grown for seed also take up valuable space, as they need longer in the ground and become larger than when grown as a vegetable crop. One way to save space and produce good-quality seed is to select the best beets, carrots, and onions from a stored harvest and replant them in spring in an area devoted to seed production. Seed saving often works well in community gardens, where as few as eight beet plants could yield seed for 100 people to share.
Cross-pollination occurs when pollen is transferred from the flowers of one plant to those of another in the same species. This helps ensure healthy growth thanks to the genetic diversity in new seeds but can have undesirable results for gardeners, including the introduction of unwanted traits from closely related wild plants or other varieties of the same vegetable growing nearby.
Cross-pollination between varieties means that some otherwise easy seeds, such as winter squash or broad beans, are better not saved where more than one variety is grown. The only way to avoid this is to isolate plants, which is often impractical in gardens.
Seed saved from F1 hybrids won’t produce offspring the same as the parent plant. An F1 hybrid is the result of controlled pollination between two inbred and “pure” plant lines, each of which has uniform and desired characteristics. Only open-pollinated varieties, naturally pollinated by insects or the wind, will come true from home-saved seed.
Seed needs to be dry to enable it to be rubbed out from seedheads and stored successfully. It often helps to lift plants and hang them up to dry under cover. Bean and pea seeds may be damaged if they remain too moist when pods are left to dry on plants; peas can germinate in pods before they dry, which reduces the germination rate of saved seed.
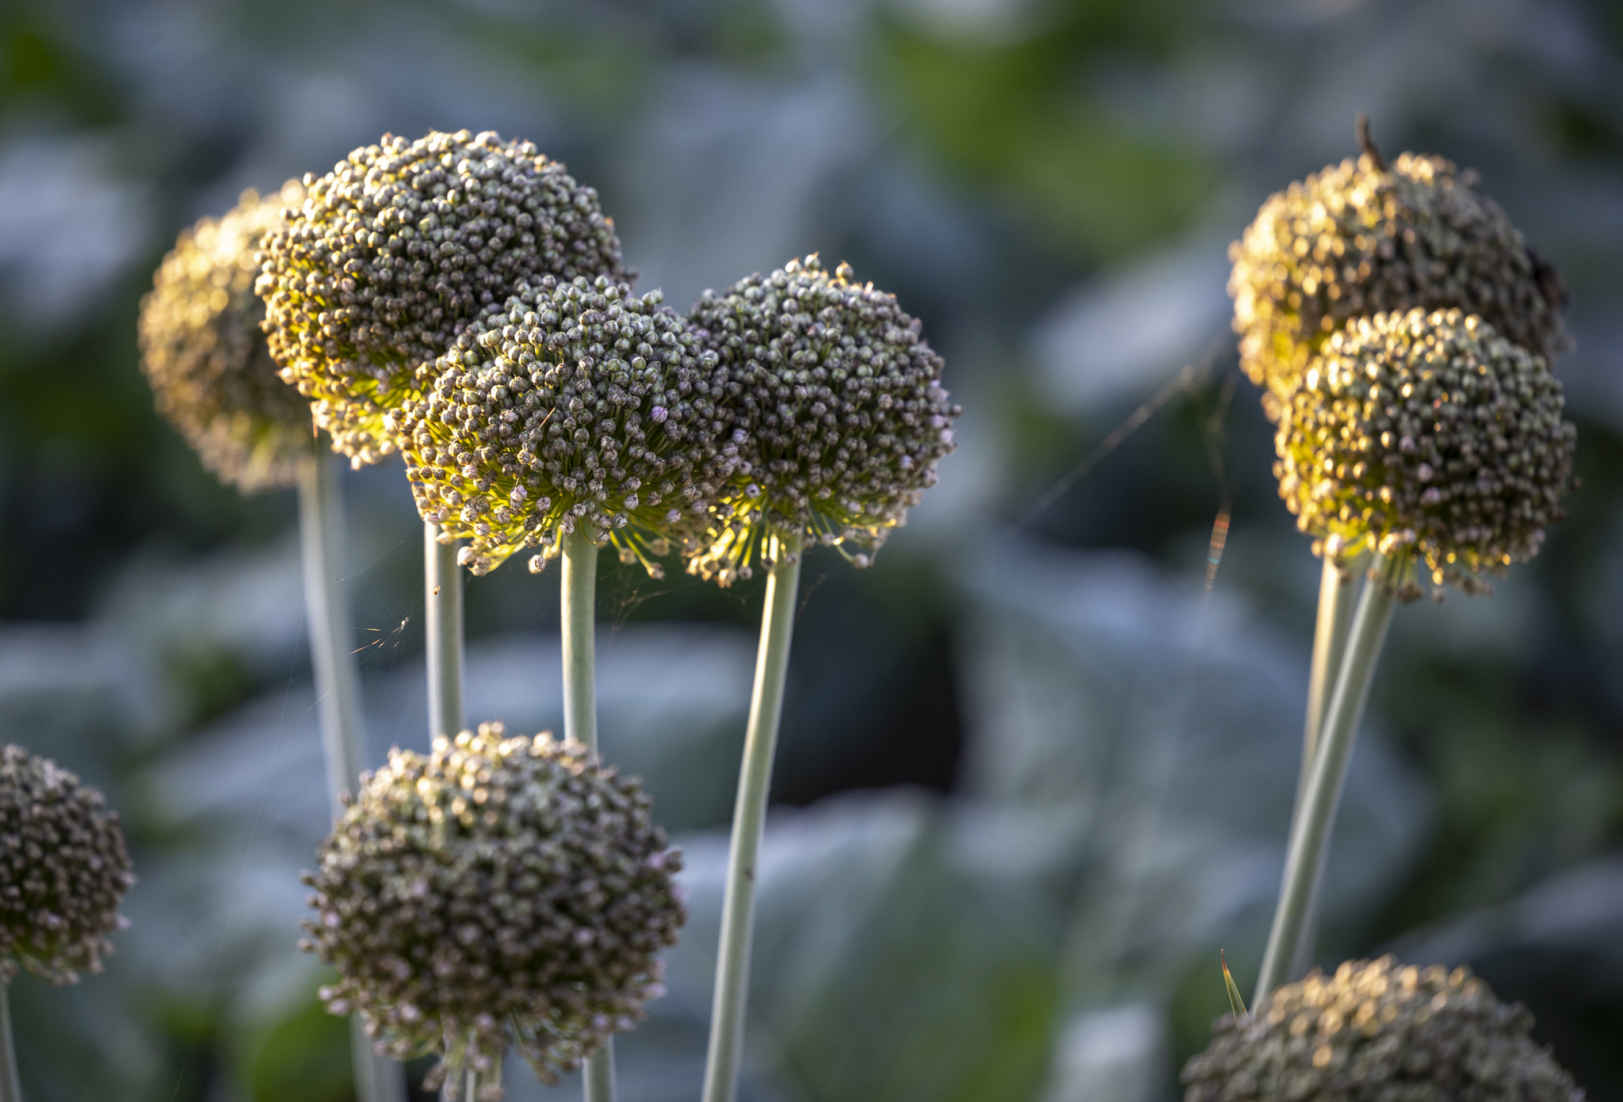
Once leek flowers fade, globe-shaped seedheads form during summer.
How do you know when seed is ripe and ready to harvest? Pods will have turned yellow or brown and need to feel dry but not yet crackling. Tomatoes and melons should be ripe to eat, but cucumbers need to have hard yellow skin and be almost inedible. All squash seeds must come from ripe fruits with hard skins. A rule of thumb for lettuce, umbellifers, and brassicas is to gather plants before the seeds are completely dry. Often there is only a short period between seed coming ready to gather and it falling to the ground, so it’s best to pull these plants a little early and hang them under cover for about two weeks before you rub the stalks or seedheads over a sheet to extract the seed.
Clean seed by winnowing in a light breeze, pouring it slowly and steadily from one container to another. The breeze blows away any small bits of pods and dust, leaving you with a satisfying quantity of seed.
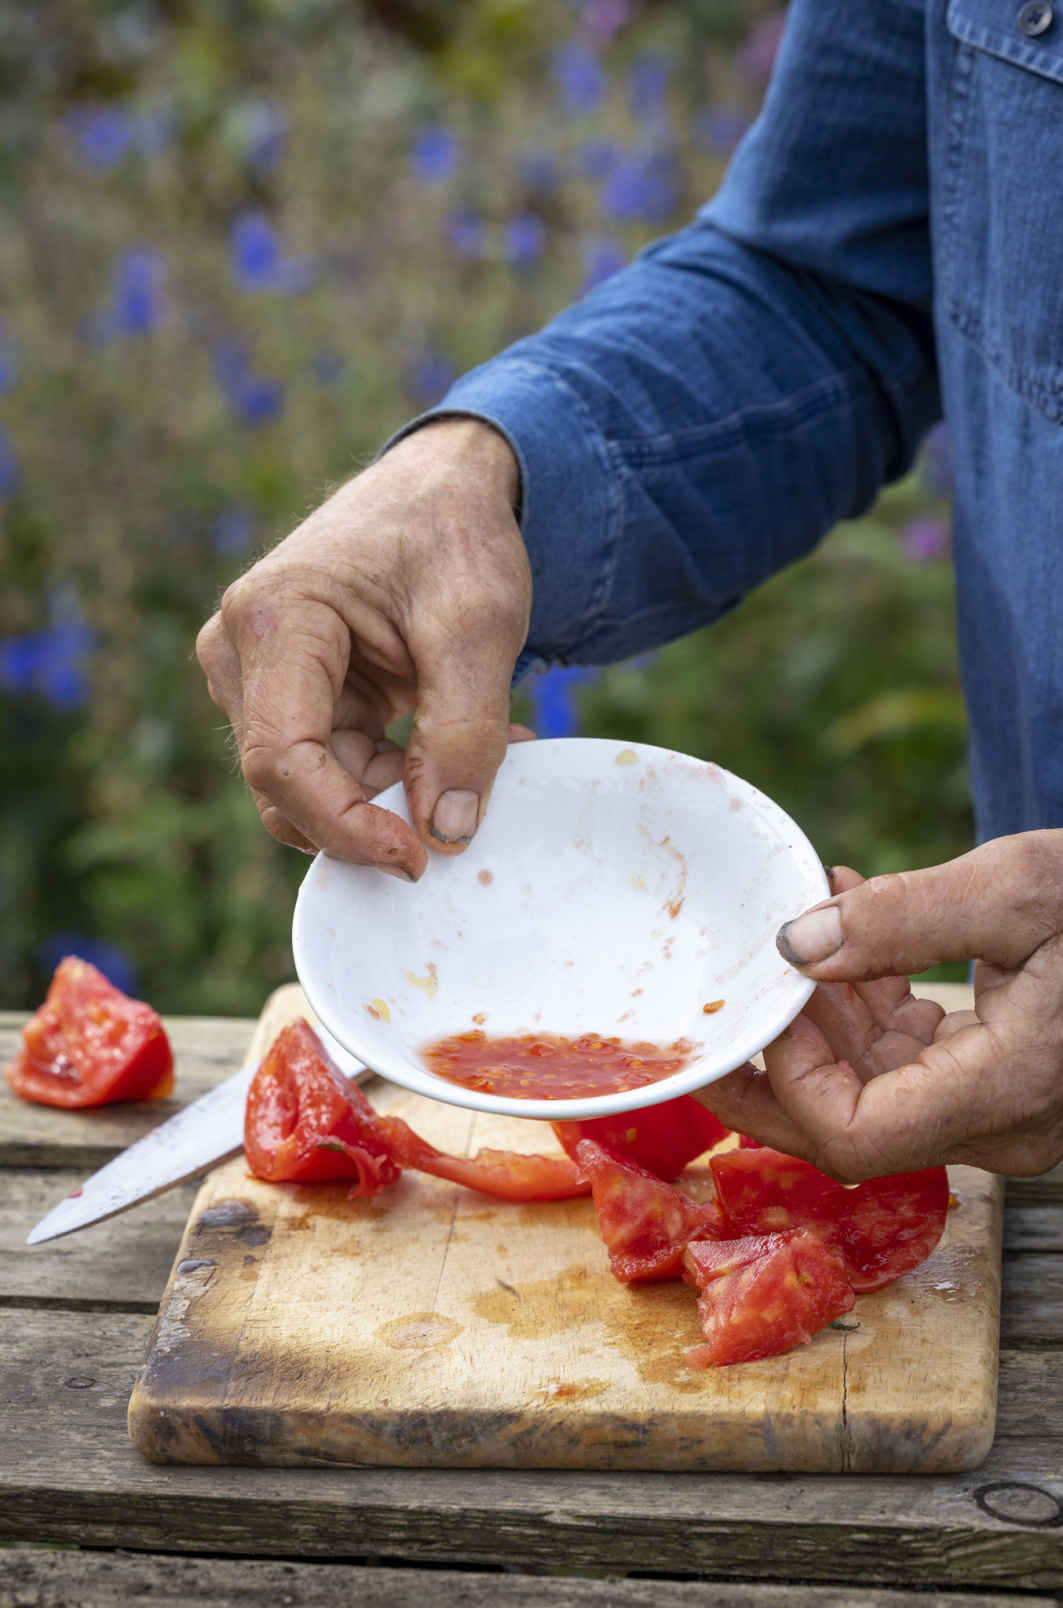
cutting ripe tomatoes to extract seed
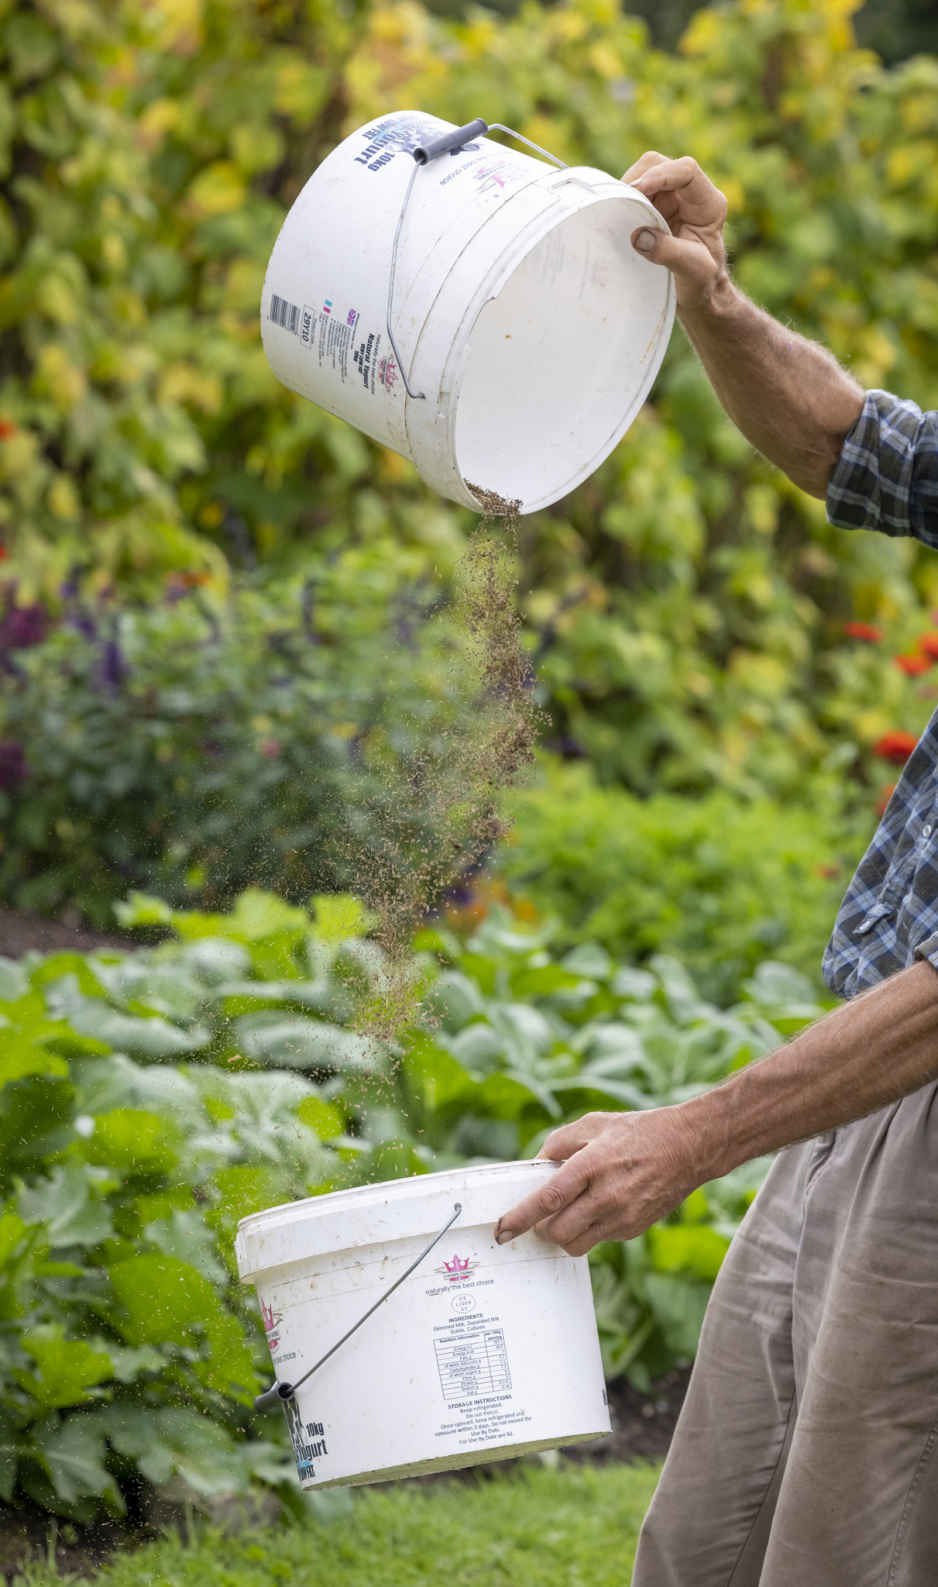
winnowing carrot seeds to remove lighter debris
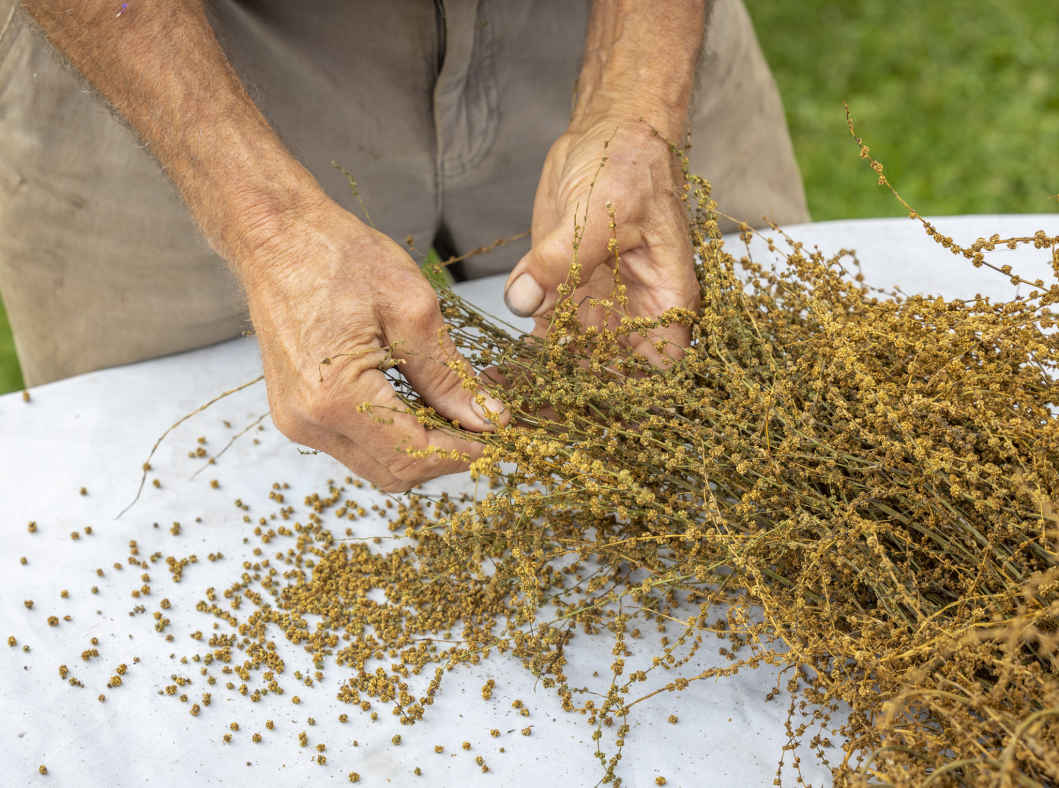
rubbing beet seeds onto a sheet for collection
I use old seed packets for storing my harvests, with new labels stuck on to record the variety and the date seed was saved. Larger amounts keep well in old yogurt containers, jam jars, or food storage boxes; an airtight seal isn’t necessary. Dryness is important to keep seed in good condition, and including a small pack of silica gel reduces moisture levels. Temperature is not critical, but cool is best, so keep seed in the least heated room in the house.
Seeds of tomato, cucumber, and melon store the longest—for up to 10 years—while parsnips lose vigor within two years and beets and chard keep for only a little longer. All other vegetable seeds keep well for around three to four years, which I would suggest is the maximum time they should be stored before sowing.
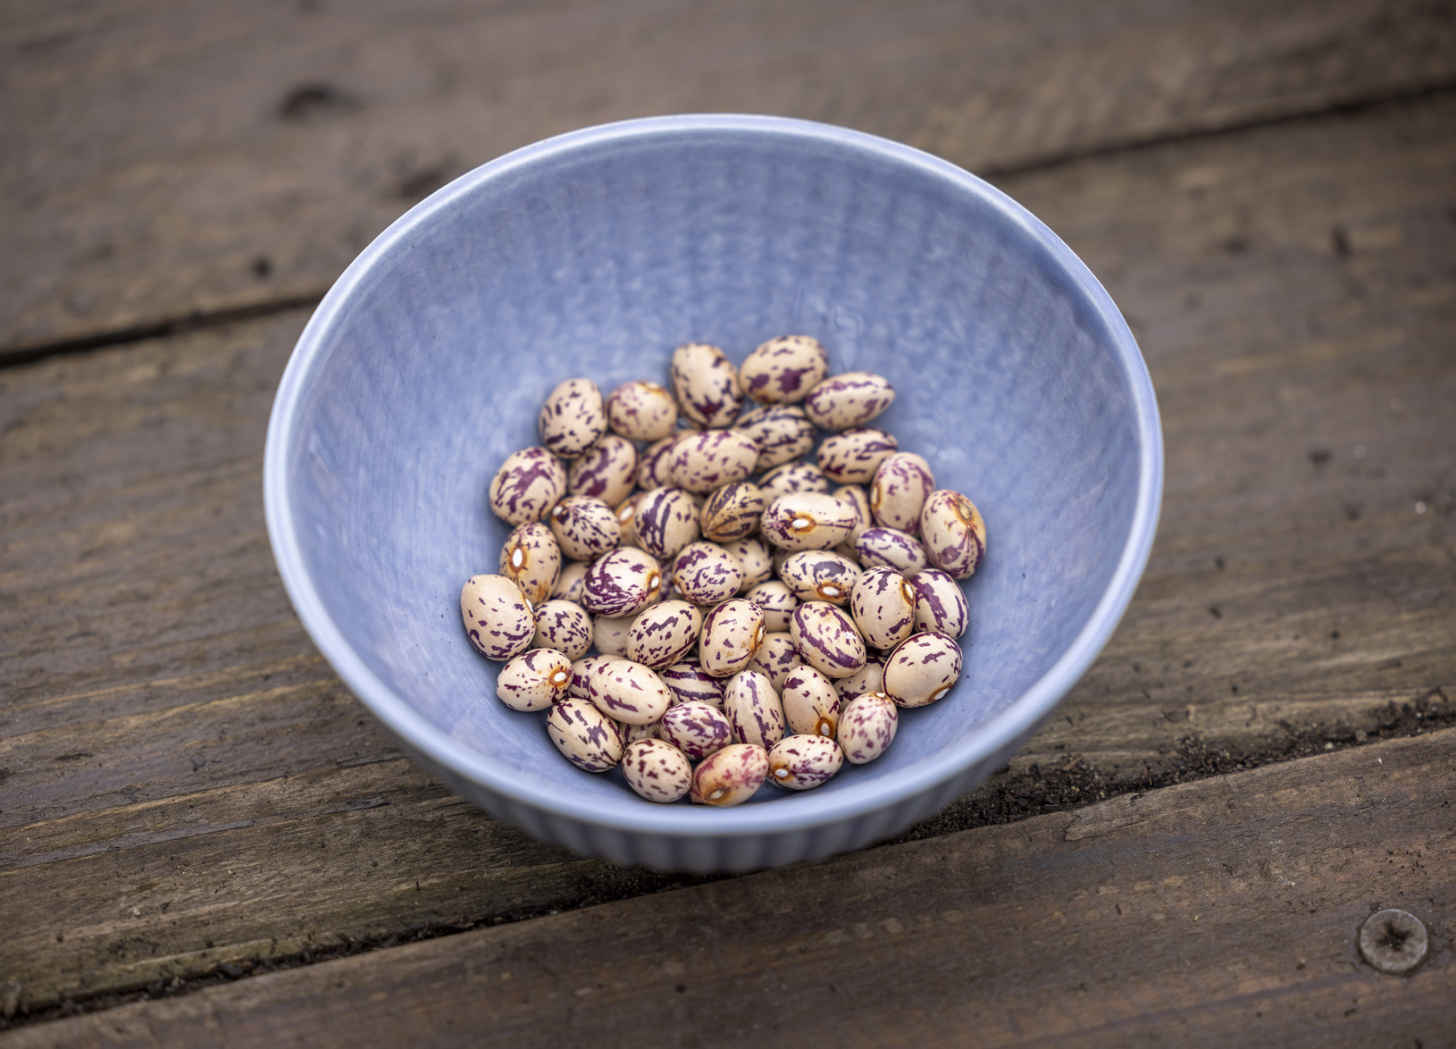
dry borlotti beans popped from their pods
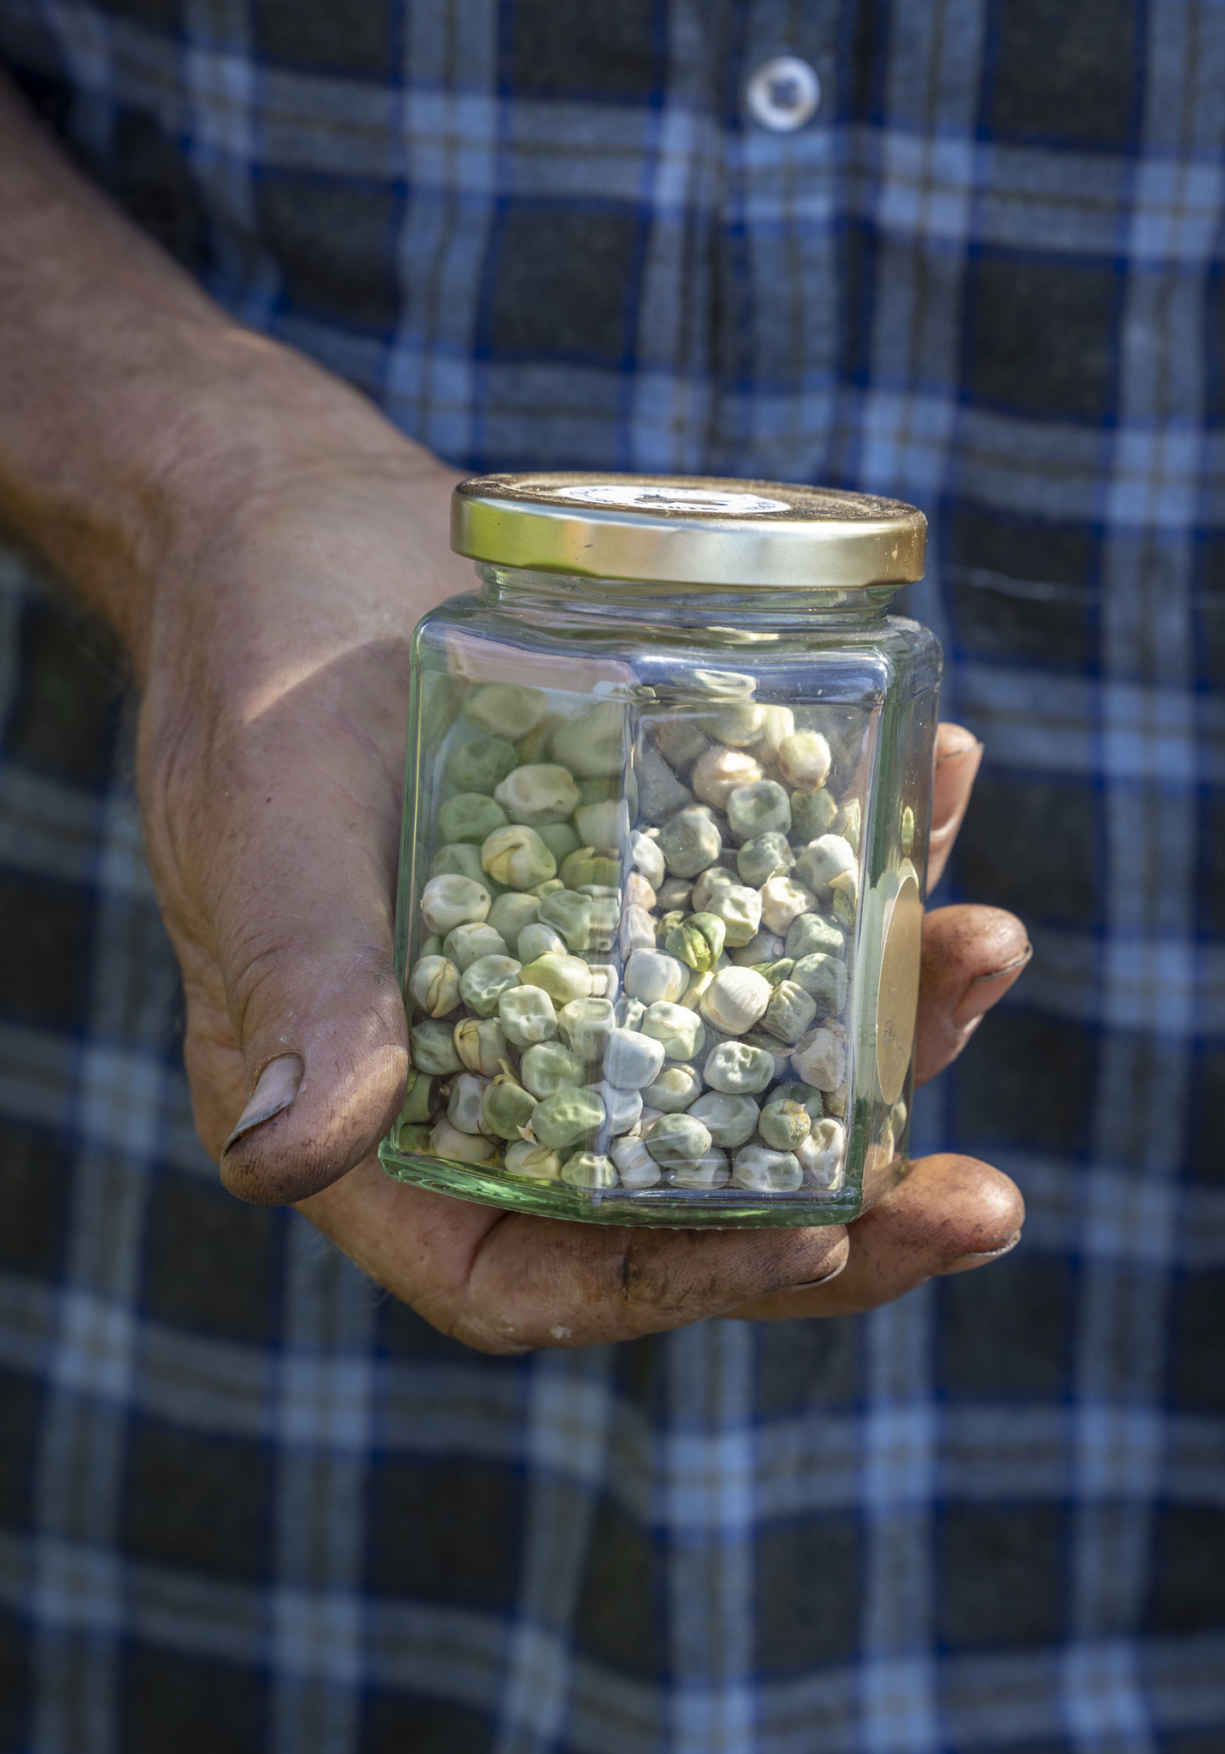
pea seeds stored in a glass jar
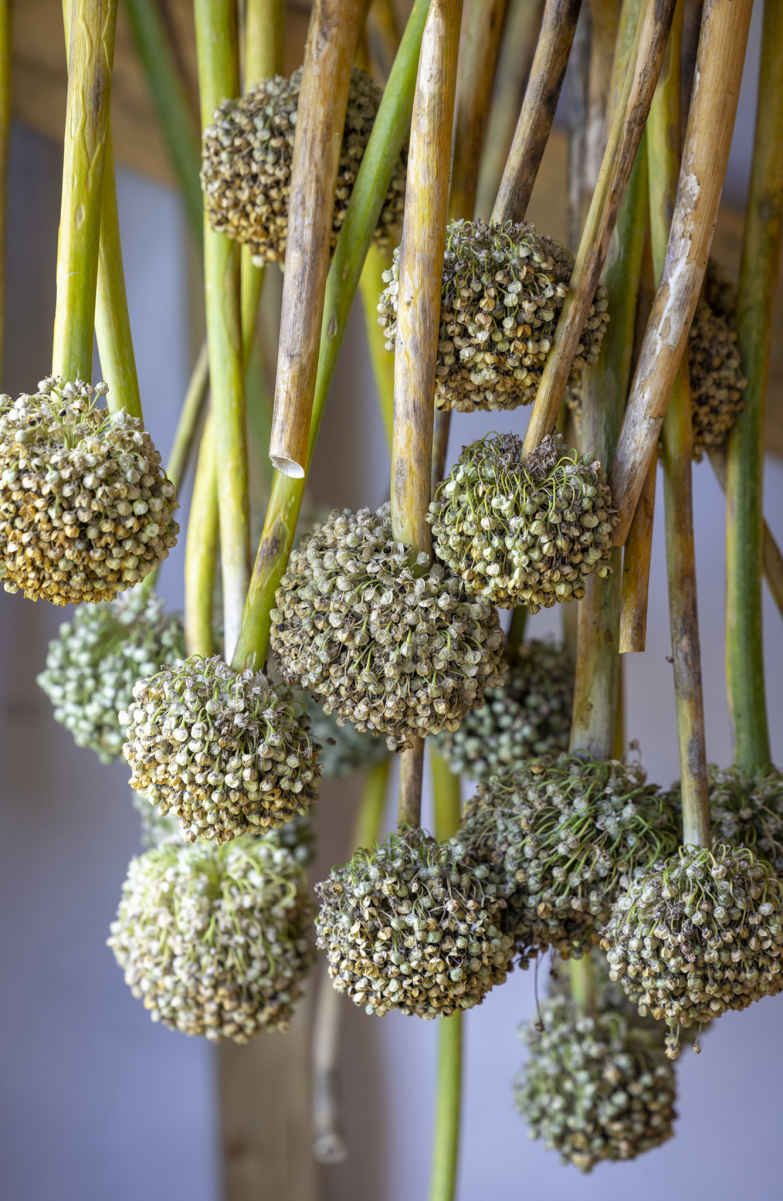
seedheads of bulb onions hung up to dry in the shed
g CONTENTS
CHAPTER 4
Vegetable and herb directory
Vegetable and herb directory | Contents
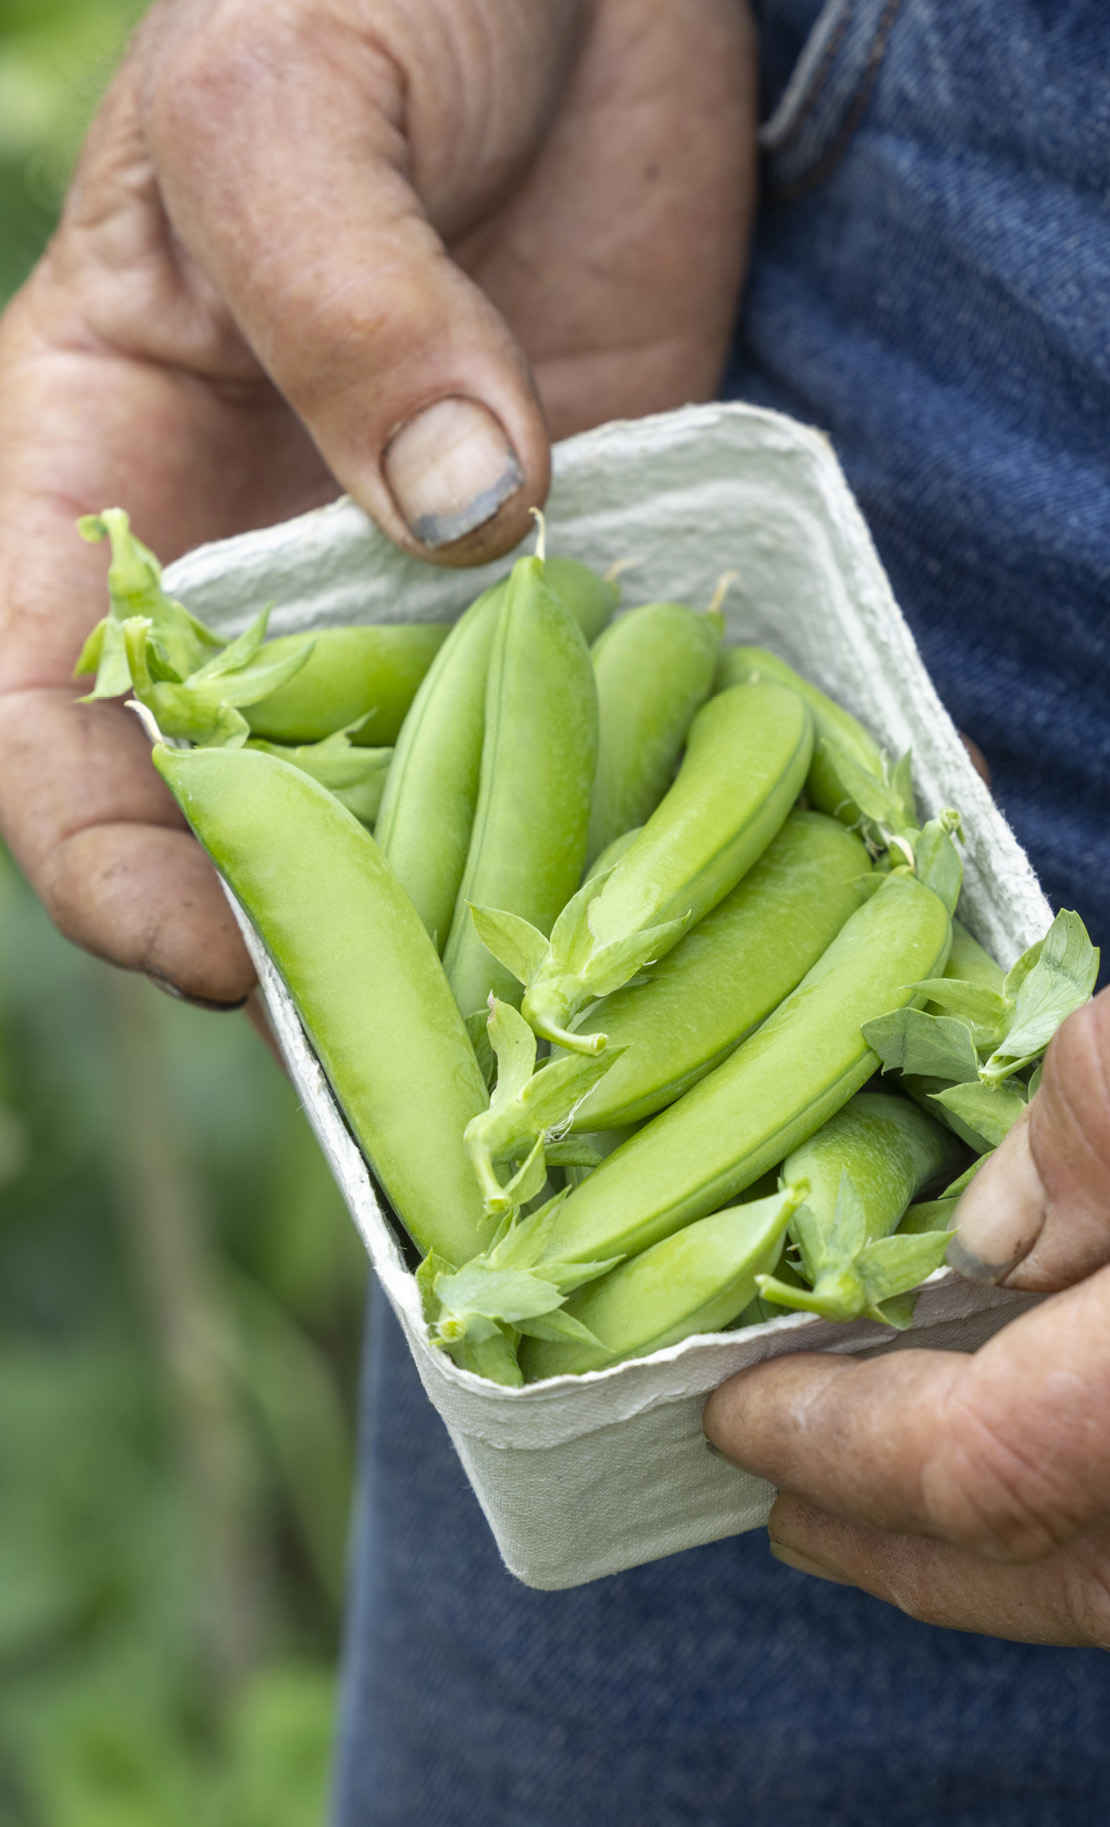
Plants from the legume family are grown almost exclusively for their pods, which are either eaten whole or shelled for their fabulous peas and beans. Legume plants have the ability to fix nitrogen from the air, thanks to nodules on their roots containing beneficial bacteria. Almost all of this nitrogen is utilized for their own growth, especially when grown to maturity for pods such that, contrary to popular belief, little is left for use by the next crop.
Peas and broad beans are hardy enough to tolerate frost—sow them early and they thrive in cooler conditions to harvest in late spring and early summer. Choose from shelling peas or varieties of snow and snap peas with edible pods. You can also grow succulent pea shoots to add to spring salads. Green, runner, and other types of bush and pole beans are summer crops that need warmth to flourish and are killed by even a slight frost. Freshly picked pods have a fine flavor but can also be allowed to mature for a store of dry beans to enjoy in winter. Bush and climbing varieties of peas and beans are available to suit every growing space. Choose compact varieties for containers and windy gardens.
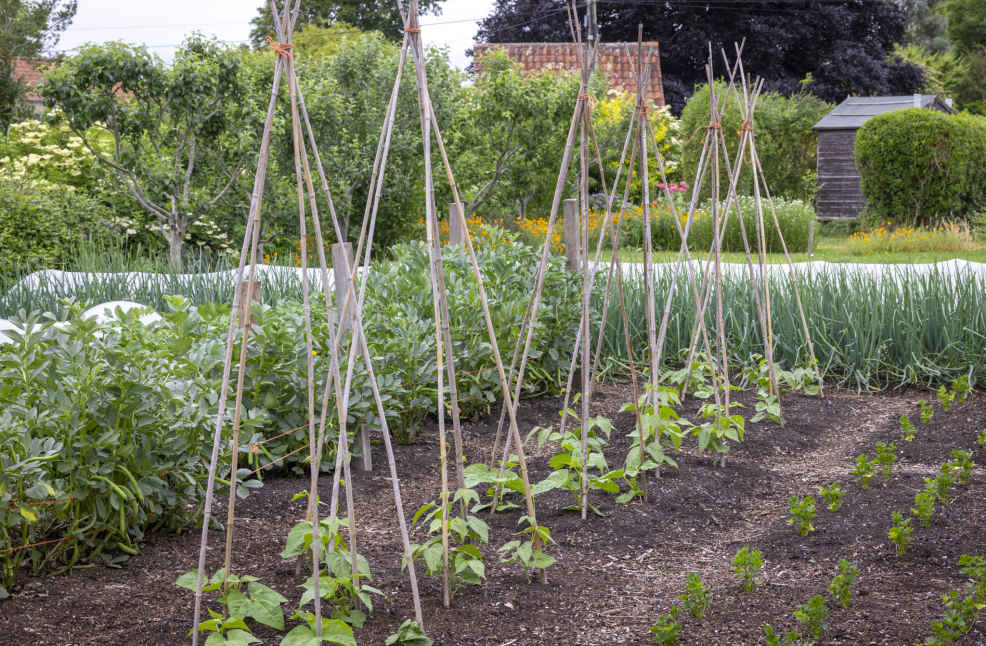
Young borlotti beans begin to climb in June, when broad beans are ready to pick.
Legume seeds are easy to sow into 1¼ in (3 cm) cells for peas and bush green beans and wider 2 in (5 cm) cells for the large seeds of runner beans. You don’t need to use the deep root trainers marketed for sowing beans. Success comes most easily when you follow each vegetable’s natural growth pattern and flowering time. Broad beans and peas sown early will suffer fewer pests and diseases than later sowings. In contrast, it’s important to respect green and runner beans’ need for warmth. Sow them under cover no earlier than the last frost in your area for fast-growing transplants ready to go out when the soil is warming up. No dig soil mulched annually with compost retains the plentiful moisture that legumes need without the need to fill deep trenches with organic matter the winter before planting.
Supports are essential for all peas and beans except bush varieties and peas grown for shoots. Check how high your chosen variety will grow and provide a suitable framework for it. The stems of pole and runner beans readily twine themselves around smooth canes. Growing the 6½ ft (2 m) tall plants up conical teepees rather than along lines of canes allows the wind to flow through and results in less damage. Peas need a denser structure of netting, string, or twiggy pea sticks to grasp with their coiling tendrils. This allows growth to spread out and makes finding and picking pods easier among the dense foliage.
Harvest pea and bean pods at different stages of development according to your taste, sampling them every few days to find the stage you like. Picking young pods regularly should increase the proportion of later flowers that develop pods, but it won’t extend your harvest for a long period.
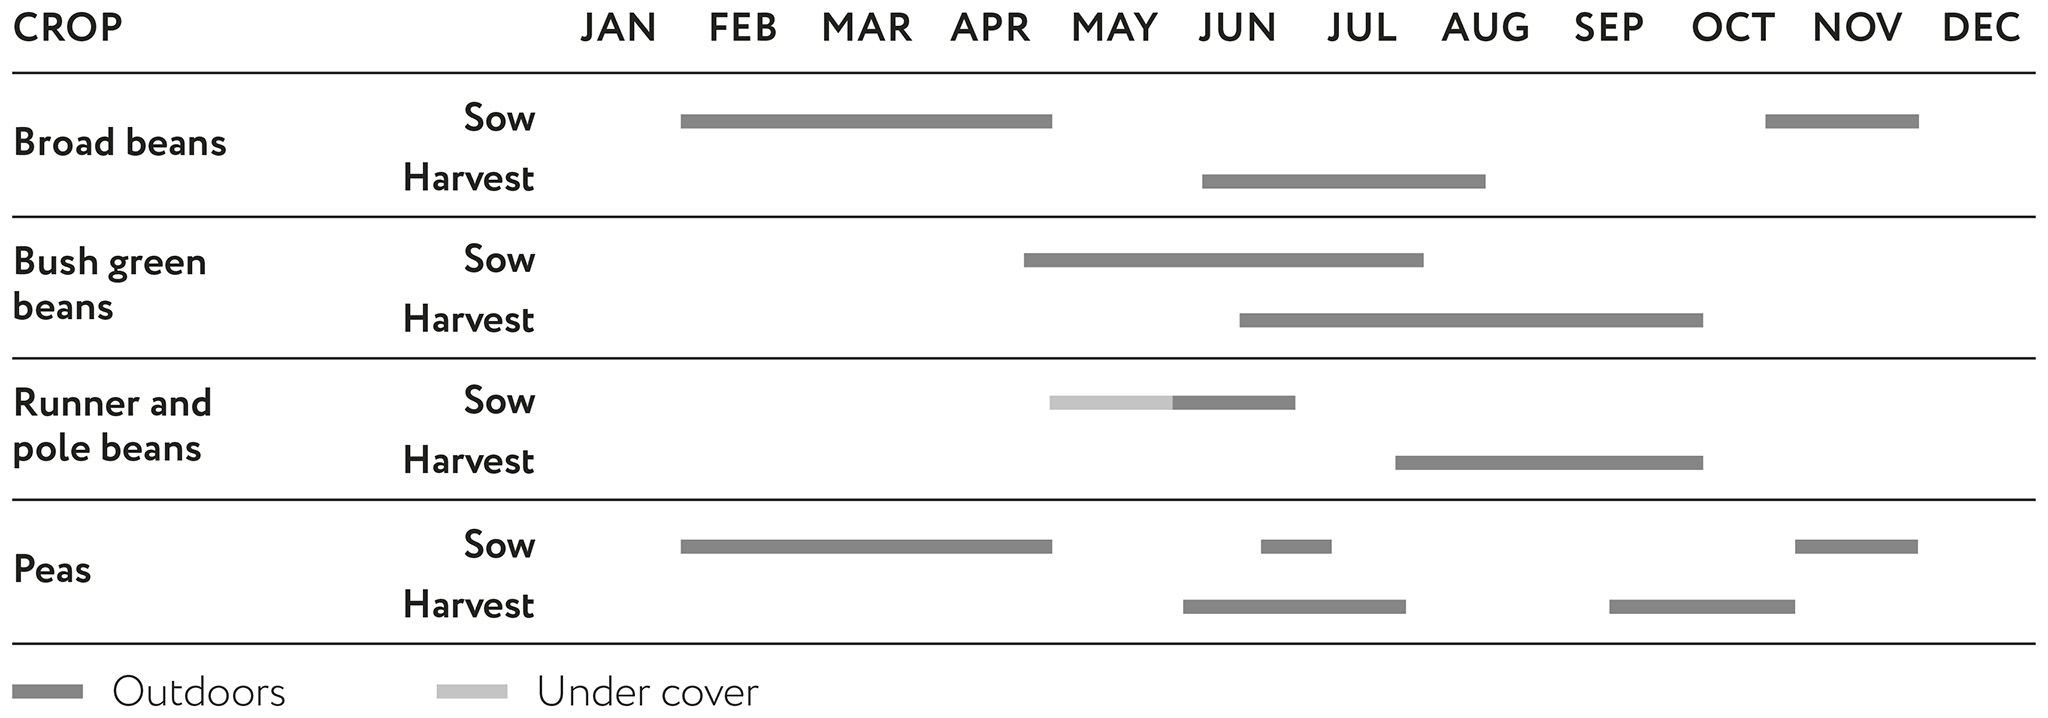
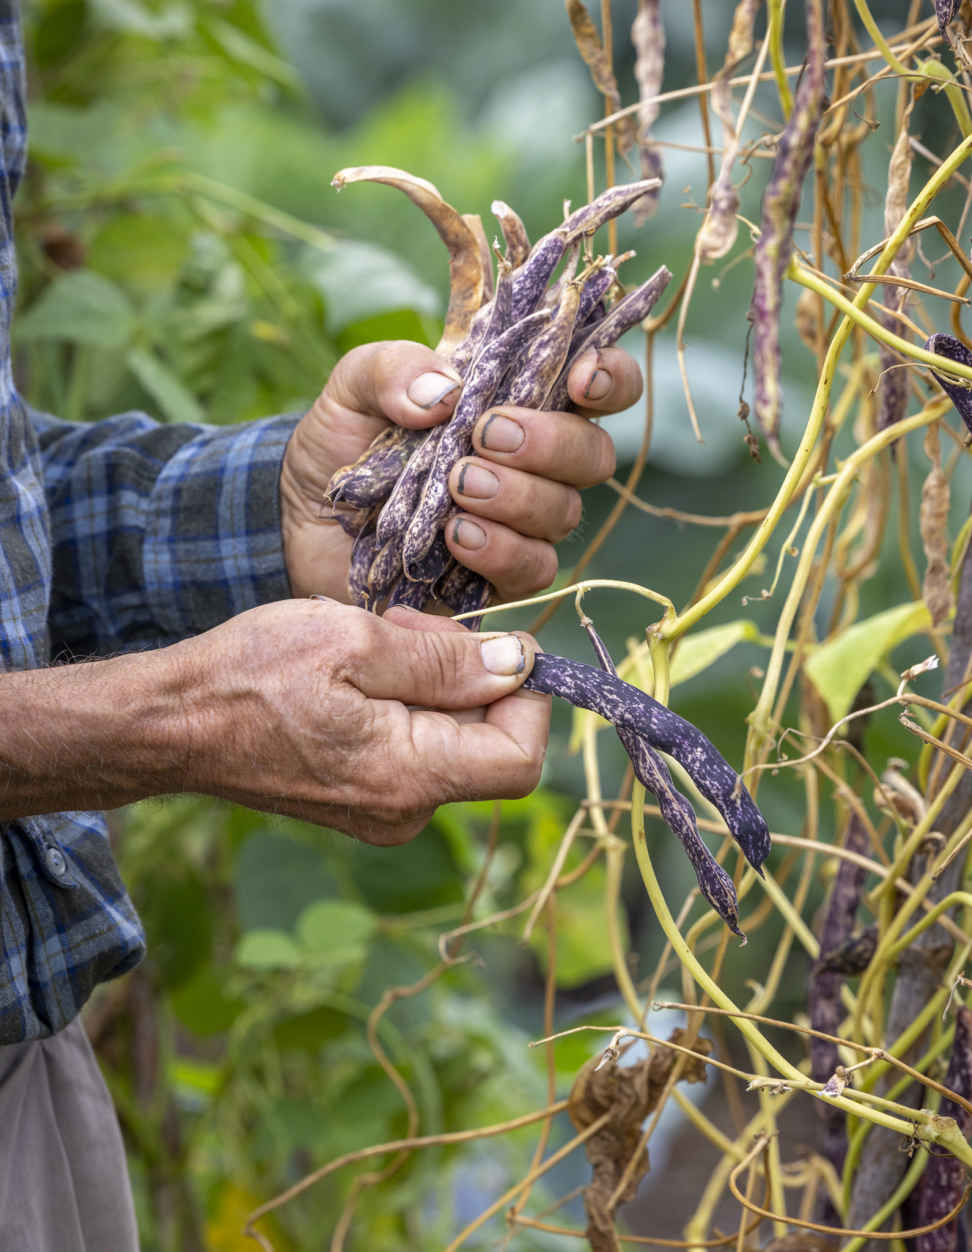
Pick speckled borlotti bean pods in early fall, once they begin to dry and the leaves have faded.
Dry soil conditions can prevent pods from setting. Misting flowers is often recommended as a remedy for this, but this makes little difference to yields because plants need moisture at the roots. Dry soil can also weaken plants, making them susceptible to aphids. These aphids suck the sap from soft new growth and are particularly common on later sowings of broad beans. Sow early to avoid this pest, and once the main stems are full of flowers, pinch out the growing tips of broad bean plants to remove the aphids’ favorite landing point. Late summer and fall peas often develop powdery mildew, which is visible as a white dust of fungal growth; peas sown in early spring are much less susceptible.
Pigeons and rabbits may devour young transplants and peck or nibble new growth such that plants cannot develop. A remedy is to delay adding supports until three to four weeks after transplanting, which allows you to cover seedlings easily while they establish. Once supports are added, plants may then need protection with mesh or bird netting while they continue to grow.
Pea and bean weevils eat semicircular notches into leaf edges, particularly on seedlings and near the base of plants. Strong plants growing in moist, mulched soil will grow away from this damage. Weevils also burrow out of saved seed, so check for damage and remove weevils from home-saved seed in midfall. If you find small maggots feeding on peas inside the pods, pea moth is the culprit, but usually only a few peas are affected. This pest is more common by midsummer, and I find that the pods of early spring sowings are picked before moth caterpillars cause too much damage.
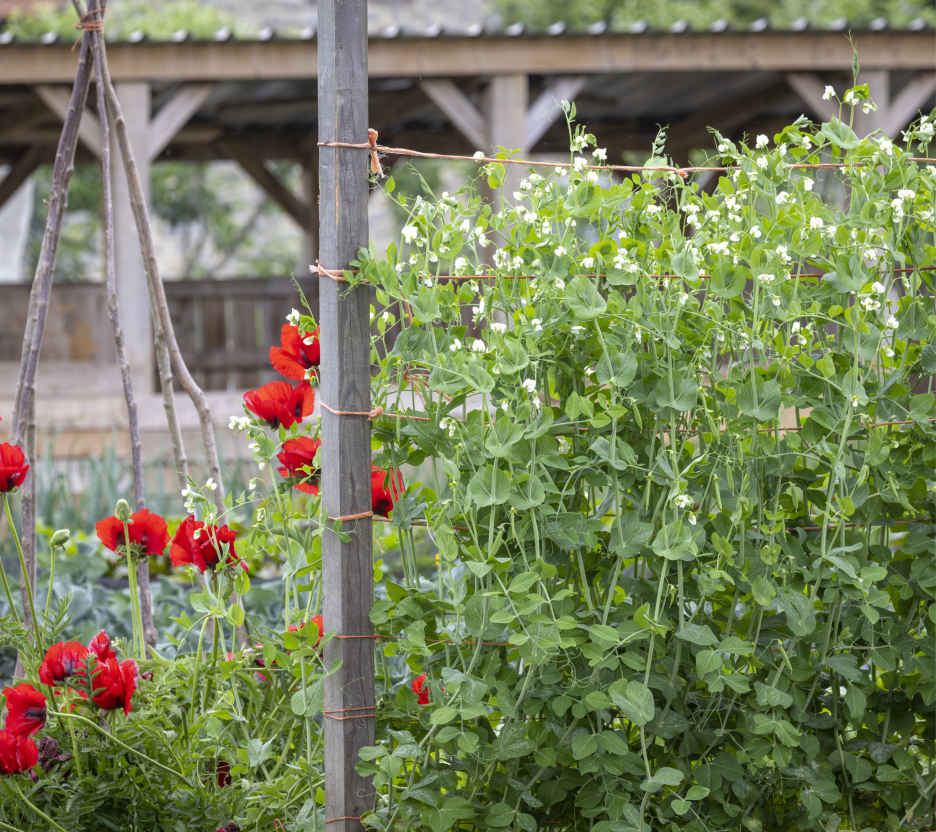
Peas flower in early summer alongside a vibrant Oriental poppy.
Broad beans are suited to cool climates because, unlike other beans, they are frost hardy. Sow them either in late fall or late winter for a crop of fat pods, starting in early summer. They grow less well in the heat of high summer. Once picked, the plants can be cleared in time for planting another vegetable—perhaps beets or kale to harvest in fall, or sprouting broccoli to pick the following spring. Early sown broad beans are a wonderful half-season vegetable (see Succession Planting) for keeping your plot productive year-round.
Sow under cover, if possible, where it’s easier to protect the seeds and young plants. Mice love to eat the fat seeds (set a mousetrap close to your sowing), and birds may pull up seedlings of outdoor sowings to eat the germinating seeds. Raise plants in 2 in (5 cm) cells rather than deep root trainers; it’s fine for the tap root to coil around in the potting mix before they go in the ground. Sow from late October to early November if your climate is not too cold in winter, or from January to February under cover to transplant in March. You can also sow in March and April outdoors.
Transplant seedlings after four to six weeks, when they are about 2–2¾ in (5–7 cm) tall. Dib a hole 1¼ in (3 cm) deeper than the root ball, push the cell in so that its top is about ¾ in (2 cm) below the surface, and water in if the weather is dry. Space plants 8–10 in (20–25 cm) apart in all directions or with 6 in (15 cm) between them in rows 18 in (45 cm) apart.
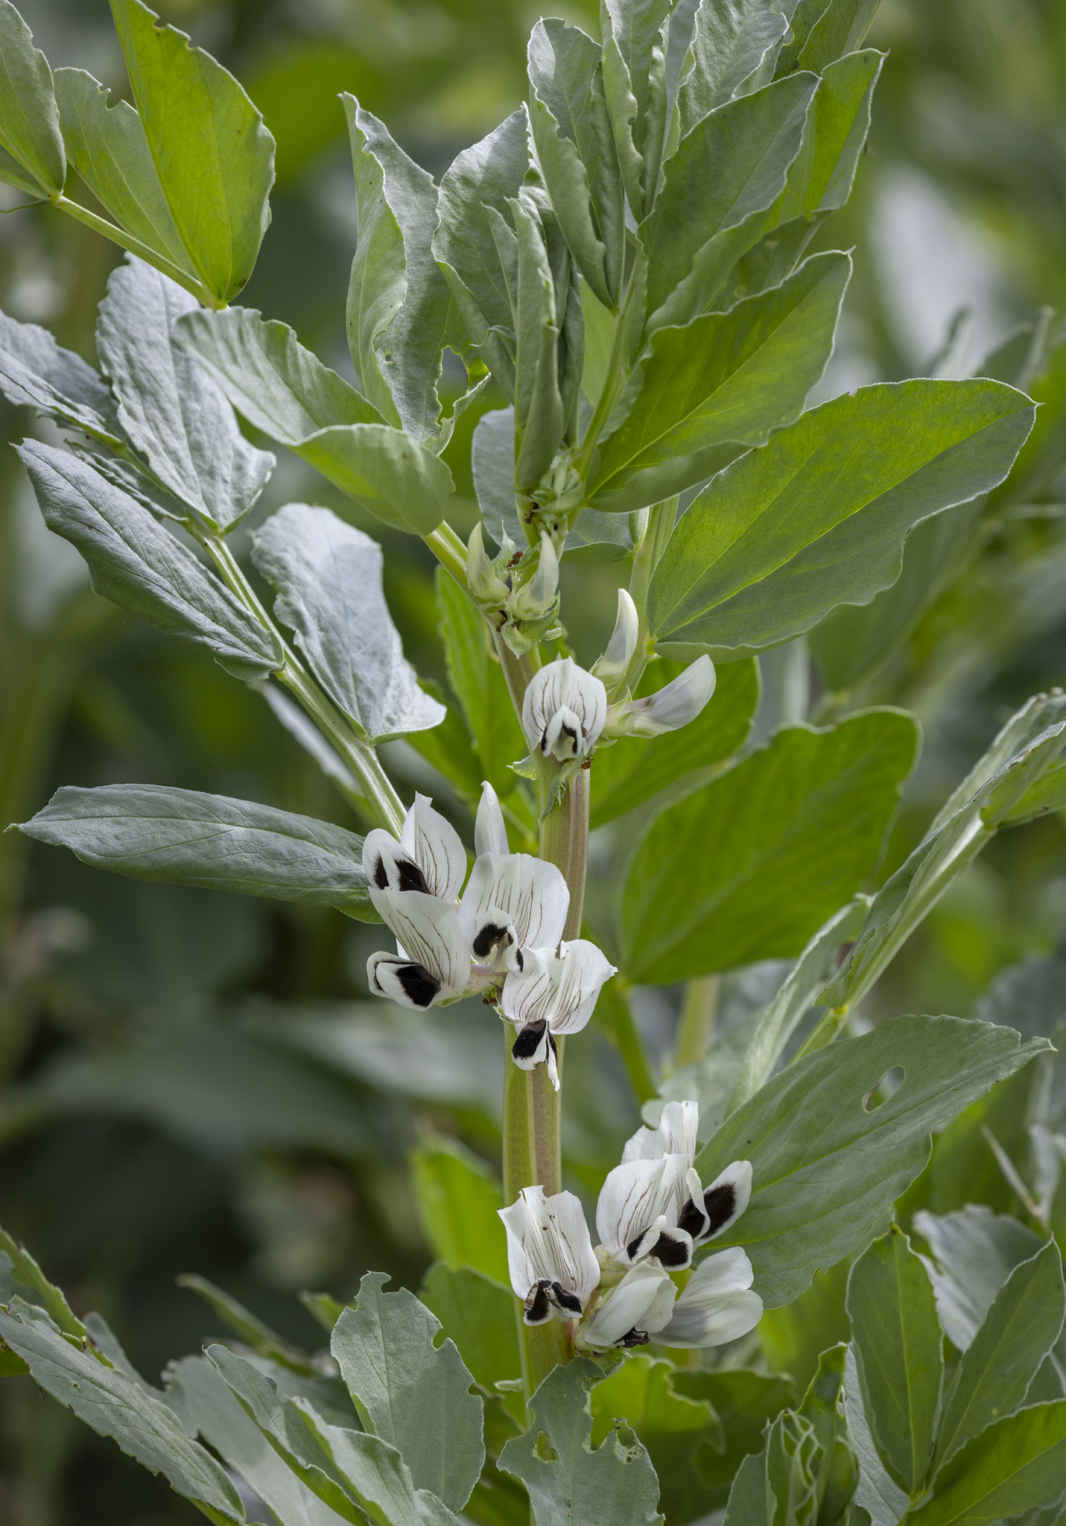
Flowers are frequently visited by pollinating insects, but are also able to self-pollinate.
A mesh cover on overwintering plants gives wind protection, or netting can be used to protect seedlings from birds. Broad beans grow early in the year, when watering often isn’t needed, but once flowering commences, it is worth watering in dry conditions to help pod development.
Support is not essential, but tall plants do recline on the ground after wind, and pods are easier to harvest when plants stay upright. Two levels of strong string secured around posts at the end of rows or the corners of blocks will be enough to support plants bearing the weight of swelling pods.
Aphids are a common pest during May or June, especially on later sowings, whose softer or drought-stressed growth is more attractive to these sap-sucking insects. Prevent damage through earlier sowing and by pinching off the tops of plants once their main stem is full of flowers. It also helps to water in dry weather and to squirt plants with a hose to wash the insects off.
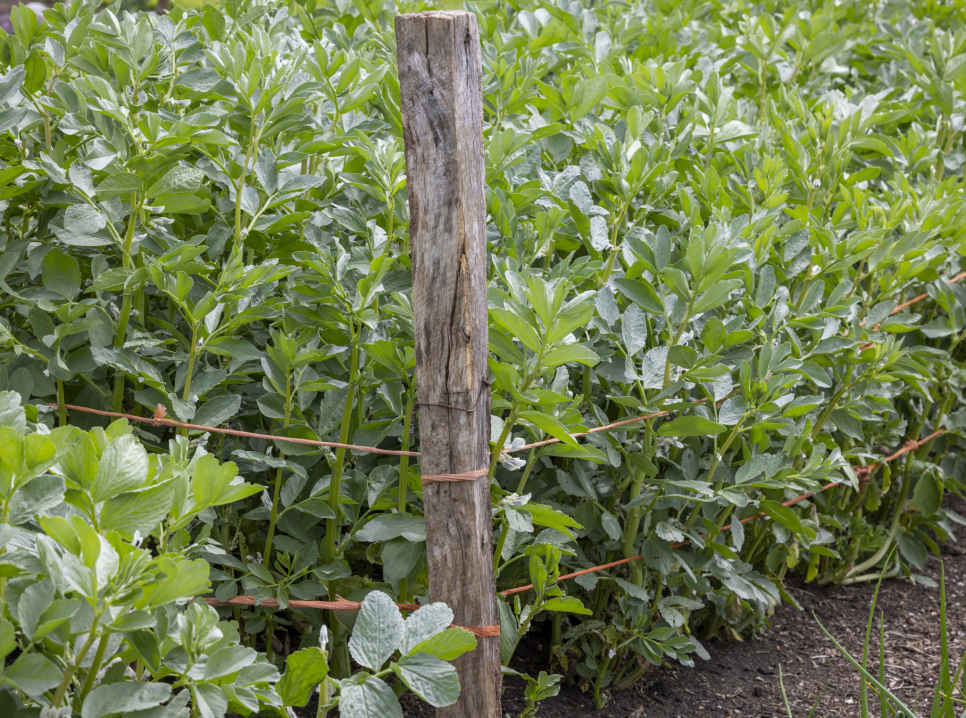
Keep the flexible stems upright with simple supporting strings around blocks or along rows.
When to harvest is your call. You can pick finger-sized pods to eat whole, but this means fewer larger beans to harvest later. Watch how the pods swell, squeeze a little to check for beans inside, and taste them at different stages. Small beans have a higher ratio of bitter skin to bean. I prefer them larger and fatter, when they develop a creamy taste and texture, but if you leave them to mature for too long, the pods darken and the beans turn dry and starchy.
Harvest by pushing pods downward where they meet the main stem, often two pods at a time because they usually grow in pairs. Broad beans are best eaten freshly picked but will keep in their pods for a few days if necessary.
You can also allow pods to mature and turn dark brown on the plant for harvesting dry or almost dry. Shell the beans and place on a tray in a sunny window until completely hard. They store well in an airtight jar in the kitchen. Soak them overnight before cooking and rub off the outer skins prior to using them in dishes such as hummus.
Clear plants by cutting the main roots just below the stem. Contrary to popular belief, there are not many nitrogen nodules on roots after harvest because by this stage the plants have used most of them, but it’s still good to leave roots in the soil as food for microbes. Your dry beans are also seed, which is good to sow for up to three years when stored at room temperature. However, if other varieties were flowering nearby at the same time, they will have cross-pollinated, causing saved seed to grow differently.
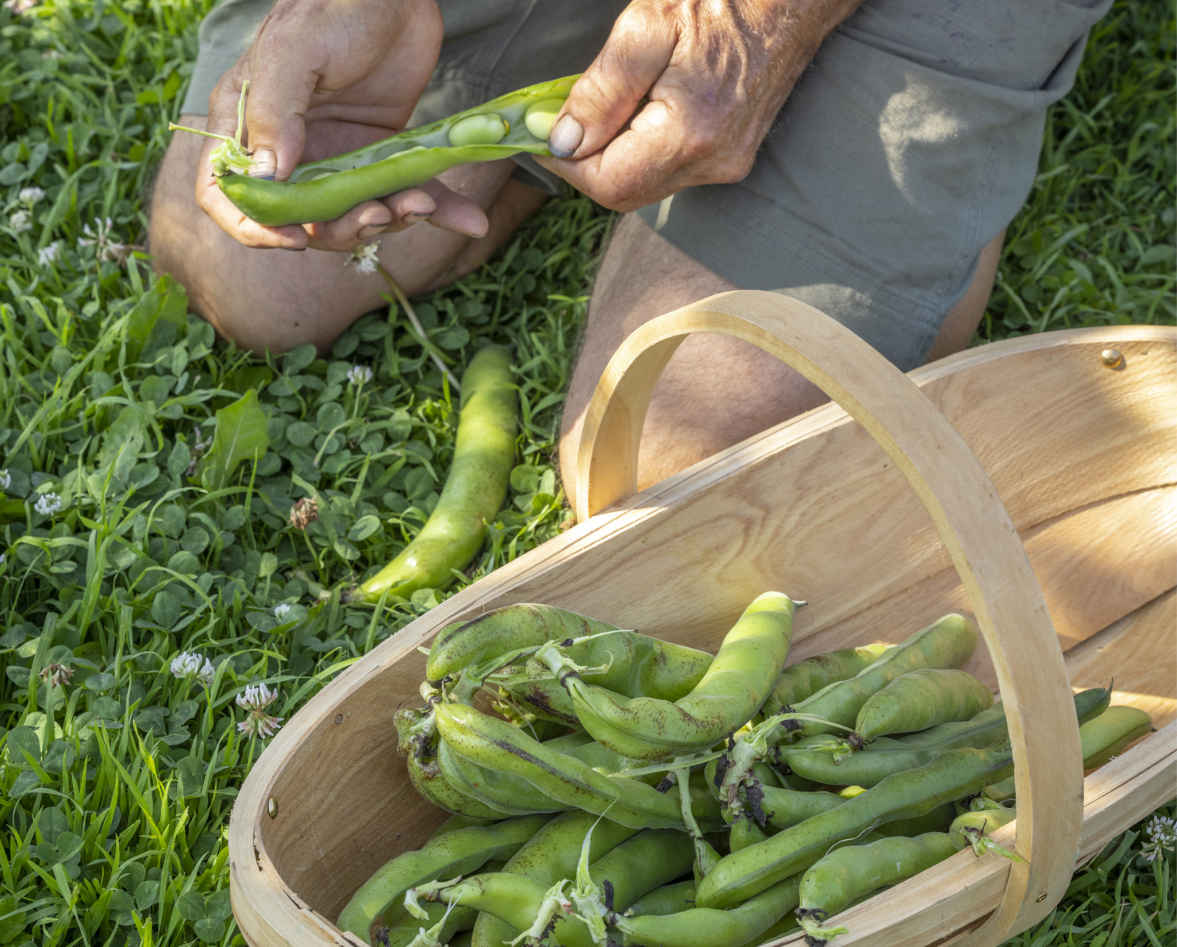
For the best flavor, harvest and pop open the fat pods just before you plan to eat the beans.
VARIETIES
‘Aquadulce Claudia’ Ideal for fall and winter sowings, as it’s hardy. Long pods contain up to seven tasty beans.
‘Monica’ (or ‘De Monica’) A smaller plant, good for windier gardens, with shorter pods containing up to six beans.
‘Saturn’ A good dwarf variety well suited to growing in containers.
KEY INFORMATION
Seed to harvest: 4 months (from late winter and spring sowings)
Sowing to transplanting: 4–6 weeks
Position: Adaptable, will tolerate some shade
Spacing: 8–10 in (20–25 cm) equidistant or 6 in (15 cm) apart with 18 in (45 cm) between rows
Hardiness: Fully hardy, but can be adversely affected by a long cold spell

Freshly picked green beans are a fine taste of summer. The compact plants are easy to grow when it’s warm, need no supports, and crop continuously for two months. They flourish in containers on a sunny patio or in a greenhouse where summers are cool. Many colorful varieties are available, as well as bush borlotti beans with their creamy, freckled seeds.
Bush green beans are heat-loving plants that will be killed by frost, so there is no advantage in sowing them too early. Sow seeds individually into 1¼ in (3 cm) cells under cover, where the warmth results in better germination, especially for early sowings in late April or early May. Make the first sowing three weeks before your last frost date, so seedlings aren’t ready to transplant too early. I sow early for a summer crop, followed by a second sowing in mid-June or early July to keep harvests going from late August into early fall. Summer sowings can be made outside into dibbed holes, 1¼ in (3 cm) deep.
Transplant seedlings about three weeks after sowing, when they are sturdy but still small, with the first true leaf just emerging. Ideally, wait until a week after your last frost date to ensure that plants have enough warmth by night. You can also grow bush green beans in a polytunnel in cooler climates or simply for earlier harvests than plants growing outdoors. Space plants a minimum of 12 in (30 cm) apart each way, or 14 in (35 cm) apart to make it easier to find and pick pods. For cells, use a dibble or trowel to make holes just a little wider than the root balls and about ¾ in (2 cm) deeper. Push the root ball into the hole, leave it unfilled, and water plants in well.
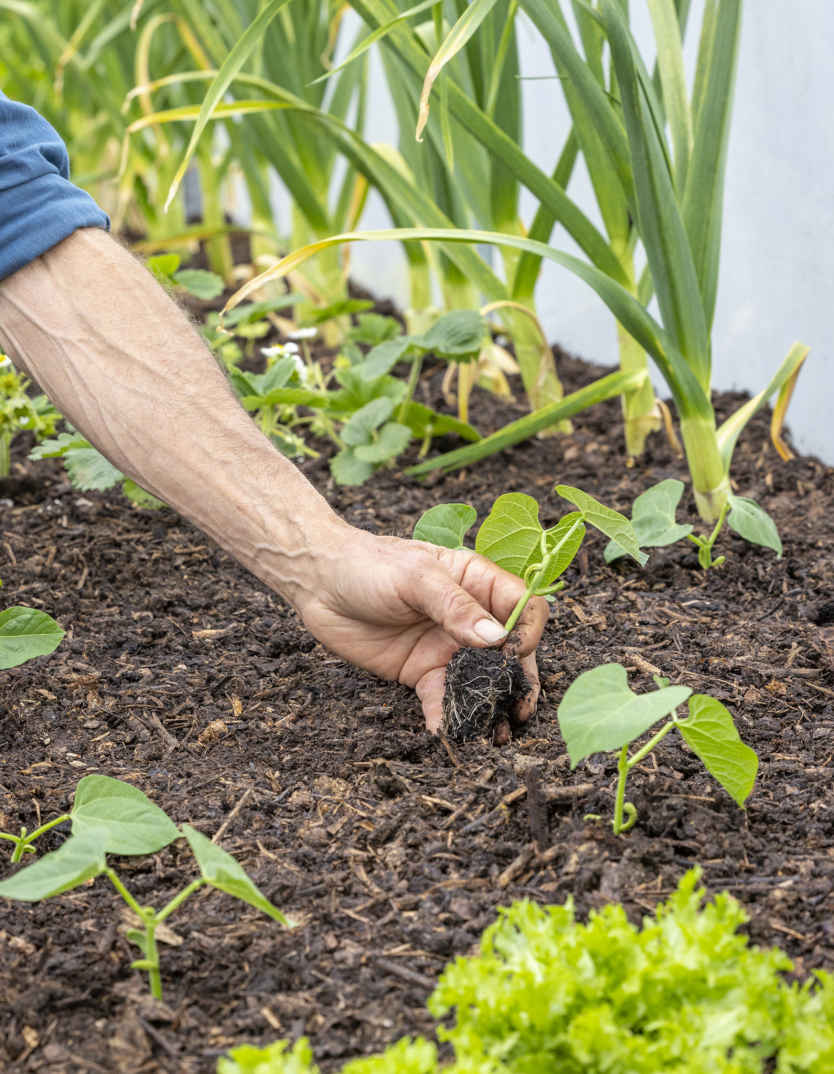
Transplant bush green beans under cover for harvests two weeks earlier.
Cover early plantings made in late May or early June with fleece to insulate the seedlings and protect them from cool or blustery weather. Leaves turn yellow if the soil is too cool, not from a shortage of nitrogen, but because they cannot photosynthesize at low temperatures. Their color returns and growth resumes once the weather warms.
Plants need little water when young, but once flowers and pods start to develop, water twice a week if the weather is dry. Plants growing under cover and in pots will need frequent watering. Pods often fail to set after flowering when plants are too dry at the roots, and this is easily remedied by watering.
Bush green beans are sometimes troubled by aphids, but keeping plants well watered makes them less vulnerable to attack. Slugs may feed on pods that hang down to the ground, creating holes and shortened pods. Pick frequently while they are young to prevent most of them from reaching soil level.
When to harvest depends how you like your pods; they can be picked small and tender or fatter and longer for varied flavor and texture. Pull gently to snap the stalk, when pods are 4–6 in (10–15 cm) long and starting to swell but before you see bean seeds starting to show. Harvesting at least twice a week encourages plants to grow plenty of new pods for up to eight weeks. Plants tend to produce shorter, fatter pods as they get older. Pods have the best flavor and texture when freshly picked but can be stored in a plastic bag in the fridge for up to five days.
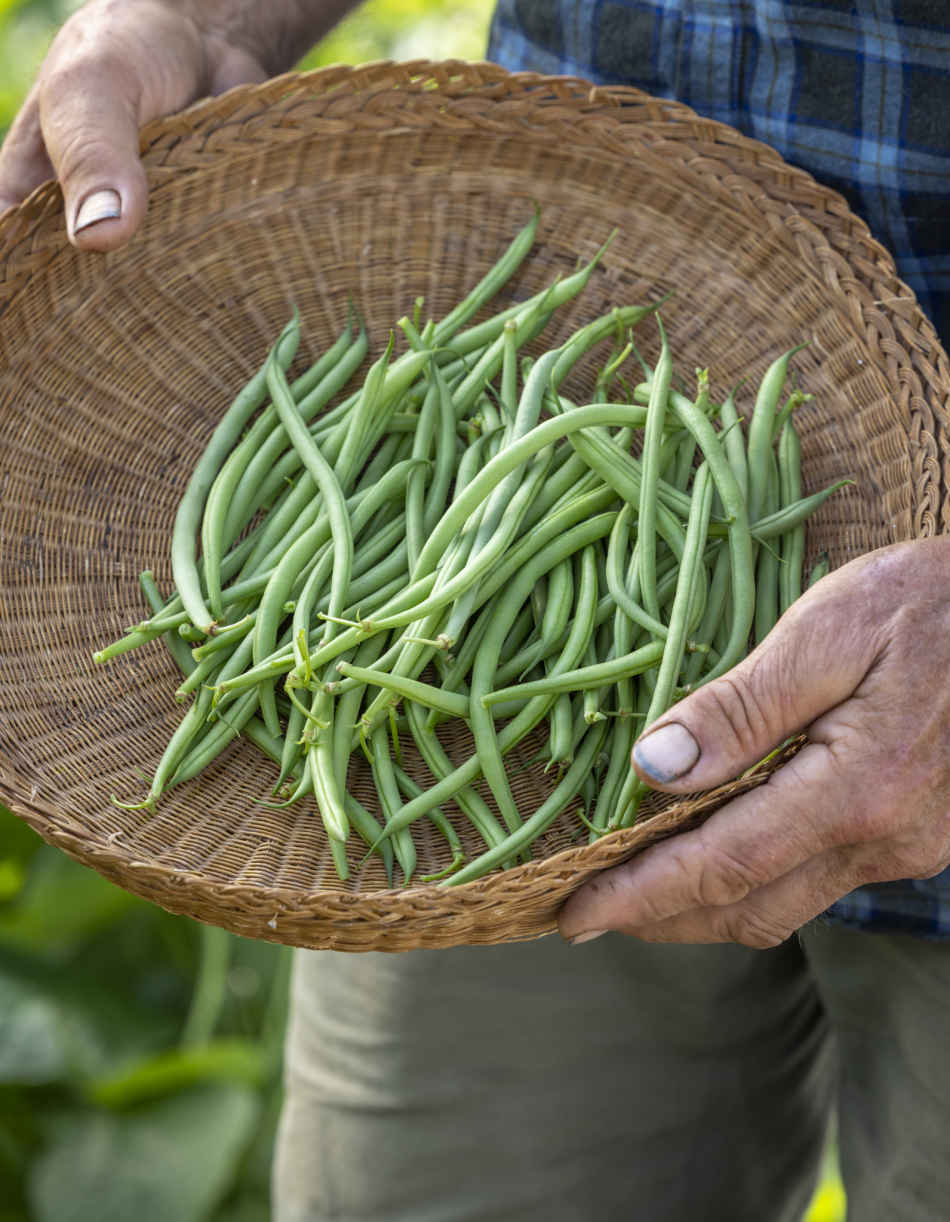
Harvest fine pods before the beans inside develop for a tender texture.
Saving your own seed from bush green beans is easy because the plants don’t cross-pollinate, which means that you can grow different varieties next to each other and the seeds they produce will grow true to the variety. Leave a few pods on any plant to develop fully and dry to yellow-brown. Pick the pods at the end of summer, shell the beans, and ensure they are dry before storing them in a packet to sow the following year or in jars for eating if you have a lot. Borlotti beans can be harvested and stored in the same way.
VARIETIES
‘Cupidon’ A reliable variety producing tasty long, green beans.
‘Orinoco’ Yellow, slightly waxy pods with a buttery flavor and good texture.
‘Safari’ A prolific variety bearing fine green pods, starting a week after ‘Cupidon’.
Borlotti Dwarf varieties of ‘Lingua di Fuoco’ and ‘Borlotto’ are available to harvest for pods of fresh or dried beans.
KEY INFORMATION
Seed to harvest: 2½ months
Sowing to transplanting: 3 weeks
Position: Full sun and warmth
Spacing: 12–14 in (30–35 cm) apart each way
Hardiness: Not hardy. They will be killed by frost

These vigorous beans are prolific croppers and staples of the summer garden. You will find a diverse range of varieties in seed catalogs, from runner beans with beautiful red or bicolored flowers, to round or flat-podded green beans, and the pink-flecked pods of borlotti that can also be grown for seed harvests. Grow them all in the same way, trained up tall, strong supports.
All these beans need warmth to succeed and will die if exposed to frost, so avoid sowing them too early, which is often tempting when April is warm. I sow into cells under cover from mid-May to June and sow outdoors from the end of May. The large seeds need a good-sized 2 in (5 cm) cell, but the deep root trainers marketed for sowing beans are unnecessary. Lay one seed flat on the potting mix in each cell, push it in gently, cover with potting mix to twice the thickness of the seed, and water thoroughly. There is no need to presoak seeds, as they swell easily when in contact with moist soil.
Transplant seedlings no earlier than a week after your last frost date—around two weeks after sowing—when they have long stems but just one true leaf. It isn’t necessary to prepare soil by making a trench filled with organic matter—no dig beds retain moisture and have plenty of fertility. There is also no need to push in supports before you plant out, and this means you can cover early plantings with fleece should the weather be cold.
Space plants according to the support you plan to construct. A teepee, made of a circle of canes tied together at the top, is strong and stands well in wind. Make it 3–4 ft (90–120 cm) in diameter, with each cane spaced 1 ft (30 cm) apart. My teepees have six canes for a 4 ft (1.2 m) wide bed or eight for a 5 ft (1.5 m) wide bed. A double line of supporting sticks can also be built across a bed, with their tops leaning together and secured along a horizontal cane. Space the two lines 2 ft (60 cm) apart, with 1 ft (30 cm) between each plant along the lines. Any sticks around 8 ft (2.5 m) long can be used, including bamboo or hazel, but they must be stout enough to support the weight of plants laden with pods.
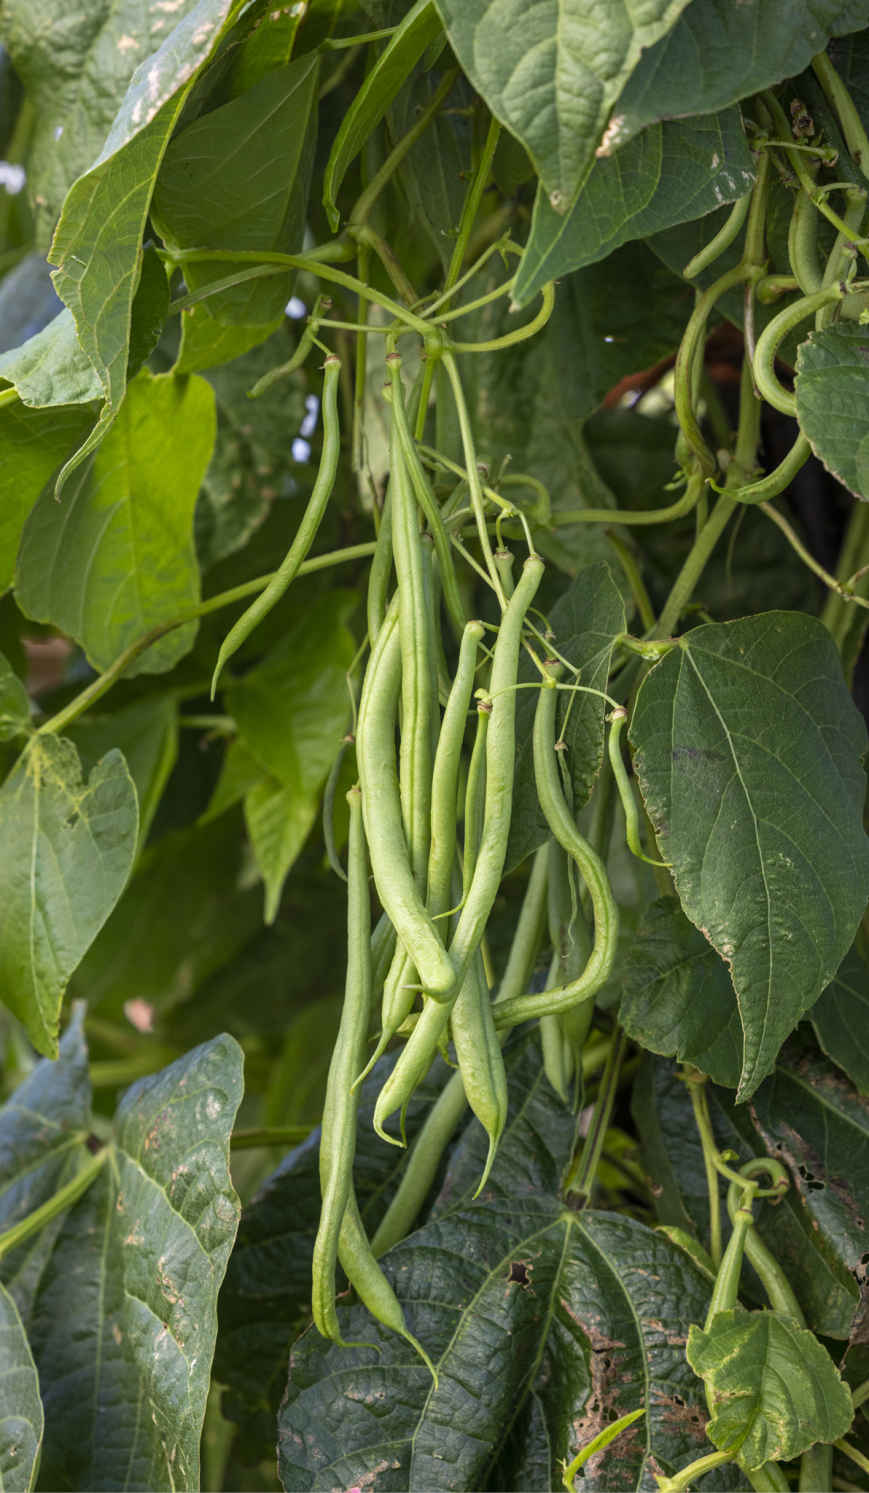
This ‘Cobra’ pole green bean can produce heavy crops of long pods for more than two months.
Watch the new stem growth, and once they are quite long, check that they are wrapping around their supports. No tying in is needed, just twist each stem around its cane at first and the plants will be self-supporting. Usually, there is no need to protect pole beans from pests, but deer or rabbits may bite the top off a stem, and if you expect that, wrap a cover of mesh around young plants.
Pole beans are vigorous plants with lots of leaves, which makes them a thirsty crop. Start watering in dry conditions when you see the first flowers, and once plants are in full flower, give them a good soak twice a week if the weather stays dry. It’s moisture at the roots that will help pods set once the flowers have faded, rather than misting water onto the flowers as some gardeners claim. Watering also helps prevent and resolve attacks on the young growth by aphids.
The length and thickness of the pods you pick is a matter of personal taste, but both runner and green beans tend to get stringy once the pods become swollen. It’s best to catch them when their profile is even, without the shape of the beans inside showing through. Pick pods by lifting and twisting to snap the stalk, every two days in warm weather and for as long as two months. Pods are best eaten fresh but keep well in the fridge for four or five days in a plastic bag.
If you want to harvest the beans, either to eat fresh or to dry for storage, then leave pods unpicked so their beans swell. Pick fat green pods to shell the fresh beans inside or let the pods dry to a pale yellow-brown on the plant to harvest dry beans. Remove dry beans from pods and ensure they are completely dry before storing in a jar, where they will keep well for a year or more. Dry beans are delicious when cooked after being rehydrated in cold water overnight.
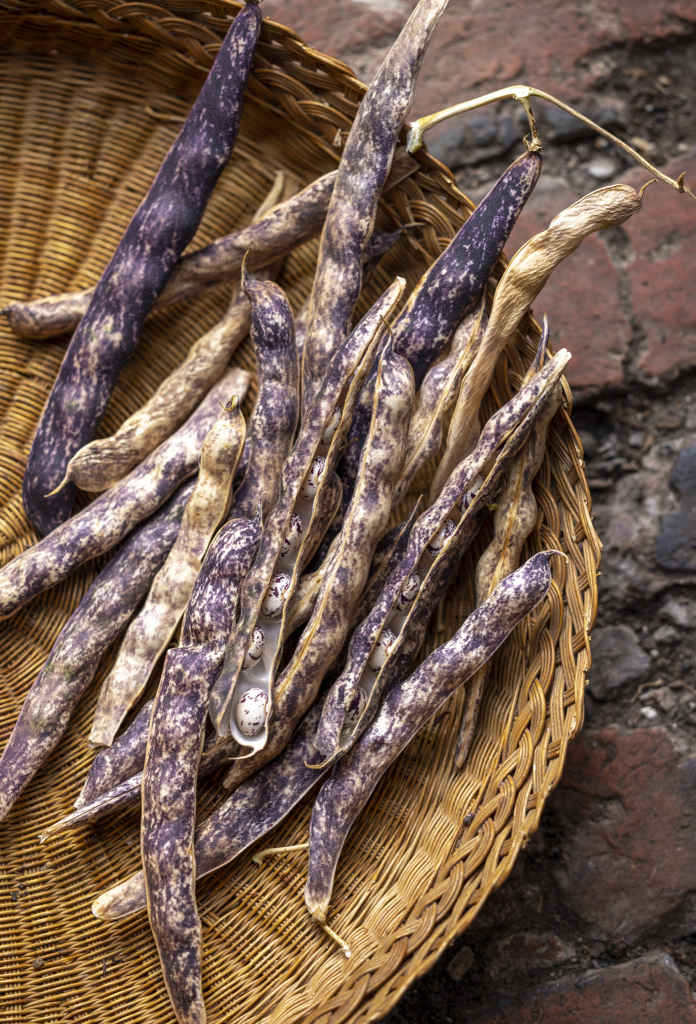
Store the seed from dried borlotti bean pods for soups and stews during winter.
Runner beans planted within 165 ft (50 m) of each other will cross-pollinate, so if you or a neighboring gardener grow more than one variety, the seeds you save probably won’t grow true to your original variety. Save seed by leaving some pods unpicked, until they go pale yellow and then brown, which shows that they are about 90 percent dry. Shell them, lay them out on paper indoors, and let them finish drying before storing in a paper bag or jar for sowing the following year.
VARIETIES
My preference is to grow ‘Czar’ for dry beans and ‘Cobra’, ‘Golden Gate’, and ‘Scarlet Emperor’ for pods.
GREEN BEANS
‘Cobra’ A popular variety with long, green pods.
‘Neckargold’ Plants laden with slightly flattened, golden pods look really attractive.
‘Golden Gate’ Prolific quantities of flat yellow pods.
Borlotti Pink-flecked pods filled with freckled beans that can be harvested fresh or dried.
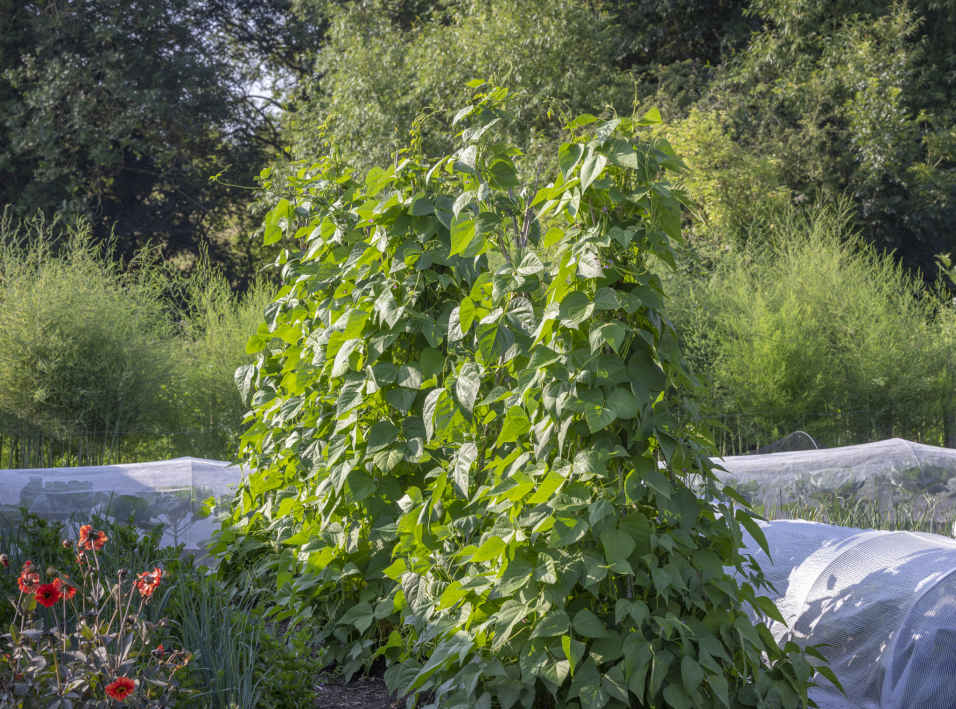
Foliage-covered teepees of borlotti beans.
RUNNER BEANS
‘Scarlet Emperor’ Striking red flowers and good crops, but pods aren’t as long and tender as they used to be.
‘Czar’ A white-flowered variety that makes tasty large, white beans for drying.
‘Stardust’ A hybrid between green and runner beans, which some gardeners find sets pods more readily than standard runner bean varieties.
‘Hestia’ Dwarf variety is good for container growing.
KEY INFORMATION 
Seed to harvest: 3 months for pods, 4–5 for beans
Sowing to transplanting: 2–3 weeks
Position: Full sun, can tolerate some shade. Avoid a windy position
Spacing: 1 ft (30 cm) apart, 2 ft (60 cm) between rows
Hardiness: Killed by frost and need warmth to thrive

By the time you’ve sown, transplanted, supported, harvested, and shelled peas, you probably don’t get the greatest return for your time. What makes it all worthwhile is the unique, sweet flavor of freshly picked peas, which far surpasses any that you can buy. Plus you can choose between shelling peas or snow and snap varieties with edible pods, bush varieties just 2 ft (60 cm) high, or tall varieties that rapidly reach 6½ ft (2 m) high. Know the varieties you grow in order to provide suitable supports and to harvest at the best time.
Peas work best as a half-season vegetable, sown early and finishing before midsummer. It’s possible to sow bush varieties in November to transplant in February, but it is simpler and more effective to make first sowings in mid-February under cover and the last ones in April. If you sow in May and June, plants are more likely to suffer mildew on the leaves and caterpillars in the pods, with reduced harvests. Another advantage of early sowing is that cropping finishes by the middle of summer, leaving ground free for a second planting of beets, broccoli, and many other vegetables, whereas options are more limited after clearing later sowings.
Pea seeds are adored by rodents and birds, and outdoor sowings are difficult to protect. It’s easier to prevent rodents from damaging sowings under cover because you can set a mousetrap close to the newly sown trays. Sow into 1¼–2 in (3–5 cm) cell trays, with two or three seeds per cell, which you then plant as a little clump. Germination should be rapid but may be erratic, and the age of seed is more likely to be a problem than growing conditions or pests. Try saving your own pea seeds to sow the following year (see Growing Pea Shoots) and you will find that germination rates improve.
Transplant peas at three weeks old and no more than 2 in (5 cm) high. Dib a hole deep enough for the root ball to be 1¼ in (3 cm) below ground level and leave the hole unfilled so that plants sit in a dip. Cover early plantings with fleece to keep them warm and to protect them from rabbits and pigeons. The spacing and planting pattern depends on the size of the variety. You can grow bush peas in short lines across beds and taller varieties in double rows along their length.
For all but the shortest varieties, support is important to give curling tendrils something to grasp and make it easier to harvest pods. Wait until early May, when the fleece cover is removed, before adding supports. For medium varieties, 2½–4 ft (75–120 cm) tall, hammer a stout stake into the ground at each end of the row and add some twiggy pea sticks between them to help plants climb. Tie strings between the posts, from 6 in (15 cm) above soil level and at 6 in (15 cm) intervals thereafter, to support the mass of growth. Plastic netting held between two posts is an option but is more work to disentangle from plants when clearing. For tall varieties, bang in 8 ft (2.5 m) fence posts at either end of the row and at 5 ft (1.5 m) intervals along it, with strong strings tied between them every 6–8 in (15–20 cm) up their height.
If pigeons eat the leaves, use bird netting to keep them off plants after you remove the fleece. Pea weevils chomp a jagged pattern into leaf edges. They are common in dry springs, but nothing to worry about where a well-mulched, moist soil allows plants to grow away from damage. Early sowings are usually harvested before pea moths become active in late June, but from July, you may find their maggots in peas you shell. Powdery mildew is common on the foliage of older plants from early summer onward but is mostly a problem on late sowings, when the mildew-resistant variety ‘Terrain’ is useful.
Watering is not usually necessary for the early growth of peas transplanted in spring, when there are good moisture levels in the soil. If it doesn’t rain once they start to flower, water regularly to ensure a full harvest.
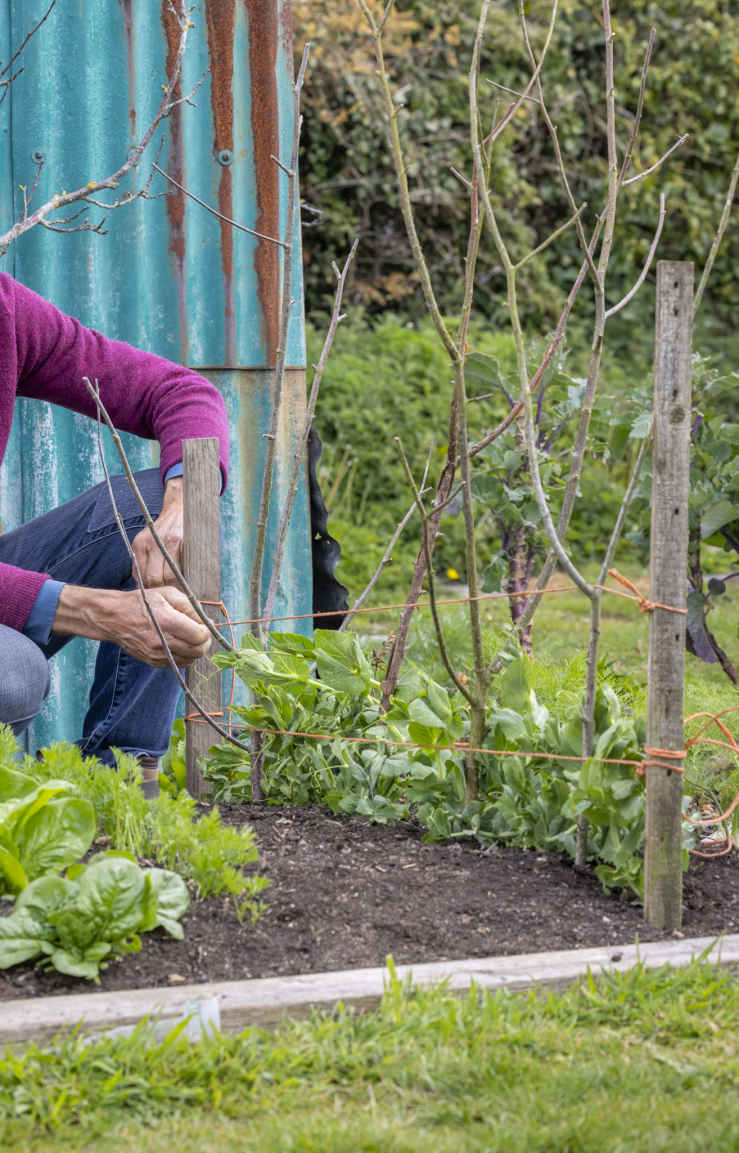
Create sturdy supports using both stakes and pea sticks to keep plants upright and easy to pick.
GROWING PEA SHOOTS
Young, tender pea shoots are a delicious addition to salads and work well from dedicated sowings grown at a 10 in (25 cm) equidistant spacing. Any variety of garden pea will serve, although some have large numbers of undesirable tendrils. Sow from mid-February to April in the same way as peas for pods, then transplant in a block, like a salad crop. When each plant is 8–10 in (20–25 cm) high, pinch out its main shoot at the top between thumb and forefinger for your first harvest. New sideshoots appear within a week or two in spring and harvests of new shoots continue for up to eight weeks from one sowing. As peas are hardy, you can also sow in October to grow under cover in the soil or containers, for a steady harvest of shoots until early May.
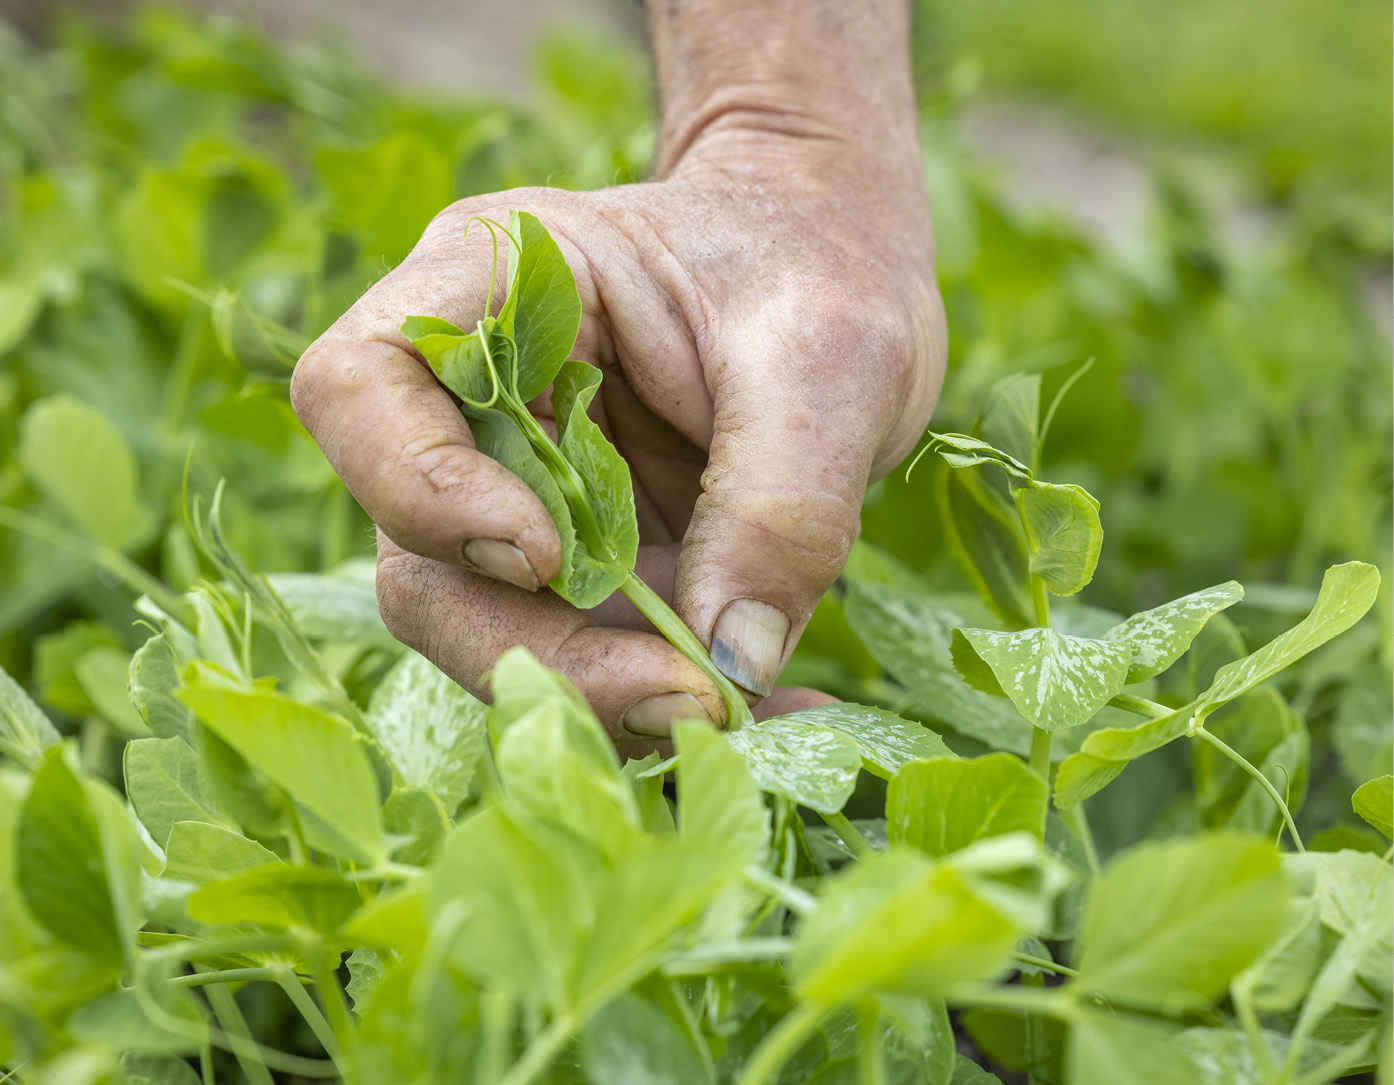
Know what type of pea you have and at what stage you’re looking to harvest: shelling peas will have fat, glossy, dark green pods; snow pea varieties are picked when pods are thin and flat; sugarsnaps have swollen edible pods filled with juicy peas. After you see flowers, start watching the pods develop so that you catch them at the best stage. There’s an element of personal preference, as shelling peas can be harvested when pods are still thin for fewer small and extra-sweet peas, or left to grow larger for a bigger crop of fatter peas that are still sweet, or allowed to dry for eating during winter and to use as seed. For maximum sweetness, pick at least every two or three days because it’s easy to miss a few that will then go starchy. Peas lose sweetness after harvest, so it’s best to harvest on the day you want to eat them.
You can save seed from a single pea plant, and there is only an extra month or so of growing time from harvesting green pods to picking them dry for seed. They don’t cross-pollinate, so you could save seed from two or three varieties planted close together. I grow a few pea plants purely for seed, separately from the rows for eating. Gather pods in mid to late summer, when they are quite dry and have turned more brown than yellow. Shell them out right away and leave the seeds on a plate or tray on a sunny windowsill for a few days to dry fully before storing in a jar or envelope. Check for small, round holes made by pea moth maggots and compost any damaged seeds.
VARIETIES
BUSH PEAS
The earliest to mature on compact plants that don’t need support, but the harvest is usually small and over a short period.
‘Meteor’ Productive, early shelling pea; 2 ft (60 cm).
‘Sugar Ann’ A compact sugarsnap pea; 2 ft (60 cm).
‘Nairobi’ A sugarsnap that can also be shelled for peas; 2½ ft (75 cm).
MEDIUM PEAS
This category includes most of the classic peas and plants require support.
‘Hurst Green Shaft’ Long, thin pods containing up to ten fat peas; 3 ft (90 cm).
‘Starlight’ Smaller pods packed with up to seven sweet peas; 3 ft (90 cm).
‘Terrain’ Shelling pea with mildew resistance, for sowing late June to early July for a fall harvest; 3 ft (90 cm).
‘Oregon Sugar Pod’ A snow pea with sweetness in the pods. Best picked thin; 4 ft (1.2 m).
‘Cascadia’ A sweet-shelled sugarsnap; 4 ft (1.2 m).
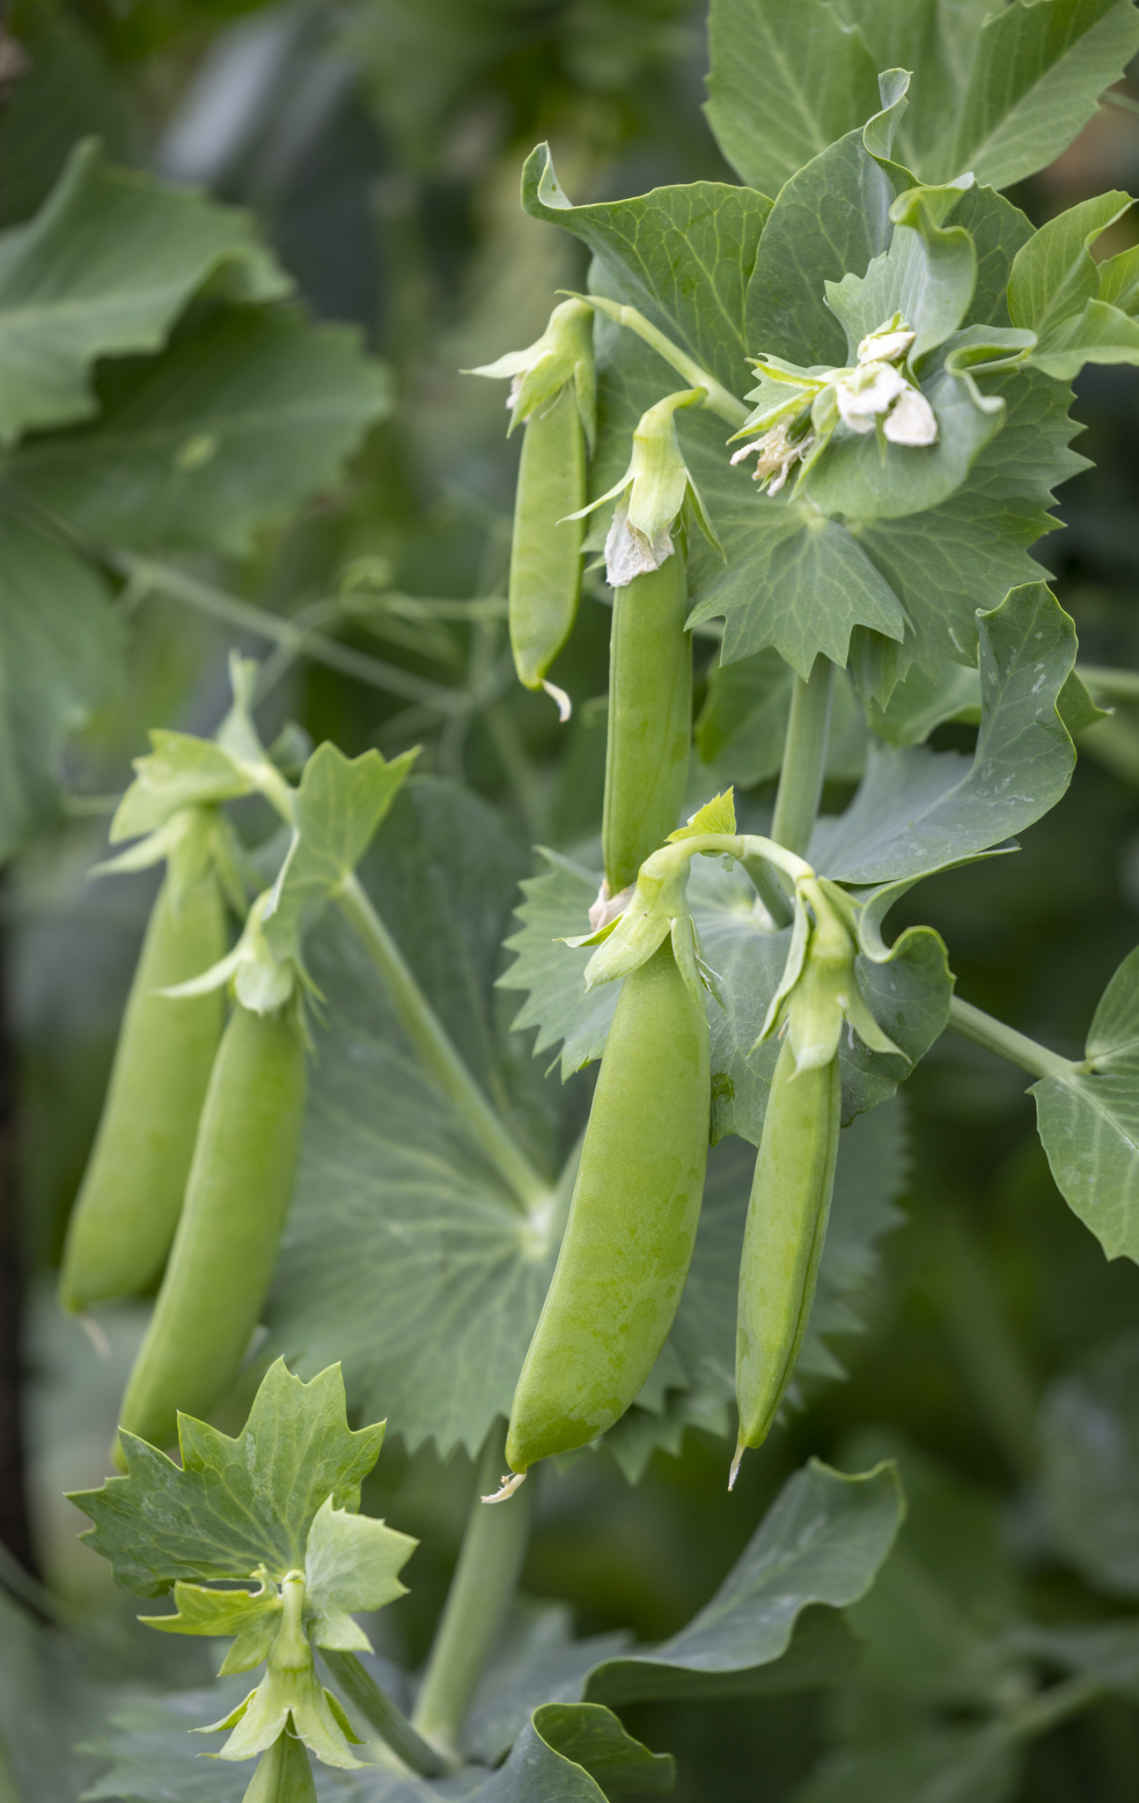
Pods of sugarsnap pea ‘Cascadia’ start to swell as they approach maturity.
TALL PEAS
Can reach more than 6½ ft (2 m) tall and need sturdy supports. Produce generous harvests.
‘Alderman’ Reliably produces heavy crops of big fat pods for shelling; 6½ ft (2 m).
‘Sugar Snap’ Tall sugarsnap variety; 6 ft (1.8 m).
‘Ne Plus Ultra’ Large yields of long, fat, green pods for shelling; up to 7 ft (2.2 m).
‘Carouby de Maussane’ A snow pea with purple flowers and pods to 4¾ in (12 cm) long; up to 6 ft (1.8 m).
KEY INFORMATION
Seed to harvest: 3–3½ months
Sowing to transplanting: 3 weeks
Position: Full sun, moist soil, align rows at 90º to prevailing wind
Spacing: Bush varieties: 6 in (15 cm) apart with 12 in (30 cm) between rows across bed. Medium varieties: Double row 12 in (30 cm) apart along length of bed, with plants 8 in (20 cm) apart, or single rows across bed 18 in (45 cm) apart with 8 in (20 cm) between plants. Tall varieties: Single row along length of bed with plants 6 in (15 cm) apart
Hardiness: Hardy, to around 23ºF (-5ºC)
Suitable for multisowing and saving seed

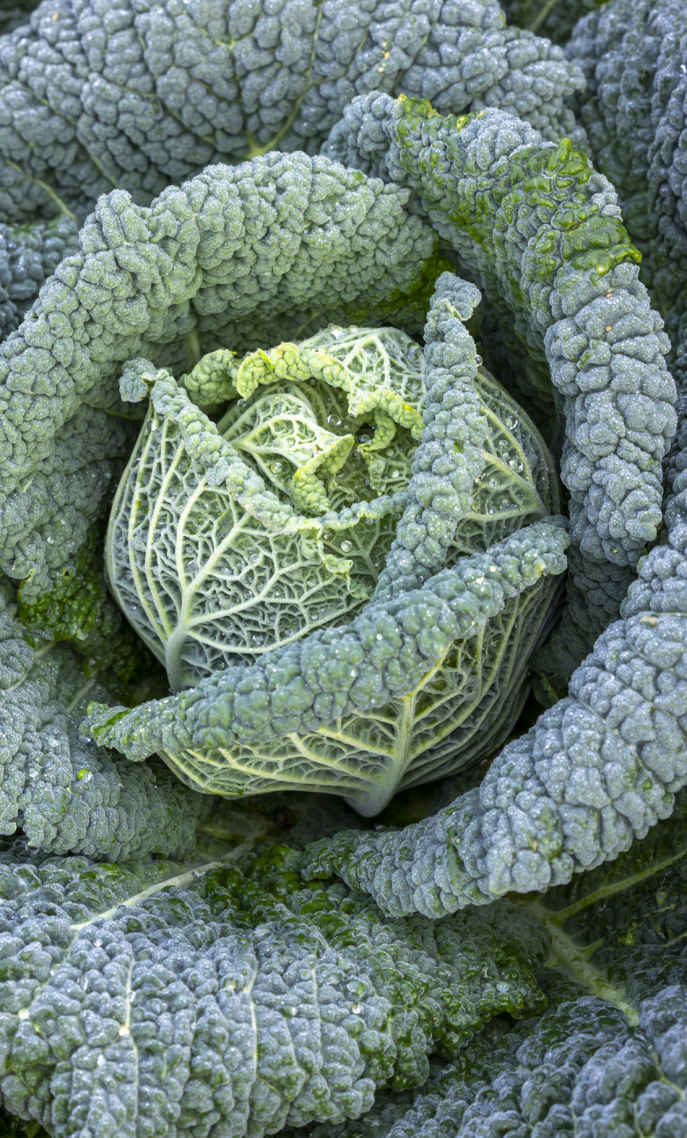
The huge, exciting family of brassica plants offers possibilities for year-round harvests of leaves, flower stems, and roots, but they are susceptible to an array of common pests. Brassicas are frost hardy to varying degrees, which offers scope to produce valuable fresh and stored vegetables to help see you through the cold months of winter and early spring.
There are many brassica vegetables to choose from, each with a host of varieties, giving options for different cropping seasons, plant sizes, colors, and many other characteristics.
For quick harvests, grow radishes in spring and turnips from late summer sowings. Kale is a reliable choice for regular pickings of leaves over a long season and has dwarf varieties that are well suited to small growing spaces. Summer and fall are the main season for harvesting broccoli, cauliflower, and cabbage hearts, but select varieties carefully so that you know when to look for the harvest. Brussels sprouts, kale, winter radishes, and rutabagas all come into their own during winter because they are so hardy to frost and develop a sweeter flavor when exposed to low temperatures.
To maximize chances of success, I avoid insect pests as much as possible by timing sowings carefully and sowing under cover. All brassicas germinate fast and the strong seedlings transplant successfully with their long, slender stems below soil level. Radishes and turnips can be multisown, but the rest are best grown as single plants. All brassicas grow exceptionally well in no dig soil because annual mulching with compost means it is fertile and retains the moisture that allows rapid, leafy growth. You may see advice to firm the soil before transplanting, but this is unnecessary in no dig beds, where soil already has a stable structure. The use of crop covers is essential to protect plants from pests at crucial times and achieve a healthy harvest.
Broccoli, Brussels sprouts, and kale give repeat harvests of delicious greens, often from winter to early spring, when you appreciate them the most. Watch fast-growing radishes and turnips, as well as heads of cabbage and cauliflower, to catch them at their best. Rutabagas and winter radishes can be harvested from the soil or stored over a longer period.
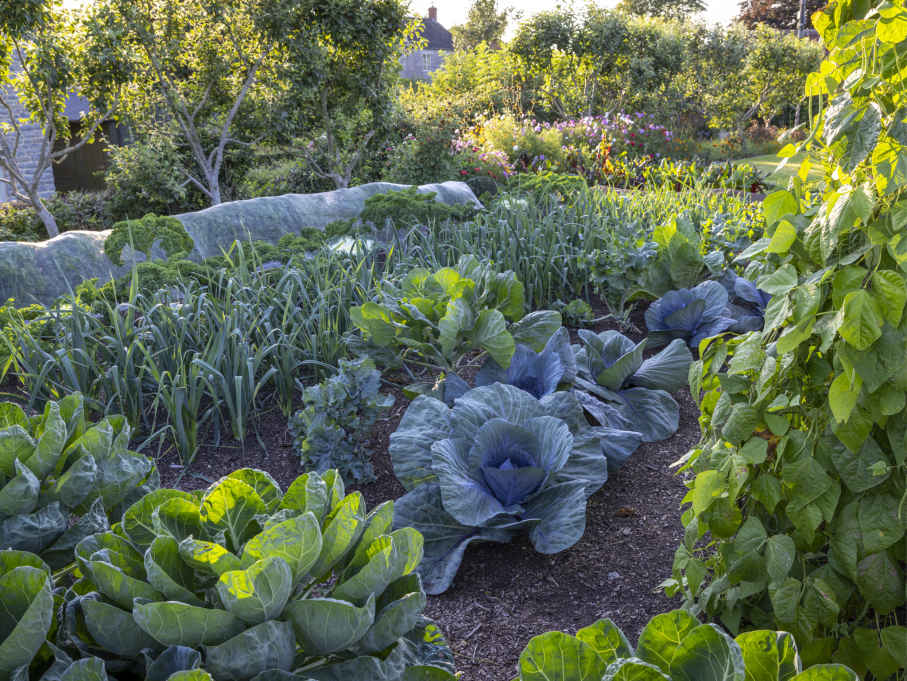
Healthy brassicas are a decorative feature in my garden throughout the year.
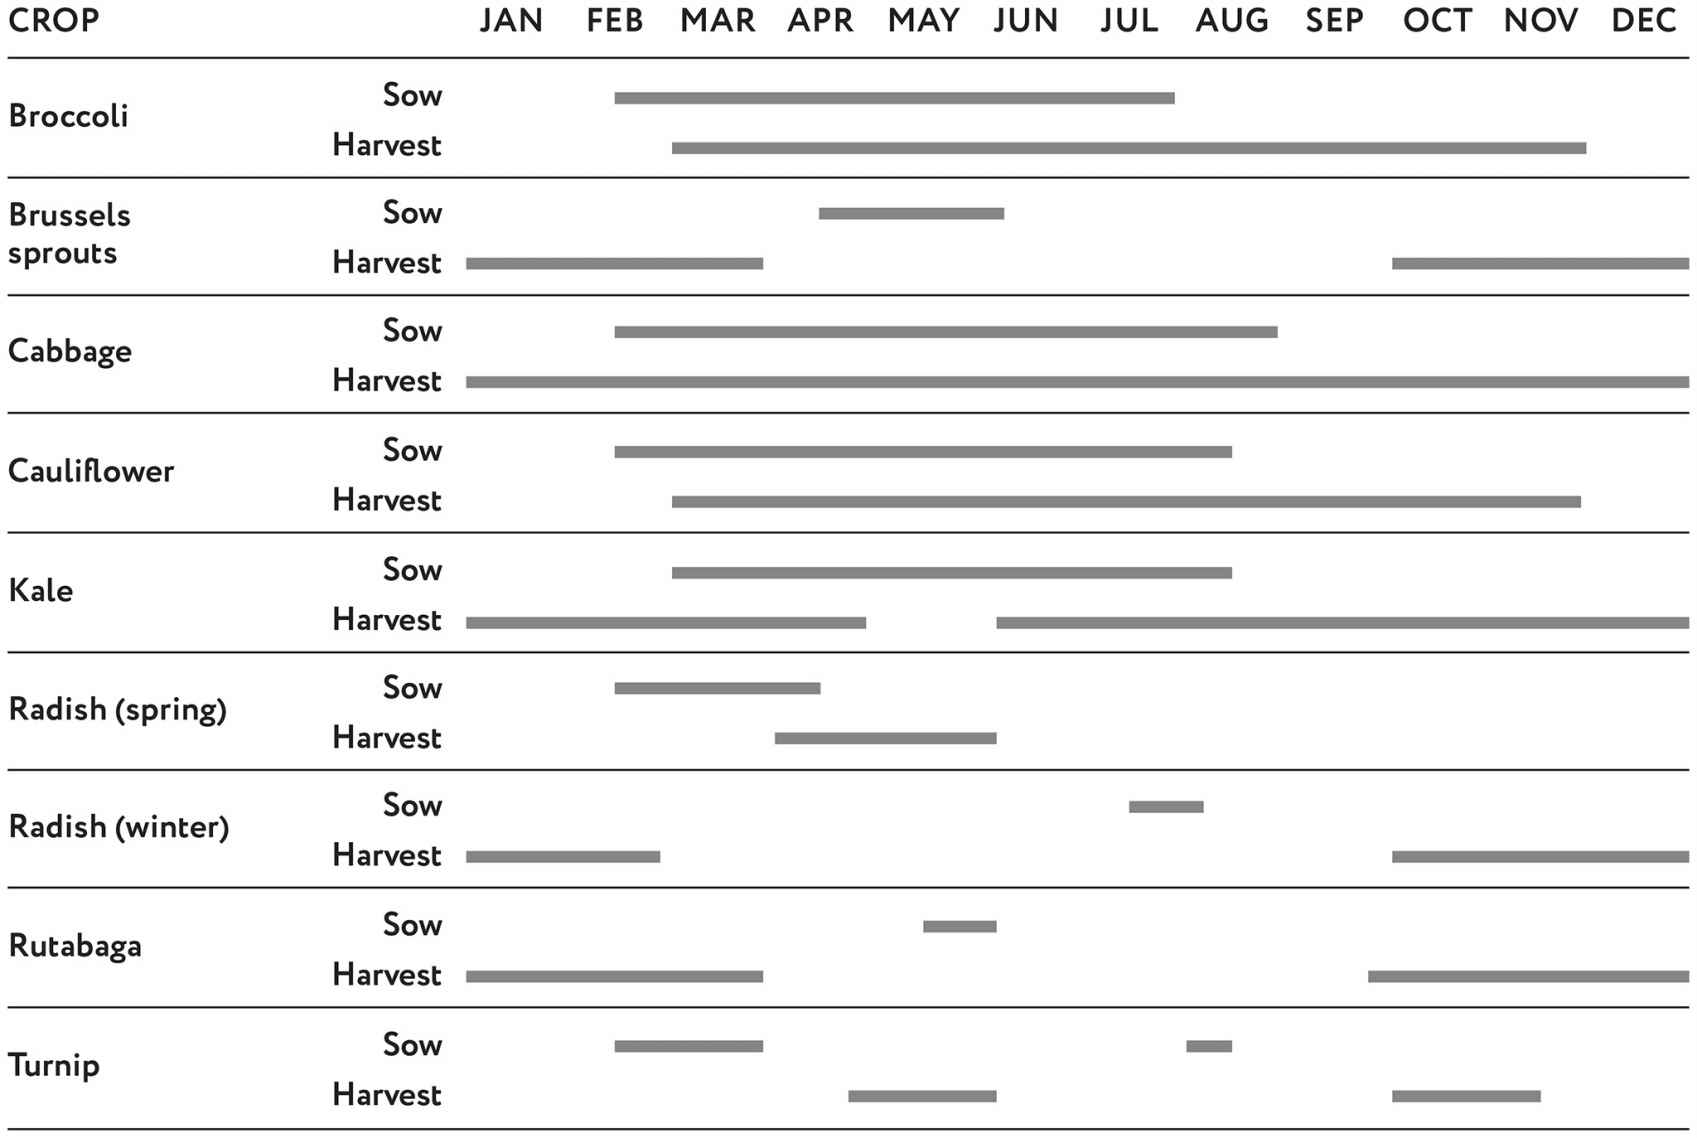
The key with brassicas is to know your enemies, especially the insect pests. Using crop covers is an almost miraculous way to prevent damage to small plants especially (see Using Crop Covers). Familiarity with pests and individual crops means you put covers in place only during vulnerable periods of growth and they don’t need to be used all the time.
Flea beetles are tiny, black insects that eat small, circular holes in young leaves during spring and summer, often weakening young plants. Sowing under cover helps avoid them. In summer and fall, caterpillars devour leaves, hearts, and flowering stems and can quickly decimate crops. Prevent this by covering beds before adult butterflies have a chance to lay their eggs. In spring and fall, cabbage root flies lay their eggs at the base of plants so that their maggots can burrow down to feed on the roots. Unexplained wilting is often the first visible symptom. Use mesh covers to keep adult flies away from plants. Sap-sucking insects such as cabbage whitefly and mealy cabbage aphid can be prolific on the underside of leaves in winter, but applying an annual compost mulch promotes healthy plant growth, which reduces their presence. Larger pests, such as pigeons and rabbits, also love brassicas and are best kept off with a covering of bird netting.
Brassica plants have a beautiful appearance, and a great way to enhance this is to regularly remove any yellowing leaves near ground level. This also helps reduce slug numbers by minimizing their habitat.
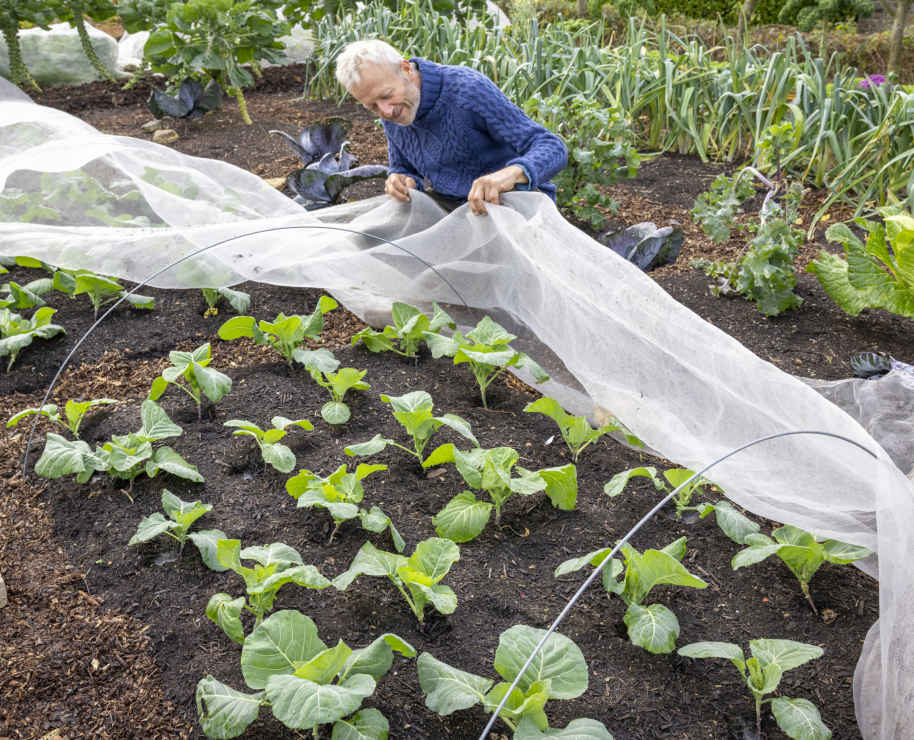
Covering young spring cabbages with mesh protects them from pests and strong winds.
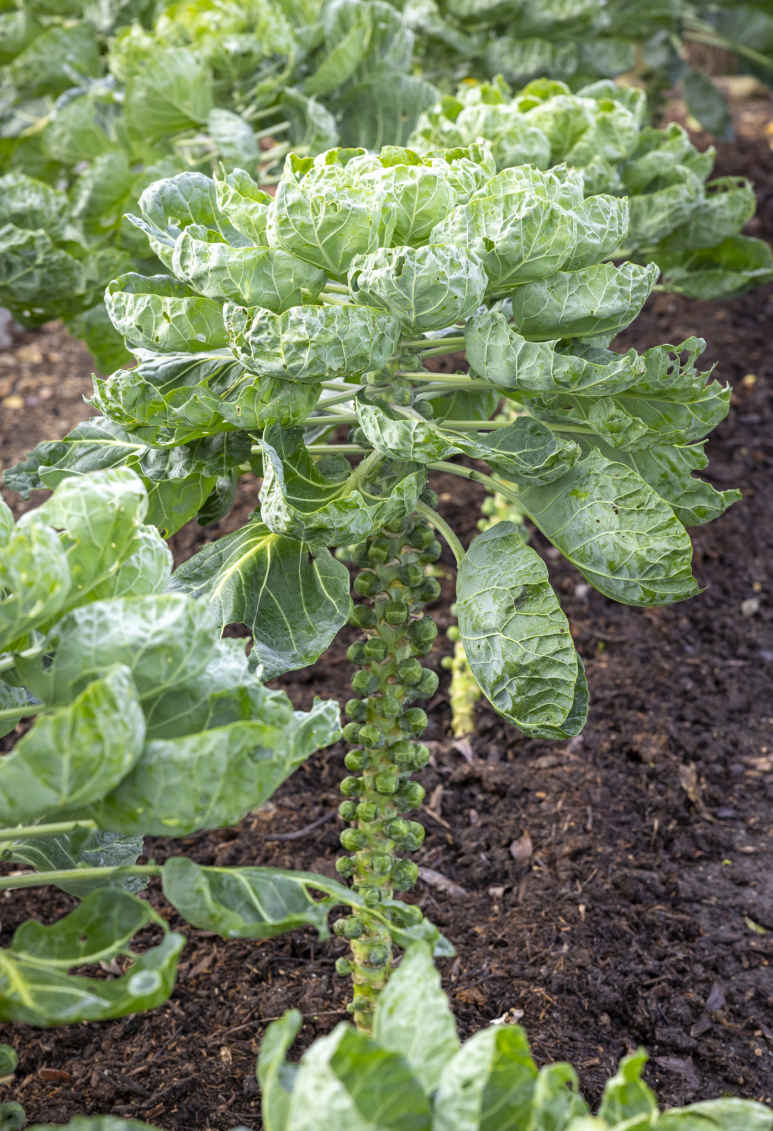
Brussels sprouts ‘Brendan’ F1 with buttons ready for picking through winter.
The various types of broccoli crop at different times of the year, which gives you a range of harvest options to choose from. There is large-headed, green calabrese to harvest in summer and fall and hardier purple sprouting broccoli to overwinter and pick in spring. A third type is a cross between Chinese kale and European calabrese called kaibroc, which is also known as Tenderstem or Broccolini. It quickly grows smaller heads with longer stems than calabrese and crops in cool conditions. All types of broccoli are easy to grow but are susceptible to many pests, particularly when plants are small, which makes protection with crop covers worthwhile.
Sow calabrese from mid-February until the second half of June. Purple sprouting broccoli can be sown in April, but I recommend early June because that allows you to grow another crop beforehand in the same space. Sow kaibroc from April for picking through summer and fall, and again in July for late fall and winter harvests.
Sow under cover because young seedlings are much more vulnerable to insect pests, such as flea beetle, than older and stronger plants. The germination and growth of brassica seeds is erratic and I get the best results from sowing all broccoli in a seed tray, then selecting the strongest seedlings to grow on. Scatter seeds thinly over the potting mix, cover with only a thin layer of mix, water, and keep under cover. Within a week, prick out sturdy seedlings into 1¼–2 in (3–5 cm) cells to grow a batch of strong plants. To raise only a few plants—for example, of purple sprouting broccoli, where six large plants can be enough to feed a family—sow into cells rather than a seed tray. Sow two seeds into each cell and thin to the strongest seedling.
Transplant after three to five weeks. If space isn’t available when transplants are ready, pot them on into 2¾ in (7 cm) pots to continue growing for two more weeks. Transplant with the long stems below ground level to provide support in windy conditions. Space calabrese and kaibroc 12–16 in (30–40 cm) apart, adjusting the distance according to the size of heads you want to produce. Purple sprouting broccoli plants grow large and need a minimum of 20 in (50 cm) between them.
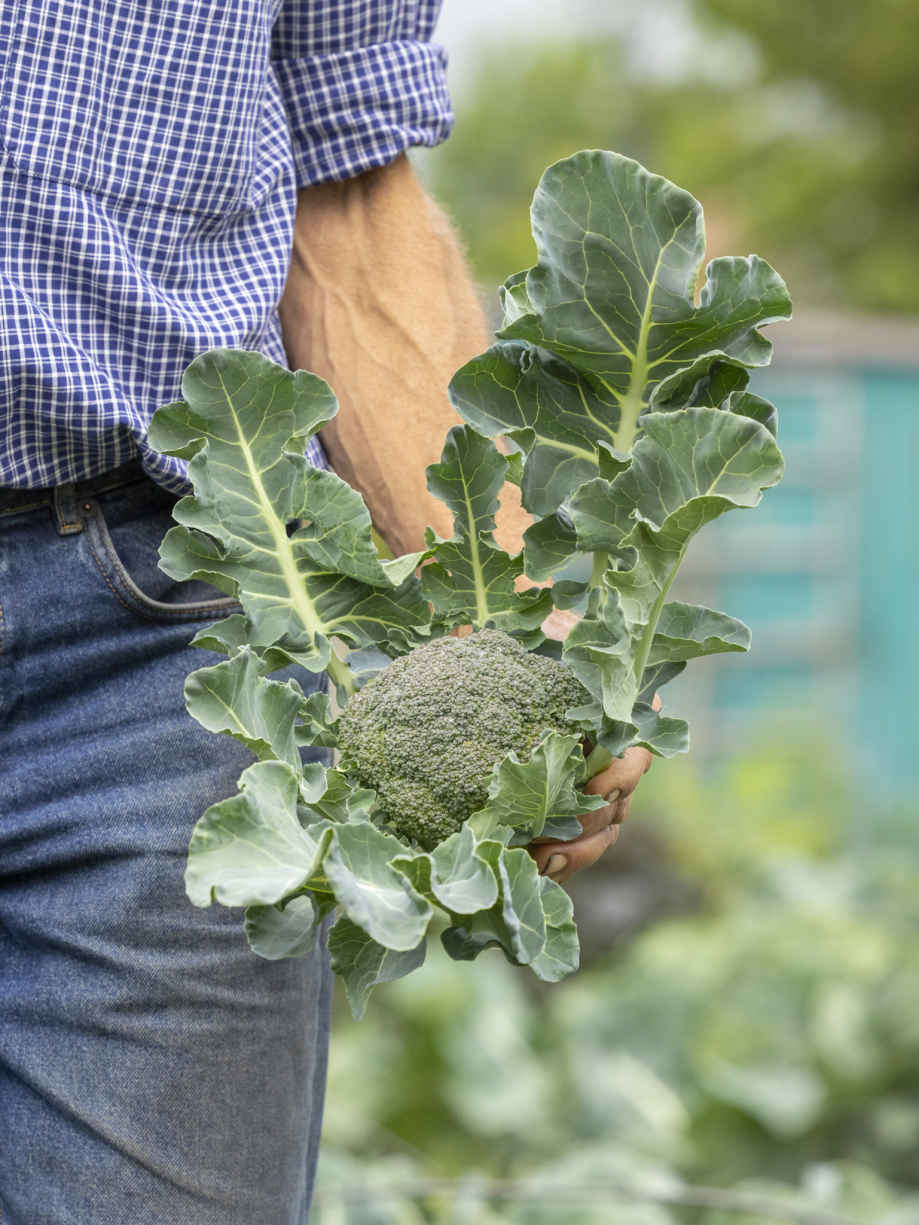
Calabrese is delicious when freshly picked and easy to grow given protection from insect pests.
These tough plants generally flourish with little attention. Water transplants until established, perhaps twice a week in dry weather. After that, there is usually no need to water until they start to make heads, when it is worth watering if conditions are dry. Tall purple sprouting broccoli sometimes blows over in late summer or fall. Generally, their roots are fine and, rather than trying to add supports, stems can be left lying on the soil and allowed to grow upward at 90°. Snap to remove the lowest leaves from large plants as they yellow.
Crop covers are necessary at specific times to grow reliably good broccoli. Transplants are vulnerable to flea beetles in spring and caterpillars in summer, while plants can be decimated by pigeons at any stage, but especially in winter. Lay fleece over transplants in cold spring weather to keep out pests and provide extra warmth for an early harvest. In summer, I use mesh to protect plants against insects for at least the first four to six weeks after transplanting. Fleece and mesh covers prevent adult cabbage root flies from laying eggs at the base of transplants better than collars, in my experience. Covers may not always be needed, but where pigeons are a problem, protect plants with bird netting when mesh or fleece is removed.
Where you only have a few plants, squash caterpillars on leaves, but you’re likely to find a few caterpillars hidden in calabrese heads during late summer and fall. Aphids multiply on plants struggling in poor, dry soil and I rarely see them on brassicas in my healthy soil. If they do appear, wash them off with a spray of water, water plants, and spread another 1¼ in (3 cm) of compost around them. Clubroot is a disease that causes swollen, deformed roots and poor growth, but I have not experienced it in no dig beds.
All broccoli grows tight, domed heads of flower buds, which gradually elongate and need to be harvested before they open into yellow flowers. Harvest young heads to ensure that the delicious stems remain tender. Cut the first central head before it’s too advanced and a second crop of smaller sideshoots will soon develop lower down. Each plant can produce multiple pickings over a period of two to four months, depending on the variety. Fatter stems are best cut with a sharp knife, while thinner ones snap off quite easily. Frequency of picking depends on the temperature; check summer calabrese every two days and spring purple sprouting broccoli twice a week. Broccoli is always best freshly picked and goes yellow quickly in warm conditions. Heads will store for up to five days if kept cool, below 50°F (10°C).
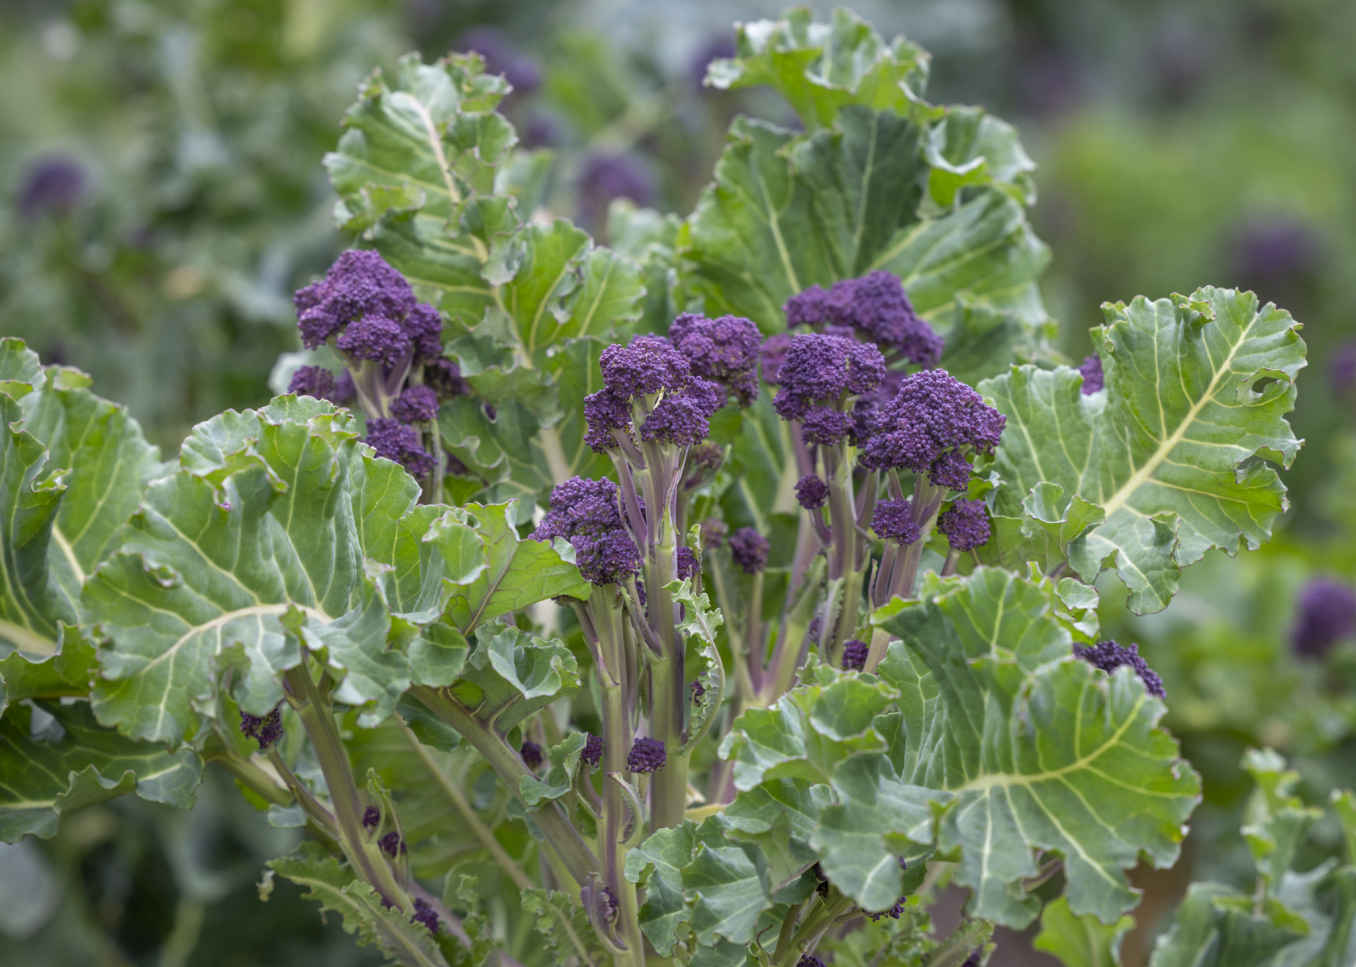
Harvest 6 in (15 cm) of tender, sweet stem with purple sprouting broccoli to discover why it’s called the “poor man’s asparagus.”
VARIETIES
CALABRESE
‘Belstar’ F1, ‘Marathon’ F1 Reliable large, green heads.
‘Stemia’ F1 Smaller heads and shoots on longer stems.
‘Green Sprouting’ Open-pollinated, producing smaller heads over a longer period.
PURPLE SPROUTING
‘Late Purple Sprouting’ An open-pollinated variety that may only yield small, thin shoots.
‘Claret’ F1 Amazing modern hybrid yielding a large central head, followed by shoots over a long period.
‘Rudolph’ F1 Crops from midwinter if the weather is not too cold.
‘Summer Purple’ Gives harvests from midsummer through fall.
KAIBROC
‘Apollo’ F1 Fast to crop from a sowing in mid-July.
‘Green Inspiration’ F1 Produces sturdy stems for many months from a May sowing.
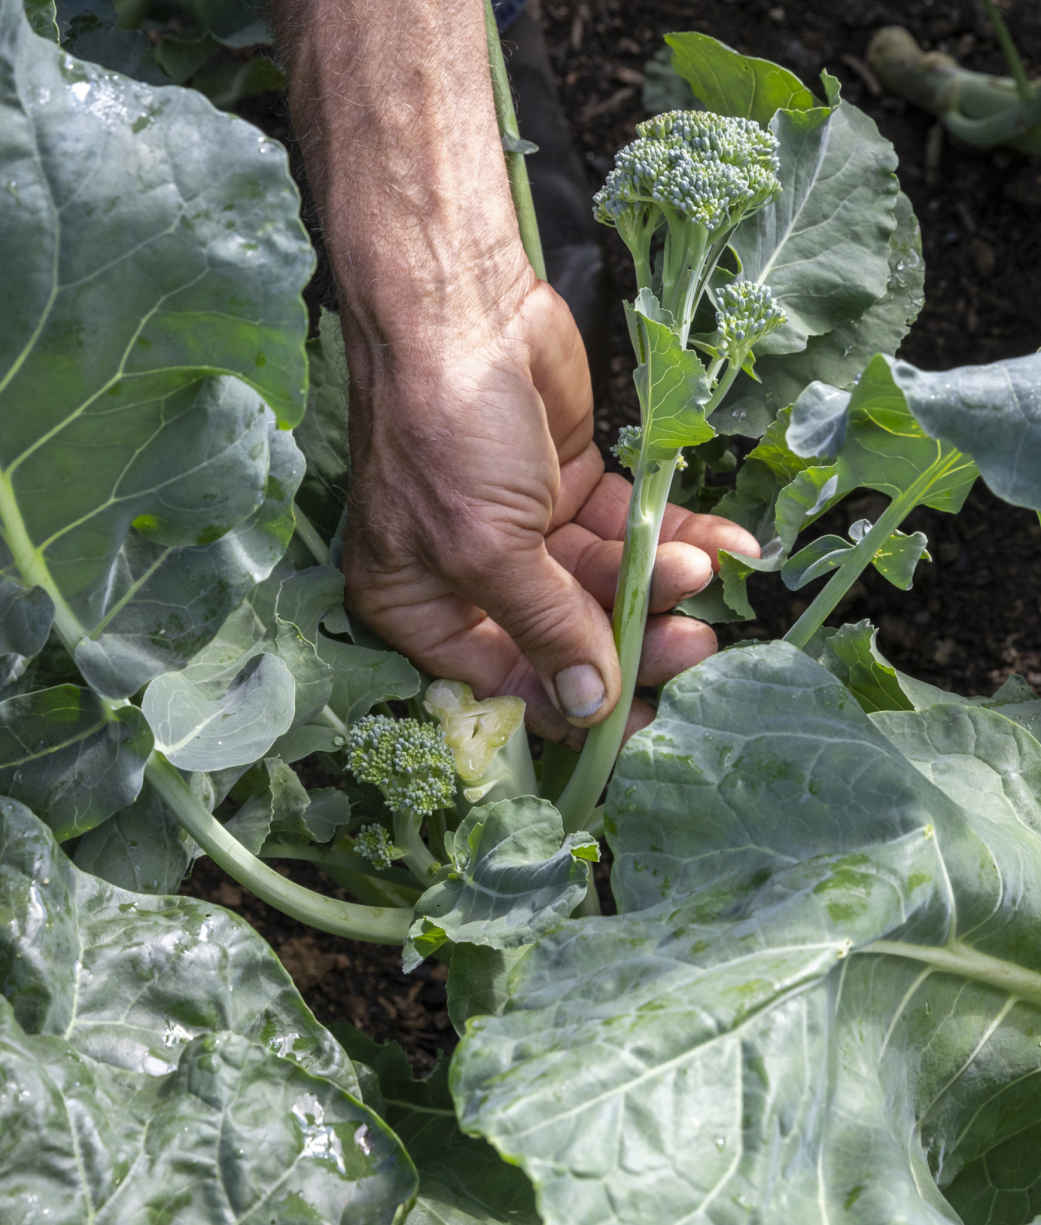
Kaibroc broccoli ‘Green Inspiration’ F1 yields pickings of sturdy, sweet shoots over an exceptionally long period.
KEY INFORMATION (All suitable as a second follow-on crop)
CALABRESE
Seed to harvest: 3 months
Sowing to transplanting: 3–5 weeks
Position: Adaptable, tolerates shade
Spacing: 12–16 in (30–40 cm)
Hardiness: Hardy to approx. 27ºF (-3ºC)

PURPLE SPROUTING
Seed to harvest: 9 months
Sowing to transplanting: 3–5 weeks
Position: Adaptable, tolerates shade
Spacing: 20–24 in (50–60 cm)
Hardiness: Very hardy to approx. 14ºF (-10ºC)

KAIBROC
Seed to harvest: 21½ months
Sowing to transplanting: 3–5 weeks
Position: Adaptable, tolerates shade
Spacing: 12–16 in (30–40 cm)
Hardiness: Shoots hardy to approx. 27ºF (-3ºC), plants to 21ºF (-6ºC)

Brussels sprout plants are easy to grow, but achieving a good harvest of tight buttons can be a challenge. They need good, fertile soil and make large plants that take up a lot of room during fall and winter, but for me this is worthwhile for a steady harvest of homegrown Brussels that are full of flavor and less bitter than their store-bought counterparts. Choose varieties carefully to crop at the time you want them, in fall or deep winter. I always grow F1 hybrids because open-pollinated varieties often produce “blown” sprouts with loose leaves.
Seed packets say to sow from February to April, but I sow in early May because I find that plants sown earlier can get too big and give harvests before you want them. In addition, sowing slightly later allows time to grow another vegetable first (see below).
Most households should have plenty to harvest from 6 to 10 plants. Either sow thinly into a small seed tray and prick the seedlings out individually into 1¼ in (3 cm) cells or sow two seeds into each cell and thin to the strongest once they have germinated. After about a month, pot them on into a 2¾ in (7 cm) pot to give you a decent-sized transplant by mid-June. It’s really worth looking after them to give them a good start.
While you’re doing all this propagation, grow a crop of lettuce, carrots, spring onions, or anything that finishes cropping by mid-July. I find that young Brussels sprouts do better interplanted between these earlier vegetables, spaced the necessary 2 ft (60 cm) apart, because when they are small they don’t thrive in bare ground and far from their nearest neighbor. Harvest a few carrots to make a space for each Brussels sprout plant. Make a neat hole with a trowel and place the root ball in deep, so that its top is about 2 in (5 cm) below soil level, to provide support for the seedling’s long stem.
Water plants well at transplanting, when the weather is often dry. Ensure there is sufficient water for summer growth, but don’t water lavishly at this stage. You may need to water more in September, but by the time the first sprouts form in fall, it’s usually cool and wet enough to make watering unnecessary.
Immediately after transplanting, cover the bed with mesh supported on wire hoops because during summer there will be flea beetles, cabbage root flies, and gall midges ready to strike the small plants. By July, butterflies will also be laying eggs that will hatch into caterpillars. Keep the cover in place for six to eight weeks, until the mesh sides rise above ground level, when you can remove it. Watch out for caterpillars in late summer and squash them, particularly in the head of the plant, where they do most damage. If there are pigeons, replace mesh with bird netting supported on a frame above plants to allow height for growth and prevent birds from sitting on plants to peck through the netting.
Add a sturdy stake next to each plant in late summer and tie in the stem, if you want to keep it upright and make picking easier. Around this time, plants start to shed lower leaves, which you can pull off as soon they yellow. This keeps decaying leaves from creating hiding places for slugs.
Aphids and whiteflies can be a problem from fall into winter. I find adding sufficient compost to beds each year and keeping plants well watered reduces these insect numbers.
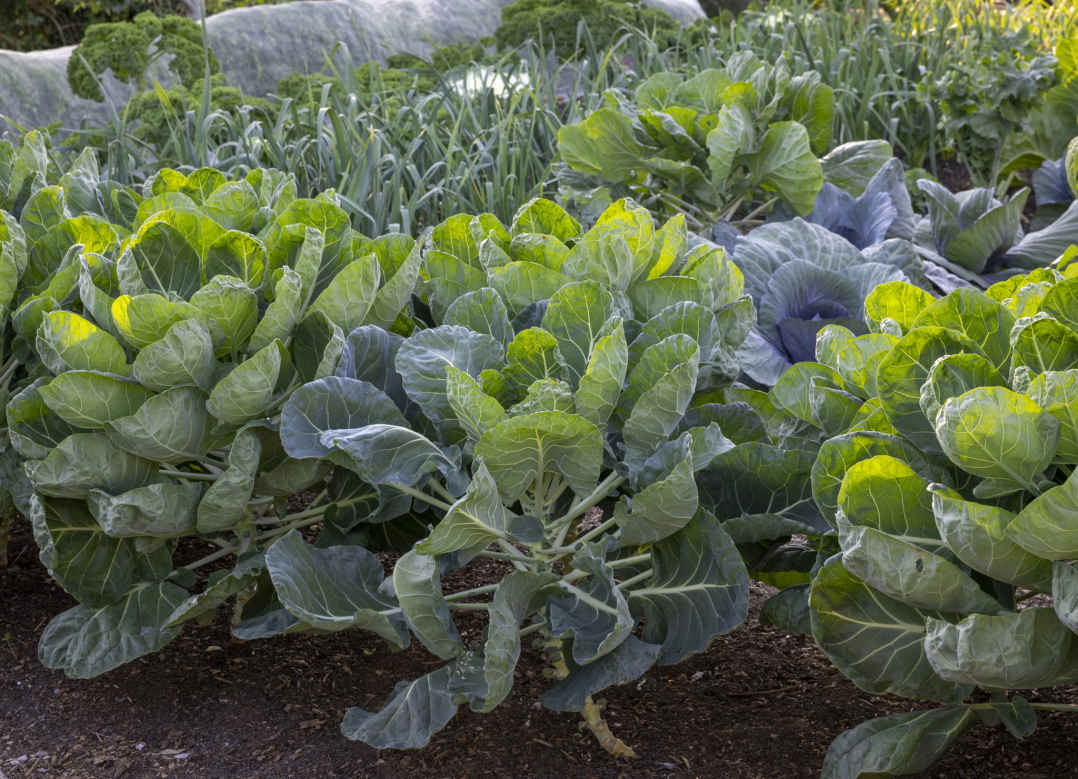
Plants reach an impressive size.
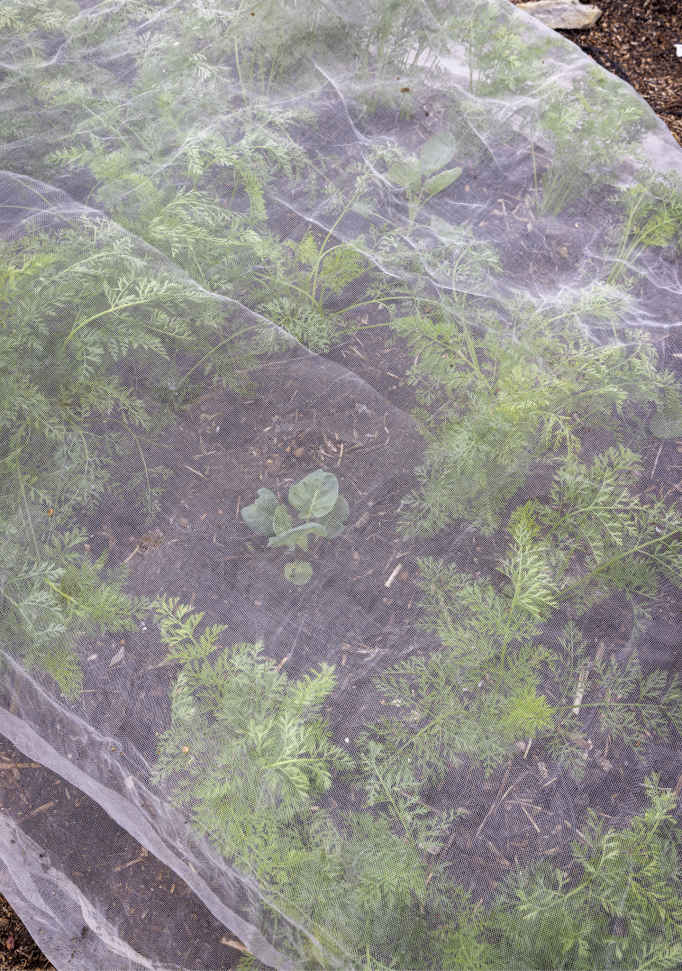
Transplants thrive interplanted among a carrot crop under mesh.
Picking usually begins in October, especially for the early varieties. Buttons mature from the base to the top of the stem and need to be picked in that order. The first buttons at the bottom stay small, so don’t wait for them to get bigger or they will just go yellow. If the buttons are blowing open into mini cabbage-like shoots, they will never form a tight button, but are still edible and best picked promptly. To harvest, push down with your thumb on top of a button and it will snap off the main stem cleanly. Harvest firm, round sprouts weekly over 8 to 10 weeks as they mature. Late varieties will be sweeter once they have experienced cold weather (see Delve Deeper How Growing Conditions Influence Flavor) and can be picked until early spring. Even sprouts that have elongated and started to flower in spring are still edible. The leafy plant top is probably the most delicious harvest and can be cut, together with the last few sprouts, from late December to March. Brussels sprouts are so hardy that they can stand in the ground all winter ready to be picked but can also be kept for two weeks in a cool shed or fridge.
Twist harvested plants from the soil and chop up their tough stems before adding to the compost heap to help them break down faster. Slice lengthwise along the fibers first, so they can be cut into 6 in (15 cm) lengths more easily.
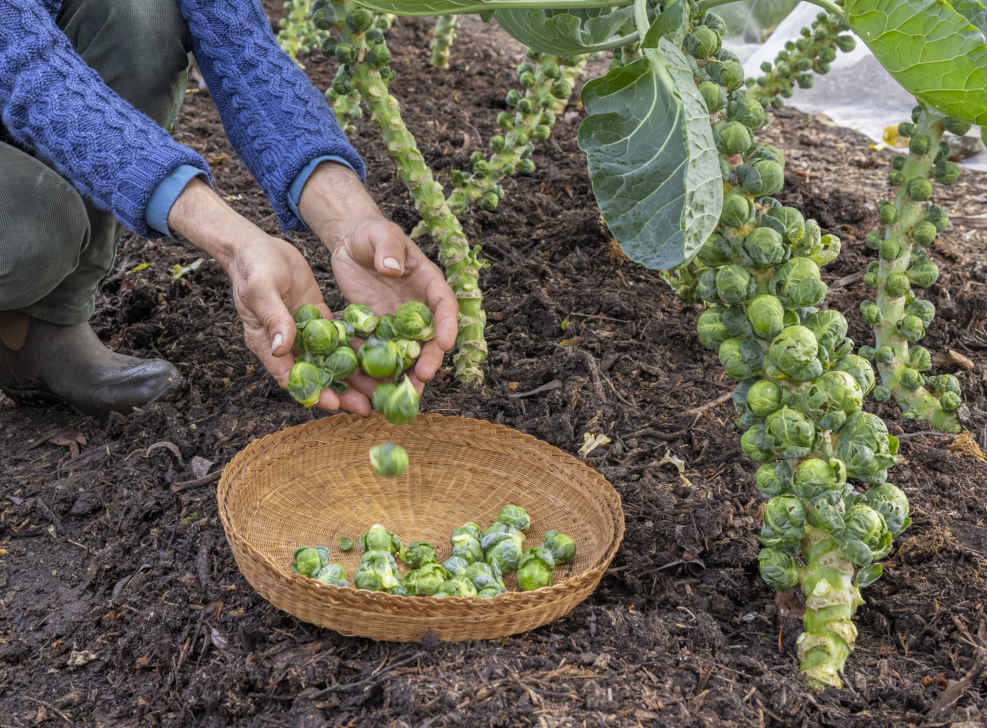
Snap sprouts off the main stem regularly to catch them at their best.
VARIETIES
‘Brendan’ F1 Small to medium buttons from October to January.
‘Ruby Crunch’ F1 Dark color and firm, small sprouts that can be harvested from November to February.
‘Trafalgar’ F1 Medium to large sprouts from November to March, sweeter than some varieties.
‘Igor’ F1 Sweet sprouts that are ready to harvest from December to March.
KEY INFORMATION
Seed to harvest: 5–7 months
Sowing to transplanting: 6–8 weeks
Position: Any position, including shade. Will tolerate wind
Spacing: 2 ft (60 cm) equidistant spacing
Hardiness: Very hardy
Suitable for interplanting

Success with cabbage is all about varietal choice and timing to produce harvests throughout the year. Sow spring cabbage in late summer to overwinter as small plants for a welcome crop during midspring, when other fresh greens are in short supply. Sow summer varieties in late winter to produce tight heads by early summer, before caterpillars become a problem. Fall cabbages from spring sowings make the biggest heads that stand and store well. Tough winter varieties provide valuable greens through the coldest months. Savoys are particularly hardy because they don’t make a tight head, which allows them to stand frost really well.
Read seed packets to find out when each variety matures and how long plants will stand in the ground in good condition to work out how many of each to grow. All types of cabbage can either be sown thinly into a seed tray to prick out into cells or two seeds into each cell to be thinned to a single plant if both germinate. Grow them in 1¼ in (3 cm), or better still in 2 in (5 cm) cells, because they are greedy young plants. I always sow under cover to protect seedlings from flea beetles, other insect pests, and slugs. Time your sowings to have plants ready as soon as another vegetable finishes—winter and spring cabbages are useful second plantings to follow summer harvests like beets and onions.
Seedlings are ready to transplant after about four weeks. Set spring cabbages in the ground at this stage in September, while the soil is still warm. Summer and fall varieties are transplanted in April–May and May–June respectively. They could also be potted on into 2¾ in (7 cm) pots to continue growing under cover if the weather is really cold in April or if you are waiting for a spring crop like spinach, radish, or broad beans to finish. Winter cabbages are ready to transplant in July, when the weather is warm and space is more available. No dig soil hasn’t been fluffed up by digging, so there is no need to firm the soil before planting, contrary to the dictate of gardening tradition, which tells you to firm the soil because it assumes prior loosening.
Transplant deeply, burying as much stem as you can to give plants the best anchorage and wind protection. It’s fine to bury the small seed leaves if they are still present. Push the root ball in firmly and water each plant well. Spacings vary for different cabbage types and also influence the size, and even the type, of heads produced; spring cabbages are more likely to head up when planted 12 in (30 cm) apart and to form loose heads of spring greens at a 8 in (20 cm) spacing. Some varieties of fall cabbage make heavy heads when spaced at 2 ft (60 cm).
Continue to water newly transplanted cabbages regularly until you see them begin to grow. Only summer and fall cabbages may need watering after that stage, when the weather is dry and they are starting to make a head.
I cover newly planted cabbage at all times of year because they are prone to damage by many pests and there is a real risk of losing all of your small plants just like that. In spring, protect transplants of summer cabbage with fleece until early May on average. Fleece shields plants from wind and cold weather, plus it keeps out flea beetles, cabbage root flies, birds, and rabbits. Fine insect mesh is the best choice to protect small plants from late spring into fall, as it’s less warm than fleece and excellent protection against insects. Leave a mesh cover on overwintering spring cabbage to keep birds off and provide protection from the weather, which benefits growth in spring. After protecting spring and summer plantings for the first six to eight weeks, they may be grown on without a cover, but where pigeons are present, cover cabbages with bird netting throughout their growth.
Remove yellowing lower leaves to keep plants tidy, which also enables you to spot and pull any weeds and keep slug numbers low. Add the leaves you remove to the compost heap, along with weeds, and any slugs that were feeding on them.
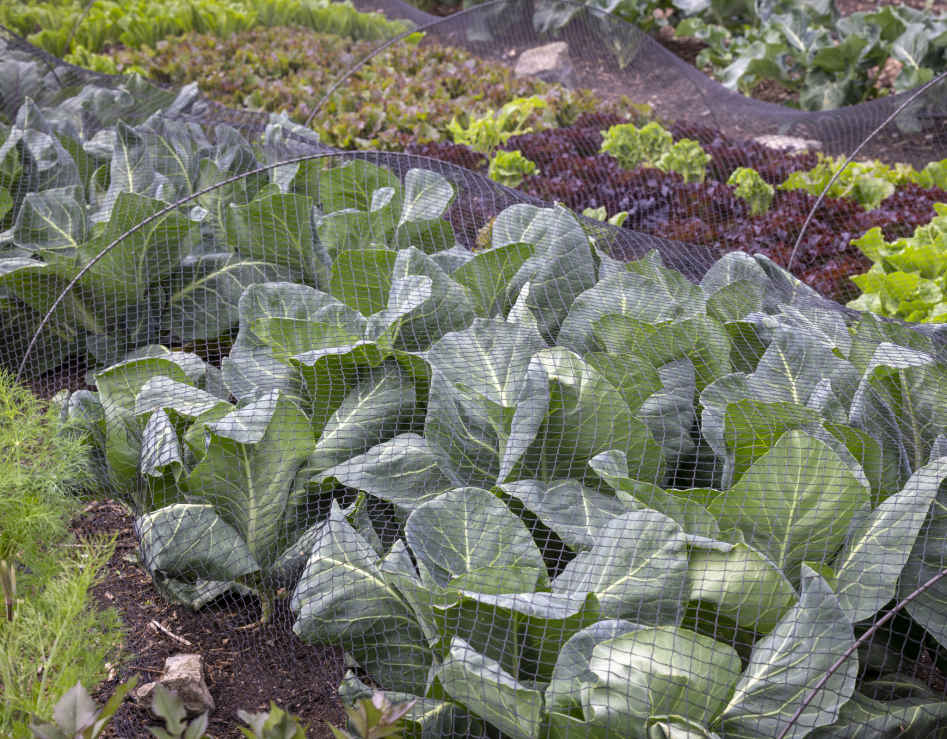
You may need a covering of bird netting to keep hungry pigeons off cabbages.
A strong knife is required to cut through the woody stem of a big cabbage. It’s up to you how many of the less tender but entirely edible outer leaves you eat with the sweet central head. It can be tricky to judge when to harvest because the size and density of heads vary according to the type and variety you are growing. Spring cabbages are ready from mid to late spring—harvest when you see a nice folding of paler central leaves rather than waiting for a tight head. Left too long, they will flower. Summer cabbages make tighter heads, and it’s best to cut the first one as soon as it feels firm because they quickly lose quality in summer heat and insect damage will start to occur. Look for good tight heads before cutting fall cabbages, which will stand in the ground for up to two months in the cool of fall. Winter cabbages are leafier, with looser central heads, and remain in good condition in the ground for two or three months. The dark green outer leaves of a Savoy cabbage are delicious, so cut low on the main stem to use as many as you can.
You can leave the cut stems to resprout for a second harvest, but the benefits are small. To try it, cut off the existing leaves after harvest, cut a cross in the central part of the stem, and leave it for four to six weeks to regrow small heads. Usually, this time would be better used to plant another vegetable, such as leeks after your spring cabbage.
Fall and winter cabbages with firm heads can be cut and stored in a cool shed for up to two months. Leave them in the ground for as long as possible because the later you harvest, the cooler it will be and the better they will store. The outer leaves go moldy in storage but can normally be peeled away carefully to reveal a sound cabbage head underneath. Headed cabbages can also be processed to store as sauerkraut, pickles, or fermented cabbage.
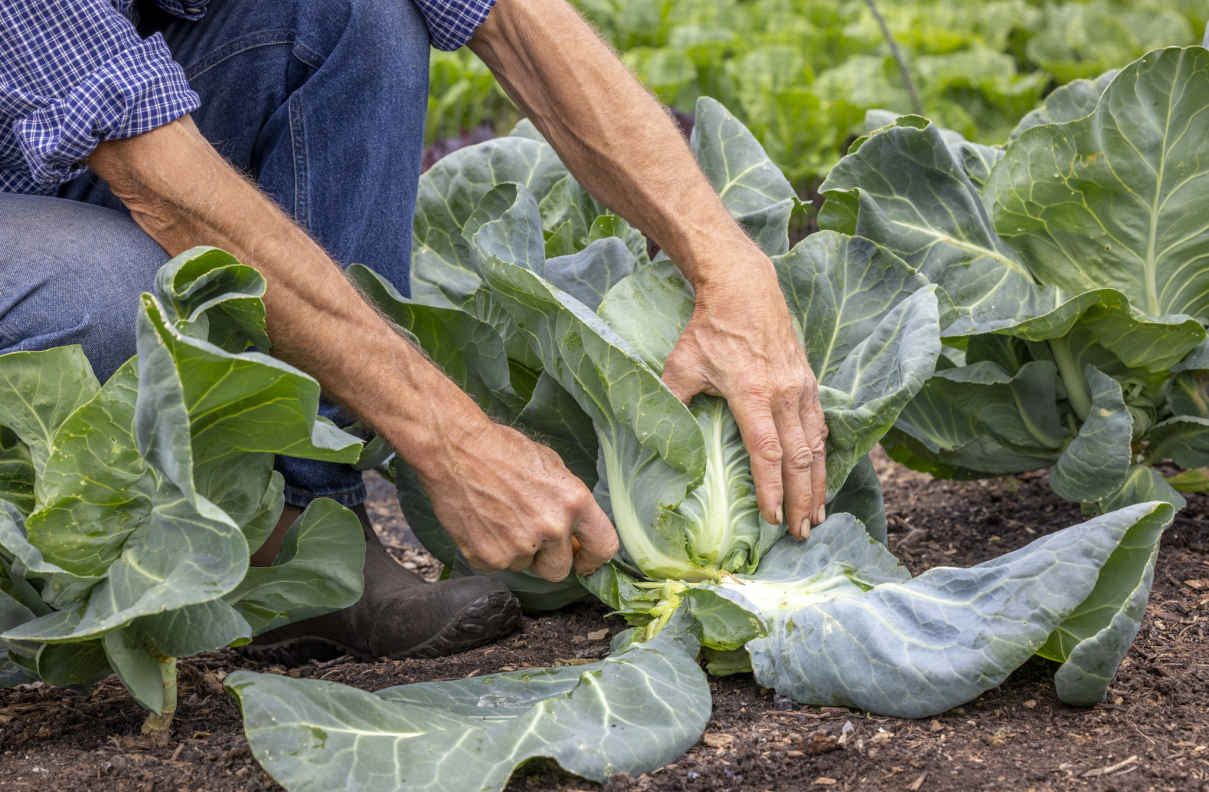
Cut tough cabbage stems above the lowest leaves with a sharp knife.
VARIETIES
SPRING
‘Wheeler’s Imperial’ An old classic, for a bigger, leafy plant without much head. Ideal for spring greens.
‘Advantage’ F1 or ‘Duncan’ F1 Both are compact with a pointed head in midspring.
SUMMER
‘Cabbice’ F1 Excellent for producing quite large, round, tight heads of sweet leaves.
‘Cape Horn’ F1 A small variety yielding pointed heads of less than 2 lb (1 kg), earlier than ‘Cabbice’.
I no longer grow traditional open-pollinated varieties like ‘Greyhound’, as they are not well maintained (see Delve Deeper Sourcing Successful Seeds) and often don’t make a head.
FALL
‘Filderkraut’ A German variety with large pointed heads of green leaves, sweet and ideal for sauerkraut.
‘Granat’ My favorite red cabbage variety, for dense, burgundy heads that store well.
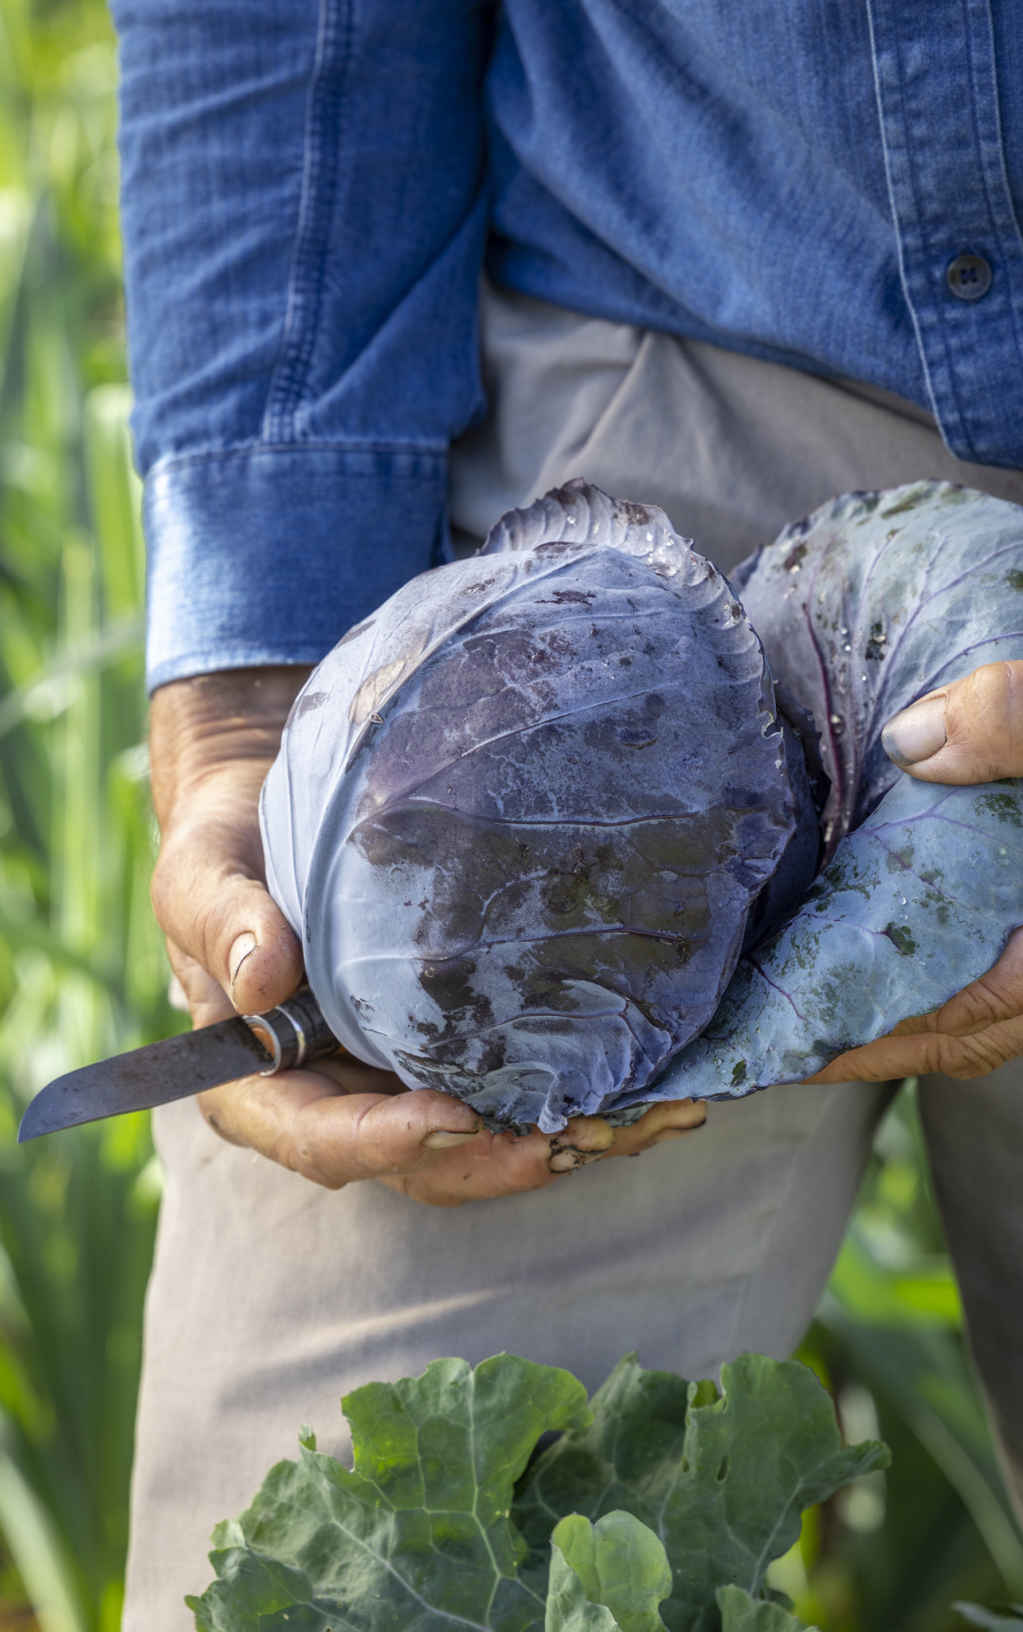
‘Granat’ is a beautiful red cabbage.
WINTER
‘January King’ Half Savoy and half plain cabbage, this classic has pretty, ruffled leaves tinged with red. Crops in late fall or early winter.
‘Tundra’ F1 A hardy hybrid that forms quite open, pale heads to cut in late fall and winter.
‘Paresa’ F1 A tough Savoy hybrid with medium-sized heads of deep green, puckered leaves.
‘Ormskirk’ This old-fashioned Savoy variety may not head up reliably but is still a valuable source of delicious winter greens.
KEY INFORMATION
SPRING VARIETIES
Seed to harvest: 7–8 months
Sowing to transplanting: 4–6 weeks
Position: Tolerates some shade
Spacing: 8–12 in (20–30 cm) (closer for loose greens, farther for heads)
Hardiness: Cabbages are fully hardy. Tight heads can split below about 23ºF (-5ºC)
Suitable for second follow-on planting

SUMMER VARIETIES
Seed to harvest: 4 months
Sowing to transplanting: 4–6 weeks
Position: Tolerates some shade
Spacing: 14–16 in (35–40 cm)
Hardiness: Cabbages are fully hardy

FALL VARIETIES
Seed to harvest: 4 months
Sowing to transplanting: 4–6 weeks
Position: Tolerates some shade
Spacing: 18–24 in (45–60 cm)
Hardiness: Cabbages are fully hardy. Tight heads can split below 23ºF (-5ºC)

WINTER VARIETIES
Seed to harvest: 5 months
Sowing to transplanting: 4–6 weeks
Position: Tolerates some shade
Spacing: 16 in (40 cm)
Hardiness: Cabbages are fully hardy
Suitable for second follow-on planting

Success with cauliflower is not easy, so you must ensure that everything is right by choosing a variety suited to the season you want to harvest, sowing at its best time, and protecting plants from pests. To keep things simple, I suggest three sowing options: the first in warmth in very early spring for a midsummer harvest in time to plant a follow-on crop; the second in early summer for a fall harvest; the third in midsummer to harvest in early spring.
Make the first sowing from mid-February to mid-March under cover with warmth to trigger germination, which may mean starting them in the house. You can also sow in June for transplanting in July as a follow-on crop after clearing earlier vegetables like beets, carrots, or green onions. This works well to produce beautifully geometric heads (curds) of Romanesco in fall. For an early spring crop, sow hardy varieties in late July under cover to protect them from pests. Cauliflower curds from any one sowing mature over a short period of two or three weeks, so there is no point growing too many. Sow a small number of seeds in a seed tray to prick out into 1¼–2 in (3–5 cm) cells or sow two seeds per cell and thin to the strongest seedling.
Transplant about four to six weeks after sowing, spacing plants according to the size of curd you want. Plant 16 in (40 cm) apart for small cauliflowers, 22 in (55 cm) apart for large specimens, or in the middle of this range for good-sized curds. Make a straight-sided planting hole with a dibble or trowel and transplant up to 2 in (5 cm) below soil level to help support the long stem. Water in well.
Finding space to transplant cauliflowers to overwinter can be a challenge, but they do well interplanted between summer crops that are a few weeks from finishing, such as lettuce, carrots, or bush green beans. Interplanting may distract pigeons, which sometimes don’t spot brassicas among other plants.
Water new transplants while they establish, especially in summer. Plants need little extra watering once they are growing strongly, but water in dry weather when curds start to swell for a summer harvest.
Cover spring transplants with fleece or mesh from day one to insulate them from the weather and keep out flea beetles and cabbage root flies, which could ruin unprotected young plants. Prevent problems with caterpillars, which are a major pest through summer and early fall, by protecting plants with mesh. The beauty of transplanting in late summer is that there are few damaging insects during the spring cropping period, but keep pigeons off with bird netting.
While plants are growing, snap off any yellowing outer leaves by pushing down on their stalks to keep plants clean and reduce problems with slugs. This is also a chance to pull any weeds and see what’s going on; you might notice caterpillars that need squashing or a baby cauliflower forming.
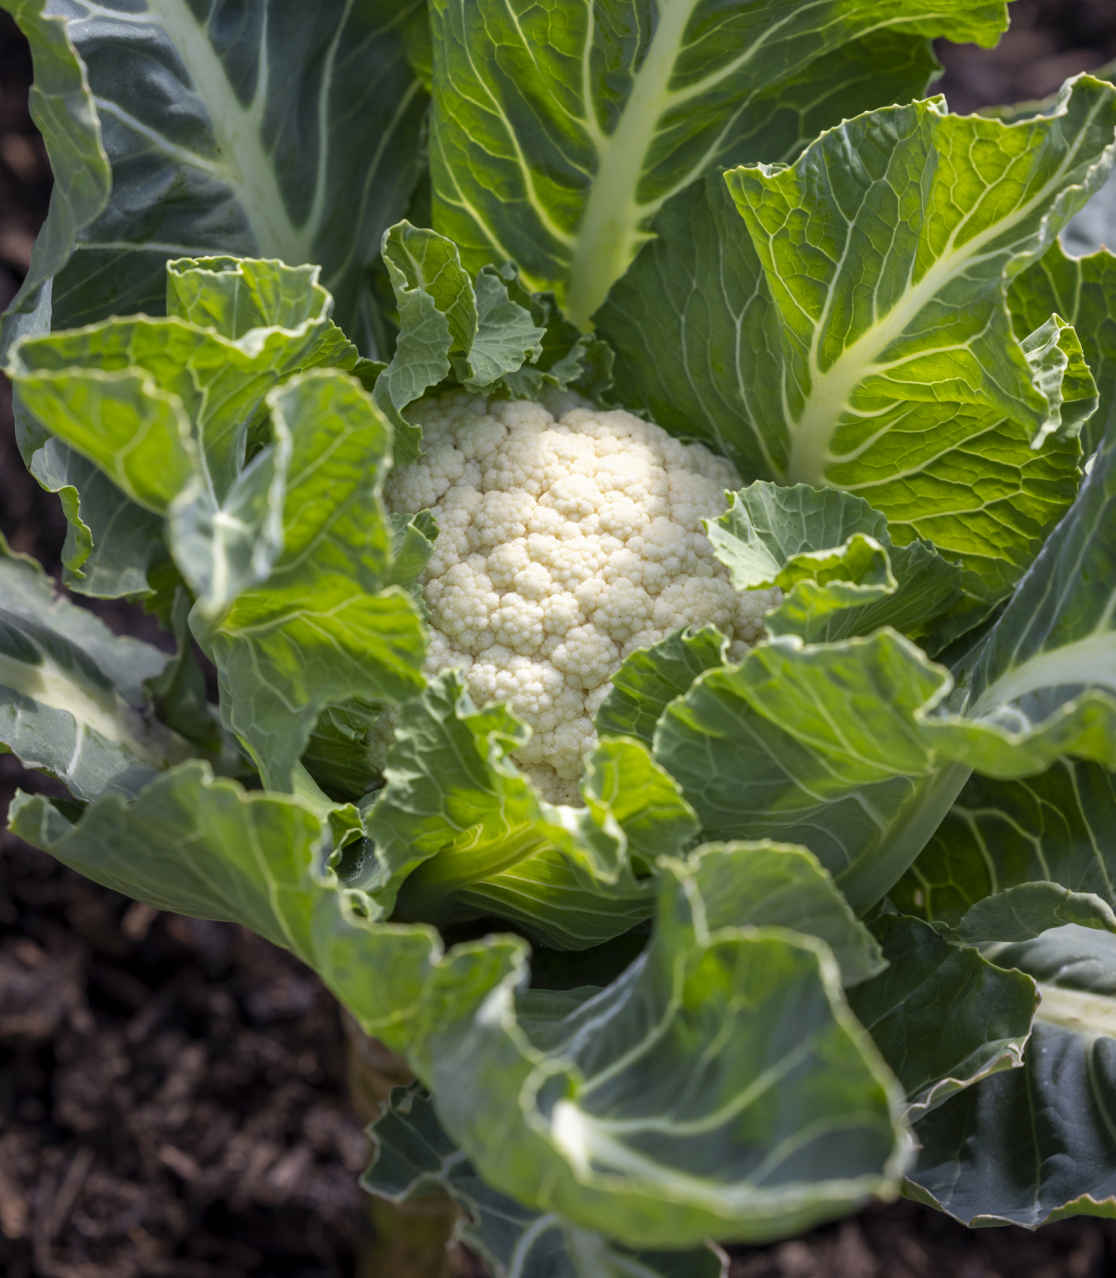
Cauliflower ‘Medallion’ F1 is hardy enough to overwinter.
Once the leaves of neighboring plants touch, curds will soon be starting to develop. Look among the central leaves, and if you see a little curd, then watch it closely; in summer, it will mature within one or two weeks, while it may take a month in early spring. Pick a few curds before they reach full size to avoid a glut because mature curds quickly lose their even, domed top as broccolilike stalks push up to flower. Harvest by cutting the main stem below a few of the enfolding outer leaves. The small central leaves are tasty and tender when plants are freshly cut. Cauliflowers keep in a cool place for a week or so but quickly discolor if kept at room temperature. After harvest, twist out plant stems and add them to the compost heap.
VARIETIES
‘Purple Graffiti’ F1 Lovely violet curds to harvest in early summer or fall, depending on when you sow.
‘All The Year Round’ An old variety that is a bit variable but lives up to its name and can be used for any of the sowing options.
Romanesco ‘Navona’ F1 Produces reliable and beautiful fall harvests.
‘Medallion’ F1 Medium-sized white curds in early spring from summer sowing.
‘Aalsmeer’ Forms creamy-white curds to harvest in early to midspring.
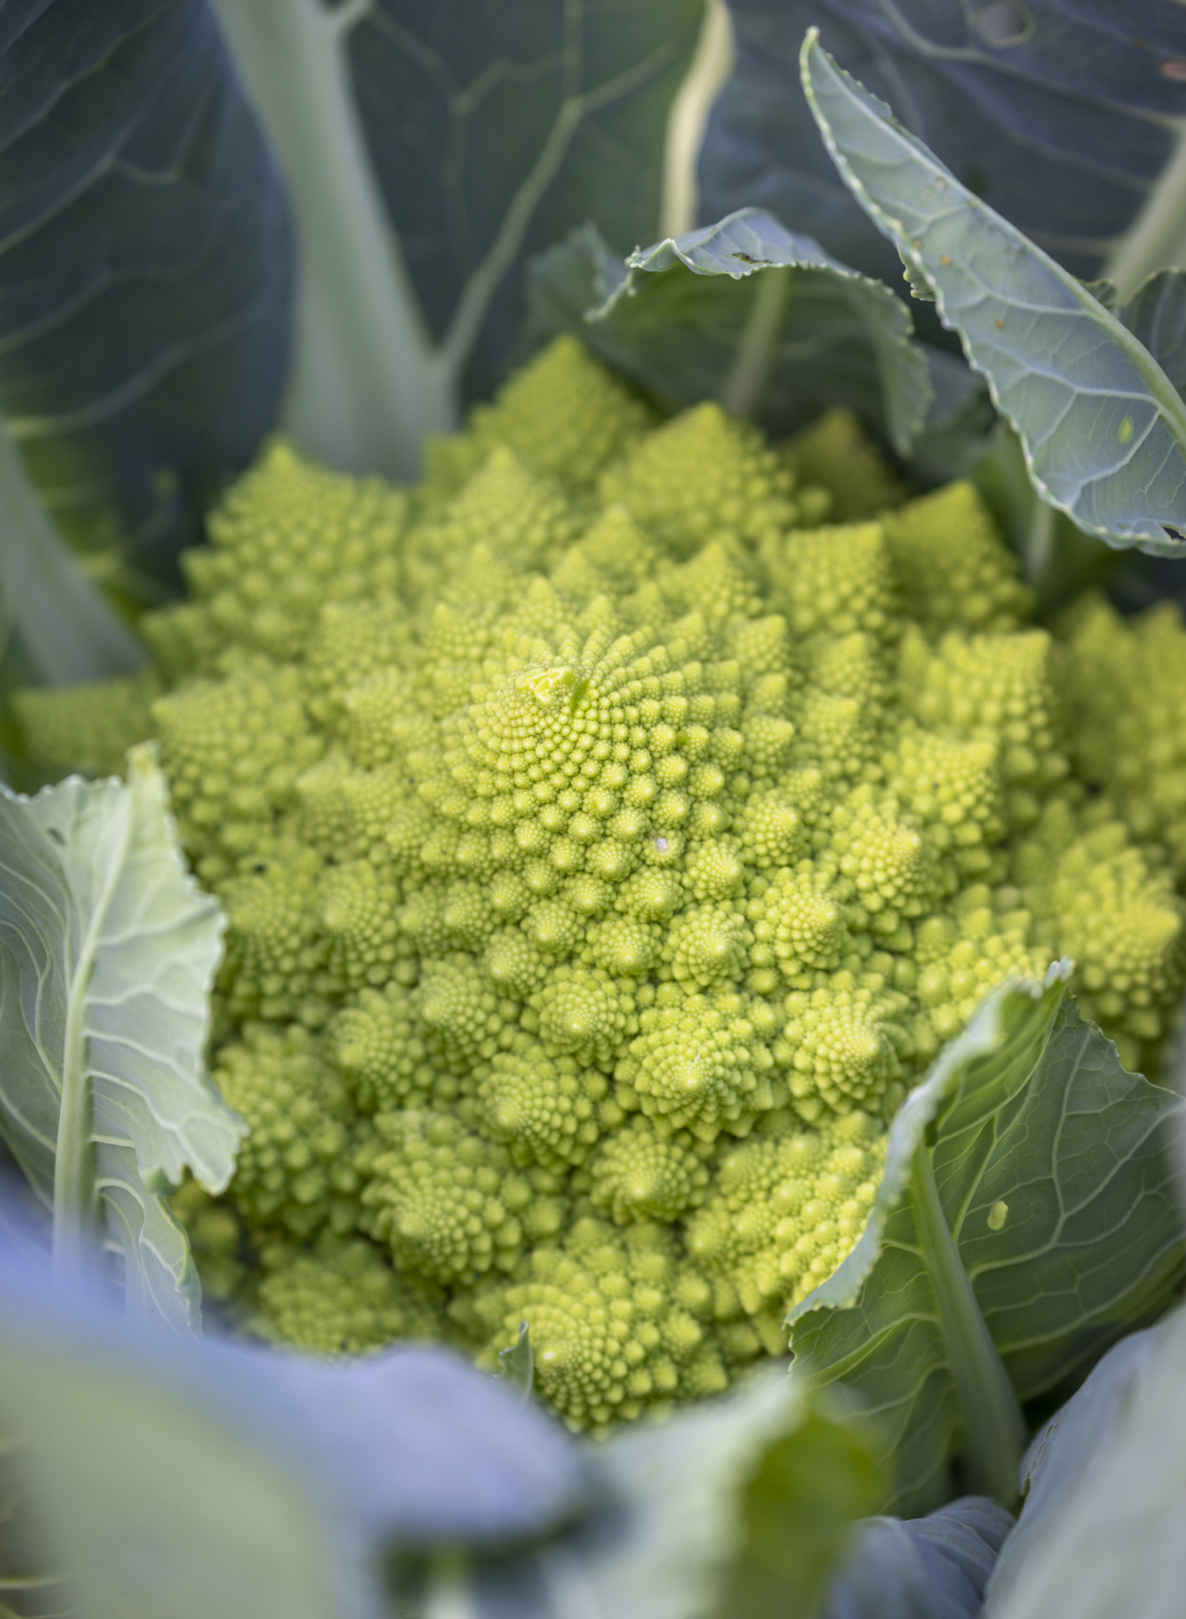
Romanesco curds form exquisite fractal patterns.
KEY INFORMATION
Seed to harvest: 4 months (summer and fall crop), 8 months (early spring crop)
Sowing to transplanting: 4–6 weeks
Position: Any position, tolerates some shade
Spacing: 16–22 in (40–55 cm) equidistant
Hardiness: Hardy to 14ºF (-10ºC) in leaf and 23ºF (-5ºC) for curds
Suitable for interplanting in late summer

Kale is one of the best green leaves to grow for steady harvests through the colder months and into spring. It tolerates really cold, harsh conditions and, when you pick lower leaves only, growth continues for repeat harvests. The varied colors and leaf textures of different varieties look decorative in the garden. Red kale is extremely attractive, but green varieties are easier to grow, hardier, and more productive. Choose between flat-leaved varieties with softer leaves that are good in salads, and curly kale, which is a little tougher and best for cooking. There are also compact dwarf varieties, ideal for smaller spaces and containers.
A range of sowing dates can provide you with kale for most of the year. Sow as early as March for harvests through summer, fall, and possibly in winter, too. Sowings from mid-May to June provide fall harvests and are the best option for overwintering, as the slightly younger plants are more resistant to winter weather. Transplants come ready at a brilliant time to follow early crops of peas, broad beans, early potatoes, or spinach. Aim to tailor your kale sowing to produce transplants that are ready to go when ground becomes available. Another option is to sow in late July for smaller plants to pick for salad leaves over winter. These can either be planted outdoors or under cover after tomato plants are cleared.
Either sow two seeds into a 1¼ in (3 cm) cell and thin to the strongest seedling or sow thinly in a seed tray to prick out into 1¼ in (3 cm) cells. Multisow kale into cells to produce smaller plants for salad leaves.
If your ground is ready, transplant kale from just three weeks after sowing. Where it’s necessary to wait for space to become available, you can allow up to six weeks from sowing by potting on into 2¾ in (7 cm) pots to produce strong young plants. Raising plants in this way gains time because your six-week-old kale plant will have been growing while an earlier crop is in the soil. This adds weeks to the growing season, compared to sowing directly. Plant kale deep, with the top of the cell roughly 2 in (5 cm) below soil level, because young plants have long stems that will benefit from this extra support. Water in well.
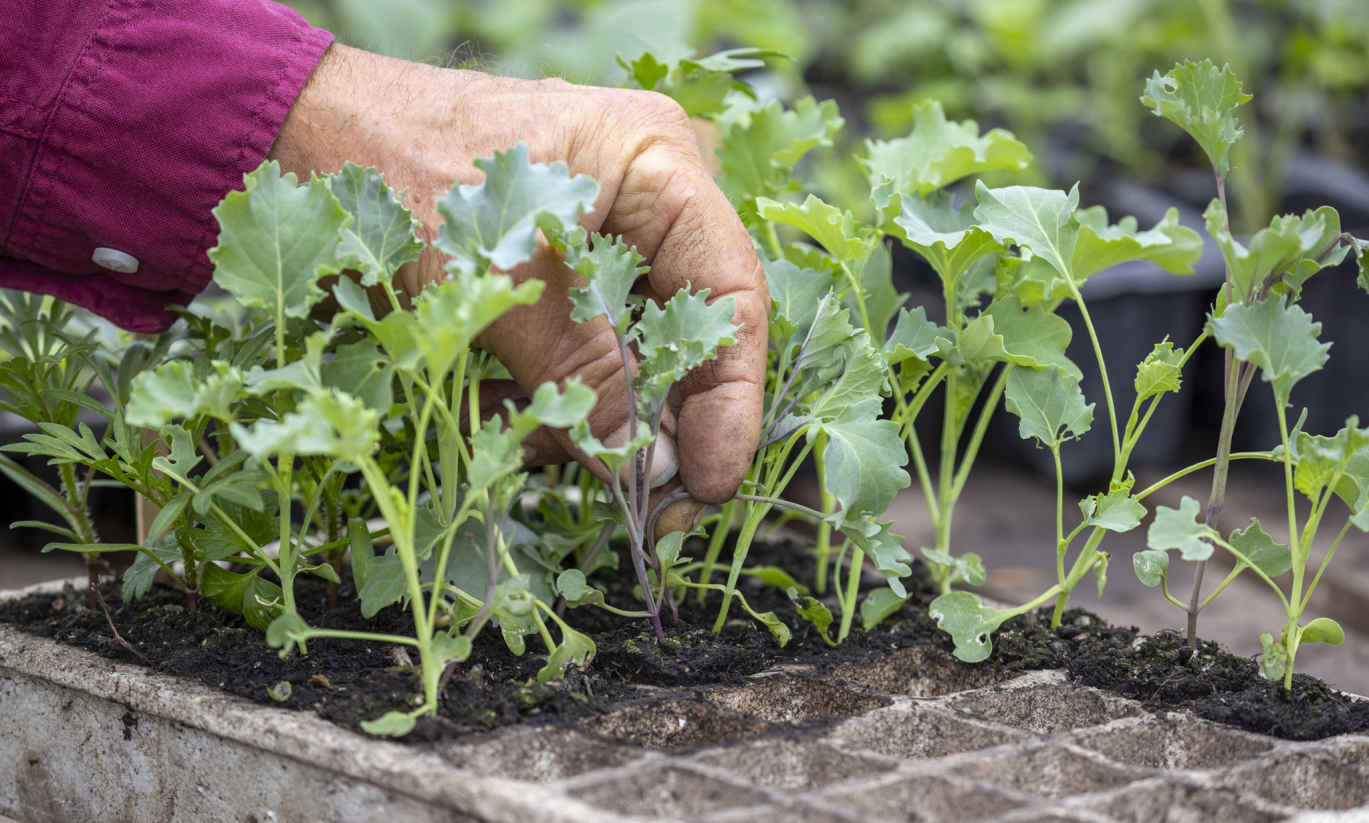
Thin out the weaker seedling in each cell.
Water newly transplanted kale until it has established. After that, they need water only in very dry weather. Pests are the main issue and it’s best to cover all new plantings with mesh or fleece for at least six weeks to keep off insects, pigeons, and rabbits through that critical phase of establishment. After that, plants tolerate some damage, but each garden is different and longer-term protection may be necessary. Support bird netting on hoops so that pigeons cannot land on plants and peck through the net. Most varieties are tall, so you may need a wooden structure to support the netting as plants mature. Taller varieties in windy gardens may need to be tied to sturdy 1 in (2.5 cm) square stakes. About a month after planting, the lowest leaves will begin to yellow and are best removed to keep plants tidy, make picking easier, and reduce slug numbers.
It’s worth allowing plants to establish before picking too many leaves. Push downward on the stalk of the lowest leaf to snap it off the main stem. Harvest all of each leaf stalk even if you’re not going to eat it because that keeps the plant tidy and makes ongoing picking easier. Spread each picking over several plants. Try to keep up with each plant’s production to prevent the lowest leaves from yellowing, but avoid overpicking a single plant to leave just a few small leaves at the top, as regrowth then takes longer. As the season progresses, plants end up with a mini trunk and leaves clustered at the top, like a palm tree. Flowering can initiate in late winter, especially for ‘Cavolo Nero’, and these flowering stems can be picked as tender, broccolilike shoots before their buds open into yellow flowers to extend the harvest into spring. With each pick, the new flowering shoots become thinner and stringier. Finally, when they are no longer tender, that’s the end of your harvest, and the main stem of each plant should be twisted out of the ground to compost. Harvest for salad leaves in the same way, just at a smaller leaf size.
Kale is easy to pick as and when you need it. The leaves are quite high in dry matter, which means they keep well in a plastic bag in the fridge for about a week.
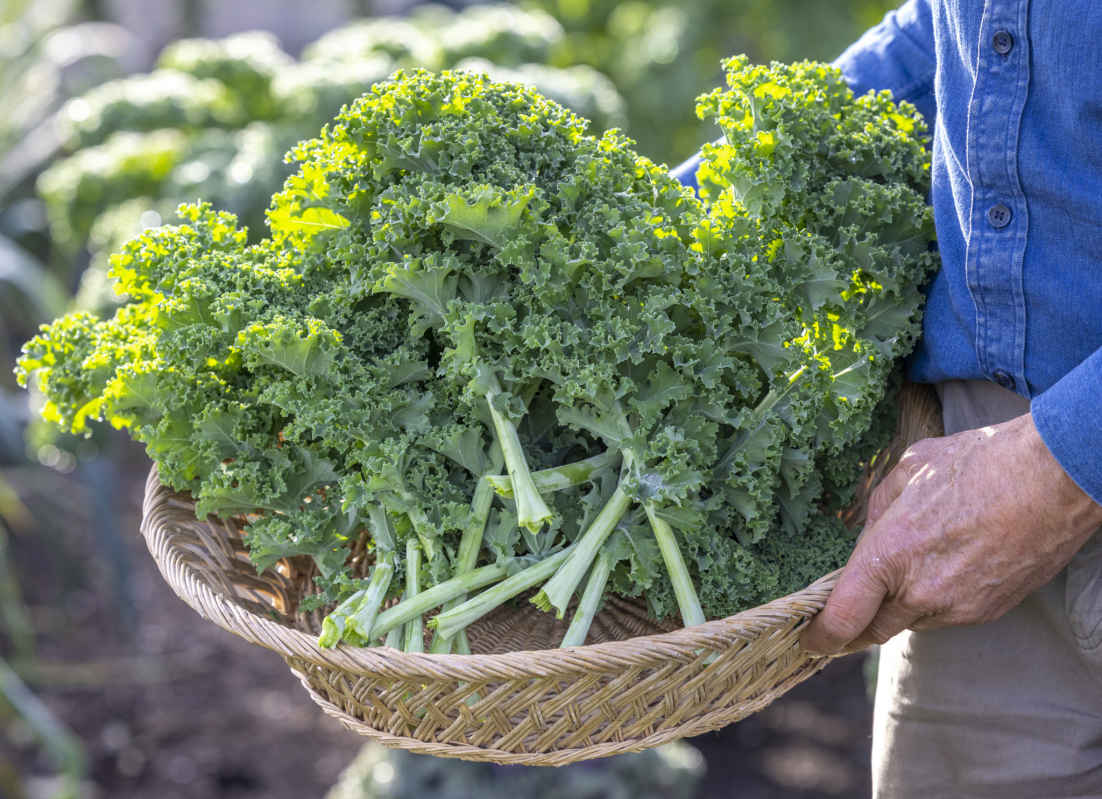
Curly kale is hardy enough to crop through winter.
VARIETIES
‘Red Russian’ A classic kale, with a purple hue to leaves, which are tender at all stages, but especially when picked small to eat raw.
‘Pentland Brig’ This old-fashioned green curly kale is tall and very cold hardy.
‘Hungry Gap’ A green variety that produces leaves for a long period before it flowers in spring.
‘Dwarf Green Curled’ A compact variety perfect for smaller gardens.
‘Curly Scarlet’ An attractive dwarf kale with purple-tinged stems and leaves.
‘Redbor’ Dramatically dark red, curly leaves on tall plants. Highly ornamental.
‘Cavolo Nero’ Black Tuscan kale with beautiful deep green, blistered foliage and pale stalks. There can be considerable variation between seed packets; some selections grow tall with long, thin, drooping leaves, while those with a compact habit and fleshy leaves are more productive.
‘Black Magic’ F1 A ‘Cavolo Nero’ hybrid with fatter leaves and shorter stems.
‘Red Devil’ A purple-stalked version of ‘Cavolo Nero’ on compact stems.
‘Rainbow Candy Crush’ Ruffled leaves, vivid violet when young, look attractive both in the garden and on your plate.
See here for perennial kales.
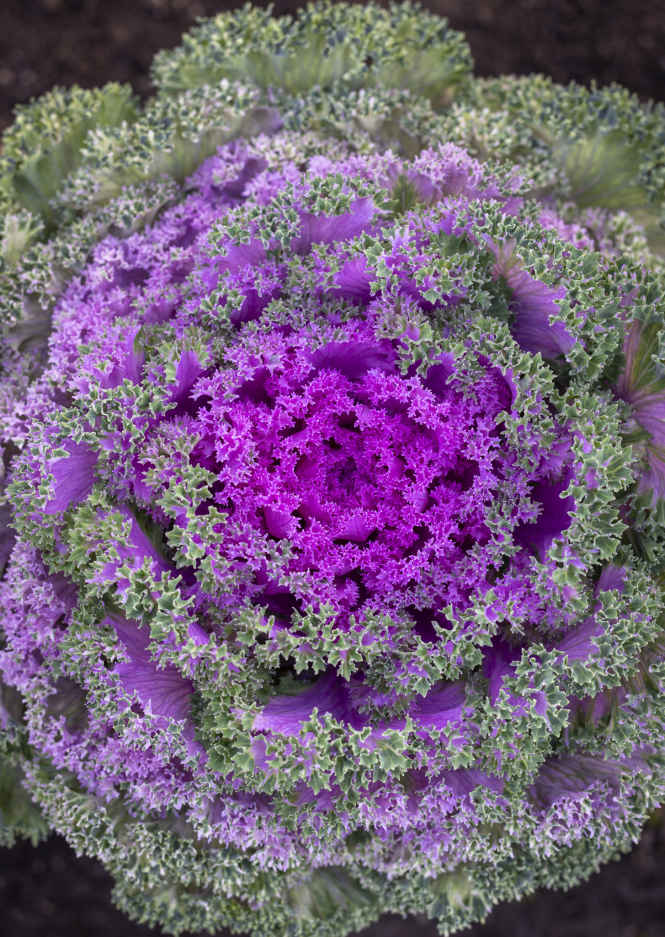
Highly ornamental kale ‘Rainbow Candy Crush’.
KEY INFORMATION
Seed to first harvest: 2–3 months
Sowing to transplanting: 3–6 weeks
Position: Full sun is ideal, but will tolerate some shade
Spacing: 18–20 in (45–50 cm) for large varieties, 14 in (35 cm) for dwarf varieties, 8¾ in (22 cm) for salad leaves
Hardiness: Very hardy, down to at least 14ºF (-10ºC)
Suitable as a follow-on crop

Their rapid growth means that radishes are often the first spring-sown harvest on your table. April’s roots offer a mild flavor and crisp texture, then become hotter and more pungent as the weather warms. Larger winter radishes are sown in late summer to enjoy through fall and winter, so be sure to know which type you’re sowing and when to expect the harvest.
Multisowing five spring radish seeds to each 1¼ in (3 cm) cell gives them an early start under cover and avoids the insect pests that trouble direct-sown seedlings in spring. Make the first sowing by mid-February and keep them warm in the house to ensure rapid germination. Seedlings can stand frost, so move them into a cold greenhouse for two weeks before transplanting in early March in temperate climates. A second sowing in late March and a third in mid-April prolong the harvest, while sowings from May to August give spicy radishes. Spring radish can also be sown in early September for a late fall crop. Larger winter radish are best grown singly or in pairs: sow two seeds per cell from mid-July into the first week of August.
Transplant as little as three weeks after sowing. Dib holes deep enough to shelter the long stems below soil level. Plant multisown spring radishes 6 in (15 cm) apart and leave 10 in (25 cm) between winter radishes.
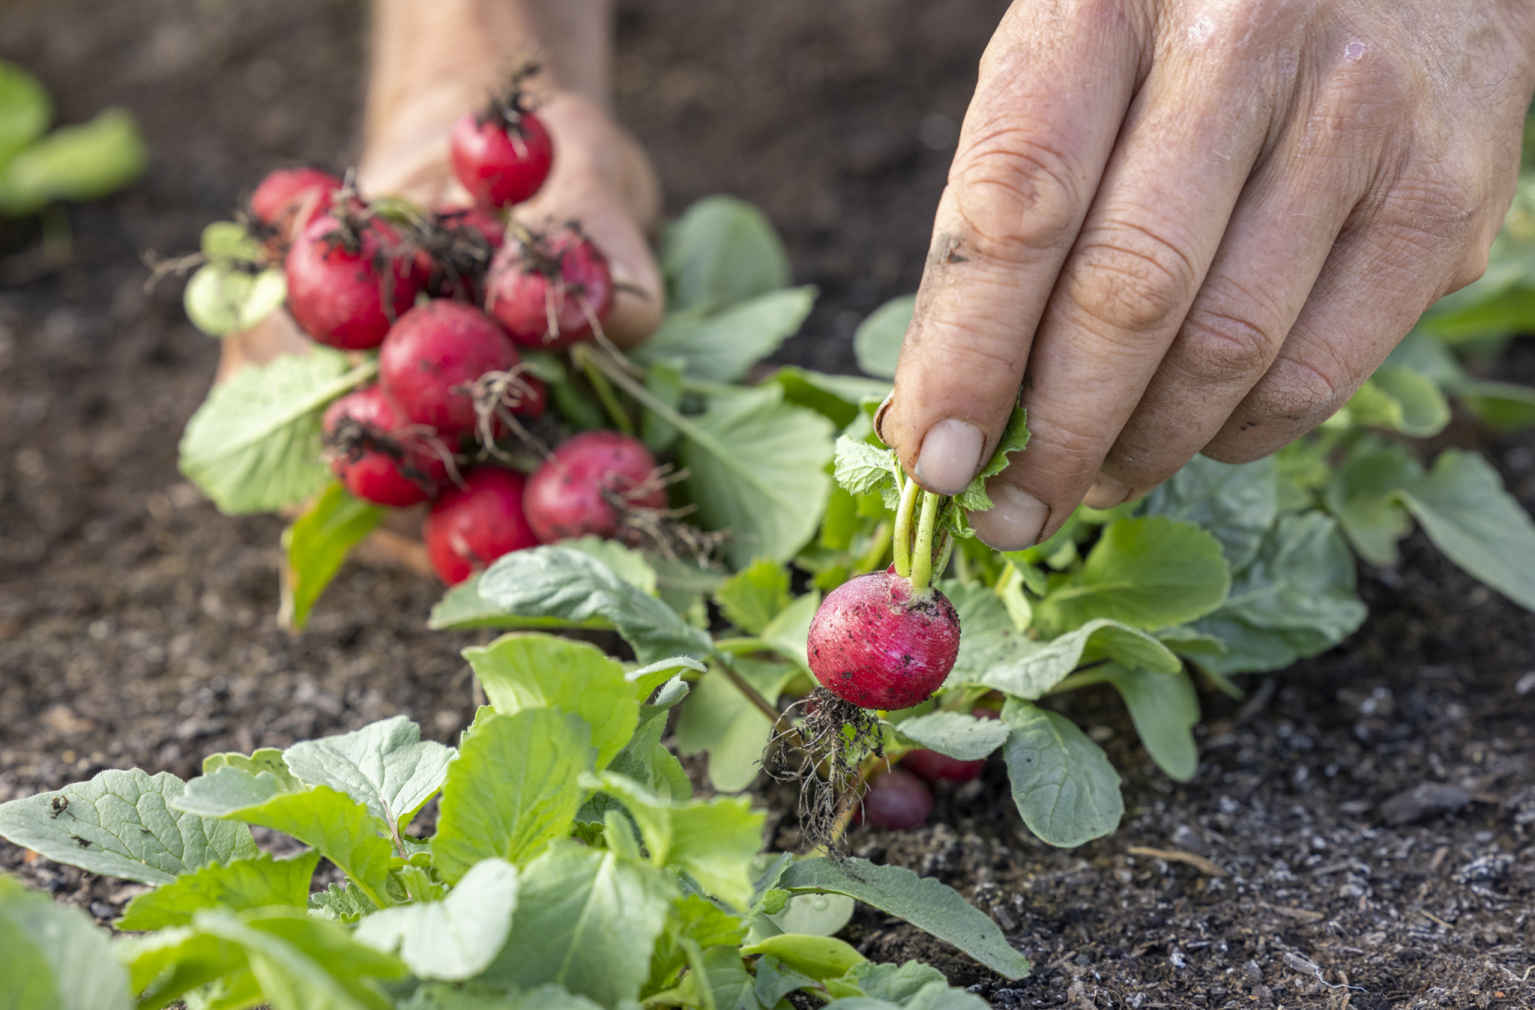
Twist out the larger roots from radish sown in rows or multisown in clumps.
Cover early transplants with fleece during March and April for protection from cold winds. Once temperatures rise, swap the fleece for fine mesh to keep out the flea beetles and cabbage root flies that are active by midspring. Winter radishes benefit from fine mesh covers until late September, when established plants are more resistant to damage.
Watering spring radishes every two days during dry weather will produce a bigger, tastier harvest. Winter radishes need little watering once established, unless it is dry in early fall when roots start to swell.
Spring radishes have a short harvest period, so twist out the vibrant roots while young and tender. Left in the ground for too long, their texture will quickly turn fluffy or woody as a flower stem forms. Remove leaves after harvest to prevent them from drawing moisture out of the roots—the leaves are edible, although hairy.
Harvest winter radishes from October as required. Once temperatures drop below about 21°F (-6°C) or colder, twist out the remaining roots with a little soil attached and they will keep in a box in the shed until February.
VARIETIES
SPRING
‘Rudi’ My favorite red, spherical variety. Grows strongly and stands for three weeks in damp weather.
‘French Breakfast’ An old-fashioned variety, with pretty, long, cylindrical, red and white roots. Harvest young because roots rapidly turn soft and hollow.
WINTER
‘Black Spanish Round’ A round variety for winter salads with dark skin and crisp, white flesh.
‘Long White Icicle’ Harvest in fall for large, white, cylindrical roots, more turniplike in flavor.
‘Shawo Fruit’ A Chinese variety with green and white skin and striking green flesh. The long roots can be eaten raw or cooked and sweeten after freezing.
‘Dragon’ F1 One of several red or partly red-skinned winter radish. Crisp and pretty, with a long shape.
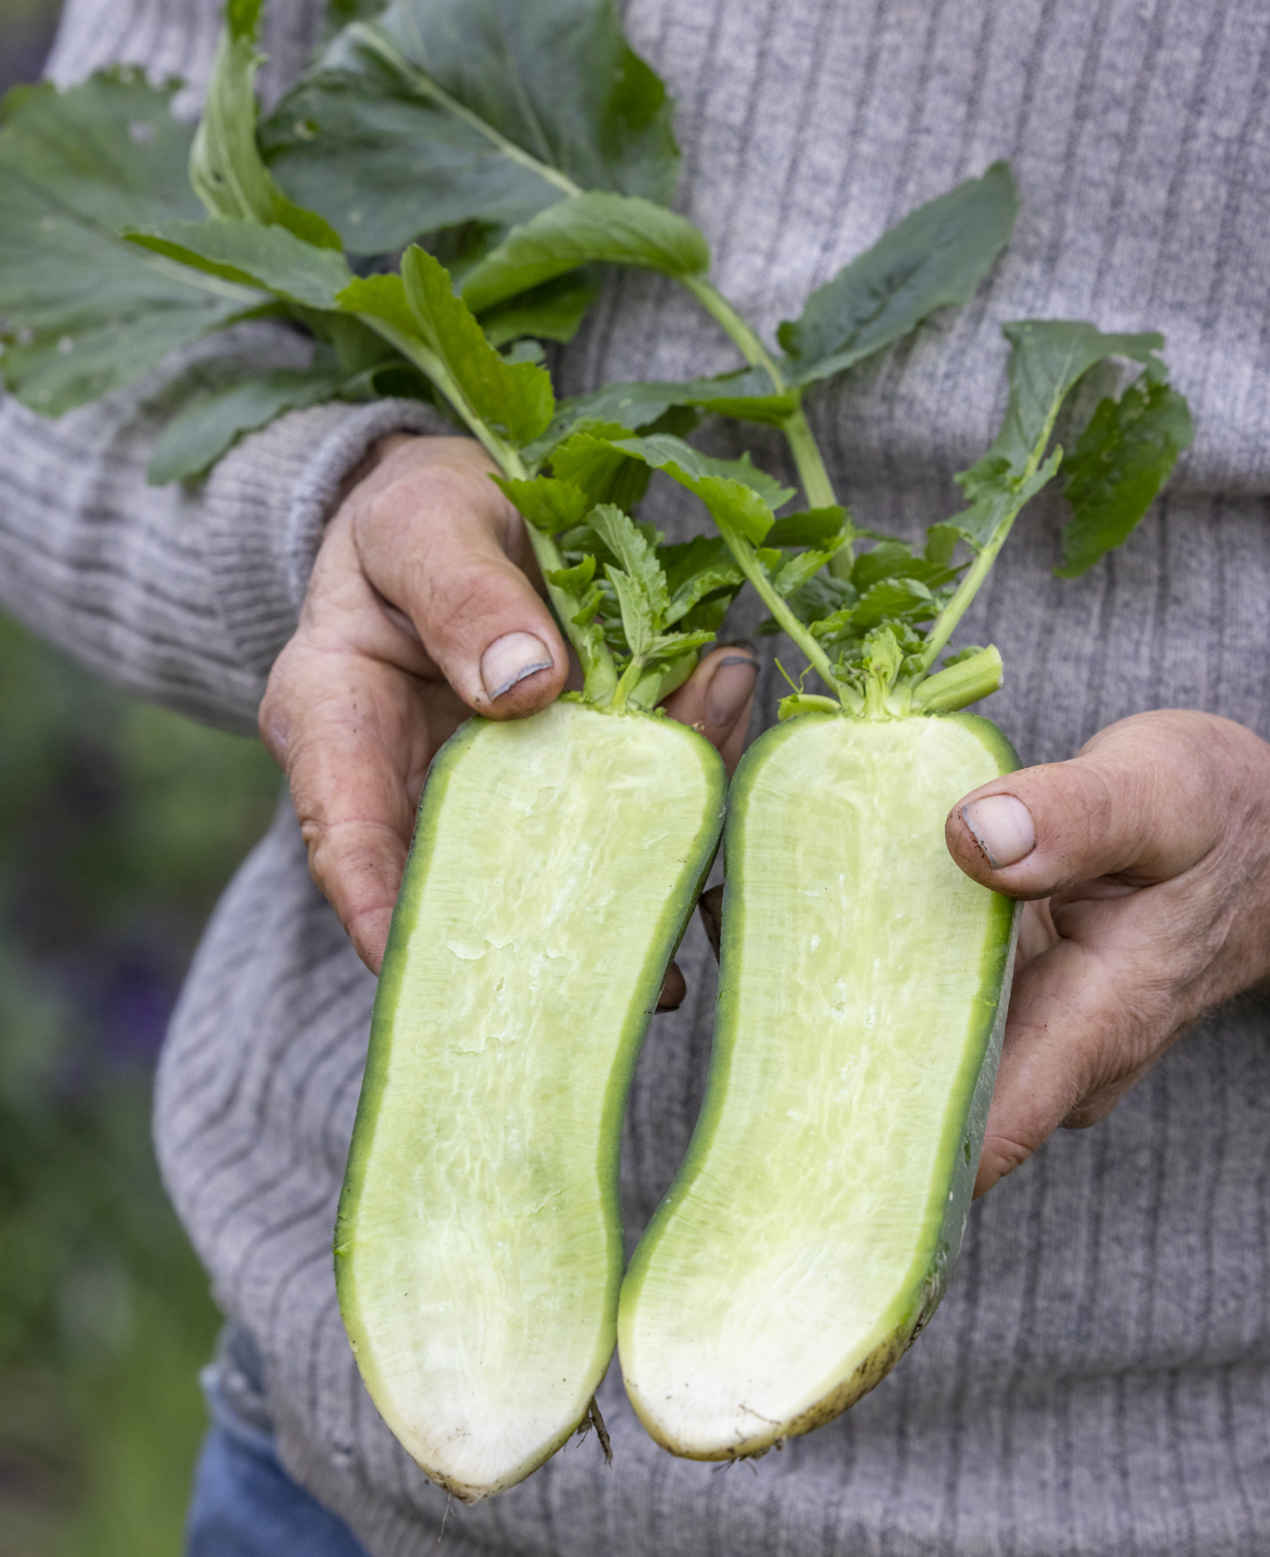
Hardy winter radish ‘Shawo Fruit’.
KEY INFORMATION
SPRING VARIETIES
Seed to first harvest: 6 weeks
Sowing to transplanting: 3–4 weeks
Position: Full sun or some shade
Spacing: Multisown 6 in (15 cm) equidistant
Hardiness: Moderately hardy
Suitable for multisowing and as a second or third crop

WINTER VARIETIES
Seed to first harvest: 3 months
Sowing to transplanting: 3–4 weeks
Position: Full sun or some shade
Spacing: 8 in (20 cm) equidistant
Hardiness: Moderately hardy, down to 25ºF (-4ºC)
Suitable as a follow-on crop

Rutabagas stand in the ground through the hardest winter weather, untroubled by frosts or pests, and their dense, sweet, nutritious roots are a valuable vegetable in the coldest months. Although called a root vegetable, the part we eat is a swelling above the tap root, which means rutabaga can be sown in cells and successfully transplanted. Also known as swedes, they were discovered in Sweden in the 15th century, probably in fields of turnips or radishes.
Sow from mid-May in cold regions to early June in warmer areas under cover to protect vulnerable seedlings from flea beetles. Seed packets may suggest sowing earlier, but rutabagas don’t need the whole growing season to get to a good size, and sowing later leaves time to grow an early crop of spinach, beets, or carrots before transplanting the rutabaga. Sow two seeds per 1½ in (4 cm) cell and thin to the strongest seedling, or sow in a seed tray and then select the strongest seedlings to prick out into cells.
Transplant about four weeks after sowing, spaced 12–14 in (30–35 cm) apart each way, using the wider spacing if you’re looking to grow larger “roots.” Dib deep holes so that the stems are below soil level to the first true leaf and water plants in well because the soil is often dry after a first harvest.
If it doesn’t rain after planting, continue to water young plants until they are established and growing well. They tolerate dry spells during summer, but keep an eye on the weather in early fall, when rutabagas really begin to swell, and water if there is no rain.
I protect young plants with enviromesh for the first six to eight weeks after transplanting because keeping them sheltered at this stage and free of insect pests, like flea beetle and cabbage root fly, can make the difference between a reliable harvest and one that might fail. Gall midge is the most damaging insect pest because it eats the new leaves and halts growth until plants initiate a new growing point, resulting in smaller crops. Covers can be removed by mid-August, when the plants are established and able to resist pest damage. The leaves are enjoyed by pigeons, however, so cover with bird netting for the remainder of the growing season where they are a pest.
Lower leaves naturally yellow as they age and can become a habitat for slugs and other pests as they die. Twisting them off the plant before they are too yellow improves the appearance of the crop and reduces slug numbers and damage. Compost all the leaves you remove.
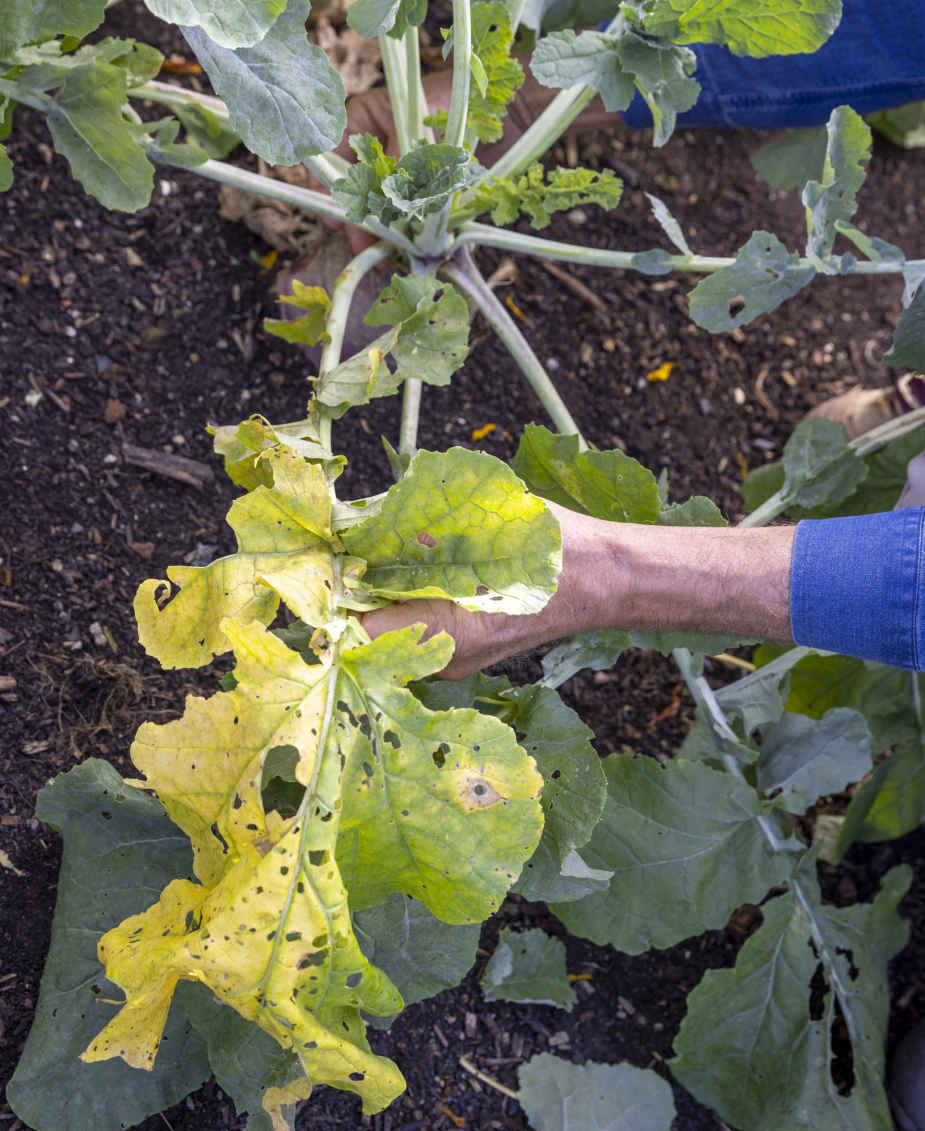
Remove yellowing leaves regularly.
There is no rush to harvest, as rutabagas stand well in the soil right through winter. Just pull them gently from the soil as you cut the roots underneath with a trowel, as required. Finish harvesting before the weather warms in spring, when roots toughen as new leaves start to take the energy stored within them. You can also harvest during December to store in a box in the shed until March.
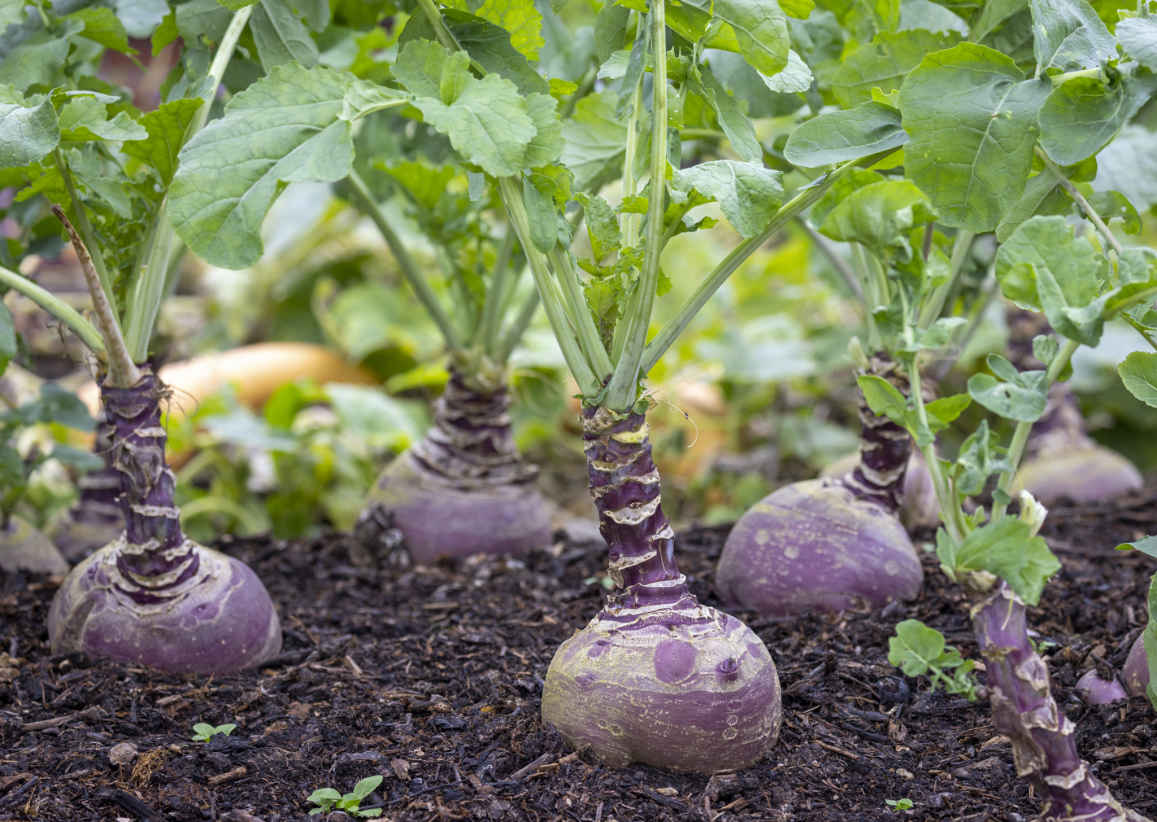
Mature rutabagas can be harvested from late September until March.
VARIETIES
‘Marian’ and ‘Gowrie’ Two old open-pollinated varieties that have stood the test of time and grow consistently fine roots.
‘Tweed’ F1 A newer hybrid variety that has some resistance to clubroot. In other respects, it’s no improvement compared to the older varieties.
KEY INFORMATION
Seed to first harvest: 4 months
Sowing to transplanting: 4 weeks
Position: Full sun or a little shade
Spacing: 12–14 in (30–35 cm) equidistant
Hardiness: Extremely hardy, to at least 14ºF (-10ºC)
Suitable as a second follow-on crop

Turnips are best grown fast and either early or late in the growing season for small, sweet roots. There are new varieties that are far better suited to this method than traditional turnips, which tend to be watery with a strong, somewhat bitter mustard flavor. Rapid growth makes turnips useful for interplanting among slow-growing vegetables, and they grow well in multisown clumps.
I make two sowings on either side of turnips’ summer flowering time, which you must avoid to prevent plants bolting before their roots have a chance to swell. Turnips thrive in multisown clumps, and I sow five or six seeds into each 1¼ in (3 cm) cell, aiming for clusters of three or four plants. Make your first sowing in late winter or early spring for a spring crop. Keep early sowings in the warmth of the house to germinate seeds, but move the tough seedlings out into a cold greenhouse once they emerge. For a fall harvest, sow in the first 10 days of August. There is more risk of bolting and damage by insect pests if turnips are sown in July.
Young turnip plants are robust and will grow quickly after you transplant them small. This is usually after three or four weeks for early sowings, but seedlings can be just two weeks old when transplanted in August. Dib a hole and place the root ball in so that it sits just below soil level, spacing multisown clumps 10–12 in (25–30 cm) apart.
Cover early plantings with fleece for at least a month not only for warmth, but also for protection from pests including flea beetles, cabbage root fly, and pigeons. If pigeons or rabbits are present, protect fall turnips with mesh because the weather will be too warm for fleece. A mesh cover in late summer and fall also helps keep out the second generation of cabbage root flies looking to lay their eggs.
Water newly transplanted turnips until they begin to grow. There is often enough moisture in the soil for growth during spring and fall, but during dry spells, it is worth watering when the roots start to swell.
Exactly when to harvest varies according to your taste, so try harvesting roots at different stages to see what you prefer. Cherry-sized turnips are tender and sweet, but by the time they are the size of an apricot, that sweetness is diminishing and the texture becomes more watery. Look for the largest turnip in each multisown clump, grasp the leaf stalks, and rotate until the roots at the base snap off to leave the remaining turnips undisturbed. The leaves are edible and good to eat if you harvest baby turnips, after which they become a little coarse. There is no point trying to store baby turnips, but if you grow traditional larger roots, they will keep well in a box in a cool shed for two or three months. Ensure they are harvested before any hard frosts, twist off all leaves, and don’t wash roots before storing so that the soil can help retain moisture.
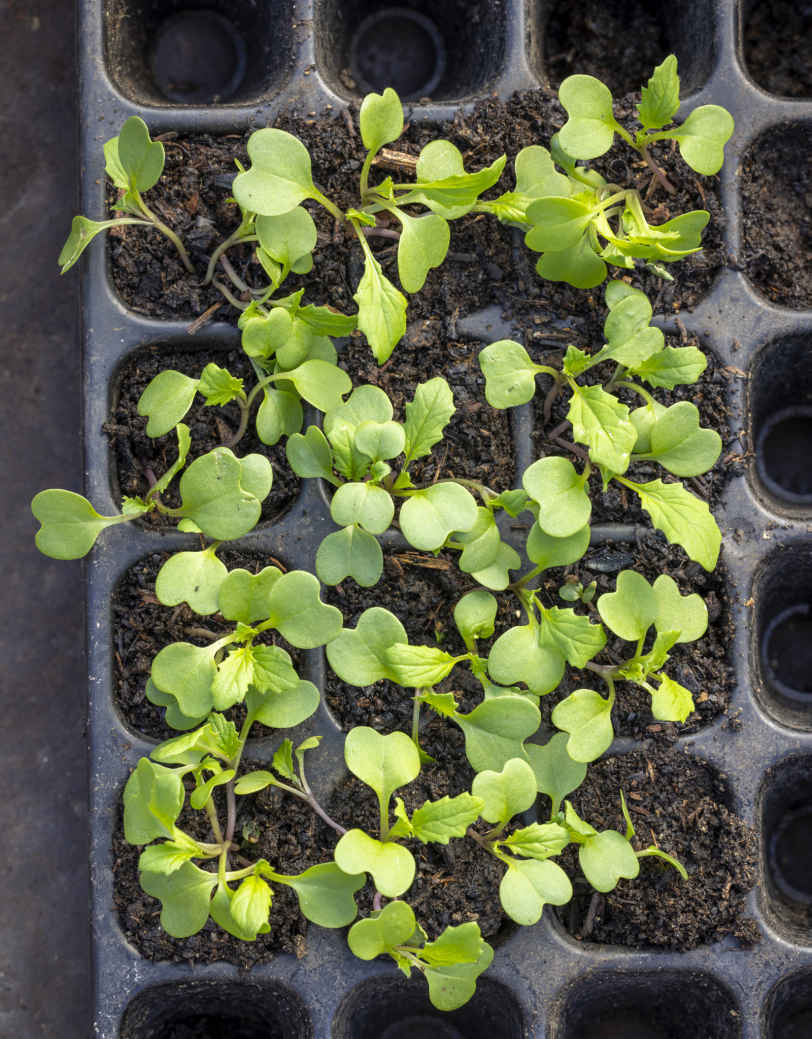
Turnip seedlings multisown in small cells.
VARIETIES
‘Sweet Bell’ F1 Spherical, purple-topped roots, ideal for quick harvests of baby turnips.
‘Sweet Marble’ F1 Attractive purple skin on white turnips. Firm and sweet when harvested small, and in fall, they are still juicy when larger.
‘Purple Top Milan’ A classic old variety with less sweetness but a pretty purple top to the slightly flattened roots.
‘Petrowski’ Globe-shaped, yellow roots with a good mild flavor.
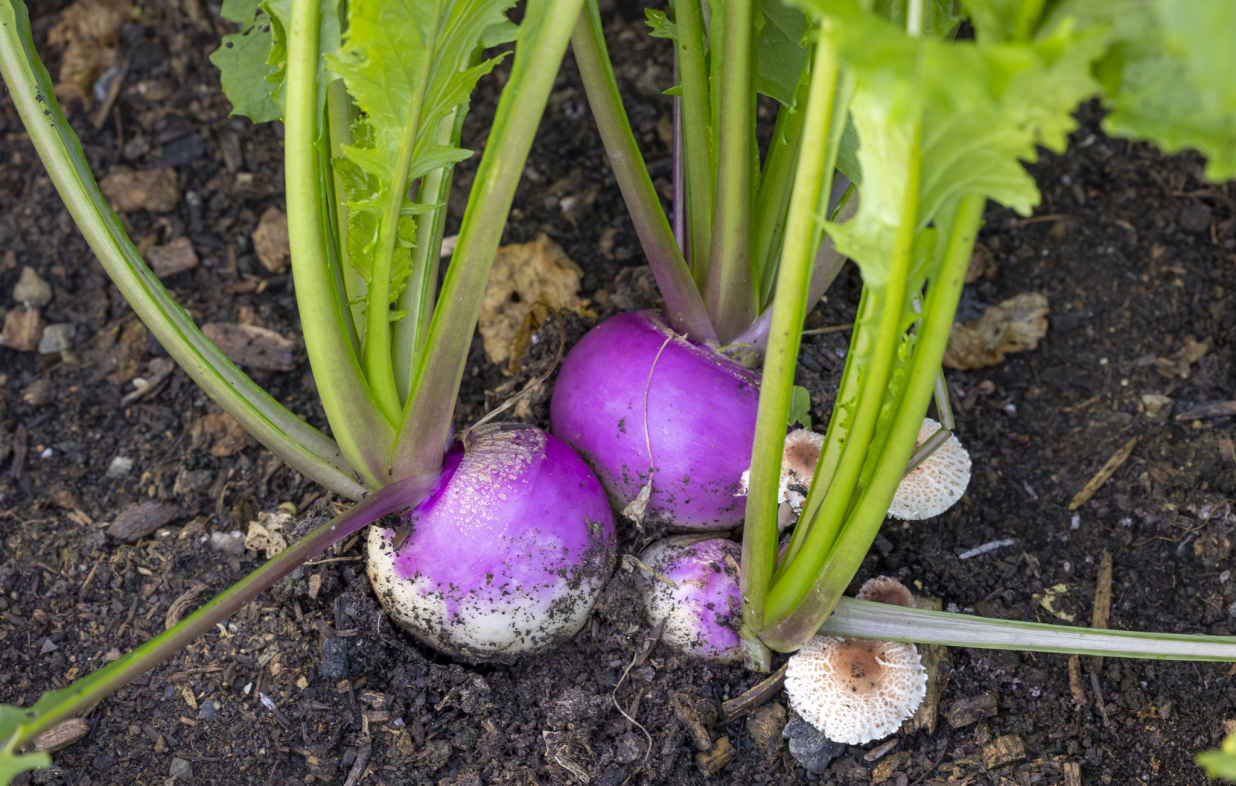
Multisown turnip ‘Sweet Marble’ F1 with mushrooms, showing the fungal life in no dig soil.
KEY INFORMATION
Seed to first harvest: 2 months
Sowing to transplanting: 2–4 weeks
Position: Full sun
Spacing: 10–12 in (25–30 cm) equidistant
Hardiness: Hardy to approx. 23ºF (-5ºC)
Suitable for multisowing and interplanting

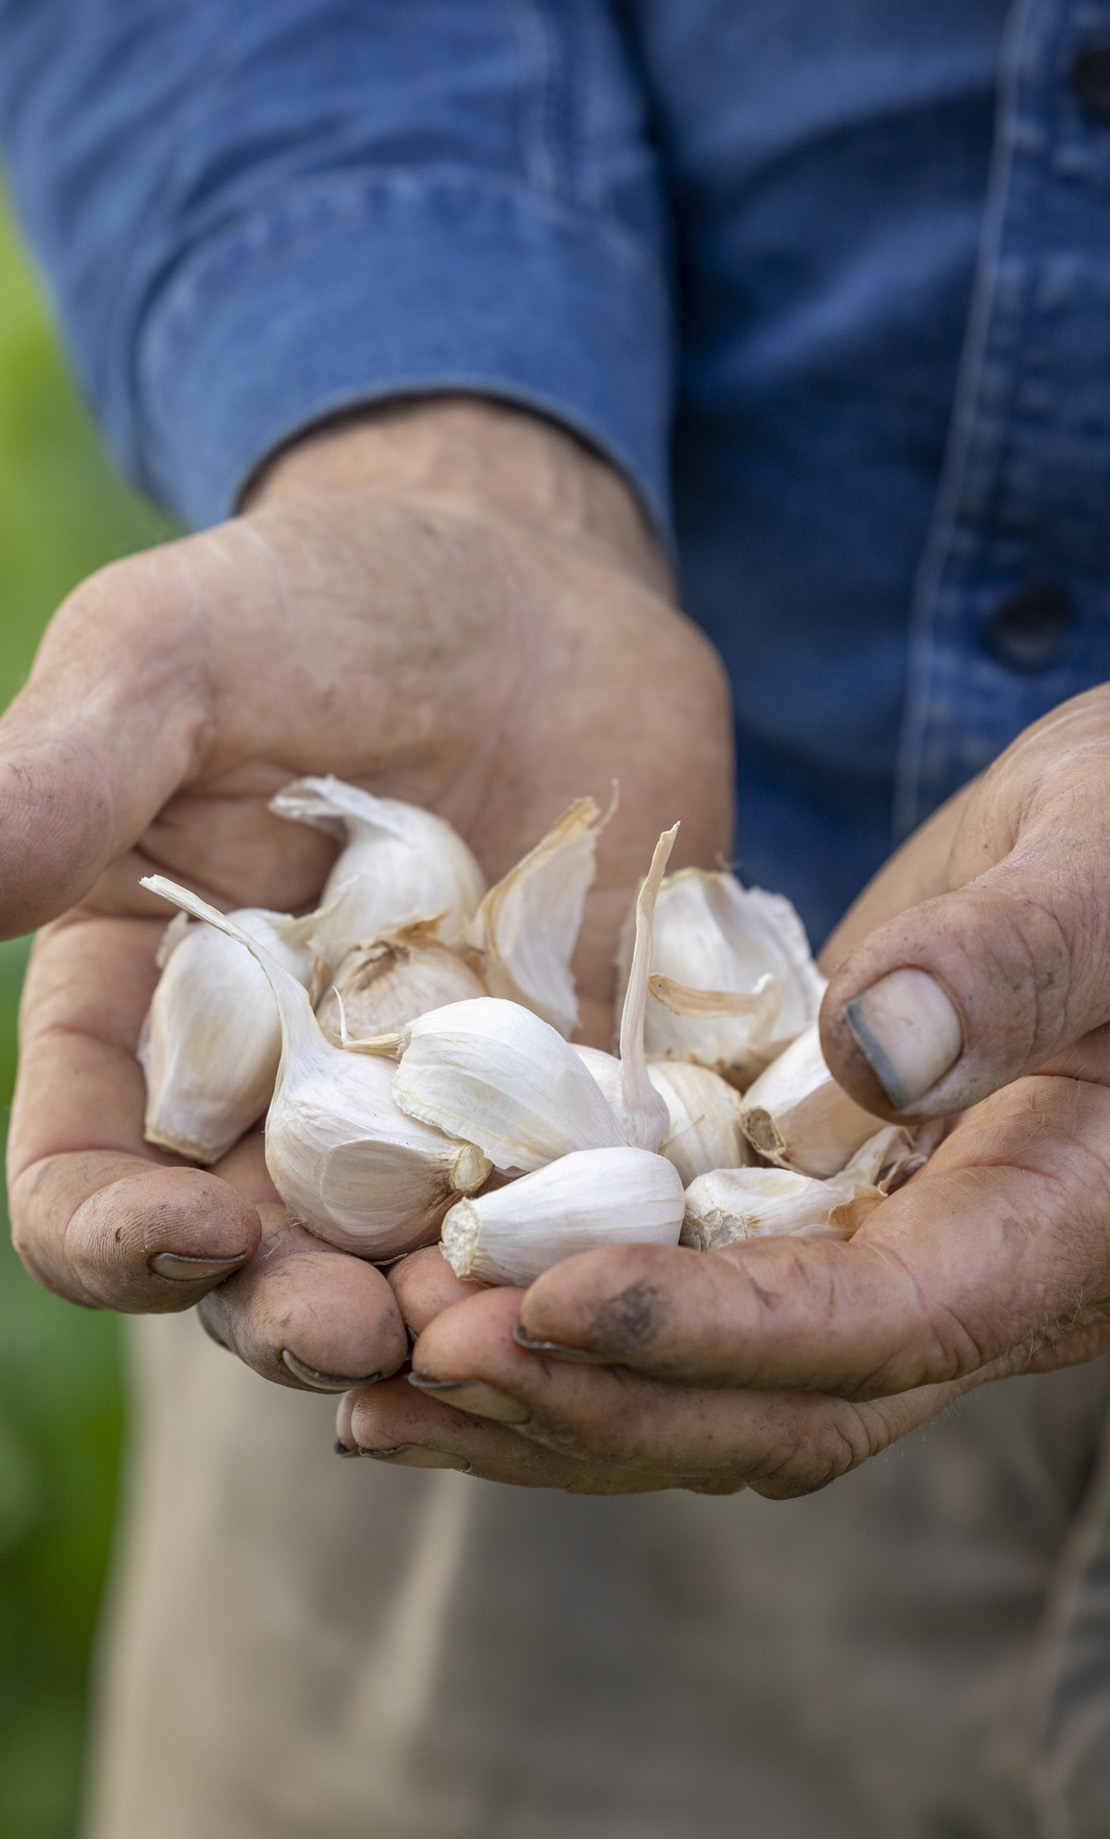
These fantastic staple crops are full of flavor, easy to grow, and extremely frost hardy. Slender allium leaves do not shade the surrounding soil, which makes alliums good for interplanting between, but also provides an opportunity for weeds. This is where the reduced weed growth of no dig soil is a big advantage, saving you time and reducing possible damage to allium leaves when pulling out weeds.
Thanks to their upright habit and thin leaves, you can fit a good quantity of these vegetables into small areas. Where growing space is really at a premium, closely planted multisown salad onions are my recommendation because they are quick to grow and can be harvested over many months from just two or three sowings. Garlic and onions take longer to mature and have a single period of harvest, after which they are easy to store for many months of use and can be available almost year-round when you grow enough. Sowing two or three different leek varieties at the same time in April can produce harvests over nine months of the year. Many leeks are hardy enough to stand in the ground through winter.
Onions can be grown either from seeds or sets, which are small, immature onion bulbs that come to harvest more quickly than onions grown from seed. Just don’t plant sets too early, as this may cause them to flower. Multisow onions, salad onions, and leeks to save time and space. Garlic plants are raised by planting individual cloves. Initially, you need to buy bulbs of your chosen variety to split into cloves for planting, but after that, you can use your own harvest for new seed garlic. Leeks grow particularly well in moisture-retentive no dig soil because they respond to continual dampness around their roots. Weed control is vital, but the few weeds that grow in no dig beds pull easily from the soft surface.
Harvest by cutting under plants and bulbs with a trowel to sever roots and minimize soil disturbance while taking care not to damage garlic and onion bulbs that are destined for storage. Watch for the signs that onions and garlic are ready, given in each vegetable profile, then lift all of each variety at the same time and dry thoroughly before storage.
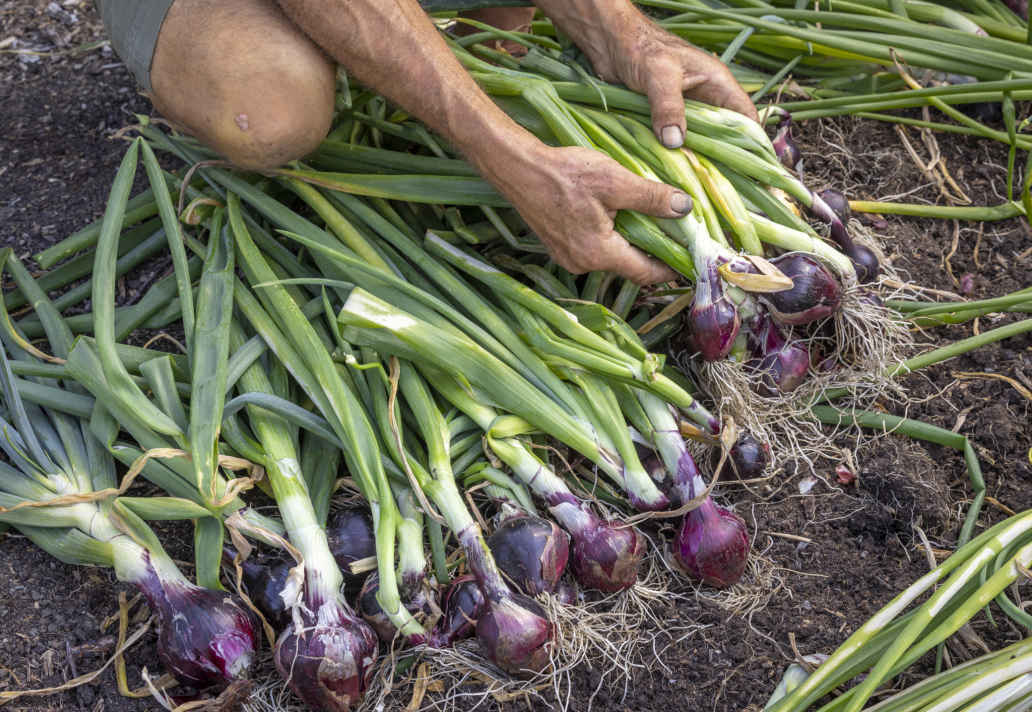
Laying harvested red onion ‘Lilia’ out in the sun to dry and cure the bulbs for storage.
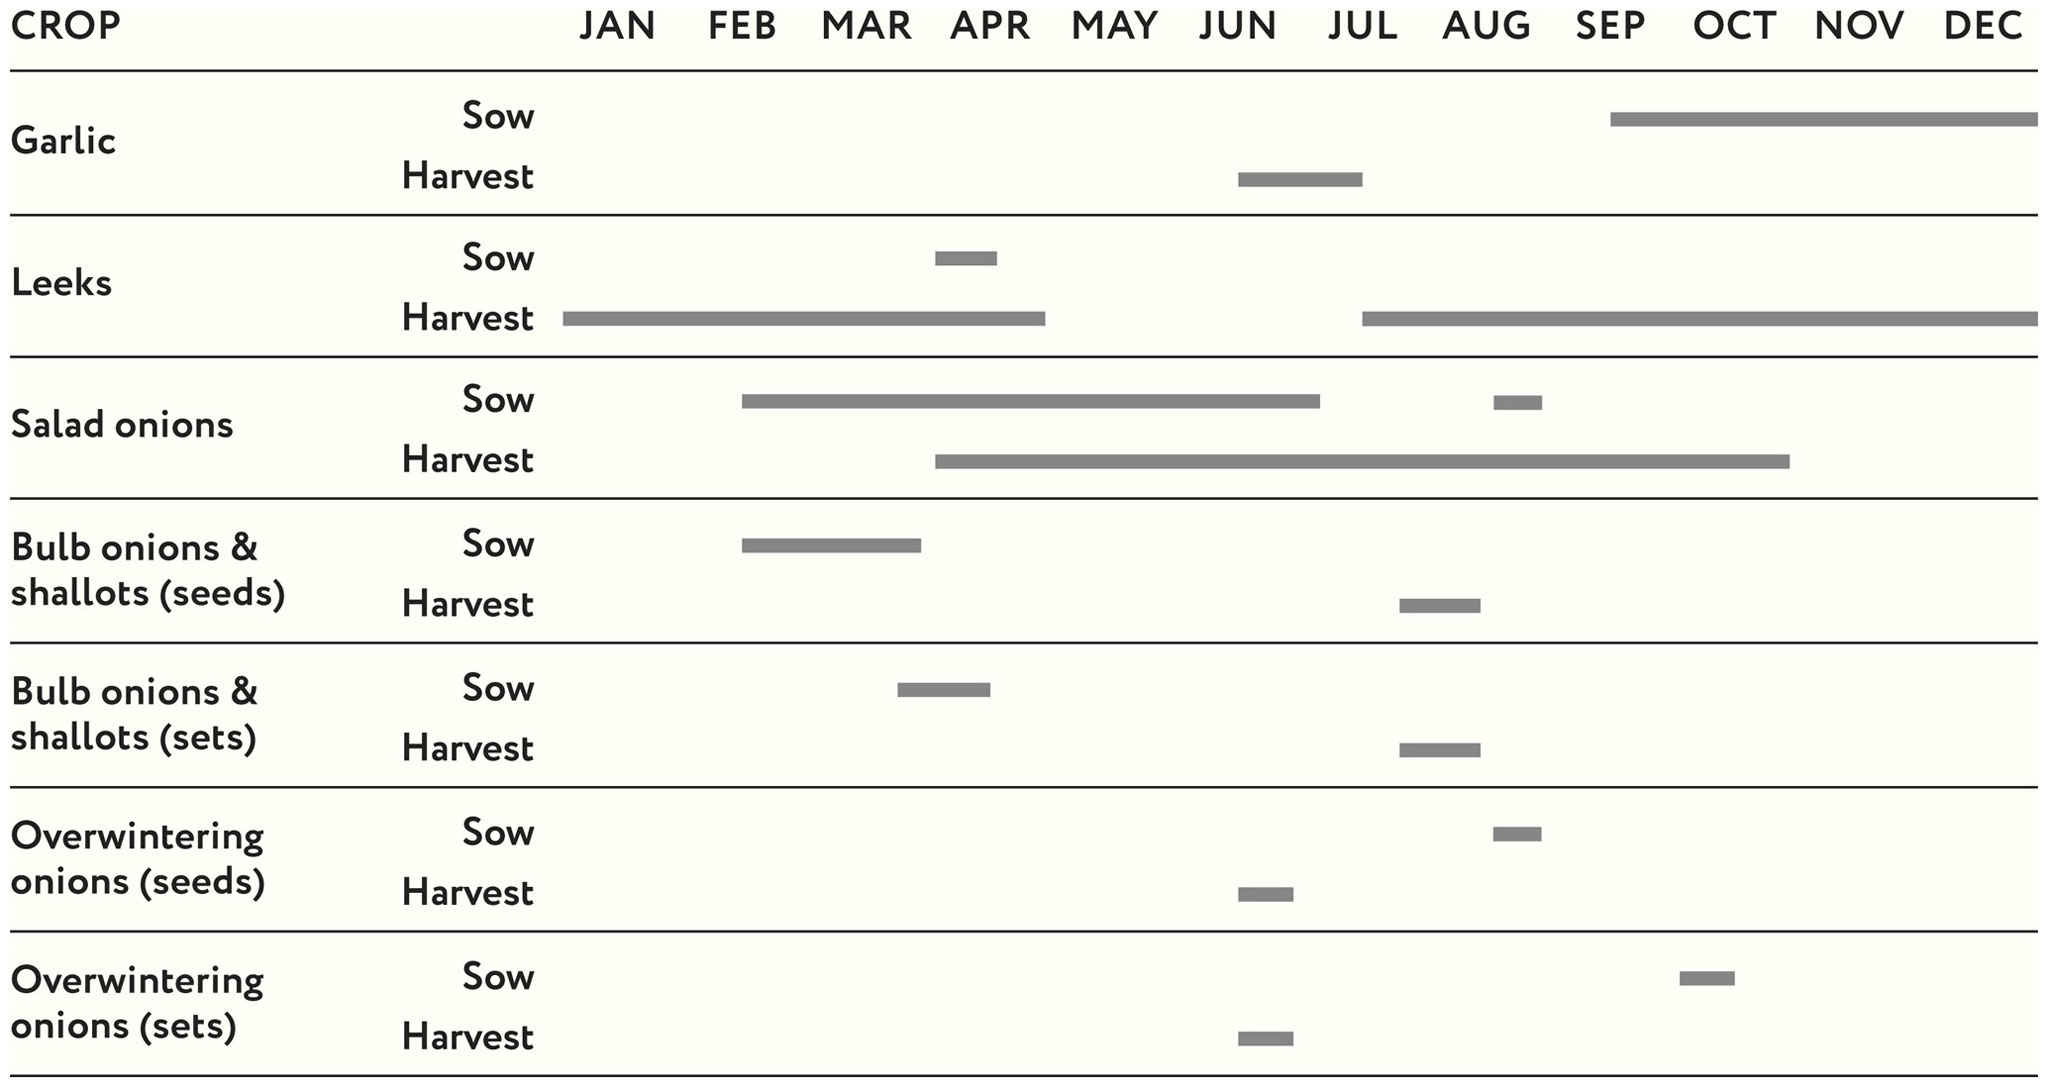
Several pests and diseases have the potential to affect alliums, but they can mostly be prevented or controlled. Allium leaf miner is the worst pest in both spring and fall, when white maggots tunnel into all parts of plants, leaving pale lines on foliage and allowing rot to set in. The small, brown pupae can be found within affected stems and bulbs. A cover of mesh is some help from February to mid-June and again from September to November, depending which allium crop is growing. Leek moths fly from midsummer and their caterpillars eat the heart leaves of leeks, but damage often only becomes noticeable in fall, when plants begin to fail and sometimes collapse completely. The best remedy is to cover new plantings with mesh until mid-September to prevent adult moths from laying eggs.
Onion white rot is a fungal disease that destroys the roots of plants and is usually only apparent too late, when leaves suddenly turn yellow in spring. White fungal growth appears around the roots of affected plants, which should be removed but not composted. It’s common on overcultivated soil that lacks organic matter, and no dig methods reduce its occurrence. Orange pustules on leaves are a symptom of rust. This fungal disease is not usually too damaging on leeks, but if it strikes garlic during May and June, it can significantly reduce the harvest. It helps to remove and compost rusty leaves. Garlic grown under cover suffers little rust. Downy mildew causes onion leaves to yellow and develop patches of dark fungal growth in wet weather during early summer. This halts bulb growth and causes them to rot before fall. Reduce damage by sowing mildew-resistant varieties and by planting overwintering onions in fall, for earlier maturity in June.
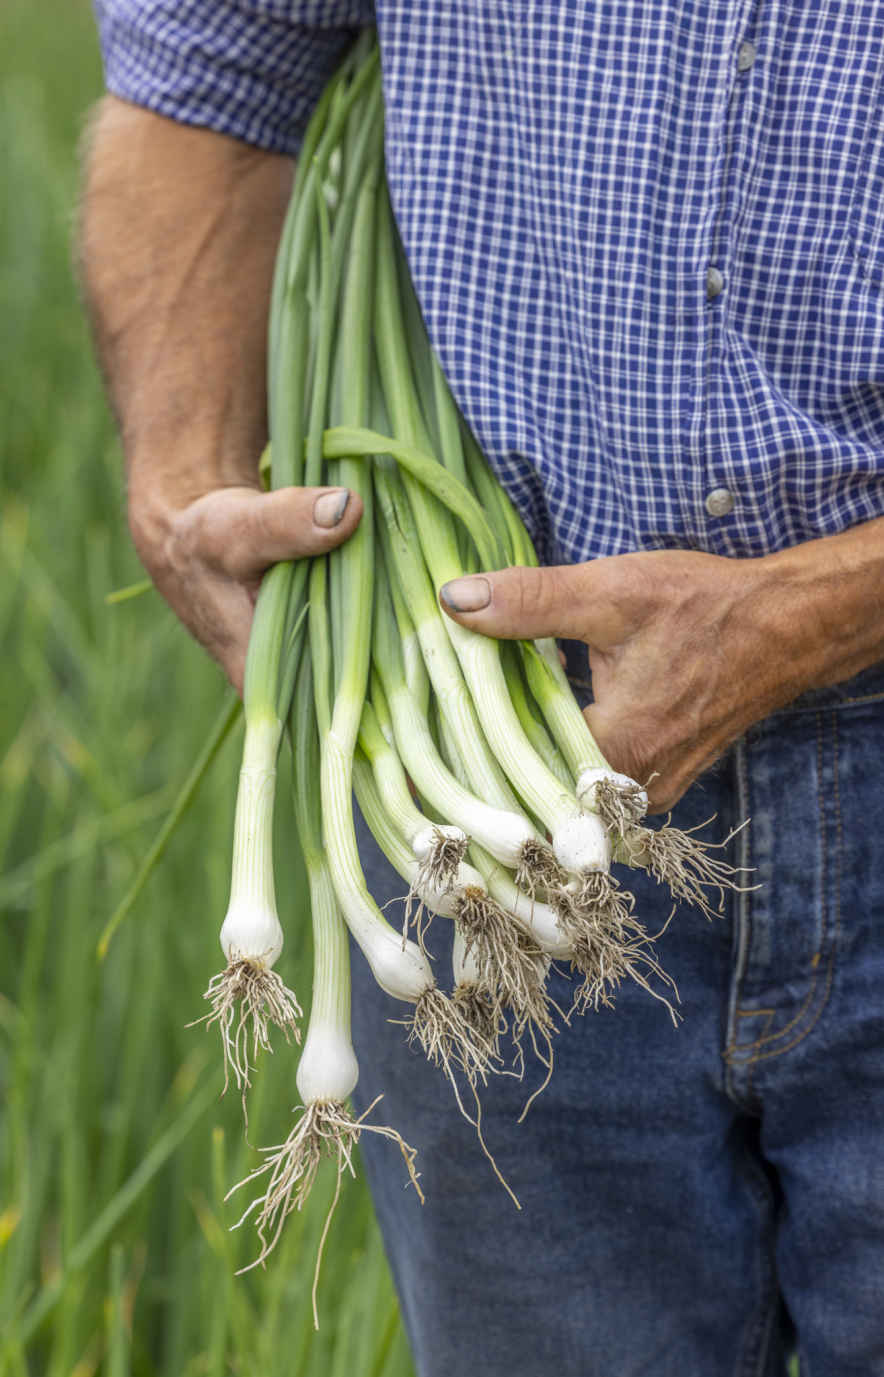
Freshly picked salad onions are succulent and full-flavored from their bulb to their leaf tips.
Garlic is easy to grow, tolerant of winter cold and summer heat, and stores easily in the house, so that one harvest can last for up to 10 months. Fall planting allows garlic to grow over winter and mature around midsummer, giving time to plant other crops after it’s harvested. Choose from hardneck varieties that form flower stems in late spring and fatter, delicately flavored cloves, or high-yielding softnecks with bigger bulbs of smaller, more pungent cloves.
Plant cloves of garlic directly into the soil outdoors. The best time to do this is October, but anytime from mid-September to late December can produce a good crop. Another option is to plant under cover, perhaps in a polytunnel, at the same time for larger and earlier harvests. It’s possible to plant in early spring, but this yields smaller harvests and the bulbs may not differentiate into cloves if they are not exposed to some frost.
Before planting, gently break up each bulb (whether bought from a seed company or one that you’ve saved) and select the bigger cloves to plant, leaving little ones for the kitchen. Make holes with a dibble spaced 4–6 in (10–15 cm) apart equidistantly or 3–4 in (8–10 cm) apart in rows with 10 in (25 cm) between them. Ensure that each hole is deep enough that the tip of the clove sits a little below ground level, and place in each clove with its flat base at the bottom of the hole and tapered top pointing upward. Spread compost on top after planting to provide a bit of cover for the cloves and to feed soil life for the coming year. If planting later, after the bed has been mulched (see Alternative options), make slightly deeper holes for cloves.
Planting in rows makes it easier to interplant garlic with other vegetables in spring. In the polytunnel, I grow garlic between winter salads, in a line up the middle of a bed; the salad plants finish in April, just before the garlic’s main phase of growth.
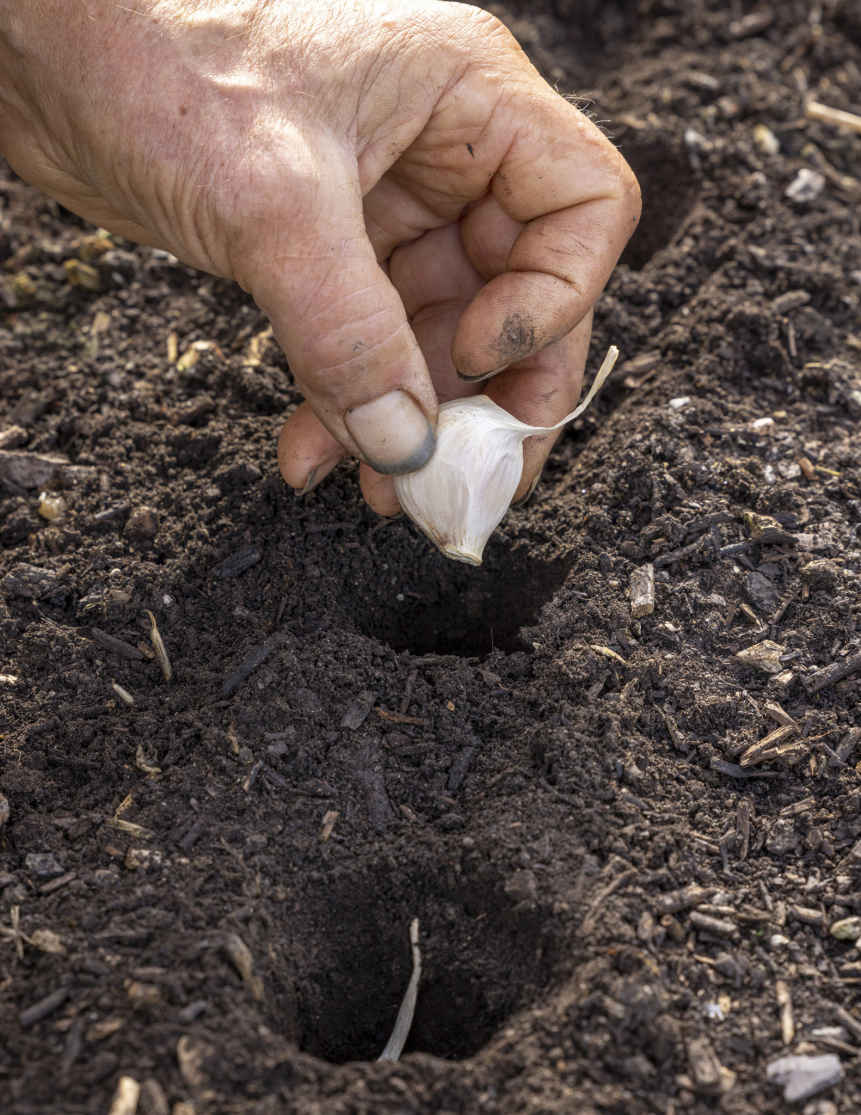
Garlic cloves are easy to plant in soft no dig soil.
Plants need little attention through the growing season, apart from regular weeding, which should be easy in a no dig bed. Watering is unnecessary during winter and early spring, but in a really dry spring, watering in late May and early June will produce fatter bulbs. In late spring, hardneck varieties start to grow looping flower stems. Snap off these edible “scapes” before the flowers open to focus the plants’ energy on swelling their bulbs, and eat them sautéed or steamed. From mid-May, you can intersow garlic with carrots or beets or interplant with kale or lettuce. Interplants readily establish in the space between the tall, slender garlic plants.
Garlic is usually healthy, but plants can be damaged by allium leaf miner and leek moth in spring. Cover garlic with mesh to keep these pests out if you suspect they are present. Raised orange pustules on leaves are a symptom of the common fungal disease rust. Plants can tolerate mild infections, but if leaves are covered in pustules, growth will stop and it’s best to harvest a smaller crop of bulbs immediately. Garlic grown under cover suffers less rust. Onion white rot may be a problem on allotment sites; the roots of affected plants decay, causing leaves to turn bright yellow and even plants to collapse. Pull out infected plants right away and do not compost.
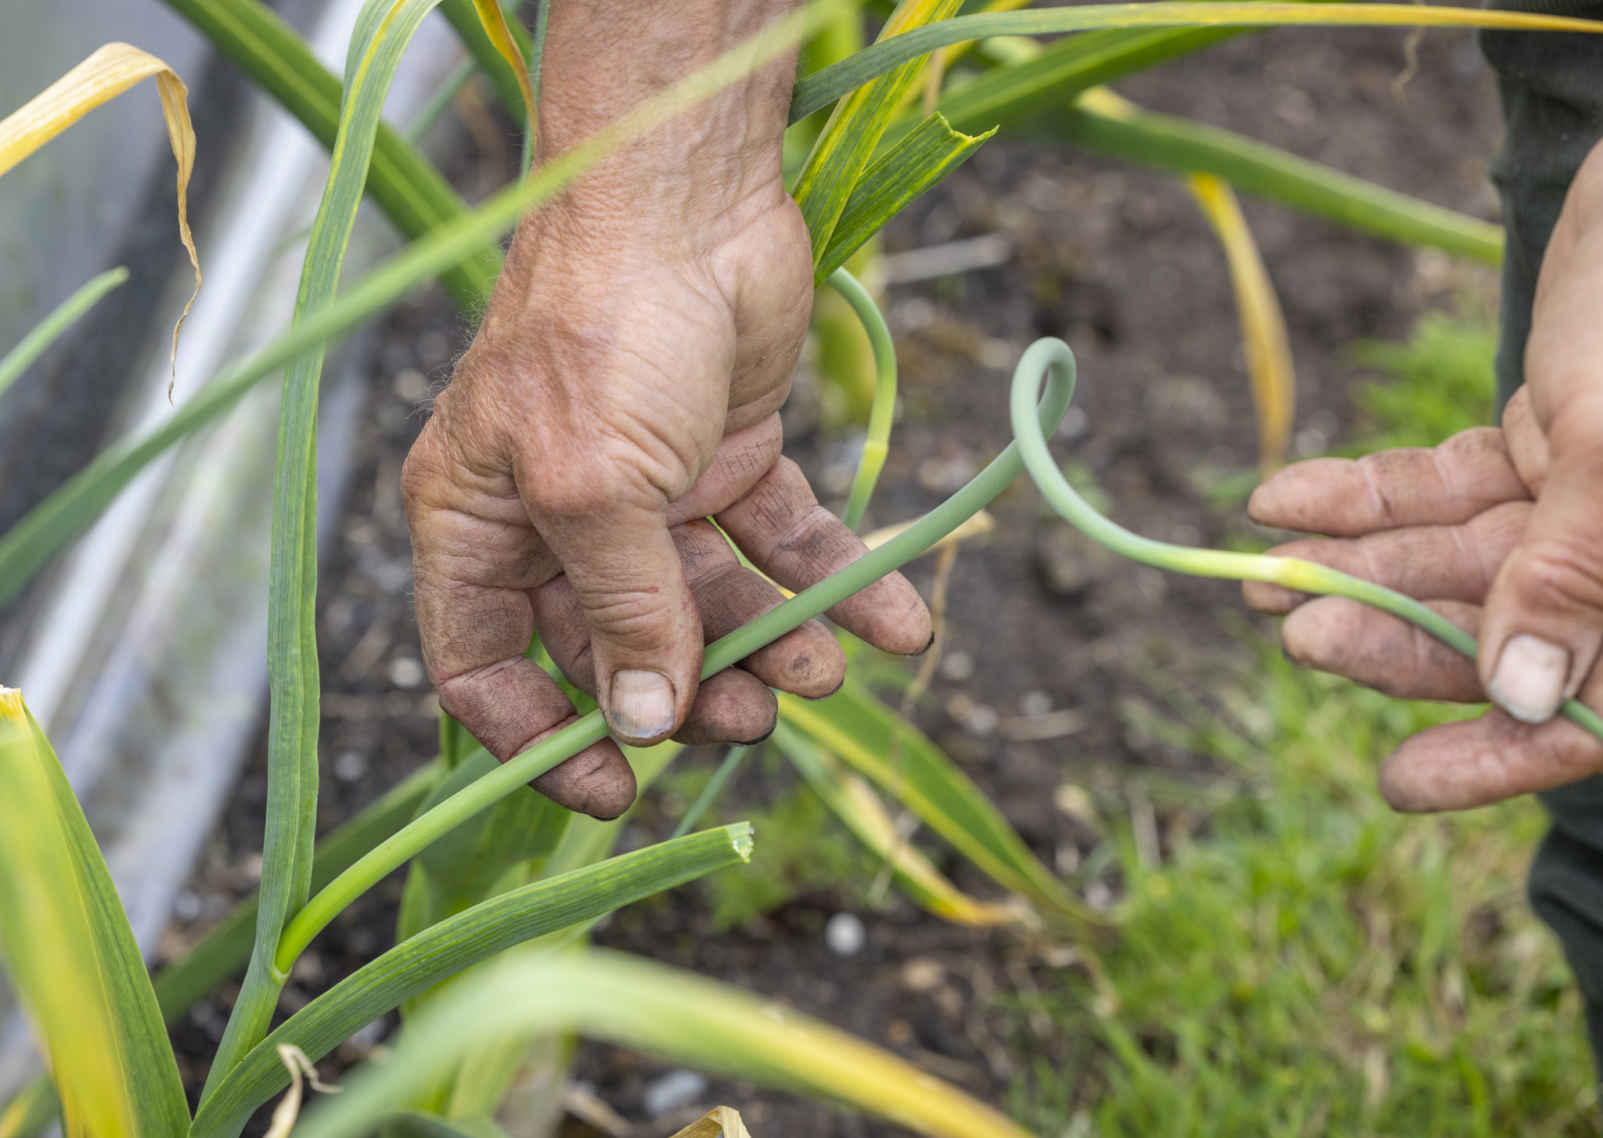
Snap off scapes and cook them for a late spring delicacy.
In late spring, you have the option to harvest some of your crop as green garlic. Pull up plants and use as you would a spring onion, but stronger in flavor. Harvesting mature garlic bulbs is not the same as for onions; don’t wait for the necks to fall over or for the leaves to go yellow. Harvest time is governed by day length with bulbs swelling and differentiating into cloves during the weeks before and after the summer solstice. Most softneck varieties mature from mid to late June, while hardneck varieties are ready from early to mid-July. Garlic under cover is ready two weeks earlier. Harvest before the bulb’s outer skin has degraded, as this reduces quality for storage.
Use a trowel or your fingers to pull away soil from around the bulb, and if you see it has swollen with cloves making bumps in the surface, then that’s a sign it’s ready. Slip a trowel under bulbs at 45° to cut the roots, which can be quite strong, and lift the bulb by pulling its stem upward. Harvesting slightly immature is good so that you can peel off the outer skin to reveal a nice clean bulb that’s in peak condition to dry and store.
Keep bulbs somewhere well ventilated for about a month after lifting, until the tops go yellow and fairly dry—shelves in a garage would work well. Avoid direct sunlight, as this can turn cloves bright pink and even damage them when it’s hot. Braid the leaves before they go brittle to create attractive clusters of bulbs to hang up. Garlic stores for many months in warm, dry indoor conditions.
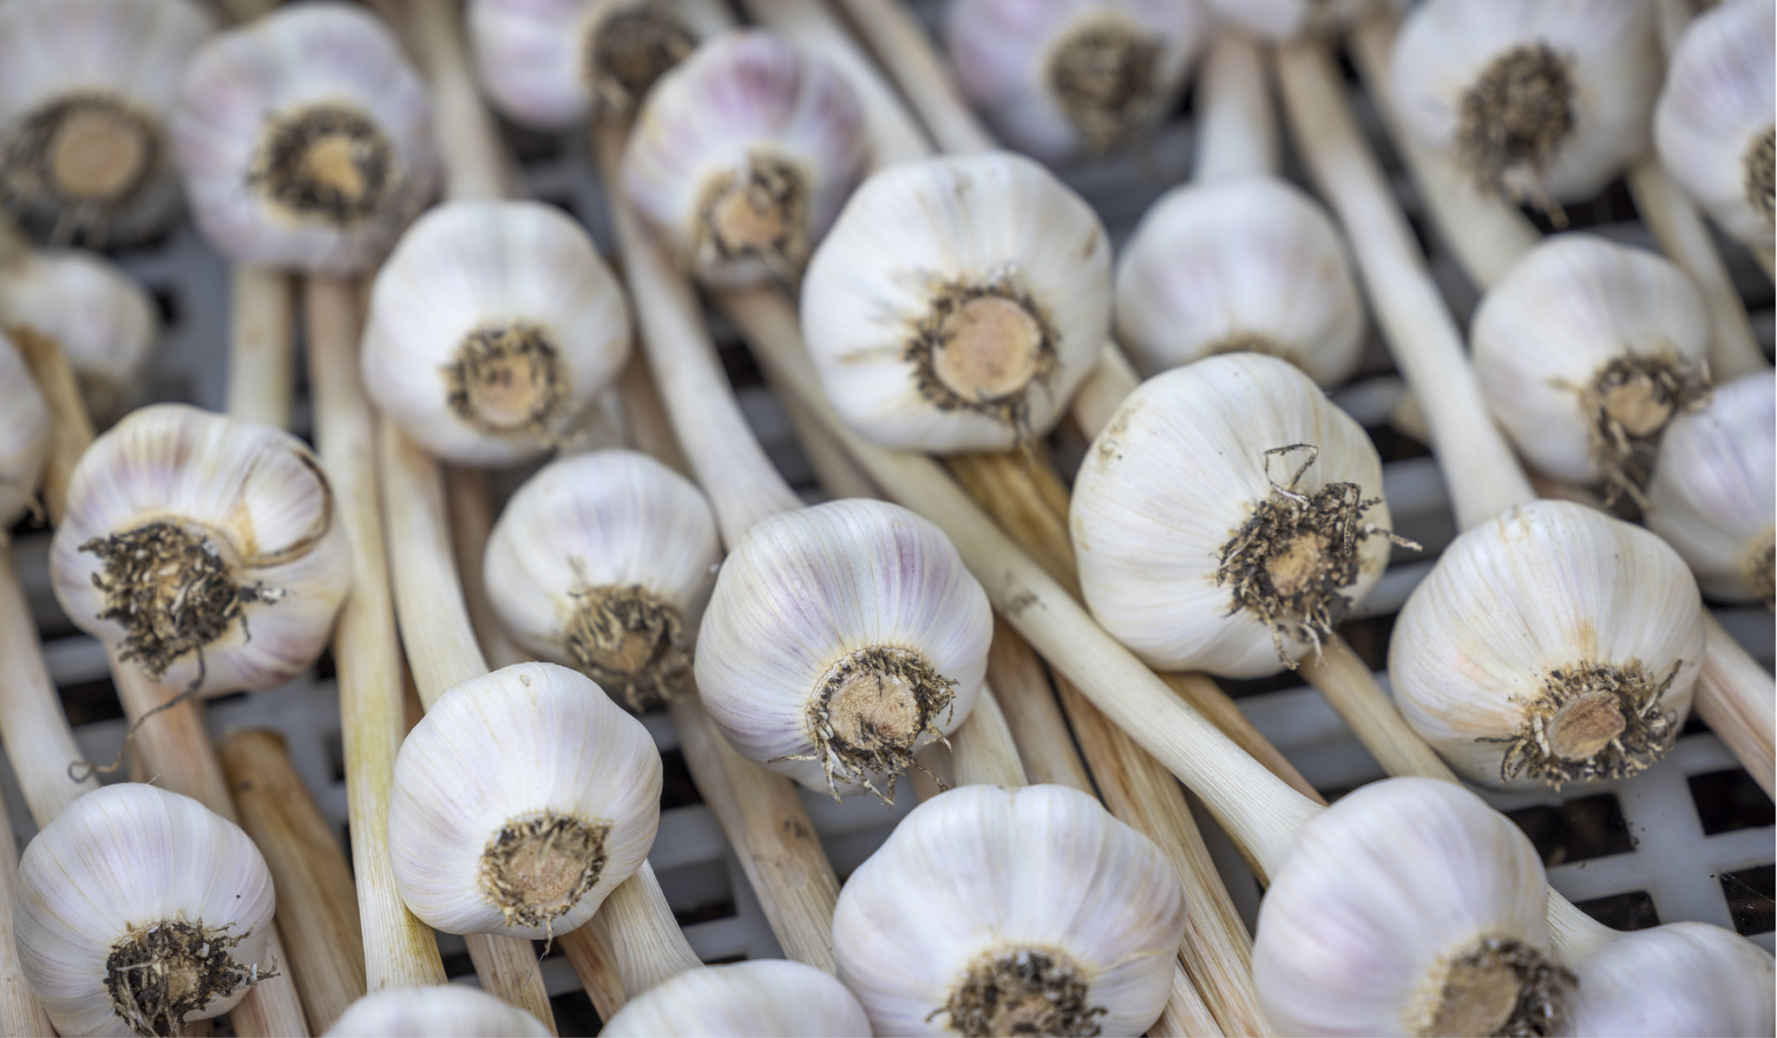
Hardneck bulbs laid to dry in a crate under cover.
VARIETIES
SOFTNECK
‘Provence Wight’ Grows large bulbs made up of decent-sized cloves with purple-striped skin.
‘Solent Wight’ Smaller, bright white bulbs are ready to harvest a little later than other softnecks, in early July. Stores well.
HARDNECK
‘Carcassonne Wight’ A high-yielding garlic with fat purple-skinned cloves.
‘Doocot’ A hardy Canadian variety that’s less prone to rust and grows well in cold conditions.
‘Red Duke’ The pink-skinned cloves are a good, even size and not too pungent.
KEY INFORMATION
Seed to first harvest: 8 months when sown in October
Sowing to transplanting: Not applicable
Position: Adaptable; likes sun and warmth in spring and summer
Spacing: 4–6 in (10–15 cm) equidistant or 3–4 in (8–10 cm) apart in rows 10 in (25 cm) apart
Hardiness: Hardy to at least 10ºF (-12ºC)
Suitable for interplanting or intersowing in May or June

Leeks can be harvested from July until April, but their real value is in winter, when they are hardy enough to stand in the soil through the coldest months and to grow larger in any mild winter weather. The stems are sweeter and gentler in flavor than other alliums, and a sautéed leek in winter is an absolute delicacy. Varieties mature at different rates, so it is important to be clear which variety you’re growing for which season and to harvest at the appropriate time.
I sow all varieties of leeks under cover in the second week of April. This is a safe date, which is not too early, and therefore avoids exposing these biennial plants to any cold conditions that simulate winter and trigger flowering in summer. This sowing date also allows plenty of time for slower-growing winter leeks to make a large harvest.
The seeds are large enough to count as you sow, and I multisow four or five per cell. Multisowing saves time and space during propagation, and three or four plants in a clump results in plentiful medium-sized leeks rather than a few large ones. Multisown leeks don’t have perfectly straight stems because they curve away from each other slightly when growing up toward the light. Leeks sown into 1¼ in (3cm) cells will need to be potted on into 2¾ in (7cm) pots after about eight weeks. They may not need potting on before transplanting if sown into 2 in (5 cm) cells, but if they are outgrowing the cell before the ground is ready, potting on is always worthwhile. You can also sow directly outside in mid-April for eventual transplanting as single plants or clumps.
Transplant from early June if space is available, but leeks are a great second crop for planting out in July to follow on from crops harvested in summer. Allow 8¾–12 in (22–30 cm) between multisown clumps, using the wider spacing if you want larger leeks, or plant individual leeks 4 in (10 cm) apart. Traditionally, leeks are planted deeply in a trench or hole so that the portion of stem growing below the soil is white rather than pale green, which makes it slightly sweeter. This is not essential because pale green stems are still sweet and tender. I also find that shallower plantings, with the top of the root ball 1¼–2 in (3–5 cm) below soil level, grow more quickly because the roots are closer to the topsoil, where there’s more microbial activity. For some white at the stem bottoms, dib holes deep enough so that the top of the root ball is about 2¾ in (7 cm) below the soil surface. Don’t push soil back around the plants; instead, water them in and the soil will gradually fill the hole over time, also helping to direct water to the roots while plants establish.
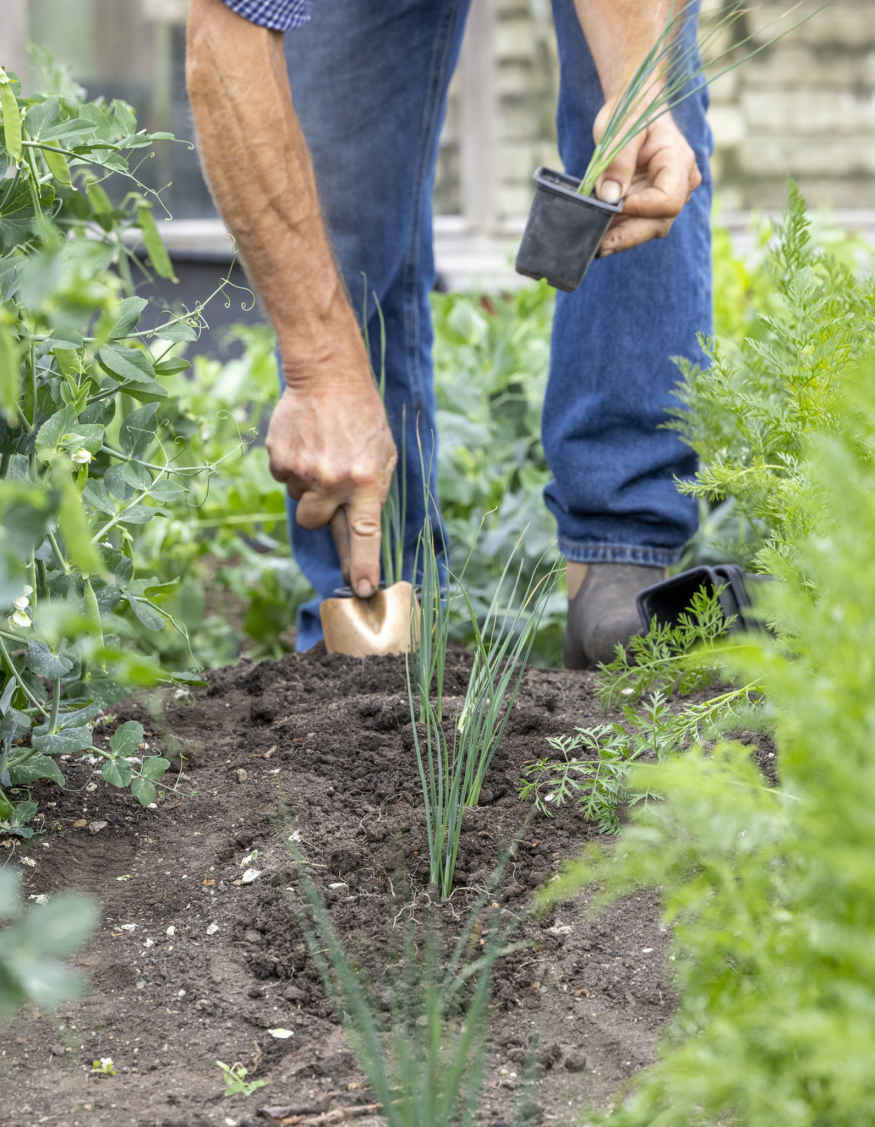
Transplanting leeks after clearing a cabbage crop.
Leeks thrive on moisture, so keep them watered in dry summer weather, especially during late summer and early fall as they grow large. They are mostly trouble-free, but a few specific pests can sometimes cause problems. Allium leaf miner causes pale lines within leaves as maggots feed inside the plant and can lead to fungal disease. Covering crops with mesh for their entire life will prevent adult flies from laying eggs, but if insects are already in the soil, it is difficult to protect against them. Leek moth caterpillars feed inside plants, and a lack of growth in late summer is the only outward sign of a problem. If you discover that the moth is active in your area, protect plants with mesh from transplanting until early September, when adult moths are no longer laying eggs. Mesh will also protect leeks from rabbits, which love the seedlings. Rust is a common fungal disease that is more prevalent in dry conditions and causes orange spots on the lower leaves. Little can be done to prevent or treat rust, but I find it worthwhile to remove and compost any badly affected lower leaves in fall.
Make a note of when each variety you sowed should be harvested: summer varieties in August and September; fall varieties from October to December; while winter varieties are best left until March or April, since they put on significant growth as soon as spring weather warms even a little. One great quality of leeks is that they can be harvested at any stage, whenever you’re hungry, as long as they’re not left for too long. Summer varieties will rot or topple over by October and winter leeks form a flower stem during May, which is edible at first but becomes tough.
Harvest whole multisown clumps, using a trowel to cut through the roots so that they remain in the soil, where they are food for soil organisms. You can also use a knife or a sharp trowel to cut the largest leek from a clump and allow smaller ones to keep growing.
In winter, where temperatures don’t fall below 23°F (–5°C), you can harvest leeks as required. Where the soil freezes solid, another option is to lift the leeks with some soil and 2 in (5 cm) of roots attached. Place them in a box with extra soil around the roots and store in an outhouse or garage, with a window to allow in light for the leaves. Stored like this, they can keep for a couple months.
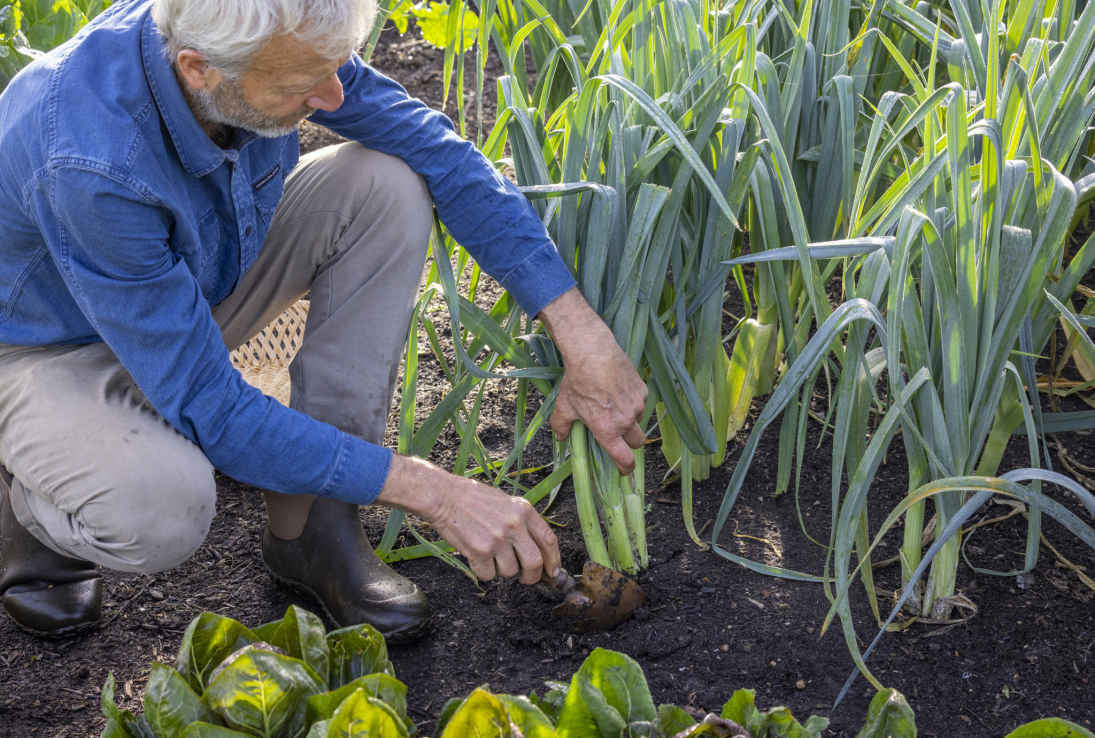
Lift leeks using a trowel to cut roots and minimize soil disturbance.
VARIETIES
SUMMER
‘Bulgarian Giant’, ‘King Richard’, ‘Jolant’ All tall, thin, fast-growing leeks with pale green stems up to 2 ft (60 cm) long. Very tasty.
FALL/WINTER
Autumn Mammoth group Contains many good varieties that are quite compact.
‘Oarsman’ F1 A reliable variety that bulks up quickly.
‘Philomene’ This highly productive Bulgarian variety matures from August to December.
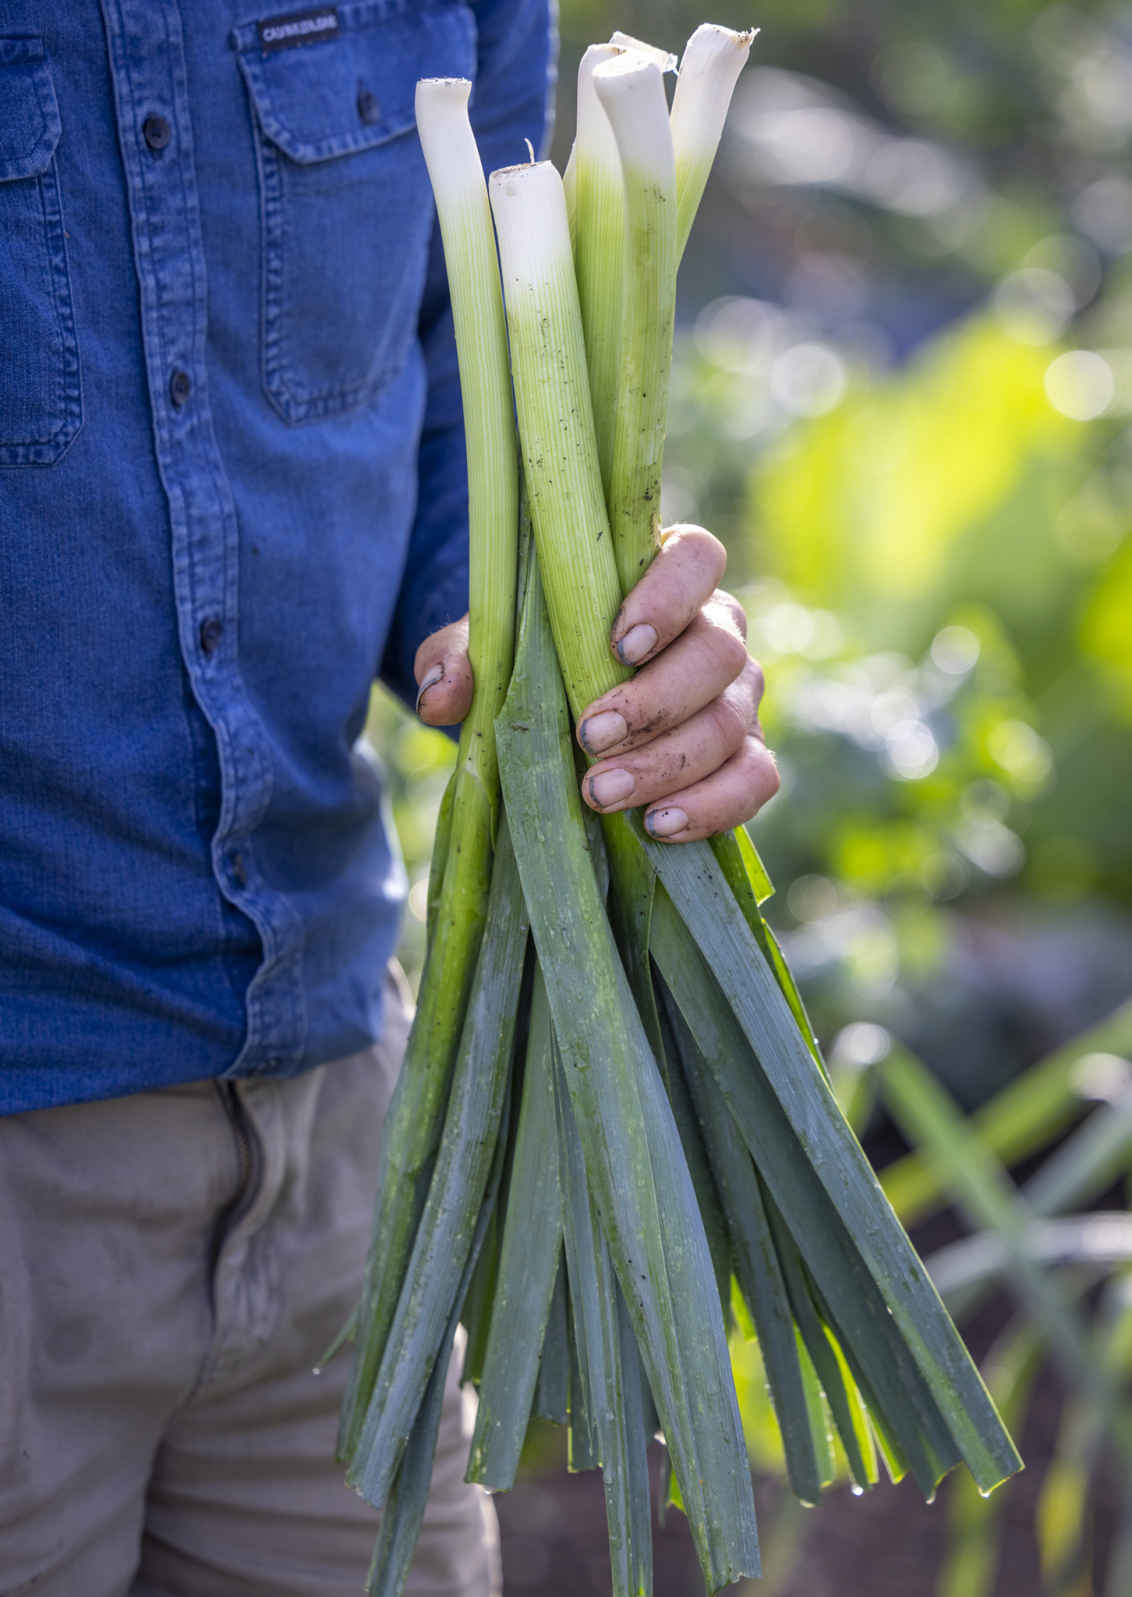
A multisown clump of ‘Philomene’ fall leeks.
WINTER
‘Bandit’ Stands well through winter with handsome blue-green leaves.
‘Northern Lights’ F1 Leaves develop a purple hue in winter cold.
‘Musselburgh’ Hardy, but this widely available open-pollinated variety often grows shorter stems than it used to.
KEY INFORMATION
Seed to first harvest: Summer: 4½–5 months, Fall: 5–6 months, Winter: 10–13 months
Sowing to transplanting: 2–3 months
Position: Moist, tolerate some shade
Spacing: Clumps at 8–10 in (20–25 cm) equidistant, singles at 4 in (10 cm)
Hardiness: Hardy, but mature summer and fall varieties can be damaged below 23ºF (-5ºC)
Suitable for multisowing and as a second follow-on crop

Onions can be harvested young for their leaves and stem as “salad” or “spring” onions or after two or three months as bulb onions, when grown at a wider spacing. Shallots have a milder, sweeter flavor and are smaller than onions because they subdivide into clusters. Bulb onions and shallots can be grown from sets, which are immature onions that give earlier harvests, or grown from seed, which is cheaper and allows you to increase your crop by multisowing to grow onions in clumps. Red onions are slower to mature, slightly lower yielding, and more inclined than yellow varieties to bolt from planting as sets.
If you grow from sets, wait to plant them at or after the spring equinox (March 21) in order to reduce the risk of bolting. Sow seeds for salad onions, bulb onions, and shallots from mid-February to mid-March under cover or in a drill outdoors in the second half of March. Sow overwintering onions in late summer—not before the last week of August—to reduce the bolting risk. Continue to sow salad onions until early July; I make three sowings, in March, mid-May, and mid-June to early July. Later sowings are more prone to downy mildew in damp August weather. In late August, I also sow a variety of salad onion that’s suitable to overwinter, such as ‘White Lisbon’, for welcome harvests in spring.
Onions and shallots swell nicely in multisown clumps to produce a heavy total yield of midsized bulbs or salad onions. I sow six bulb onion or shallot seeds and 10 salad onion seeds per 1¼ in (3 cm) cell to transplant as clumps. Transplant spring sowings in late March or April, just a little deeper than they were growing in their cell. Space all multisown clumps of salad onions 10 in (25 cm) apart and shallots and multisown bulb onions 12 in (30 cm) apart. Transplant your late August sowings of overwintering salad and bulb onions from mid-September to mid-October.
You can also sow seed direct outside in drills about 1 in (2.5 cm) deep and 8 in (20 cm) apart, with three seeds per ½ in (1 cm) for salad onions and six seeds per ½ in (1 cm) for bulb onions to transplant. Gently lift bulb onion seedlings with a trowel five weeks after sowing to transplant in small clumps at the same final spacing as multisown cells.
To plant sets, dib holes 4–6 in (10–15 cm) apart for onions or 10 in (25 cm) apart for shallots. Put them in with their tapered tip pointing upward and resting about 1¼ in (3 cm) below soil level before covering over.
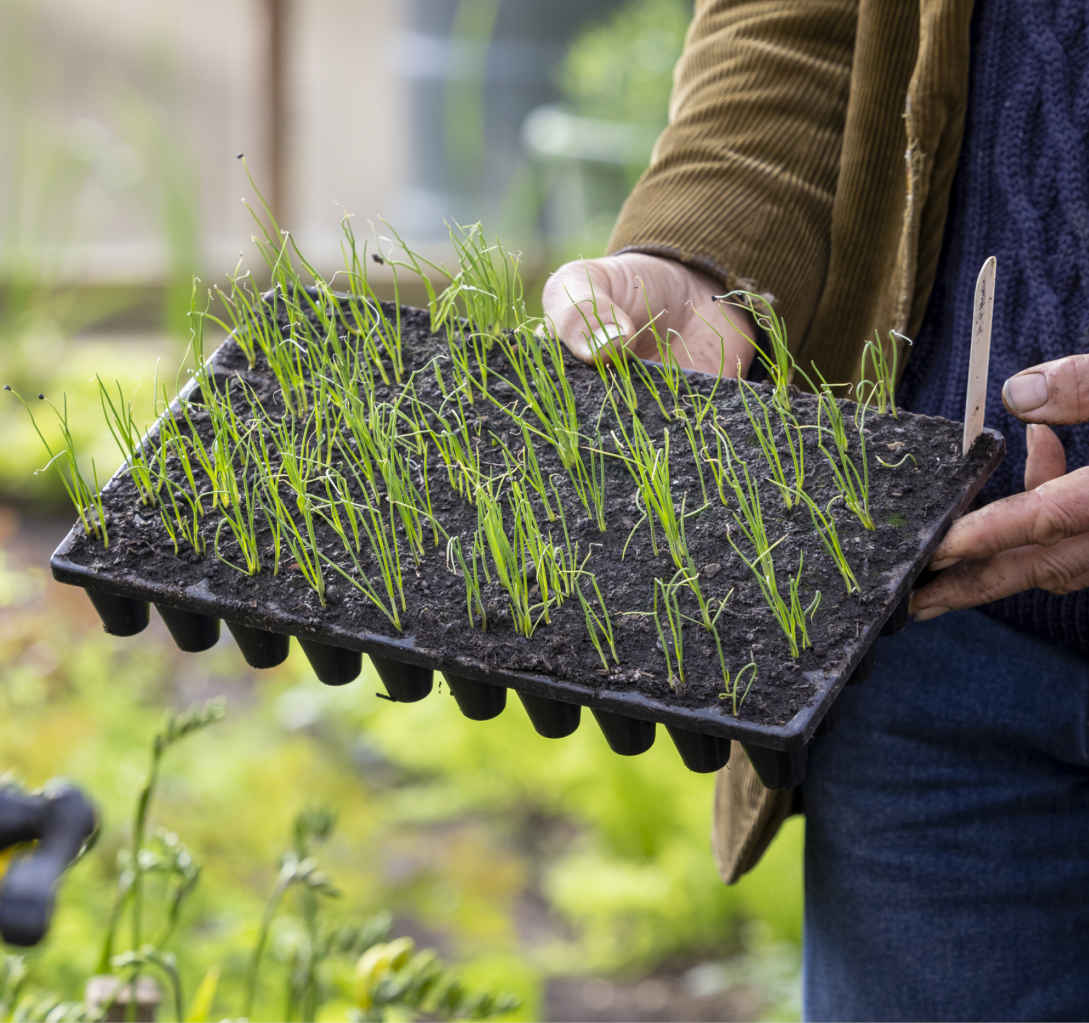
Multisown onion seedlings in spring.
Although they’re hardy, I cover spring plantings with fleece to speed up growth, increase yields, and protect them from rabbits. You can cover later transplants with mesh to keep rabbits off because fleece would overheat summer crops and it holds too much moisture over winter. Watering is rarely necessary for bulb onions, unless it is dry when they start to form bulbs in June. Salad onions are tolerant of dry conditions but will produce more good-quality green growth if watered.
Keep ahead of weeds in spring by hoeing regularly while onion growth is upright because once leaves start to fold over in early summer, it becomes more difficult. If you’re expecting weed growth, then space plants 6 in (15 cm) apart, with 14 in (35 cm) between rows, for easier hoeing or removal of perennial weed shoots.
Continually wet conditions in late spring and early summer can cause downy mildew to turn leaves brown, which halts growth. After that happens, bulbs do not store for long. A white dusting of powdery mildew can affect onions in late summer and fall but is less of a problem. Onion white rot is also a fungal disease, which becomes evident by early summer when leaves yellow and plants fall over as the roots rot away. Onion sets can carry the disease, so always check they are firm and show no sign of white mold at the base before planting. Where allium leaf miner is a pest, its maggots eat into onion bulbs and roots, badly damaging the harvest. Avoid this by transplanting in May after the first generation of egg-laying adult flies and harvesting by August to miss the second generation in fall.
Salad onions will be ready to harvest within 10 weeks of sowing in spring. Twist out larger plants from multisown clumps or use a trowel to cut their roots, leaving the rest to grow on. This can give a harvest period of two months from one sowing. If left to grow beyond the salad onion stage, varieties of Allium cepa will make white bulbs, which taste good but don’t store beyond October. For salad onions with long stems that don’t form a bulb, grow varieties of A. fistulosum.
The harvest date of bulb onions and shallots depends on the variety and when it was sown or planted. Bulb onions can be harvested for immediate use as soon as they reach a desirable size, but they need to be reasonably mature to store. An indication of maturity is when at least a quarter of their green stems have folded downward at the neck. You can then bend all the remaining necks to fold the stems down and leave the plants for another week to encourage bulbs to mature and prevent onions with fat necks, which will not store so well. Harvest by cutting under a clump of onions with a trowel to minimize soil disturbance and ensure that bulbs are intact with short roots attached.
If you have follow-on crops to plant immediately, remove all the onions and spread them out somewhere dry, like greenhouse staging or slatted shelves in a garage, where the leaves can turn from yellow to brown—a process called “curing.” Alternatively, leave the harvested onions on the bed for a week or two so the leaves yellow and lose their bulk before bringing them under cover to finish the drying process. Changeable weather is not a problem because breezes help the late summer sun to dry onion plants between rain showers. But shade onions drying outdoors in very hot sun during July.
Trim the yellowed leaves off, leaving 1¼–2 in (3–5 cm) of neck on the onion to shrivel as it dries. This makes it easier to spread the onions out to finish drying. Once their skins are papery, store onions in a box in dry, warm conditions inside the house. Attractive braids or bunches of onions can be created while the stems are yellow, which store well hung up in the house. Well-cured bulbs from spring plantings can keep until late spring, while overwintering onions start to sprout and soften by late December.
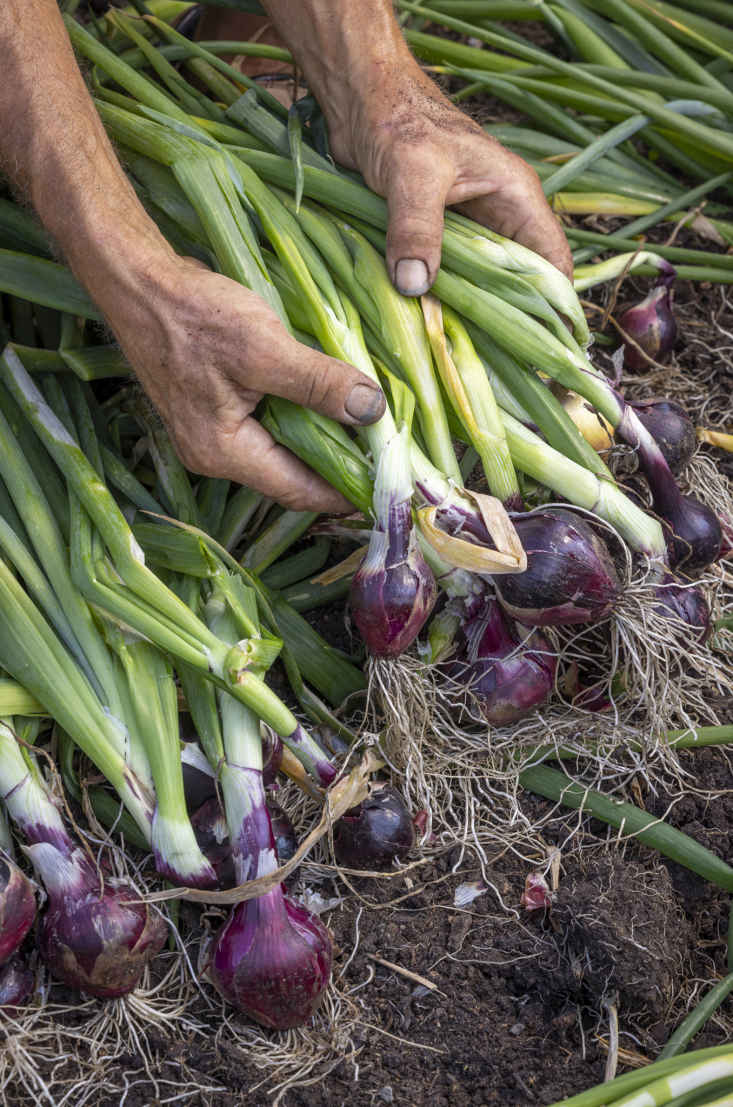
Lay out onions to cure in the sun after harvest.
It is feasible to save seed from onions if you have space to allow 6 to 10 of your best bulbs to flower to ensure cross-pollination. Each bulb will produce up to five tall stems bearing globe-shaped flowerheads, which need support: push in corner stakes and run a string around them. Seedheads form in late summer and need to be cut to hang upside down in a dry place, then rub out the black seeds in fall.
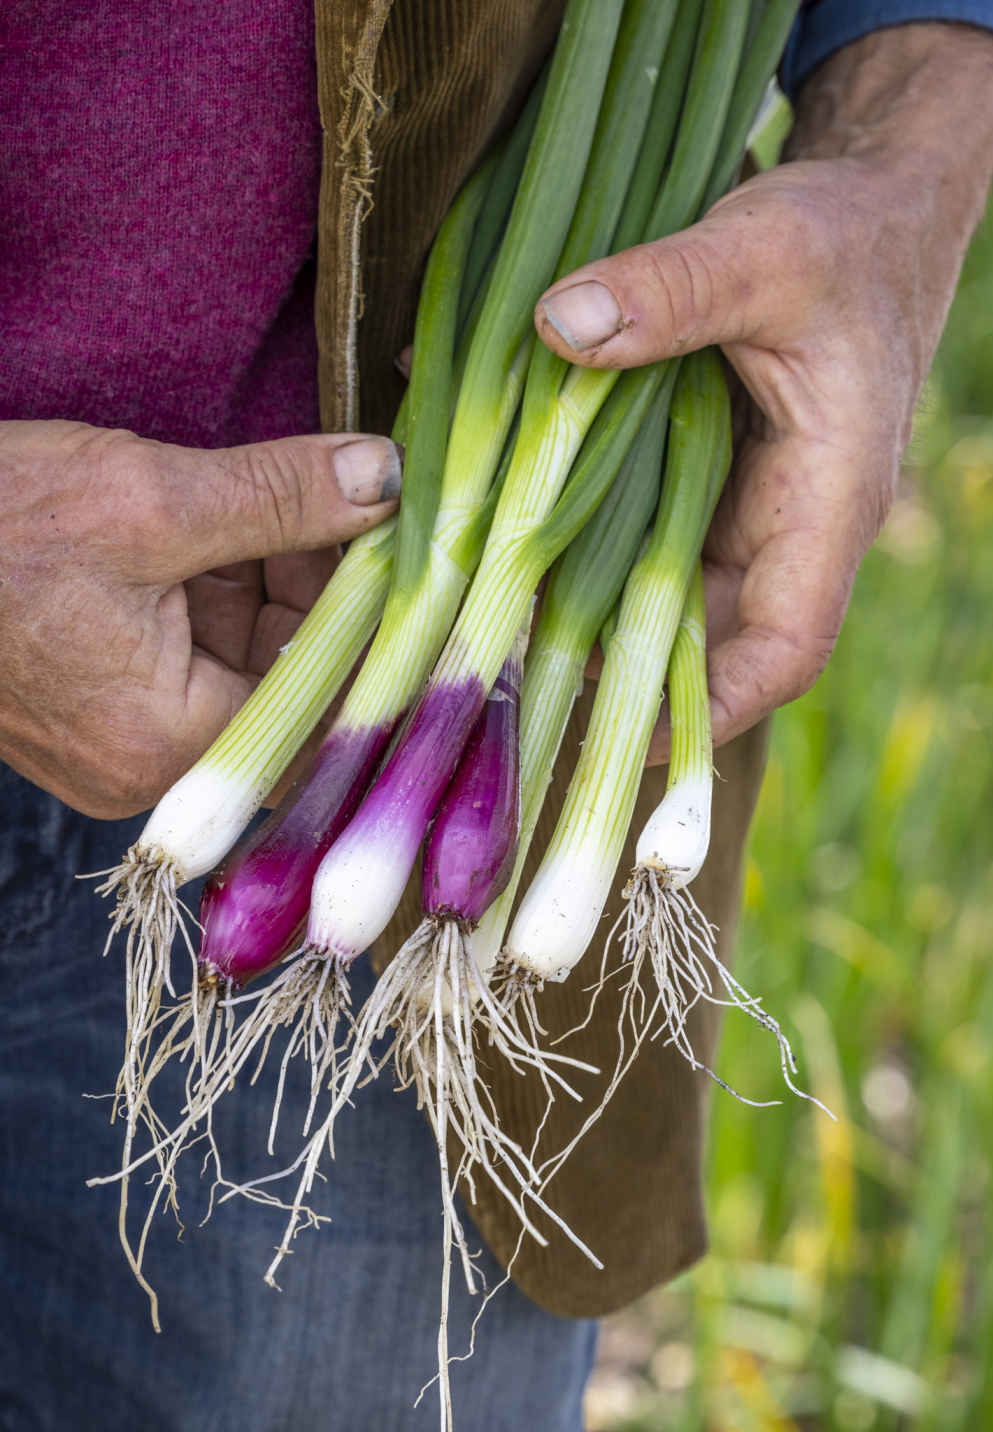
Make several sowings of salad onions to pick for longer. These are ‘Lilia’ and ‘White Lisbon’.
VARIETIES
SALAD ONIONS
‘White Lisbon’ Classic old Allium cepa variety with long white stems and the ability to bulb up, giving a wide range of harvest dates.
‘Lilia’ A red A. cepa variety that also grows into a decent bulb. Prone to mildew and bolting in early summer.
‘Ishikura’, ‘Ramrod’ Varieties of A. fistulosum, sometimes called “bunching onions,” with longer, straight stems that don’t make bulbs.
BULB ONIONS
‘Red Baron’ The red onion variety I recommend from seed or sets. Stores well.
‘Sturon’ A top variety of yellow onion. Gives good yields of round bulbs and stores well.
‘Stuttgart Giant’ Produces flatter-shaped bulbs of fine flavor. Stores well.
‘Rose de Roscoff’ The classic rose-tinted French onion from Brittany. Matures in early July.
‘Senshyu Yellow’ A useful overwintering onion for early summer harvest.
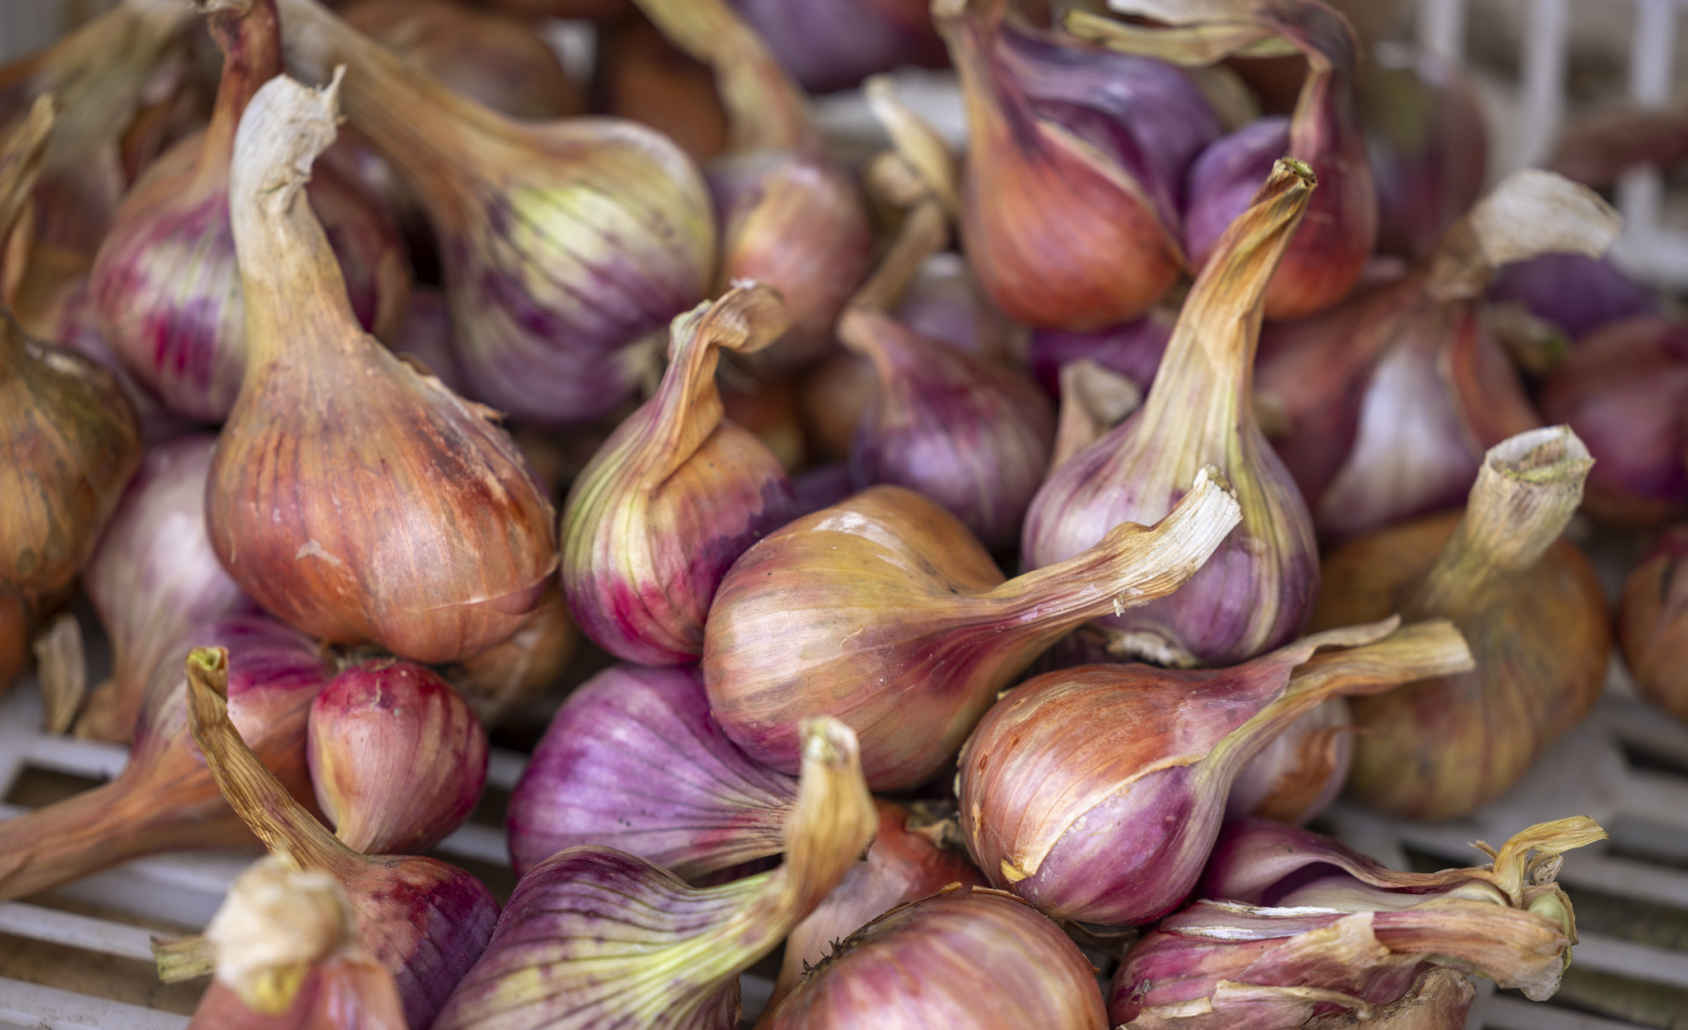
Cured bulbs of onion ‘Rose de Roscoff’ ready for storing.
SHALLOT
‘Matador’ F1 A vigorous hybrid variety that produces large yields of pink-skinned shallots.
‘Zebrune’ Attractive long, brown bulbs with a hint of pink.
KEY INFORMATION
SALAD ONIONS
Seed to first harvest: 2½ months
Sowing to transplanting: 6 weeks
Position: Full sun or some shade
Spacing: Multisown 10 in (25 cm) equidistant
Hardiness: Hardy, to at least 18ºF (-8ºC)
Suitable for multisowing
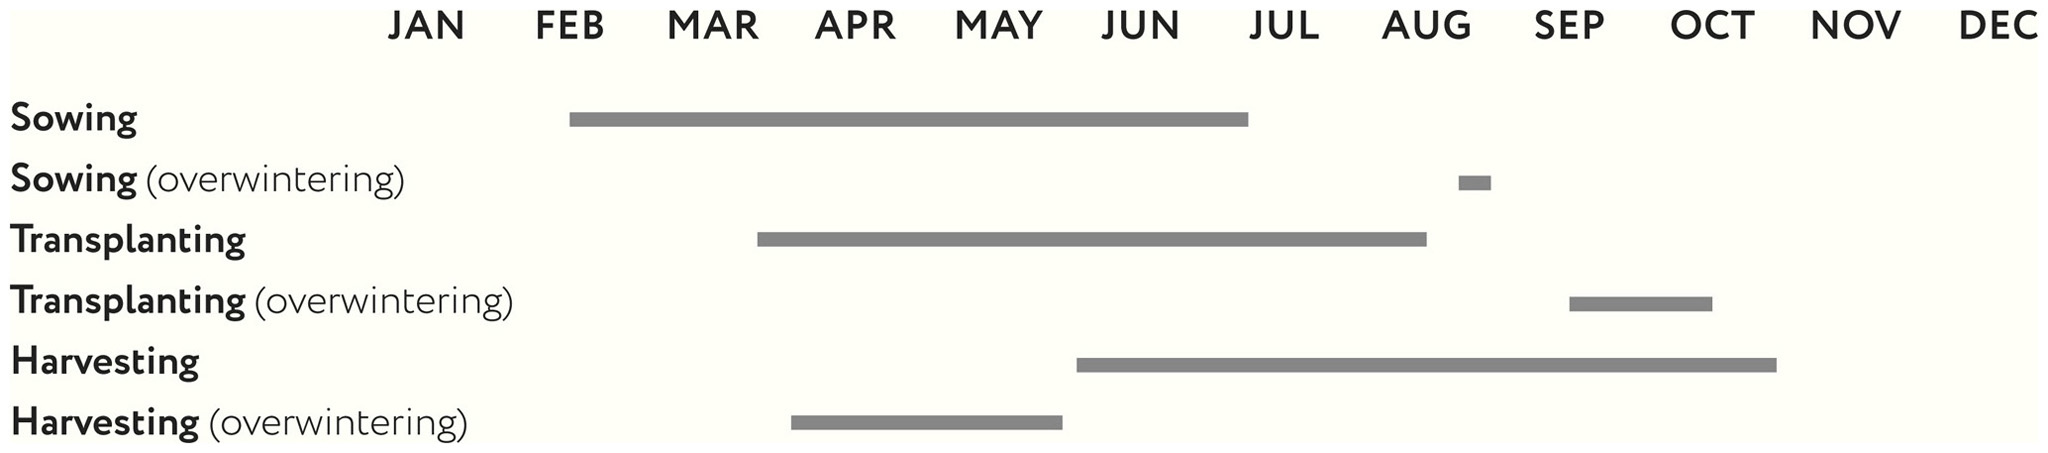
BULB ONIONS & SHALLOTS
Seed to first harvest: 4½ months from seed, 3½ months from sets
Sowing to transplanting: 6 weeks
Position: Full sun
Spacing: Bulb onions—multisown 12 in (30 cm) equidistant, sets 6 in (15 cm). Shallots—12 in (30 cm) equidistant from seed or sets
Hardiness: Hardy, to at least 18ºF (-8ºC)
Suitable for multisowing

OVERWINTERING ONIONS
Seed to first harvest: 7 months
Sowing to transplanting: 6 weeks
Position: Full sun
Spacing: Multisown 12 in (30 cm) equidistant, sets 6 in (15 cm)
Hardiness: Hardy, to at least 18ºF (-8ºC)
Suitable for multisowing and as a second follow-on crop

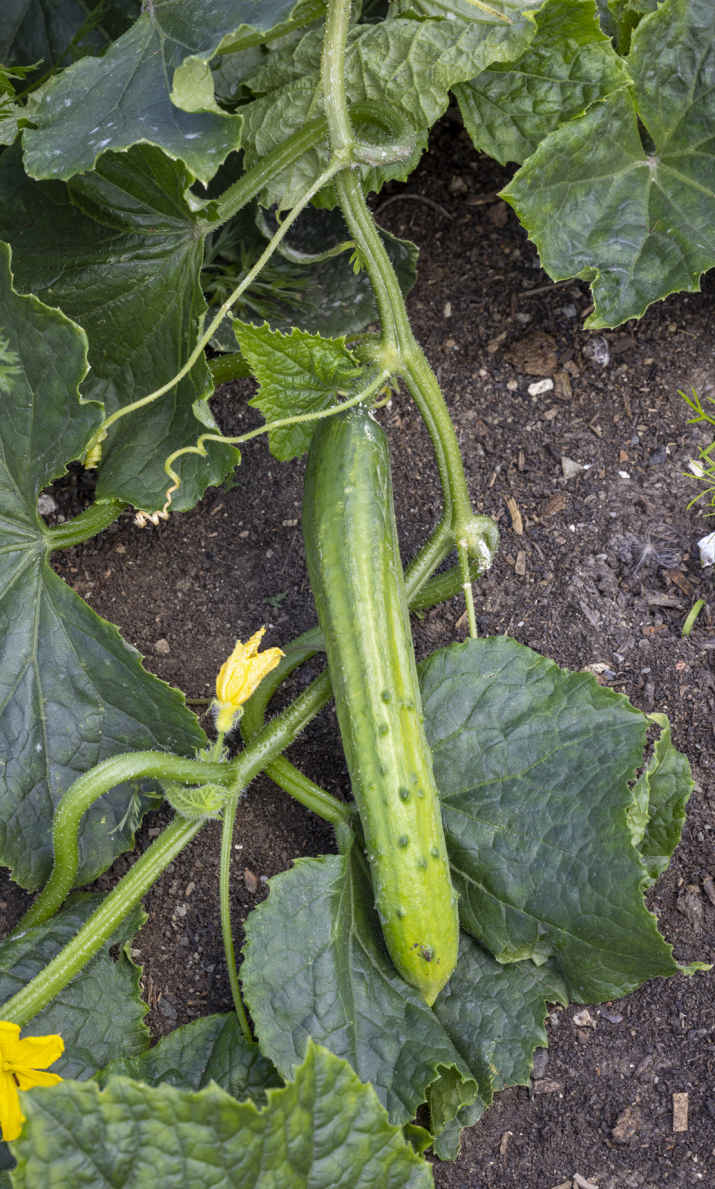
The members of the cucumber family are tender, warmth-loving summer vegetables that are killed by just a little frost. Plants grow rapidly and produce generous harvests during the summer months—except for winter squash, whose fruits ripen with hard skins at the end of summer and store through winter, even into spring. Cucurbits’ soft, fibrous roots flourish in the humus-rich, moisture-retentive surface of no dig beds, where growth is likely to be faster than in dug soil, and managing weeds is easy.
Vigorous cucurbits produce heavy yields, which means that one or two of each plant may suffice, unless you have a big family. Plants do grow large, however, and each will need at least 11 square feet (1 square meter) of space to reach its full potential. Zucchini, summer and winter squash, and cucumbers will all grow well outdoors. Melons and seedless cucumbers need extra warmth and should be grown under cover, where you can use the height of a greenhouse or polytunnel to erect supports for plants, which will increase their growth and the harvests they produce. Training plants up these supports requires a regular, small input of time in summer.
Homegrown zucchini and cucumbers are slightly sweeter than store-bought vegetables, while melons are so tasty and aromatic that you will be amazed by the harvest that you achieve. A high water content means that most cucurbits do not store well, with the exception of ripe winter squash, which can be stored until May, making them hugely valuable during winter and early spring.
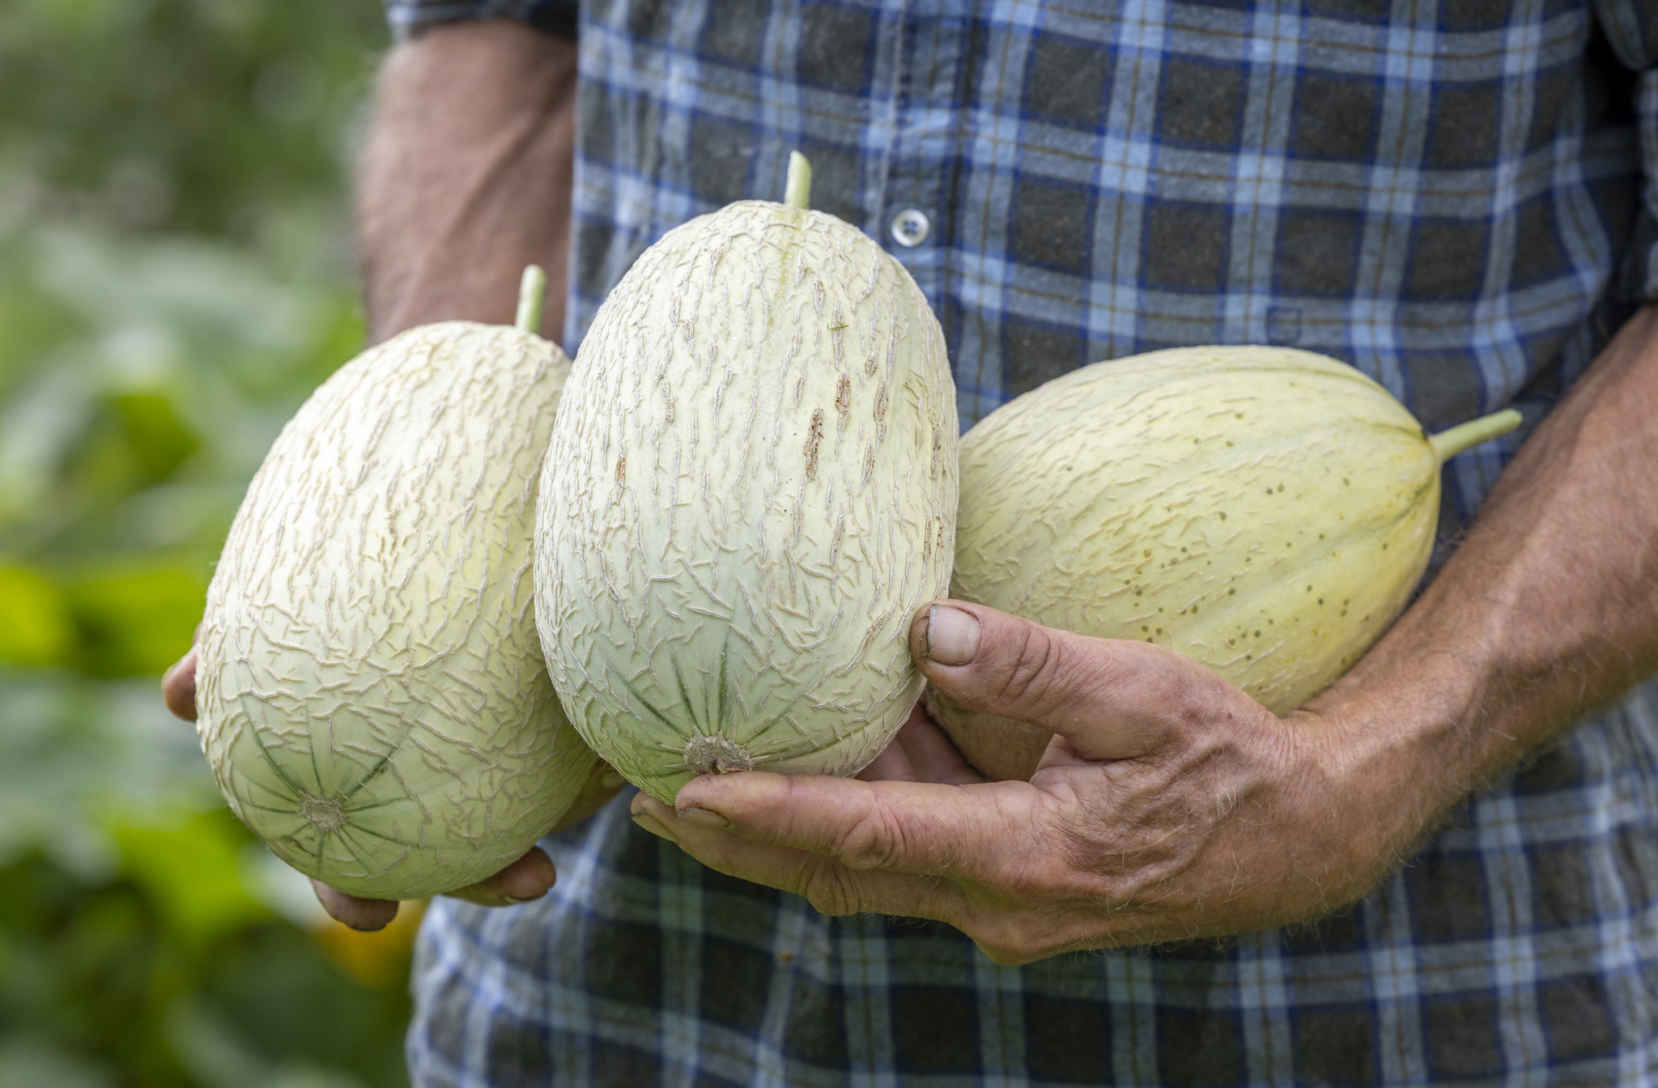
A harvest of fragrant, ripe melon ‘Emir’ F1 is a highlight of the summer garden.
All cucurbit seeds need warmth to germinate and should always be sown under cover for best results. I recommend sowing seeds on their sides because it’s easy and produces good germination. Don’t sow too early because young plants grow fast when conditions are warm and will need to be potted on to keep them in growth before transplanting, when they can easily run out of space if the weather remains too cold to plant them out. Wait until after your last frost date to transplant these tender plants, which thrive in full sun and sufficient space. They all need watering in dry conditions to sustain their growth, and this is especially true for cucumbers.
Pick zucchini, summer squash, and cucumbers regularly to prevent the fruit from becoming seedy and hard-skinned and to keep more harvests coming. Melons and winter squash need to be left on plants to ripen, when they can be harvested over a shorter period of two to four weeks.
Winter squash store well, as long as they are left to “cure” in the sun at about 77°F (25°C) for a week after harvest and are then stored in dry conditions.
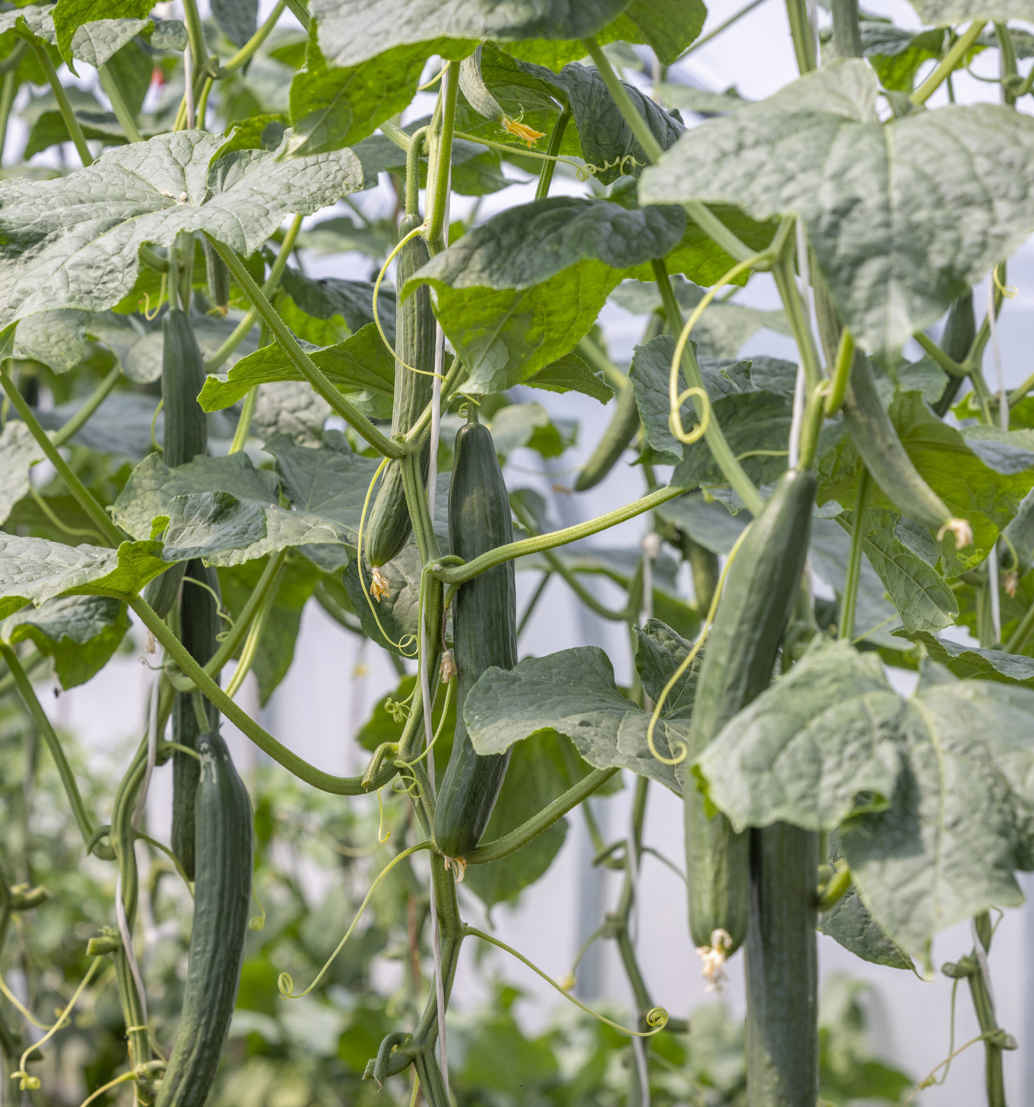
Seedless cucumber ‘Carmen’ F1 fruits prolifically throughout summer.
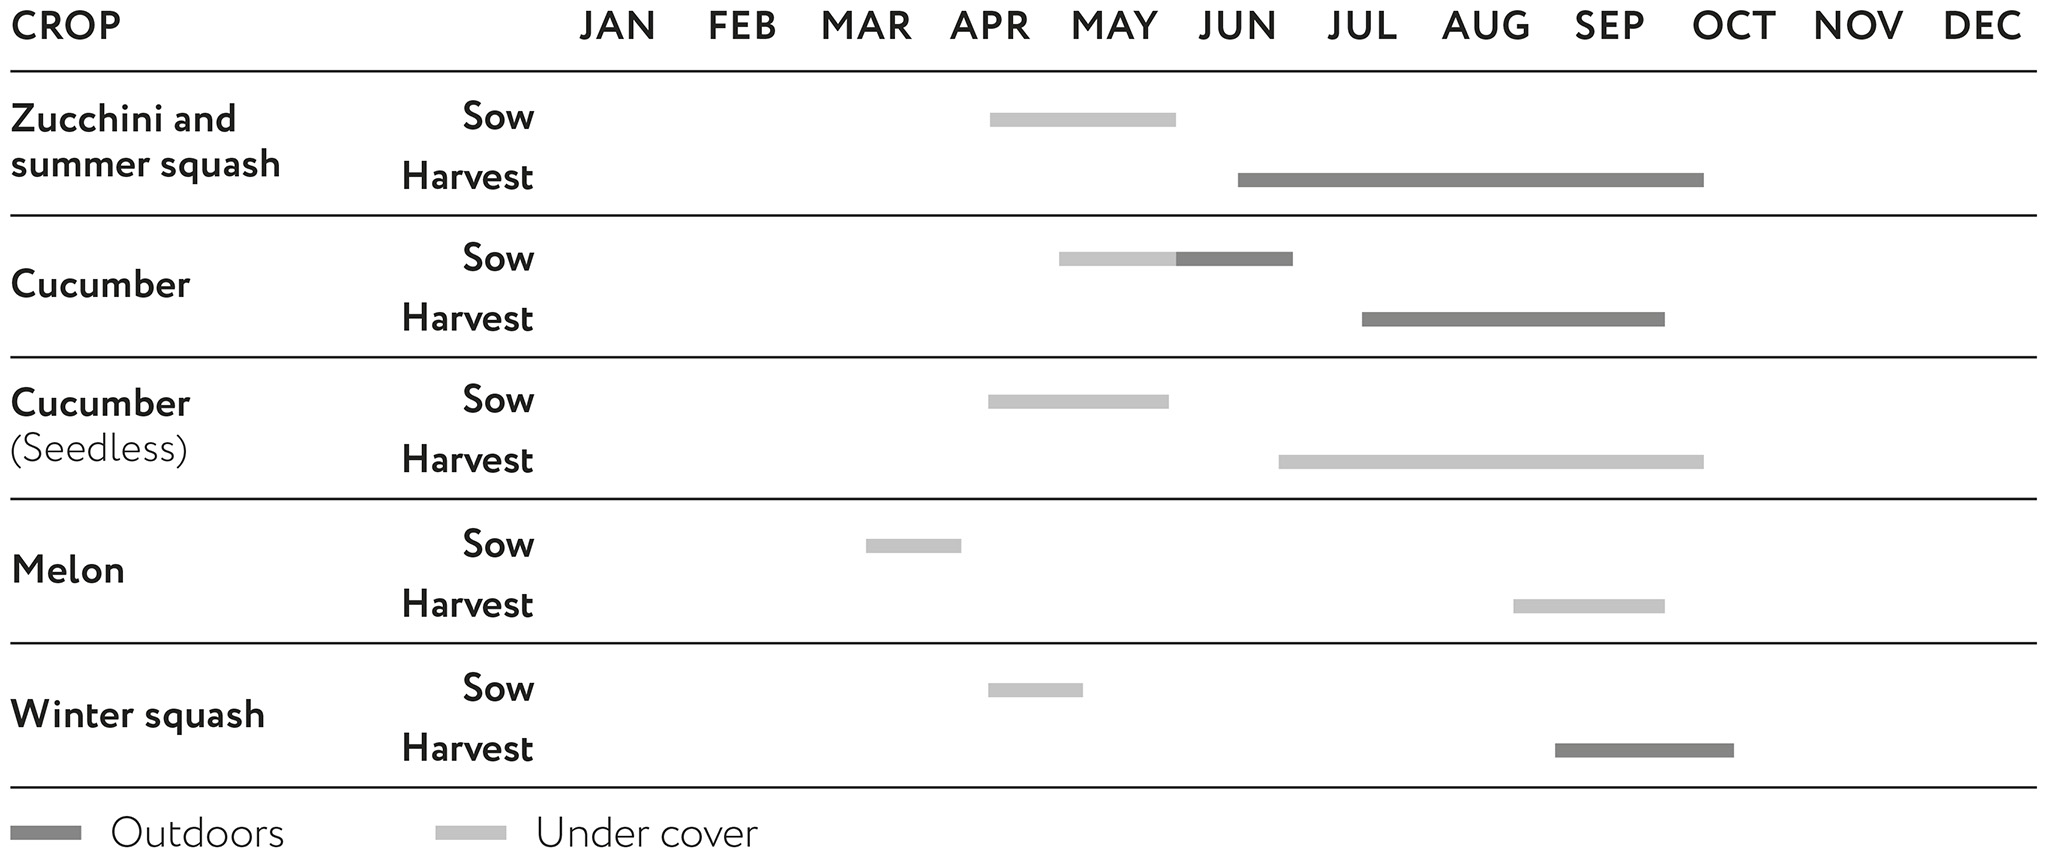
Much as these plants love a plentiful supply of water when in full growth, they can easily be overwatered when small and in plastic pots; if this happens, they die almost overnight. Be careful to keep the potting mix no more than 75 percent moist.
Their large leaves quickly smother the ground, but as they fade toward the end of summer, weeds can grow rapidly. No dig helps at this point because there are few weeds and they are easy to remove. From midsummer, older leaves often turn white with powdery mildew. This looks dramatic but is actually not severe because the fading leaves do not contribute much to growth, so they can be removed to compost if you prefer. Downy mildew is a less common fungal disease but will kill plants within three weeks if conditions are humid in late summer. Watch for dark mold on the underside of leaves and also blotchy yellow patterns, which can be mistaken for virus. Cutting off infected leaves to compost won’t significantly delay the progress of this disease. Red spider mite is pink, almost invisible, and one of the worst pests on plants under cover. The first symptom is leaves turning pale, then tiny cobwebs develop, especially where stalks join onto leaves. Watering leaves can help, and there are predators you can buy as biological controls, called Encarsia formosa.
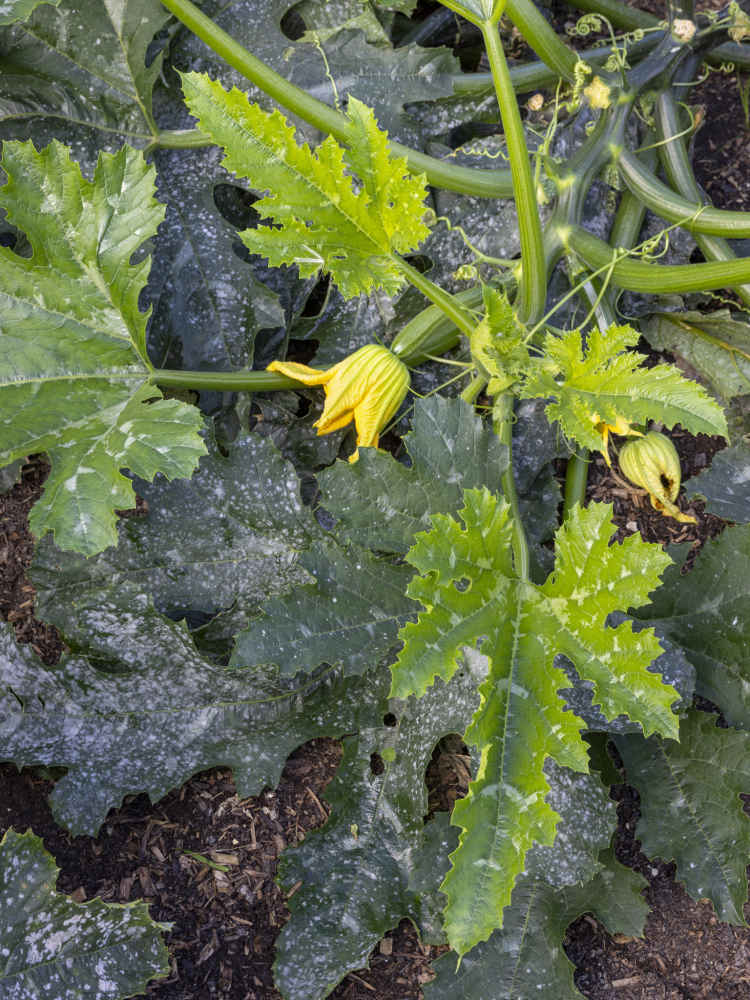
A white dusting of powdery mildew is nothing to worry about on older zucchini leaves.
Zucchini belongs to the large family of summer squash, which produce fruits of bright colors and shapes, including ‘Patty Pan’ and ‘Yellow Crookneck’. Given warmth and plenty of space, these vigorous plants are easy to grow and prolific, producing heavy yields throughout summer and into fall. The fruit have soft skins, pale flesh, and few seeds and are best used soon after picking, unlike thick-skinned winter squash that will store for long periods.
Squash plants are very frost tender, so avoid sowing too early. I recommend sowing under cover, but never more than two or three weeks before the last frost date in your area, because seeds will germinate quickly and soon grow into a plant that is ready to transplant outside.
Sow singly, into either 2 in (5 cm) cells or small pots, by placing the seed flat on the potting mix, pushing down gently, and covering lightly with a little more mix. Avoid sowing into larger pots, as the potting mix can easily become waterlogged before seedlings develop a strong root system. Keep your new sowing warm for at least five days to trigger germination. Unless you have a heated greenhouse, germinate seeds in a warm place in the house (above 61°F/16°C at night). They could even be wrapped in plastic and put in a warm cabinet, as long as you move them into the light as soon as a leaf is visible. After 15 to 20 days, it is best to pot on young plants into a 4 in (10 cm) pot so that they can grow into sturdy plants, ready to transplant after the last frost.
Most gardeners need to wait until late May or early June before transplanting to ensure the weather is warm enough. Make a deep, rectangular hole to accommodate the root ball so that 2 in (5 cm) of its stem is below surface level. Allow 3 ft (90 cm) between plants to give them ample room to spread. Water plants in thoroughly and, if it’s not raining, water every two days for the first week or two. These squash plants also grow well in large containers, especially bush varieties and the climbing zucchini ‘Black Forest’ F1. You can also plant them through black plastic laid to cover weeds to produce a harvest while the weeds beneath are dying.
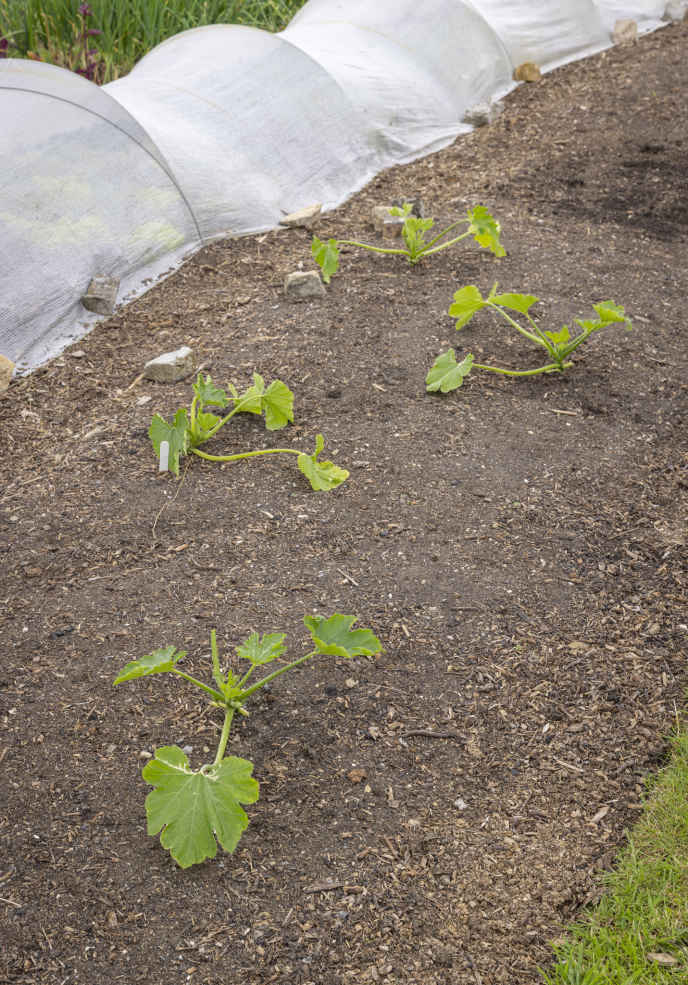
Young zucchini plants need space to grow.
Young plants can be damaged by slugs, but when planted in warm weather, they grow away quickly and are unlikely to be seriously set back. If the weather is cool and windy after transplanting, place a fleece cover directly on top of plants to help them get going and remove it as soon as days are sunny. Once established, zucchini are strong and fast growing. They need frequent watering to crop well in hot, dry weather; otherwise, they tend to go dormant and produce few fruits. Plants in containers could need watering twice a day during summer, together with weekly feeding once fruits start to develop. By contrast, plenty of food is available to plants in no dig soil thanks to its healthy microbiome, so you don’t need to feed.
A pretty silvering on leaves is quite normal, but after midsummer, the lower leaves often start to develop a white dusting of powdery mildew. Although this can look dramatic and worrisome, it’s part of the natural cycle of growth, where plants allow the mildew to affect older leaves that are no longer contributing to growth. A healthy zucchini plant won’t have mildew on its younger leaves and will continue to produce fruit; my advice is not to worry about it and to remove and compost mildewed leaves if you don’t like their appearance. All diseased leaves can be composted because the pathogens that cause such diseases do not affect plants at random and can only establish when conditions suit them, which often forms part of plants’ natural cycles of growth and decay.
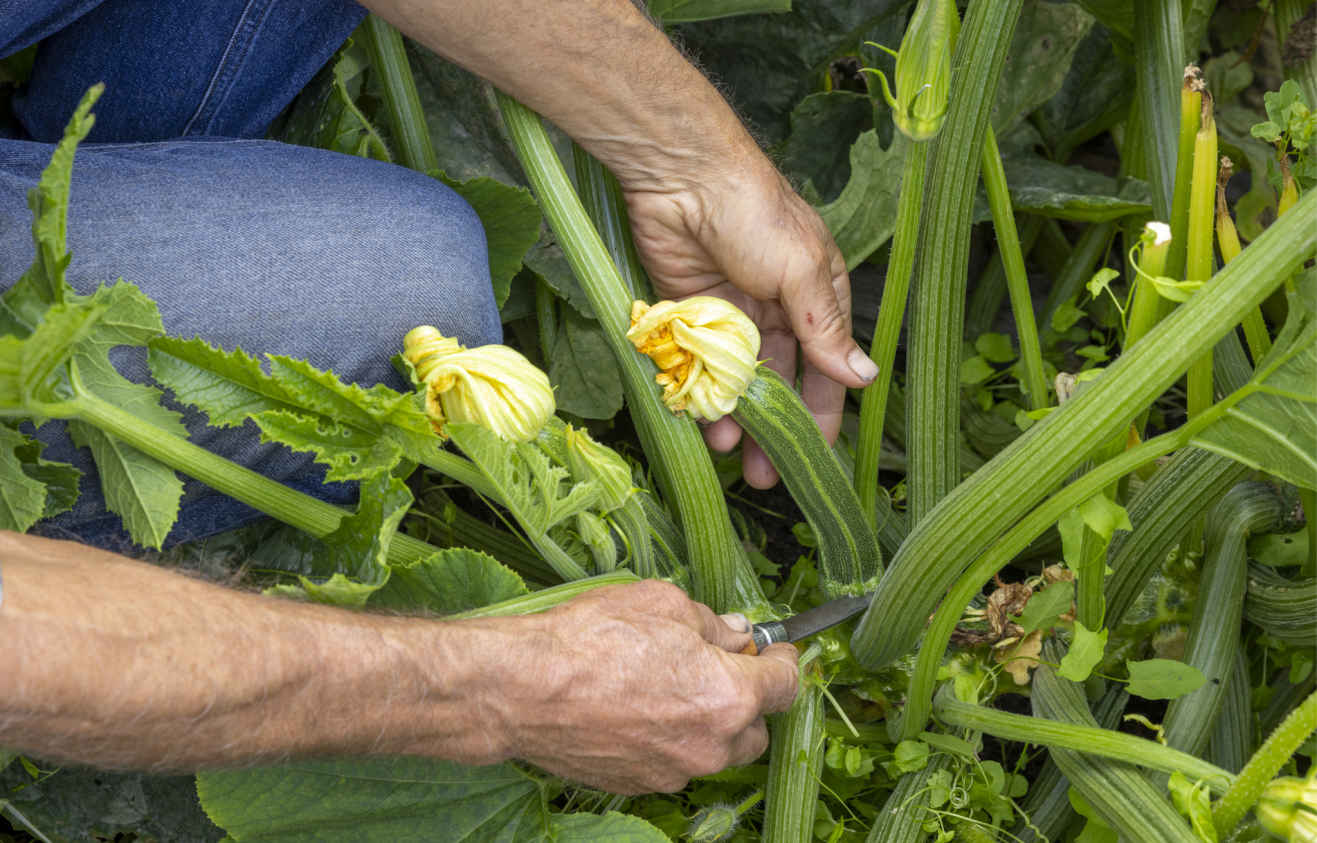
Cut zucchini stalks to avoid damaging the fruit.
Consider wearing gloves and long sleeves when picking and handling zucchini and squash to avoid contact with secretions from the prickly hairs on the leaves and stems, which can cause an itchy rash on the skin for several weeks afterward.
To harvest, either snap the fruits off the main stem or cut through their stalks; the latter results in better storage. Young plants are too small to grow fruit to full size, so pick these first fruits very small to avoid delaying the formation of further zucchini. For tender fruits containing little seed, pick zucchini before the striking yellow flower at their tip has fully died. Both the female flowers with fruit behind them and the male flowers on thin stems can be picked while open to eat fried in batter. Given plenty of space and a mild fall, plants can remain productive until early October. Young squash fruits will keep well for about a week in the fridge or in a cool larder.
VARIETIES
ZUCCHINI
‘Early Gem’ F1 Prolific production of long, thin, pale green zucchini. I’ve grown this variety over four decades and it has stood the test of time.
‘Defender’ F1 A shiny, dark green zucchini. Both fruits and the plant can grow long.
‘Cocozelle’ An Italian heirloom variety producing slightly bulbous, pale green, ribbed zucchini.
‘Parador’ F1 Pretty fruits and, like other yellow varieties, yields are about one-third lower than green zucchini.
‘Black Forest’ F1 This climbing variety can be grown up string, which is useful where space is tight. Remove lower leaves regularly to reduce plant weight and help the string hold it up.
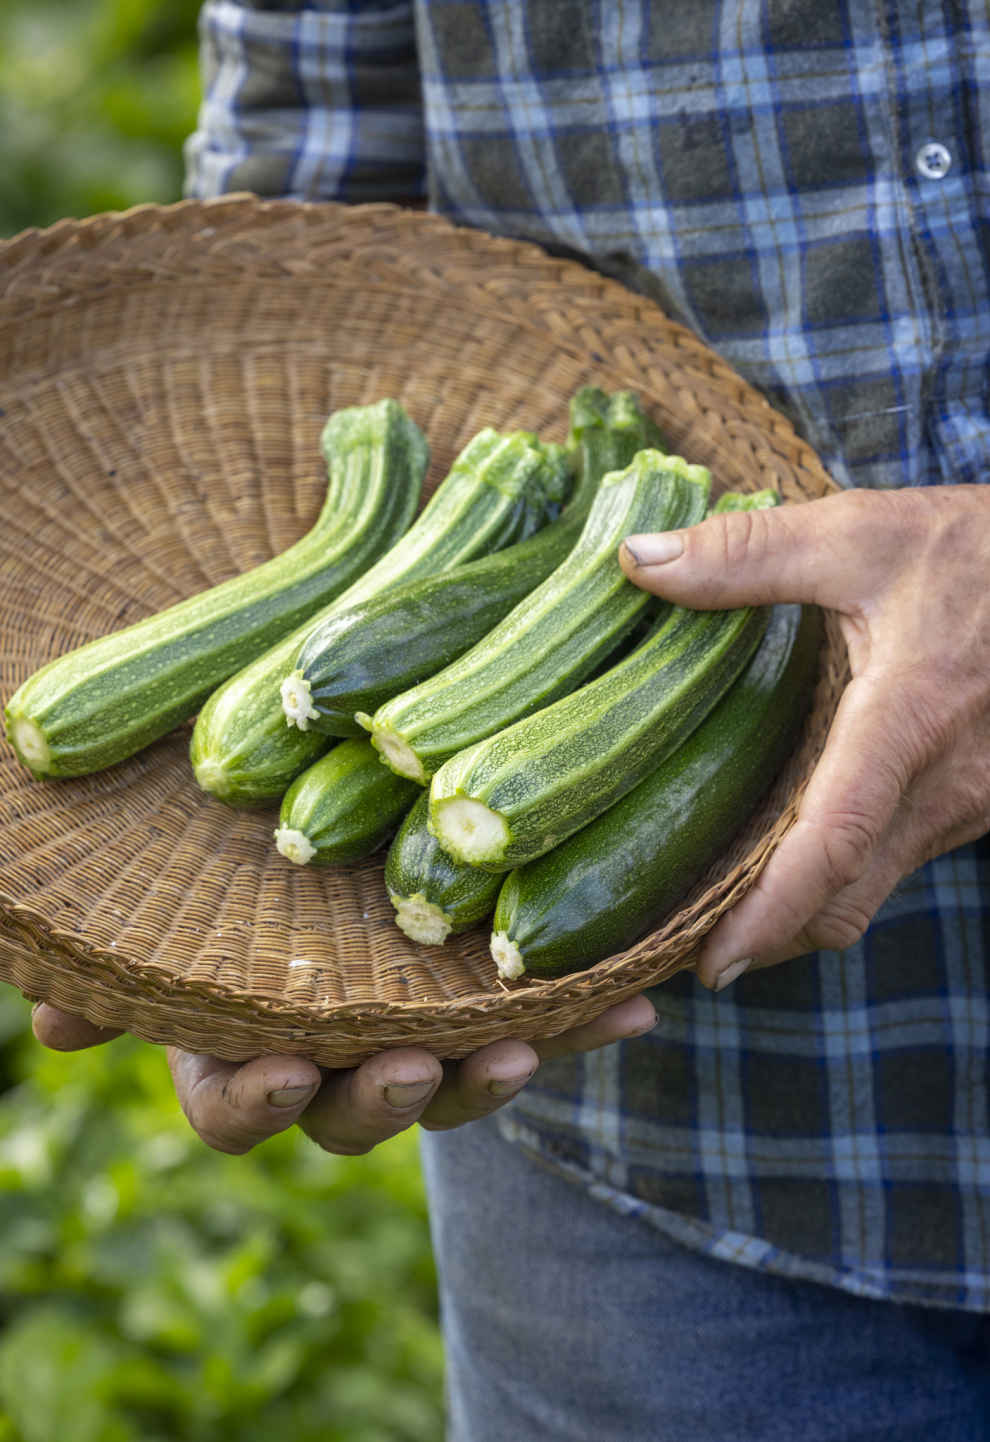
Harvested zucchini ‘Cocozelle’ and ‘Defender’ F1.
SUMMER SQUASH
‘Yellow Crookneck’ A pretty variety, with elongated and knobby fruit on a trailing plant.
‘Patty Pan’ Grows flattened, scallop-edged squash in a range of colors.
KEY INFORMATION
Seed to harvest: 2 months
Sowing to transplanting: 3–4 weeks
Position: Need warmth and full sun; won’t thrive in a cold, shady spot
Spacing: 2 ft (60 cm) minimum, but 3 ft (90 cm) gives a whole season of fruiting
Hardiness: Not hardy; will be killed by frost
Suitable for interplanting in late summer

Grown in healthy soil and eaten freshly picked, homegrown cucumbers have a flavor far superior to any you can buy. Tasting is believing! Two types are available to gardeners: outdoor cucumbers trail on the ground and produce knobby, medium-length fruit; greenhouse varieties need to be grown under cover for warmth and trained up supports. They repay this investment with prolific and tasty crops of smooth-skinned fruit.
Cucumbers are heat-loving plants, best sown under cover no earlier than mid- to late spring. Don’t sow more than four weeks before your last frost date because they will be killed by a hint of ice and need warm conditions to thrive. I sow both greenhouse varieties and outdoor cucumbers under cover, though you could sow outdoor cucumbers directly into the soil in warm June weather.
Sow single seeds into 2 in (5 cm) cells by laying them flat on the potting mix, pushing down gently, and covering lightly with mix. Steady warmth is crucial for germination, and keeping cell trays in warm nighttime temperatures inside the house often produces the best results. Seedlings grow rapidly and, two weeks after sowing, need potting on into 2¾ in (7 cm) pots to keep them growing strongly. I lavish a lot of care on these plants because each one gives such generous harvests, often potting them on again to 4 in (10 cm) pots to produce large, strong plants. Avoid overwatering young plants, as their soft stems damp off easily in waterlogged potting mix and they will die. Lift pots and only water any that feel light.
Always transplant both indoor and outdoor cucumbers after your last frost date—even plantings under cover need warm weather before they go in the ground. Transplant outdoor cucumbers into the soil at least 2 ft (60 cm) apart and greenhouse varieties 3 ft (90 cm) apart. If growing in a container, choose a large 18 in (45 cm) one, which makes feeding and watering manageable. To provide support for tall greenhouse plants, place a knotted polypropylene string in the base of the hole and transplant the root ball on top of it so that the roots hold the string in place. Tie the top of the string to whatever support is available in your greenhouse or polytunnel. Plant slightly deep to support the stem, with the top of the root ball 2 in (5 cm) below soil level.
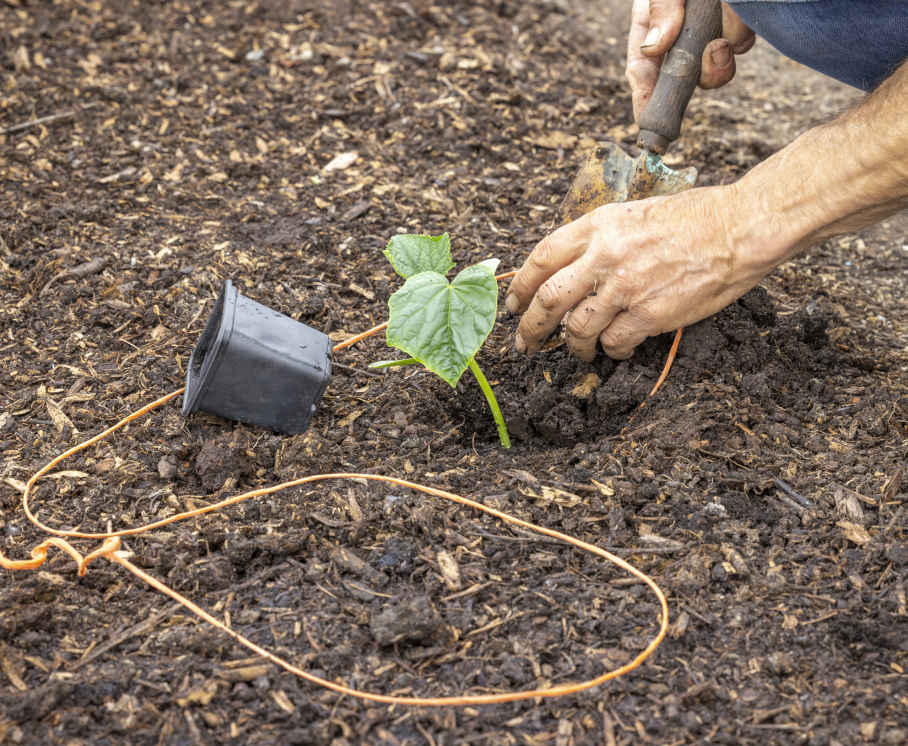
Plant greenhouse cucumbers with a supporting string.
Outdoor varieties sprawl across the ground with no need for support, which makes it easy to protect plants with fleece if the weather is cold or windy after transplanting. Train greenhouse plants upward by twisting their main stem around the supporting string regularly and removing all of the sideshoots that start to grow at the axils where each leaf joins the stem. I also remove all tiny cucumbers until plants are at least 2 ft (60 cm) tall, to channel energy into plant growth and roots, for crops throughout summer and into fall. I also remove every second baby cucumber from cropping plants to produce a steady supply and avoid surpluses. Once the main stem reaches the top of its string, loop it over to allow the plant to continue growing toward the ground.
These large, fast-growing plants need water. Even cucumbers outside will need a good soak twice a week in dry weather, while plants under cover benefit from a generous watering every two to three days. Water container plants every day and give liquid feeds once a fortnight or even every week in hot weather. Outdoor cucumbers are rarely troubled by pests and diseases, except slugs, which can damage young plants in cool, wet conditions. Under cover, greenhouse plants may suffer red spider mite and whitefly, but I find that plants grown in healthy soil are less susceptible. If you’re worried about red spider mite, you can release the predatory mite Phytoseiulus into your structure when you transplant cucumbers in May. The dusty white of powdery mildew often covers older leaves after midsummer. Affected plants still have healthy young leaves and continue to be productive, so just cut off mildewed lower leaves to improve ventilation around the base of plants. Downy mildew in late summer is more damaging and can quickly cause plants to rot and die. The first sign is yellow blotches on leaves, with a stronger discoloration and some fungal growth underneath. Little can be done for outdoor plants, but it can be prevented under cover by not wetting plants when watering on cloudy days. In sunny weather, it’s fine and even beneficial to wet the leaves.
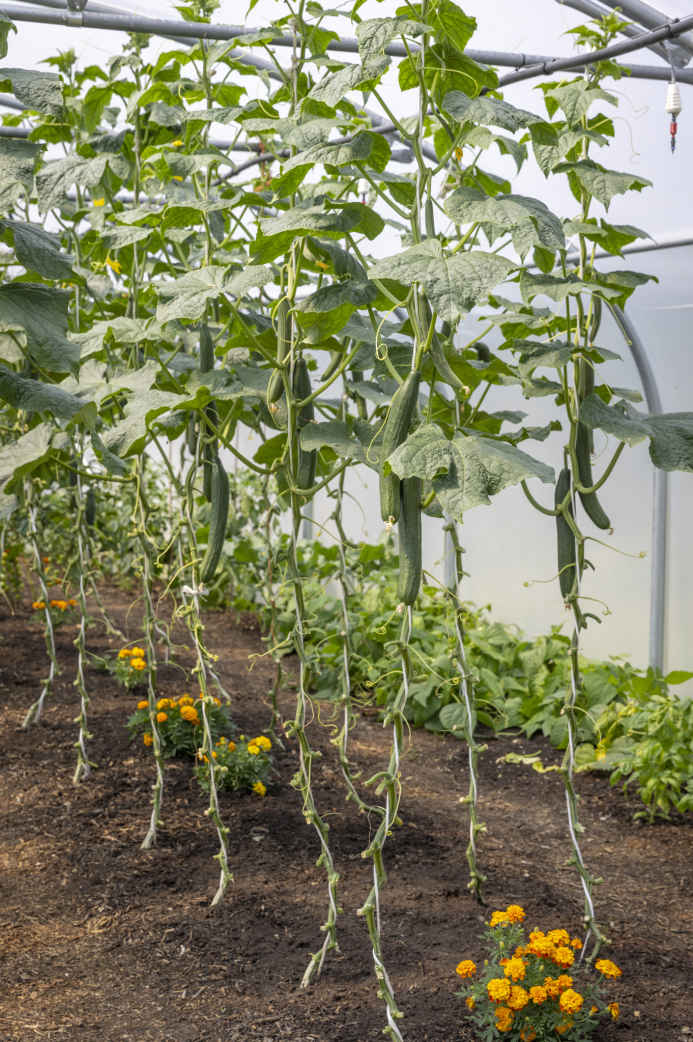
Remove the lower leaves of indoor cucumbers to improve ventilation.
My best advice is to keep picking! In warm weather, outdoor varieties produce a cucumber every day, and greenhouse plants a large fruit every other day. Reduce the surplus by picking smaller cucumbers, when they have softer skins and are less likely to be seedy. Outdoor cucumbers have thick and knobby skins and I peel off at least half, then slice thinly and sprinkle with salt an hour before eating to enhance flavor and digestibility. Cucumbers are super delicious when freshly picked but will keep for up to a week in the fridge or for a few days at room temperature.
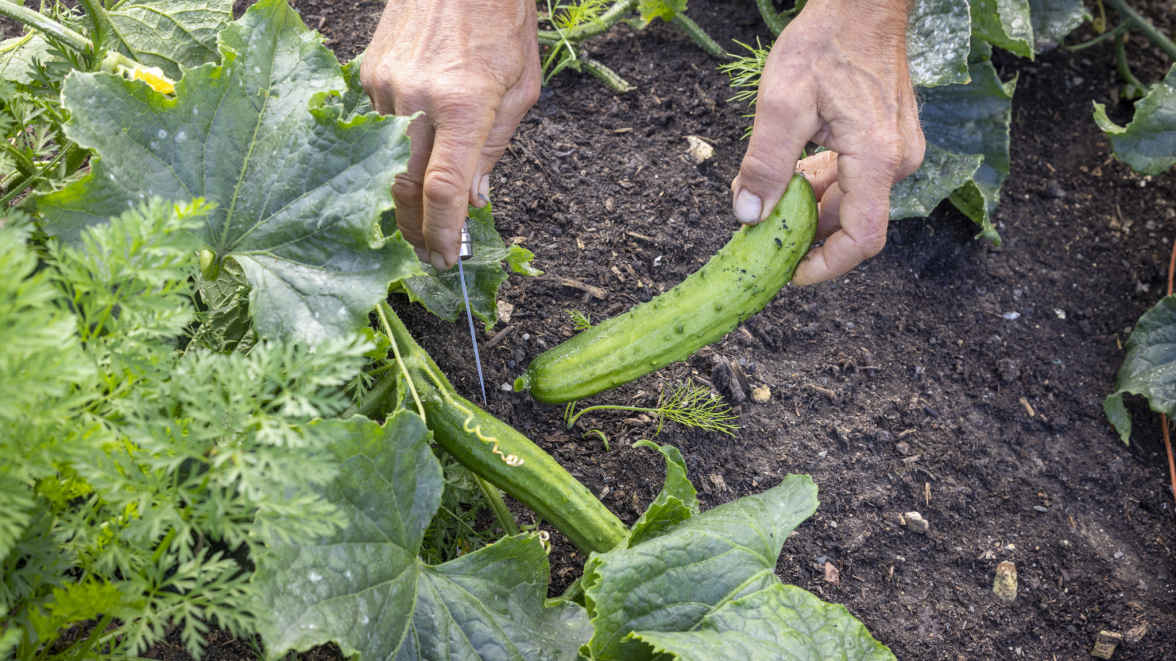
Cut the tough stalks of outdoor cucumbers.
VARIETIES
GREENHOUSE
Some old varieties are harder to grow, as they produce male flowers, which need to be removed to avoid pollinated fruits with a bitter taste. I recommend growing “all-female” F1 hybrids without male flowers to prevent this problem.
‘Carmen’ and ‘Femspot’ Both produce abundant full-sized cucumbers 12–16 in (30–40 cm) in length.
‘Passandra’ Forms plentiful half-size cucumbers about 6 in (15 cm) long.
‘Iznik’ Mini “lunchbox” cucumbers that I’ve grown successfully in my conservatory.
OUTDOOR
‘La Diva’ Easy to grow outdoors for prolific crops of 6–8 in (15–20 cm) long fruit.
‘Tanya’ Another reliable variety with similar fruits to ‘La Diva’ that are slightly spiky.
KEY INFORMATION
OUTDOOR
Seed to first harvest: 80 days
Sowing to transplanting: 4–6 weeks
Position: Full sun
Spacing: 2–3 ft (60–90 cm)
Hardiness: Tender; needs warmth and is killed by frost

GREENHOUSE
Seed to first harvest: 70 days
Sowing to transplanting: 4–6 weeks
Position: Under cover
Spacing: 3 ft (90 cm)
Hardiness: Tender; needs warmth and is killed by frost

Melons need warmth, and in areas where a warm summer is not guaranteed, grow them in a greenhouse or polytunnel. To harvest and eat your own ripe melon is a precious moment. The handful of ripe fruits per plant may not compare well to highly productive crops like cherry tomatoes, but they are worth growing if you have space. This profile concentrates on growing cantaloupe melons in temperate climates; honeydew and watermelons need extra warmth.
From mid-March to early April, sow single seeds into 1¼ in (3 cm) cells and keep them warm under cover to encourage germination. I start newly sown trays in the house, where nighttime temperatures are higher. Transfer them to the greenhouse before seedlings become too tall and leggy, but keep nighttime temperatures above 50°F (10°C) using a hotbed or electric propagating mat to keep plants growing and protect them from frost. Pot on seedlings into 2¾ in (7 cm) pots after three to four weeks so their growth isn’t checked, and maybe again into 4 in (10 cm) pots in late April when growth speeds up. Be careful not to overwater young plants in pots because roots will damp off in wet potting mix and plants will die. Don’t water if pots feel heavy.
Transplant under cover in mid-May or soon after. Set plants deep enough to bury 2 in (5 cm) of stem and space 20–24 in (50–60 cm) apart or into containers at least 18 in (45 cm) in diameter, filled with potting mix. Allow plants to trail over the ground, or grow them as cordons up a string secured in the soil under the root ball when you transplant them. Plants may grow outdoors, but they will run out of warmth to ripen the fruits unless afternoon temperatures exceed 75°F (24°C) in the shade during summer.
Once plants are growing rapidly, twist the main stem quite tightly around the supporting string every two or three days to ensure enough support to carry the weight of heavy fruit. Unlike cucumbers, melons develop from the first node of every sideshoot. I pinch out all of the early sideshoots until plants are 3¼–4 ft (1–1.2 m) high and then allow sideshoots to develop so that they can hang downward without touching the ground. Once a little melon has formed, pinch out the growing tip of its sideshoot.
If your summer is not hot (below 75°F/24°C most of the time), allow just three or four melons to develop by removing all new sideshoots once those fruits are formed. This increases your chances of ripe fruit. Plants are capable of ripening many more fruit—I have picked 12 ‘Minnesota Midget’ from a single plant in a warmer-than-usual summer—but the downside is that they ripen later. Plants growing on the ground and in containers can be allowed to sprawl without pruning until you see melons developing. They self-prune fruit numbers, but once you see a few melons, help ripen them by repeatedly pinching out new stems.
The fast-growing plants need consistent but moderate watering. Increase the amount in hot weather, then reduce watering to maintenance levels in late summer when the swollen fruits are ripening.
Plants are not usually troubled by pests. Knock aphids off leaves with a water spray in late spring and early summer—the period before their predators arrive. Plants tend to grow away from minor damage caused by slugs and woodlice nibbling a serrated pattern around leaf edges. Red spider mite is serious if it occurs but will hopefully be late enough in summer that fruits are already well developed.
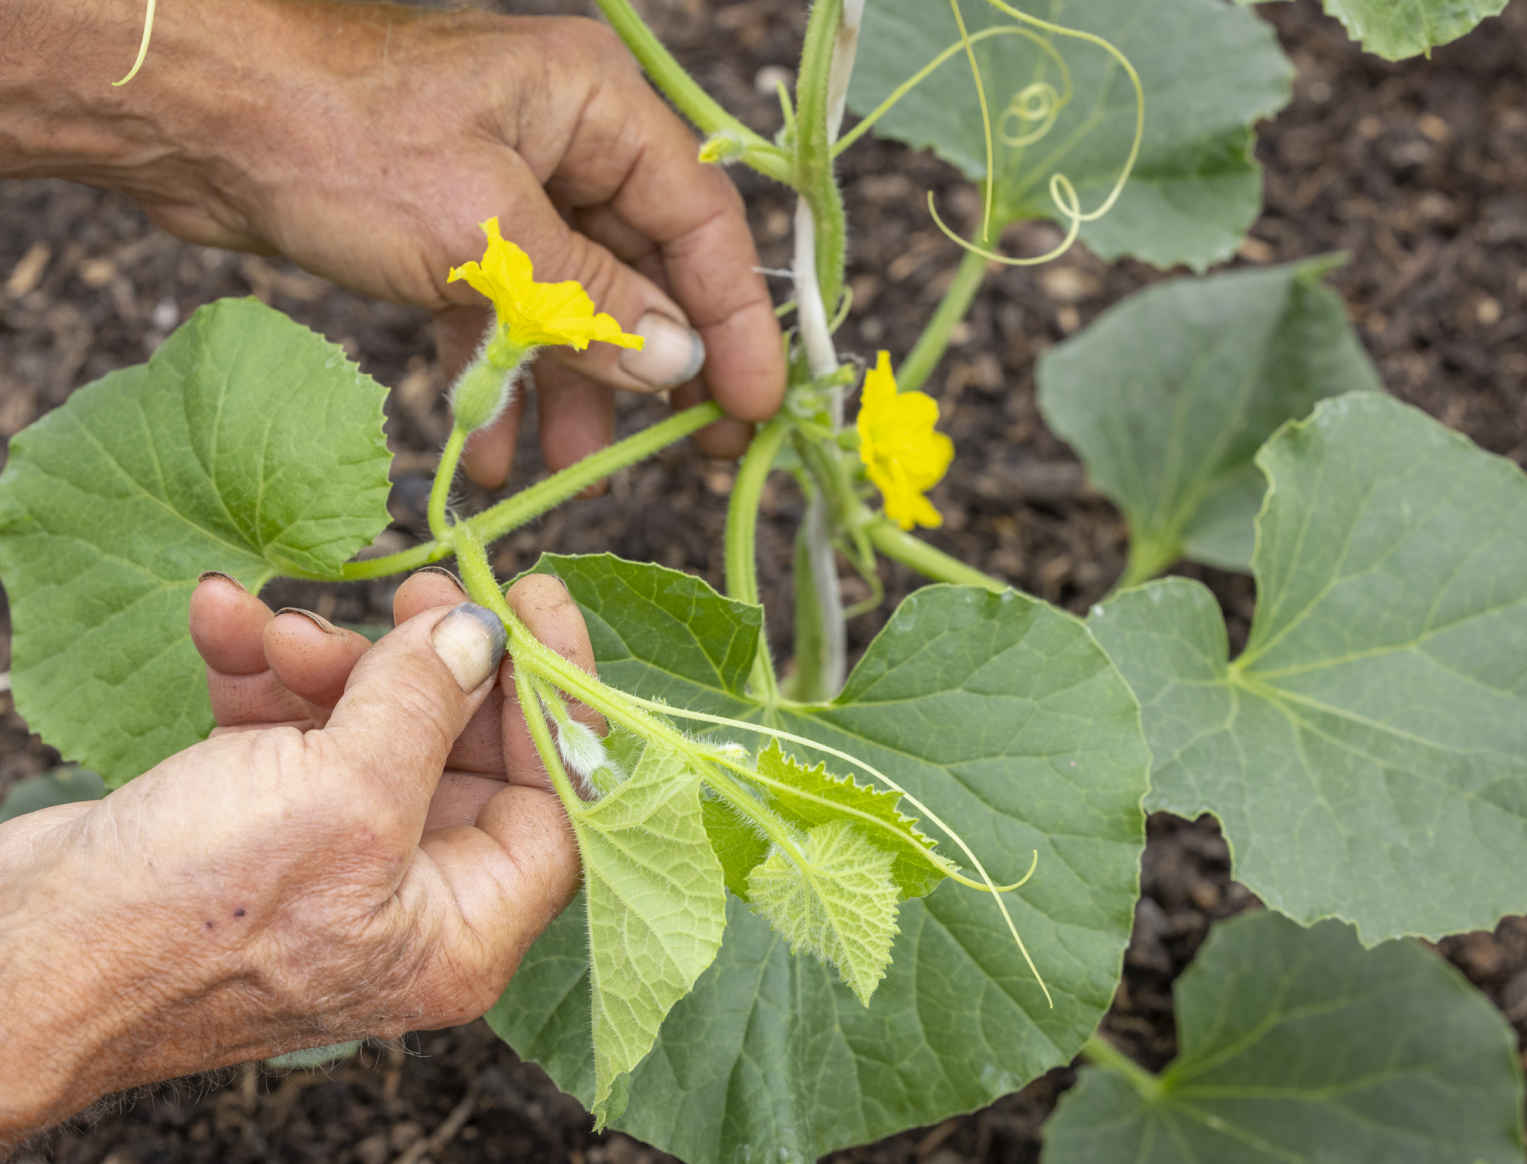
Removing sideshoots from flowering plants.
Melons that look mature may remain unripe on the plant for a week or more, then suddenly yellow and fill the greenhouse or polytunnel with their amazing sweet aroma. Another clue to ripeness is a slight cracking around the stalk, sometimes with dark sap oozing out. Pick fruit as soon as you notice any of these signs by cutting the stalk while holding the melon. They store better with a short piece of stalk attached and will keep for two weeks if cool, but gradually lose flavor and become soft in texture.
Saving seed from open-pollinated varieties is easy, but grow a single variety to avoid cross-pollination. Scoop out the seeds when you eat the fruit, then wash and dry them to store and sow the following spring.
VARIETIES
‘Minnesota Midget’ and ‘Petit Gris de Rennes’ Both form delicious, small, orange-fleshed fruits and are well suited to cool climates.
‘Alvaro’ F1 Grows and ripens quickly, with on average four medium-sized melons per plant.
‘Emir’ F1 This vigorous hybrid variety produces slightly larger and longer fruit with orange flesh.
‘Early Moonbeam’ A tasty, green-fleshed watermelon for cooler climates, but which still needs more heat than other types of melons. Don’t try watermelon until you’ve succeeded with other melons.
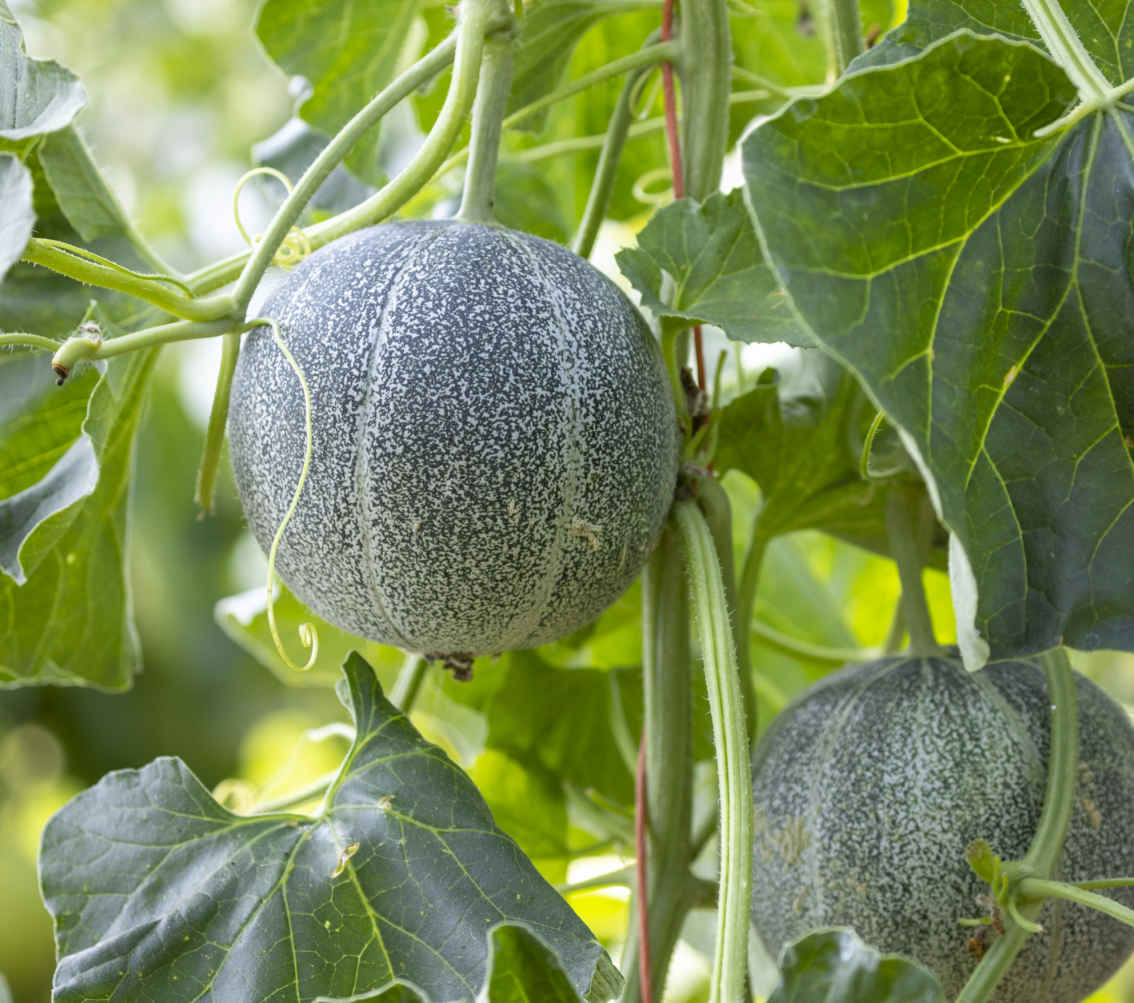
Ripening ‘Minnesota Midget’ fruits.
KEY INFORMATION 
Seed to first harvest: 5 months
Sowing to transplanting: 6–8 weeks
Position: Full sun and sheltered, ideally under cover
Spacing: 20–24 in (50–60 cm) apart
Hardiness: Not hardy; needs warmth and will be killed by frost
Suitable for saving seed

Winter squash, with their varied shapes and vivid colors, are a highlight of the summer and early fall garden. Give each plant plenty of space and they will need little intervention, growing rapidly to cover the ground. Their skins toughen as they ripen, creating a seal that allows fruit to stand on the soil and to store easily from late fall until early the following summer. The dense orange flesh has high nutritional value by weight and its sweetness increases after harvest. Squash are distinct from pumpkins, which are larger and thinner-skinned and have more watery flesh, meaning they rarely keep beyond December.
These plants benefit from a long growing season and need warmth to grow well. If your summers are cool, it may be worth growing them under cover or choosing Kuri varieties rather than butternuts. Lengthen the growing season in temperate climates by sowing under cover a month before your last frost date. This results in decent-sized plants, ready to transplant outside when the weather warms in late spring or early summer.
Sow the large seeds singly into 2 in (5 cm) cells or 2–2¾ in (5–7 cm) pots. Place seeds flat on the surface, push down gently, and cover lightly with potting mix. There is debate about whether seeds grow better when inserted vertically downward, but I find it quicker to sow them flat and they germinate well. Seeds need 68–77°F (20–25°C) to germinate evenly, and new sowings are best kept in the house for the first week to benefit from the warmer nights, which encourage germination. Seedlings can then be moved into an unheated greenhouse and covered with fleece at night if the weather is cold. If this is not possible, then delay sowing until late April or early May. After about two weeks, you should have a strong seedling, with two large seed leaves (cotyledons). After another week or so, when the first true leaves are growing rapidly, pot them on into 3½ in (9 cm) pots so they grow to a good size for transplanting. Be careful not to overwater newly repotted plants to avoid flooding the roots.
Only transplant once you are certain there will be no more frosts, which could be from mid-March to early June, depending on your location. Make a straight-sided hole with a trowel and slide in the long-stemmed plants about 2 in (5 cm) deeper than they were growing in their pot to help keep them stable and create a little hollow to make watering easier. Allow 3 ft (1 m) between plants, which means there will not be space for many in a small garden. It’s a mistake to cram them in too close together because this reduces the yield of each plant. The wide spacing provides an opportunity to interplant with sweet corn, one or two between each squash, and this combination works in open ground or when planting through a black plastic mulch laid over new ground to clear weeds.
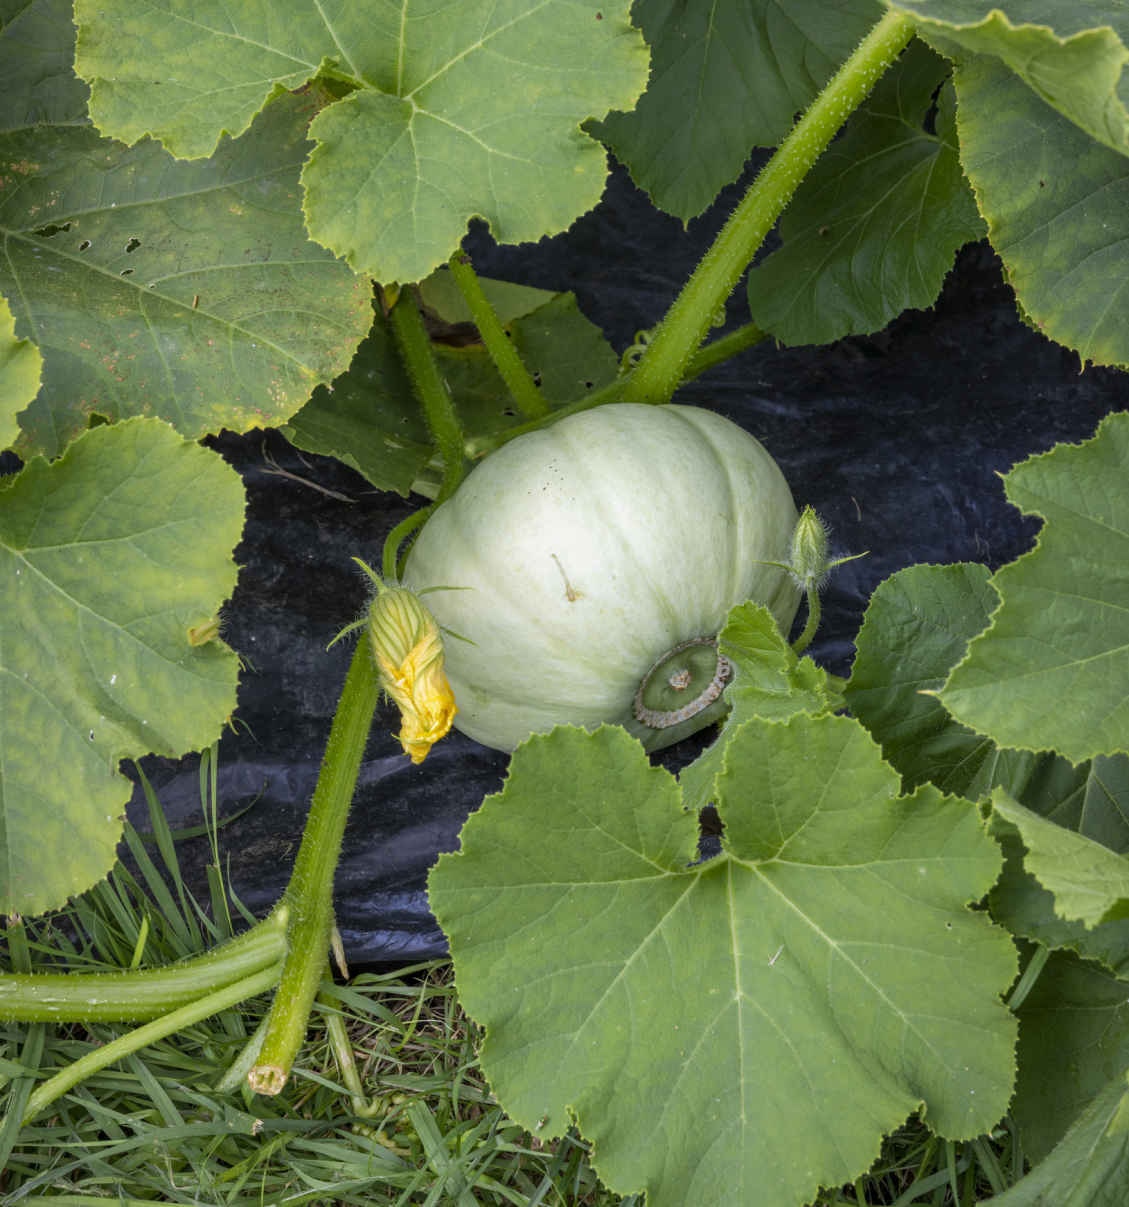
Winter squash are a good growing option if clearing weedy ground with a black plastic covering.
Water new transplants in and continue to water every two days in dry weather for about a week to help them establish. Protecting plants from any cold or windy weather with fleece during late May can help them get settled and start growing, but remove it as soon as conditions improve to avoid cooking leaves in bright sunshine. Once you see new growth, that usually means you need do nothing more until harvest—just enjoy watching the plants romp away to take over the garden! The speed of growth helps young plants shrug off any slug damage, but if your garden is full of slugs, go out with a flashlight for a few nights after they’re transplanted and dispose of any you find nearby.
There is no need to prune the long stems, but if they grow over other plants or paths, then move them aside or cut them back. It’s not necessary to thin the developing fruit because squash manage this themselves. Don’t worry if you see some small fruits rotting—plants set more fruit than they can sustain and then allow the surplus to decay in midsummer. The number of fruits that mature on a plant will vary depending on the variety, the weather conditions, and the space it has in which to grow.
Where summers are dry, you will need to water plants as fruits develop, possibly twice in all, but I find that is not necessary here. Powdery mildew symptoms on the older leaves during late summer are nothing to worry about because this doesn’t kill the plants and is part of their cycle of growth. As the mass of leaves gradually die off, the fruits are exposed to more sunlight, which helps with the ripening process.
If you are new to growing winter squash, it can be difficult to judge when to harvest, but they must be picked before the first frost of fall to prevent them from being damaged. Before that, you are looking for most of the leaves to have died back and the stalk of each fruit to change from green, through yellow, to brown and dry. Check that the skin is hard by tapping all over the squash with your knuckle; if you hear a hollow sound, it’s ready to pick. If this hasn’t happened by October, when fruits have run out of light and warmth to ripen, you need to pick and eat them immature, with a less dense texture and reduced sweetness.
It’s easiest to harvest the whole crop of each variety at once by carefully cutting through the stalks with a sharp knife; if the stalks are fully dry and hard, cut the softer trailing stem on either side of each stalk instead. You can harvest when the stalks are yellow and still a bit juicy, but they will need to be thoroughly cured (see Varieties) before storing. Avoid damaging skins or breaking off the stalk, as this makes an entry point for mold during storage. After harvest, remove and compost all remaining growth.
Finish ripening squash to sweeten the flesh and harden the skin fully by “curing” them in a warm, sunny place, such as a windowsill in the house, for around two weeks. Properly ripened and cured squash will keep for months anywhere indoors where it’s warm and dry—even in sunshine. The tough skin seals the fruit so that it doesn’t dry out and shrivel.
Seed from non-F1 varieties is simple to save from the fruit: just wash and dry it before storing. However, if you grow two or more varieties in the same season, the flowers will cross-pollinate, resulting in varied fruit size, shape, and color in the next year’s crop.
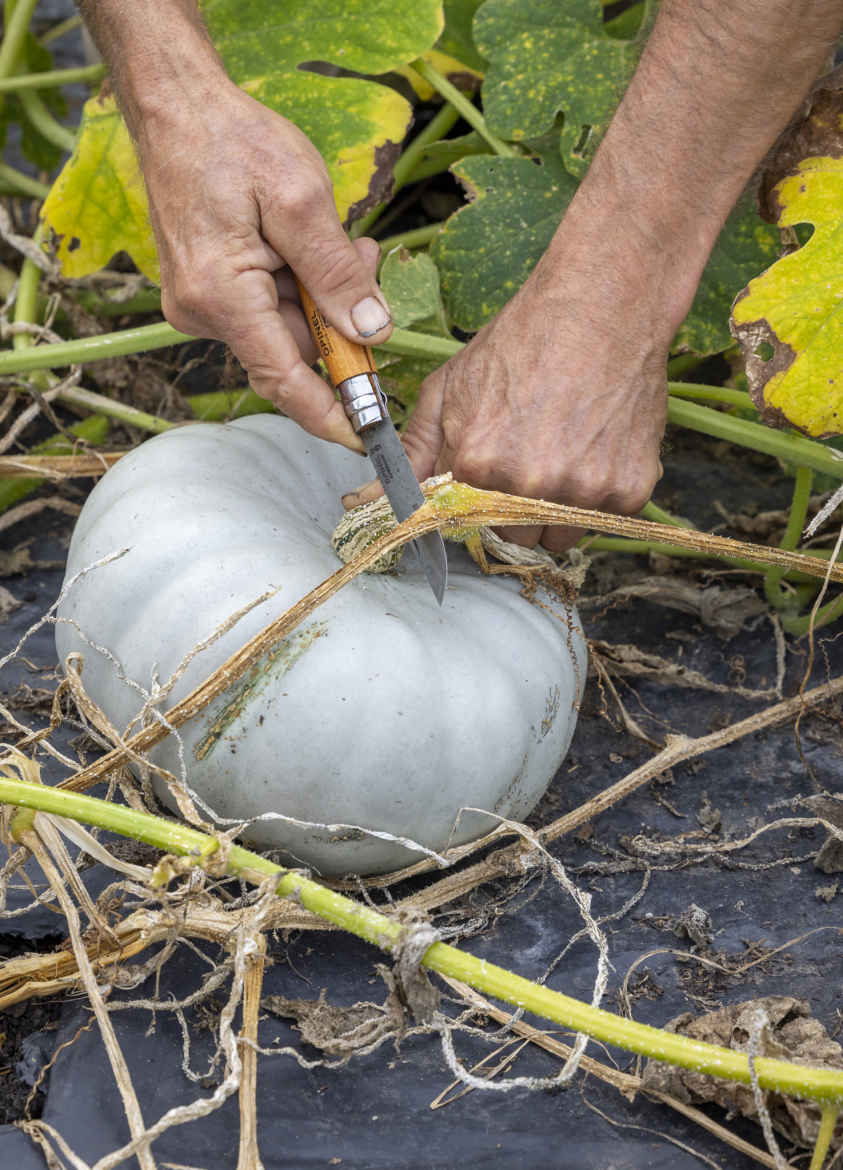
If the stalk is too hard, cut through the plant’s stem instead.
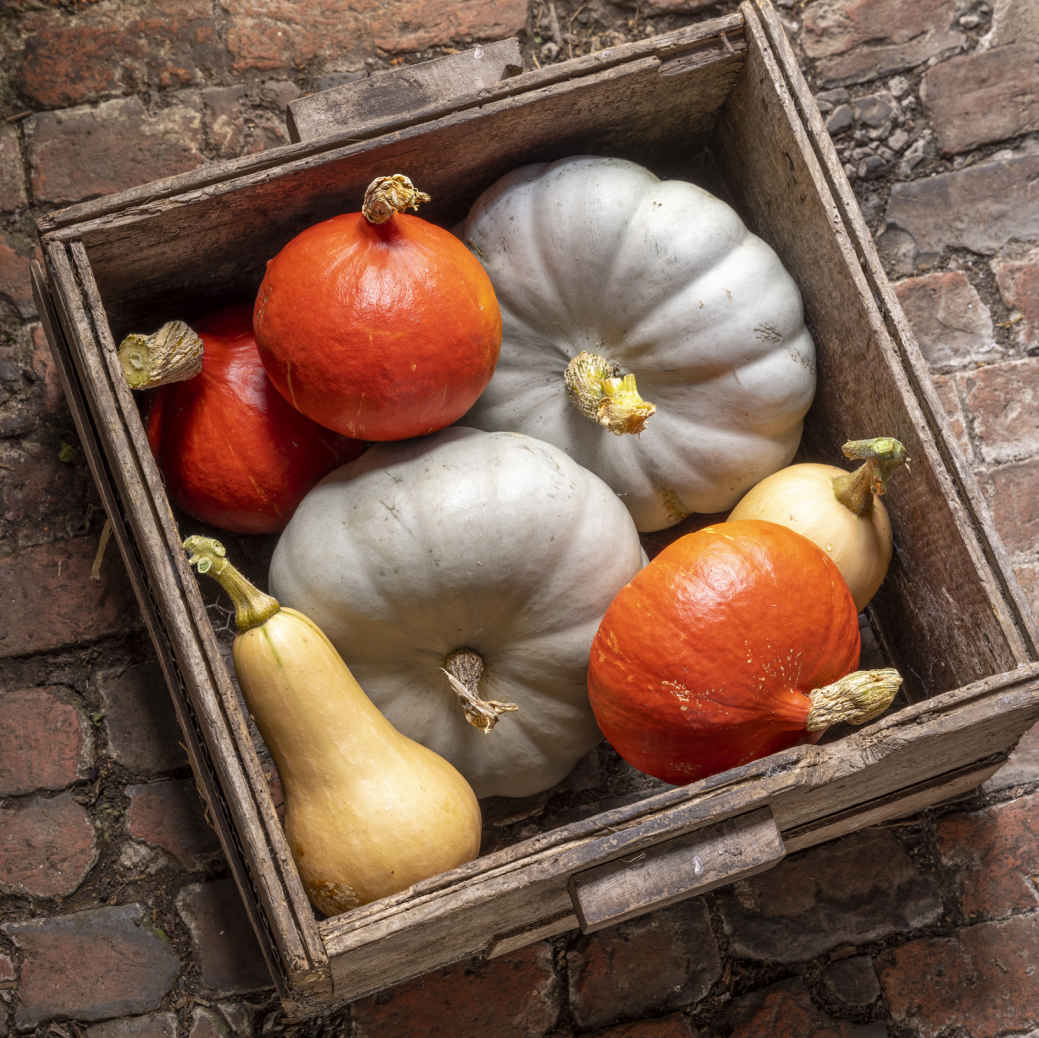
Winter squash brought indoors for curing and storage.
VARIETIES
‘Crown Prince’ F1 Widely esteemed for its sweet flavor, dense texture, and excellent keeping qualities until May or longer. An average of four large (6½–9 lb/3–4 kg) fruit per plant with silver-gray skin and dark orange flesh. Productive in cooler climates, but less than Kuri.
‘Uchiki Kuri’ An orange-skinned, onion-shaped squash with a delicious chestnut flavor that is well suited to a temperate/cooler climate and usually the first variety to mature. Stores until early spring with an average of six 2–4½ lb (1–2 kg) fruit per plant.
BUTTERNUT SQUASH
These have a great flavor but need a hotter summer than other winter squash to ripen the fruit.
‘Waltham Butternut’ Produces large, tasty fruits when summer is sufficiently warm.
‘Hunter’ F1, ‘Harrier’ F1, and ‘Butterscotch’ F1 Hybrids bred to produce smaller, faster-maturing squash of 2–5½ lb (1–2.5 kg). Can produce a large number of fruit per plant, which store well once fully ripe and cured.
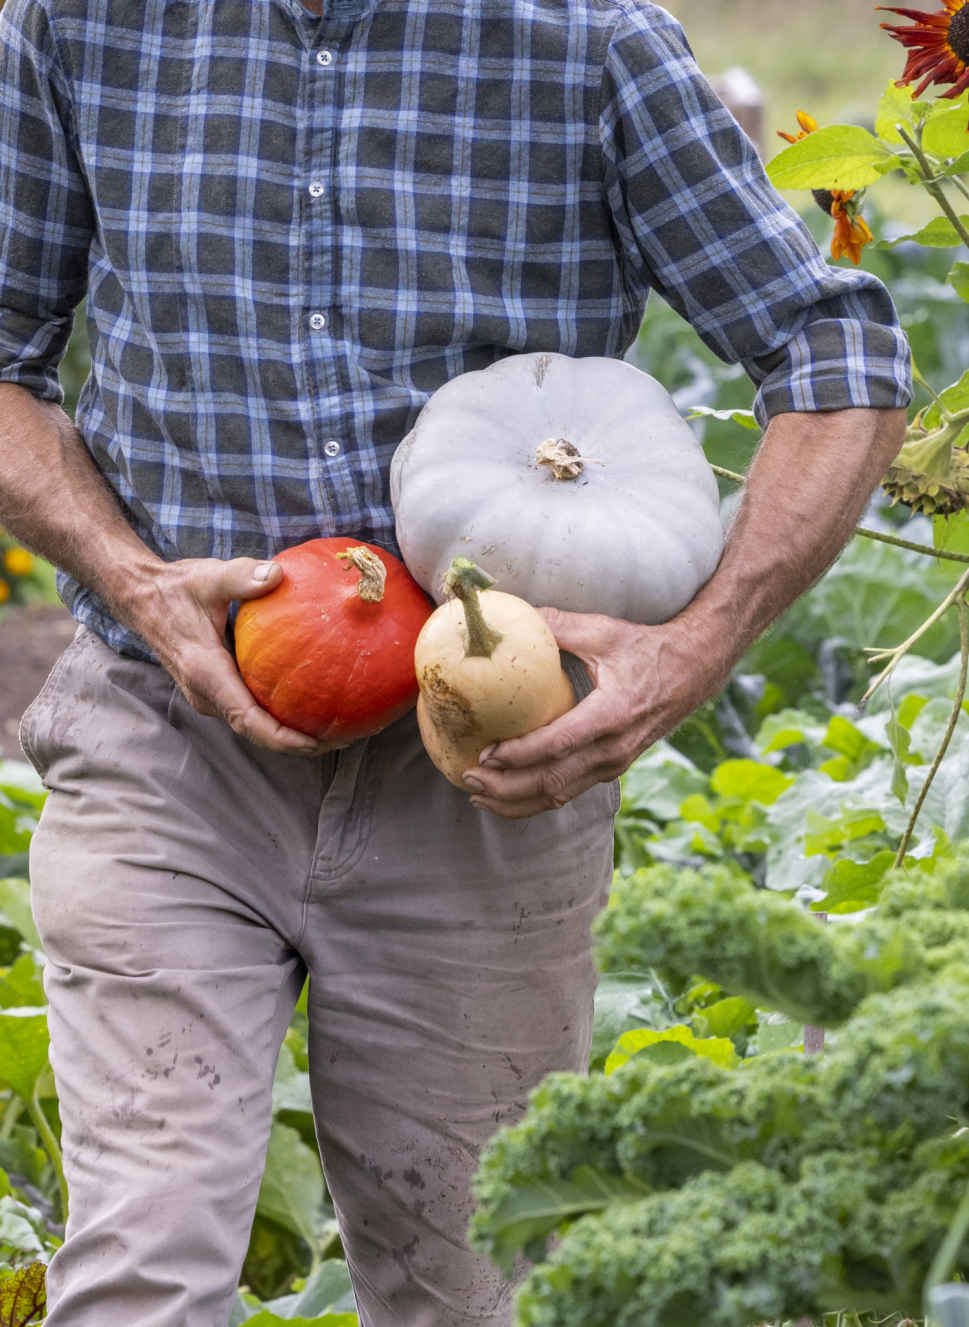
A varied harvest of ‘Uchiki Kuri’, ‘Crown Prince’ F1, and butternut ‘Butterscotch’ F1.
KEY INFORMATION
Seed to first harvest: 4½–5½ months
Sowing to transplanting: 4 weeks
Position: Full sun and warmth
Spacing: 3 ft (1 m) apart
Hardiness: Tender; will be killed by frost and needs summer warmth to thrive
Suitable for interplanting with sweet corn

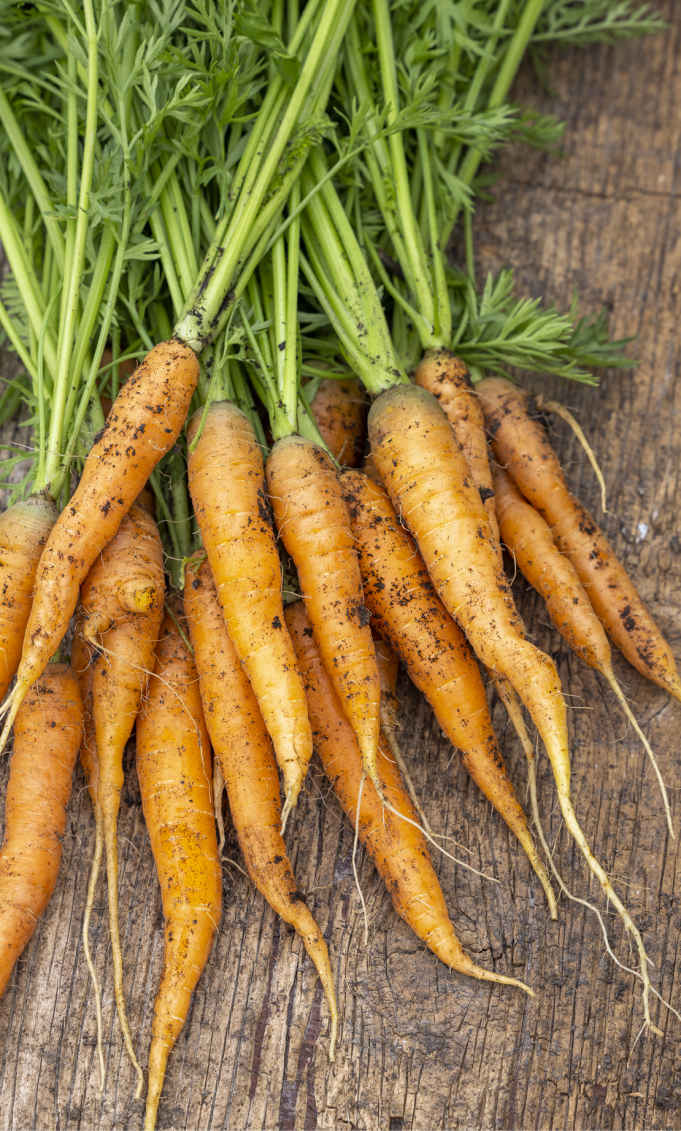
This hardy family of vegetables and herbs has flavors that are wide-ranging and strong, from the aniseed of Florence fennel to the punchy citrus of cilantro. Parsnips are particularly frost hardy and grow sweeter as the temperature falls, while cilantro, chervil, and parsley are all hardy plants that will survive frost. Fresh umbellifers can be harvested over a long season and supplemented with stored roots and seeds.
With the exception of parsnips, umbellifers are economical with space and excellent for interplanting among other vegetables, which makes them well suited to smaller gardens. The herbs are all compact plants that crop for several months from one sowing; chervil is a fantastic herb for winter and would grow well with cilantro and parsley in a container somewhere sheltered. Growing your own carrots is a must because their intense flavor is at a completely different level to almost any you can buy. Root crops and Florence fennel grown in healthy no dig soil also store in considerably better condition than most purchased vegetables, plus you have the option to keep parsnips in the soil through winter. Celery and celeriac are more challenging to grow well, but the results are certainly worth the effort.
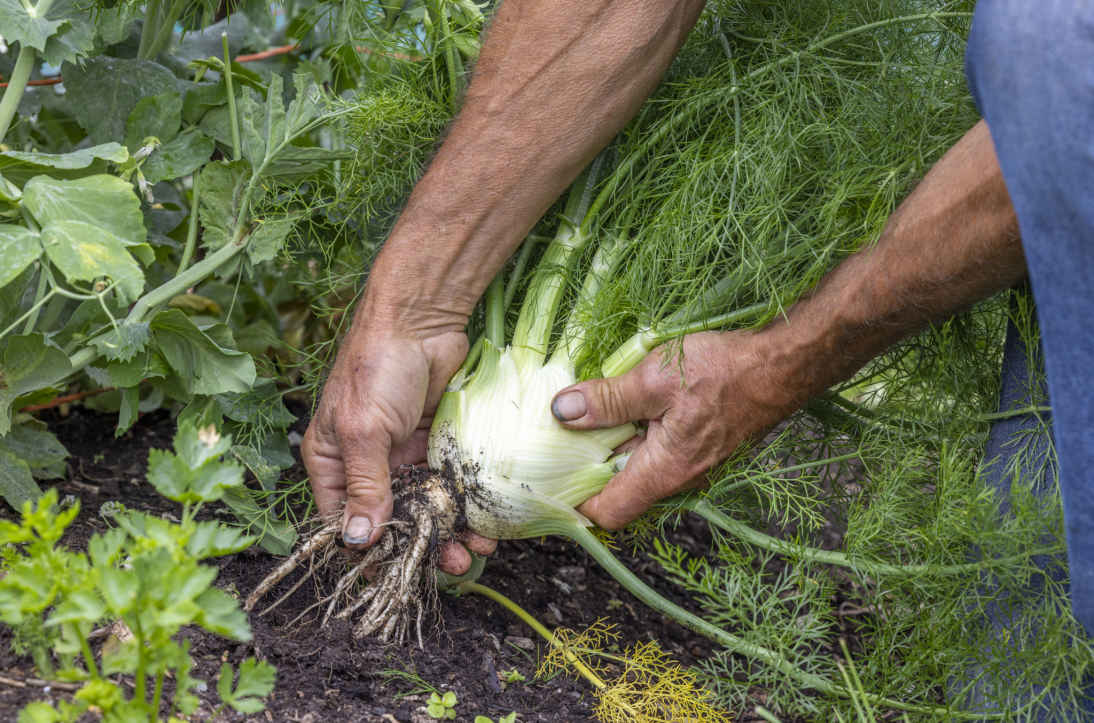
Florence fennel is easy to grow when you know the best times to sow.
Carrots and parsnips are the only vegetable seeds I sow direct—so that their tap roots can grow straight downward—rather than risk damaging them by transplanting. The low number of weeds in no dig soil makes it easy to care for direct-sown seedlings. Most other umbellifers start well sown into cells and transplant successfully because they are not grown for their tap roots. The tiny seeds of celery and celeriac are best sown into seed trays for pricking out and have an unusual quality, in that they need light to germinate.
Florence fennel and the herbs flower in early summer during their first year, so to achieve a harvest before they bolt, it’s good to sow very early in late winter under cover and sow again in midsummer. Carrots and parsnips flower in their second spring, so they can be sown anytime from early spring until midsummer. Celery and celeriac are best sown in spring, but while celery is ready to cut within four months, celeriac needs the whole season to grow large.
Pull carrots as required through summer and fall, and lift any remaining roots of the maincrop varieties in December to store in a sack through winter. Parsnips can be left in the soil for winter and lifted as required, while celeriac are best cut as needed through fall and then harvested for storage in December. Florence fennel can be eaten freshly cut, but it will keep for up to a month if cut in late fall. Celery and umbellifer herbs are best enjoyed freshly picked.
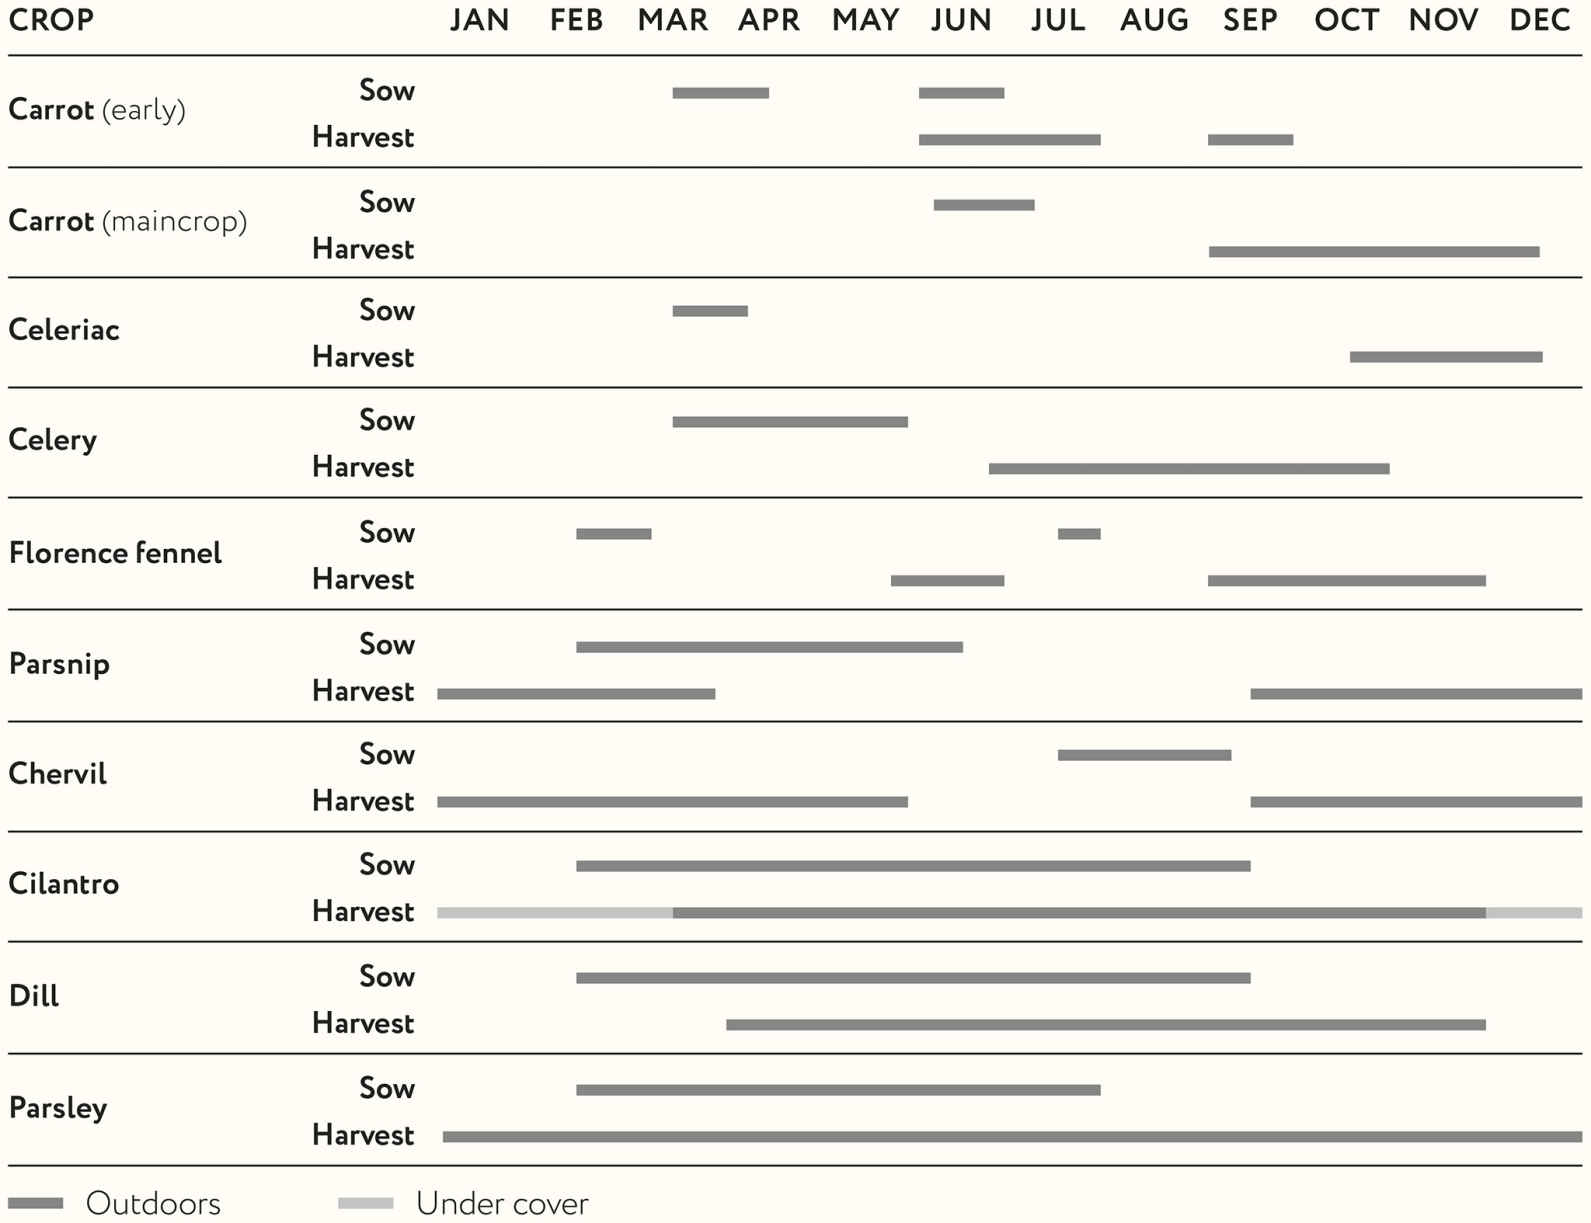
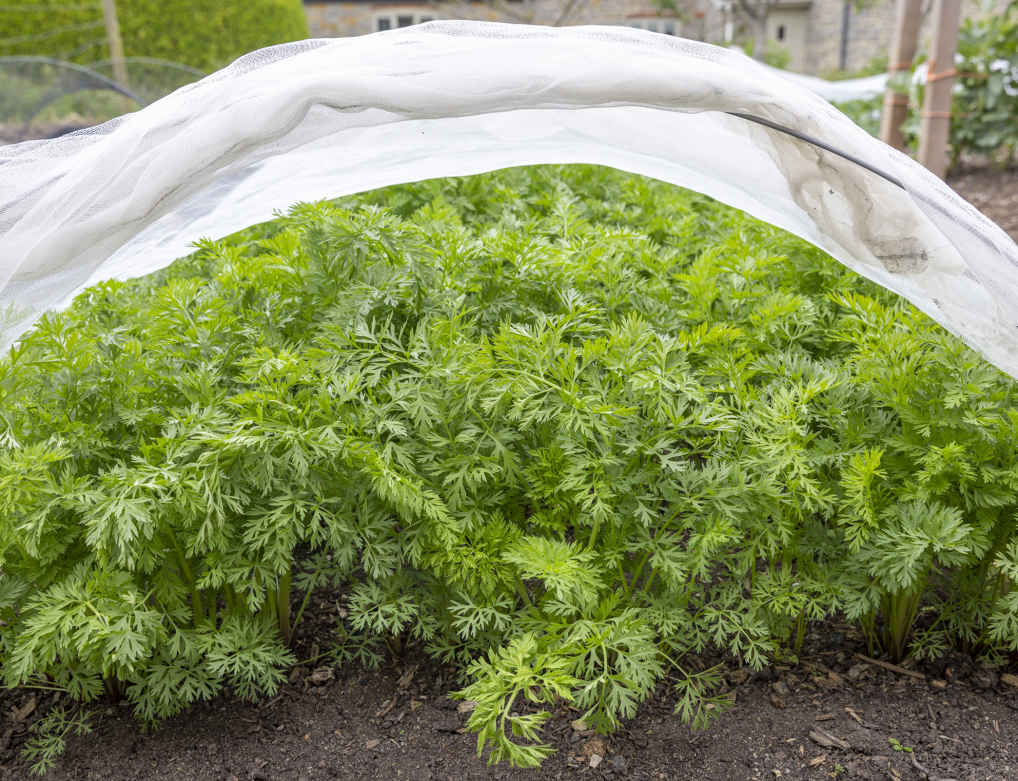
A cover of mesh supported on hoops prevents carrot fly larvae from burrowing into roots.
Carrot fly is a major pest of the umbellifer family; its maggots may eat the roots of any of these plants, but they affect carrots in particular. Prevent adult flies from laying their eggs around plants with a carefully secured mesh cover. Where the slug population is high, they will eat tiny new leaves of seedlings even before you see them. Control slug numbers and sow carrots as far as possible from areas of slug habitat. Rabbits adore carrot leaves and the young foliage of other umbellifers except parsnips, so you may need to protect plants with crop covers.
Canker damages parsnips when moisture levels are high in wet weather and heavy soil. Choose parsnip varieties bred with resistance, if canker is a problem, and sow in June. Late blight (Septoria apiicola) can cause the leaves and stalks of celery and celeriac to turn brown, mainly in late summer and fall. Removing and composting affected leaves improves the appearance of plants but does little to slow the spread of this disease.
Bolting (rapidly running to seed) can be a problem if the herbs or Florence fennel are sown from midspring to early summer, but this is easily avoided by sowing outside this window. My favorite time to sow cilantro is late July, for small harvests outdoors from October to May and large winter harvests from plantings under cover.
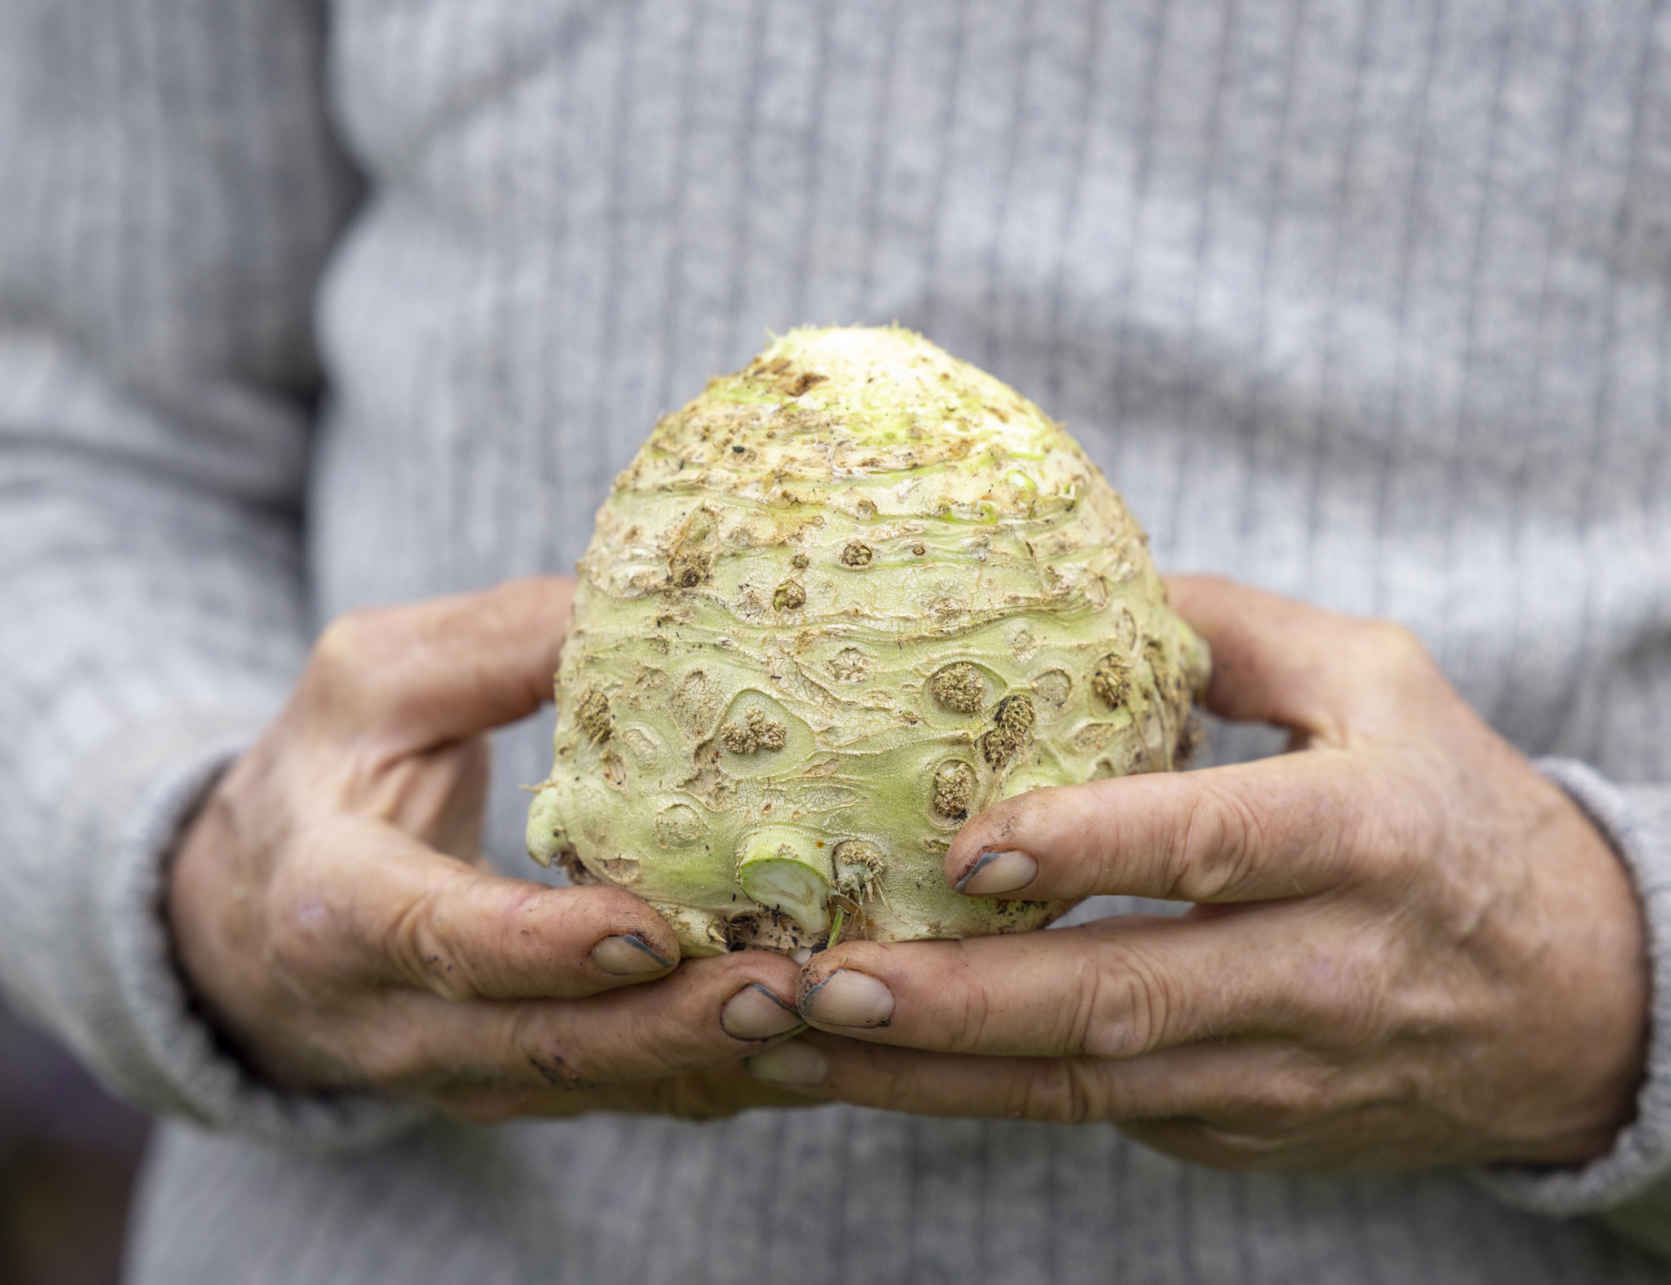
Celeriac ‘Prinz’ with its leaves and roots trimmed, ready for cooking or storage.
Carrots are a joyful vegetable to grow. They’re not easy, but there’s nothing quite like the thrill of pulling your own carrots, partly because you never know what you’re going to find when you grab hold of those leaves! The flavor of a fresh carrot is something money can’t buy and one of the highlights of home gardening; it can be quite unexpected if you’ve never grown them before. Although there’s a lot of fun to be had growing carrots, there are also potential problems to watch out for that can result in poor harvests.
This is one vegetable that I always sow directly into the soil and would never raise as a transplant because this would almost inevitably break the tap root and produce forked carrots and a smaller harvest. Carrots grow well on heavy soil in no dig beds because seedlings get a good start in the top layer and then root down into the undisturbed soil—they do not fork, and harvests are large. It’s often claimed that adding compost or manure before sowing carrot seeds results in forking. However, this happens only when the compost has been dug in.
Three sowings can provide carrots almost year-round. Start in early spring with a fast-growing early variety for a summer crop, then sow again in early summer for fall harvests. In the second half of June, I sow a slower-growing maincrop variety for a fall harvest of late carrots that continues into December and stores well into spring. Initially, tiny carrot seeds grow slowly, as they don’t contain a lot of resources for the seedling to draw on. This makes them extremely vulnerable to pest damage, especially if they are sown too early and the seedlings struggle to establish in cold conditions. Wait until the weather warms and seedlings will establish quickly and suffer less pest damage. Avoid sowing into compost containing many weed seeds because it is time consuming to weed around small seedlings.
The soft, friable surface of no dig beds is ideal for direct sowing, and it’s easy to make a drill ½–¾ in (1–2 cm) deep using a dibble, a metal hoe, the corner of a rake, or even your finger. Rows can be 6 in (15 cm) apart for early varieties or as much as 12 in (30 cm) apart for fall harvests of larger roots. If it’s dry, water the drill before sowing to wet the soil at the bottom. Drop approximately three seeds per ½in (1 cm) along the row, being careful not to sow too thickly. If seedlings are overcrowded after about six weeks, thin out a few to leave two or three carrots per ½in (1 cm).
It can be difficult to find space for summer sowings of maincrop carrots, so I often intersow rows between earlier plantings that are between two and six weeks away from final harvest. This works well between garlic and spring onions or lettuce and spinach, where regularly picking the outer leaves allows space for carrot seedlings to grow.
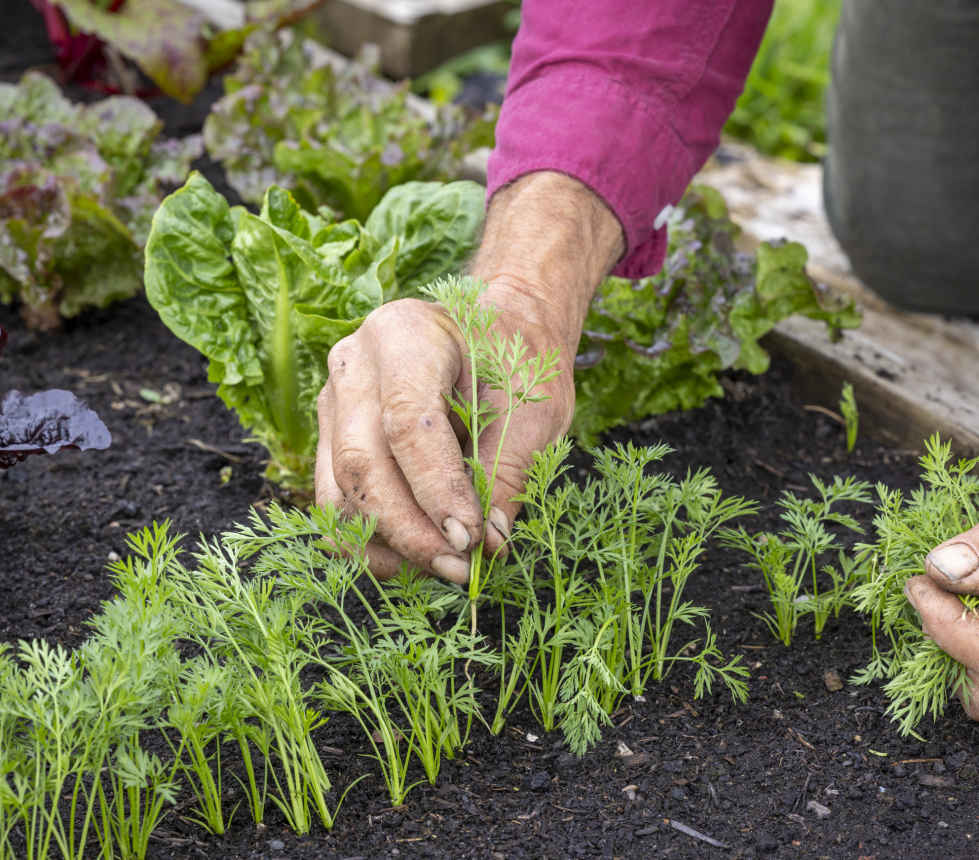
Thinning a row of carrot seedlings.
Slugs can be a big problem for early sowings. Always sow carrots in a clear space where only compost has been used as a mulch and away from any overgrown area where slugs could be hiding. Weeding is especially important when early sowings are small, and the first weeding is easier if you mark carrot rows by sowing fast-growing radish seeds every 2 in (5 cm) along their length. This makes it easier to see tiny carrot seedlings and weed around them safely and produces a small radish harvest.
Cover early sowings with fleece to speed up germination and early growth and to protect seedlings from rabbits. In early May, swap the fleece for cooler mesh, preferably supported on hoops, to keep away carrot root flies looking to lay their eggs in the soil around plants. Carrot fly larvae can cause serious damage and adult flies are active from mid-May through June, so it’s best to have early sowings covered all the time. For summer sowings, there’s a period from late June until the second week in August when flies are not laying eggs and carrots can be left uncovered, but always cover before August 10 to avoid the second generation of flies. Insect mesh will keep most root flies off, but even when the edges are secured with stones or heavy sticks, some flies will wriggle underneath. Slugs nibble roots as they mature, so if you see signs of damage, it’s best not to leave carrots in the ground for too long before harvesting them to eat and store. Carrots only rarely need watering, most often during dry weather in early summer, when roots are swelling. It is important not to overdo it, however, because although roots grown in dry soil may be smaller, they are definitely sweeter.
When shoulders of roots start to push above the surface, around 10 weeks after sowing, you can take a first harvest by pulling those that are visible, which gives the remaining roots more space to swell. Continue to harvest by thinning like this until midsummer for sowings of early varieties and until early fall for maincrops, after which you can harvest large, mature roots. It’s usually easy to pull carrots from no dig soil by firmly holding the leaves and easing them gently upward. Long varieties may need the extra leverage of a trowel, inserted almost vertically close to the roots, which loosens the ground a little so carrots can be pulled out gently. Watering dry soil before harvesting makes the roots easier to pull.
Around four months after sowing, roots gradually become tougher and more fibrous as they continue to swell. This is especially the case in warmer conditions and means that the last harvest for early varieties is best made around late July. Pull harvests of maincrop carrots to store before nighttime temperatures fall below about 23°F (-5°C).
For maximum flavor and sweetness, I recommend eating summer harvests freshly pulled. Early varieties have a slightly higher water content than maincrops, but they will keep for a week or two in summer if kept cool and for two months in fall. Maincrops will store through winter and into spring. Leave soil on the roots at harvest time to help them retain moisture, and carefully twist or snap the leaves off before storing so that they don’t pull moisture out of the harvested root. I store fall harvests in paper sacks, which is much less effort than arranging roots in boxes of sand. Larger, undamaged roots will keep in decent, if not perfect, condition for three to five months, depending on the variety, in any shed or outbuilding where they won’t freeze solid. Toward the end of winter, carrots sprout new yellow leaves and little white hairs as they start to grow again. Roots become drier but are still good to eat at this stage and taste much better than store-bought.
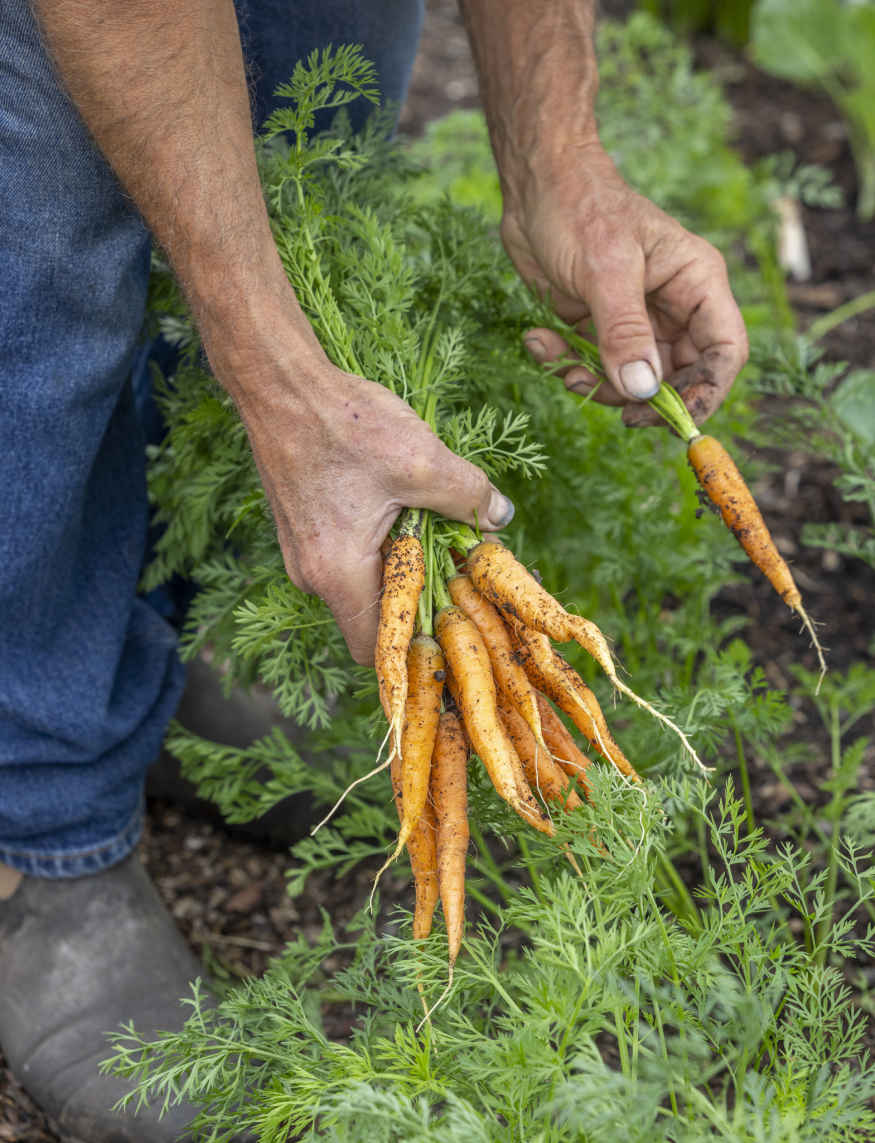
Pulling sweet early carrots.
Producing your own carrot seed is possible but difficult. Select 8 or 10 of your best stored carrots at the end of winter and plant them 12 in (30 cm) apart, so they soon sprout new leaves and rise to flower in June. Cover plants with mesh to prevent insects causing cross-pollination from any wild carrots nearby, although it’s hard to secure over the tall plants. Cut off each seedhead in late August, dry fully for a week or two, and rub out the seeds.
VARIETIES
Early varieties of carrot are generally sown in spring for early summer harvests, and you can also sow them in summer for quick harvests in fall. Maincrop varieties mature more slowly: sow them in early summer for fall and winter crops and storage.
EARLY VARIETIES
‘Nantes Milan 2’ Sweet Nantes carrots came out on top in a taste test by chef and restaurateur Raymond Blanc, and this is the variety I recommend. It has even, cylindrical roots that are rounded at the tip.
‘Nairobi’ F1 A fine ‘Nantes’ hybrid of exceptional vigor for earlier harvests.
‘Amsterdam Forcing’ This more pointed carrot is thin and tender for smaller and exceptionally early harvests.
‘Chantenay’ Produces short, sweet early carrots.
‘Purple Haze’ Fun for its amazing purple roots with a band of orange at their center. Their flavor is rich and less sweet than ‘Nantes’.
‘Flyaway’ and ‘Resistafly’ Bred to deter carrot fly. Some swear by them, but I have suffered root fly damage when growing them.
‘Sugarsnax’ F1 One of many fine varieties from the ‘Imperator’ range. Although the extra sweetness isn’t obvious, the carrot length is amazing, often reaching 8¾ in (22 cm).
MAINCROP VARIETIES
‘Berlicum’ A slower-growing variant of ‘Nantes’ that can grow enormous. Tastes good and stores well.
‘Autumn King’ A classic pointy-ended carrot, which is good to store, although sometimes a little fibrous in texture, possibly from lack of varietal maintenance.
‘Oxhella’ Short, stocky roots taste good and have very high dry matter, which makes them great for storing; larger roots can keep into May. An equivalent variety is ‘Oxheart’.
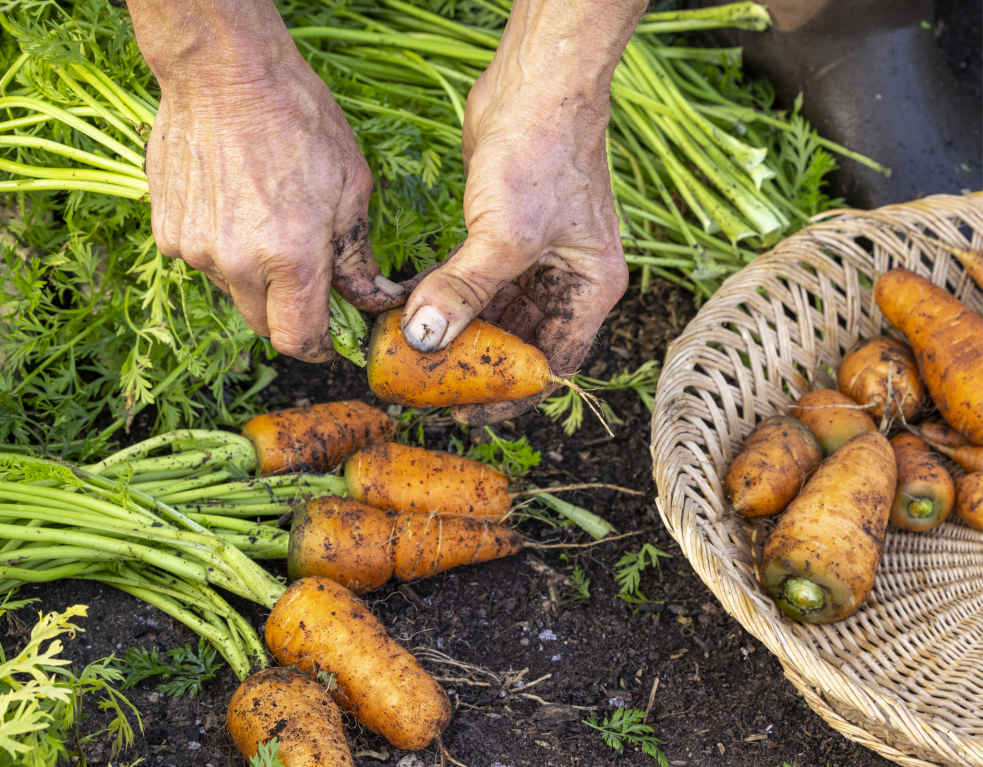
Twisting off leaves of maincrop carrot ‘Oxhella’ ready for storing.
KEY INFORMATION
EARLY VARIETIES
Seed to first harvest: 10 weeks
Position: Adaptable; will tolerate some shade
Spacing: Rows 6 in (15 cm) apart
Hardiness: Seedlings stand spring frosts to about 25ºF (-4ºC)
Suitable for intersowing as a follow-on crop

MAINCROP VARIETIES
Seed to first harvest: From 12 weeks for fresh carrots, 5 months for storing
Position: Adaptable; will tolerate some shade
Spacing: Rows 12 in (30 cm) apart
Hardiness: Mature plants stand frost to about 23ºF (-5ºC), depending how much leaf cover is above them
Suitable for intersowing as a follow-on crop

Celeriac needs fertile soil and a long growing season to crop well and is not a vegetable that I would leap into growing if you’re a beginner. When you get it right, you’ll have large, tasty, celery-flavored roots (actually a swollen stem just above the plant’s root system), which easily store through winter until the following April. Plants thrive in heavy soil, which holds moisture; if your soil is light, add an extra 2 in (5 cm) mulch of compost before planting.
Tiny celeriac seeds need light to germinate and will not come up well if covered in even a thin layer after sowing. Sow under cover in late March and avoid exposing seedlings to cold conditions at any stage, as this may result later in plants running to seed (or “bolting”) before their stems swell to produce a crop.
I sow one half of a small seed tray with celeriac and the other half with celery, making sure they are clearly labeled because the seedlings look exactly the same. Fill the tray with seed starting mix and wet it thoroughly before sowing. Scatter the seeds thinly over the surface and spray with a fine mist to make sure they are fully moist. Cover the seed tray with a sheet of glass or a clear plastic bag and place it in a warm (59–68°F/15–20°C) and light place. Take the covering off as soon as seedlings are visible, after about two weeks.
Tiny seedlings are ready to prick out after three or four weeks, either at the two-leaf stage or when they have one true leaf. Prick them out into 1¼ in (3 cm) cells and grow under cover until mid- to late May, when you can transplant them outdoors once the weather is warmer. Dib holes for the transplants, push in the root balls about ½ in (1 cm) below surface level, and water in well.
If the weather is cool after transplanting, cover the bed with thermacrop or mesh to help plants establish quickly. A cover also protects from possible rabbit and aphid damage—sometimes aphids eat new leaves to the extent that plants barely grow. Remove the cover after about a month or so. Water twice more after transplanting and during any periods of hot, dry summer weather. Celeriac flourishes in moist soil and will need more watering if your underlying soil is chalk or sand, but it doesn’t need the same plentiful watering as celery.
Removing yellow lower leaves from maturing plants is reputed to help celeriac swell, but I have never noticed a significant difference and do it only to improve the appearance of plants. Celery late blight (Septoria apiicola) is a fungal disease that causes brown patches on leaves in fall. Affected leaves can be removed to compost, but this does little to prevent its spread. Slugs and woodlice love celeriac, so avoid growing them in beds with edges of decaying wood, which afford those pests the perfect place to hide.
Celeriac swells noticeably above the ground from late summer and throughout fall. Take your first harvest around mid-October and continue picking as required until late November. At this point, or earlier if leaves are mostly diseased, lift the remaining roots to store because they keep well after harvest but suffer pest and disease damage when left in the soil over winter. Use a trowel, spade, or knife to cut under the swollen celeriac to leave most of its masses of fibrous roots in the ground to decompose. If you were to pull up the plants, these roots would lift and disturb the soil. Snap off the leaves individually or use the back of a knife to rub downward and remove leaf stalks cleanly.
The dry texture of celeriac allows it to store amazingly well without shriveling. Leave a few fibrous roots on with compost between them to retain moisture. Place roots in an open box or crate and store below 50°F (10°C) in a shed, where they will tolerate some exposure to frost. Mice like to feast on stored roots, so I keep a mousetrap in the shed all winter.
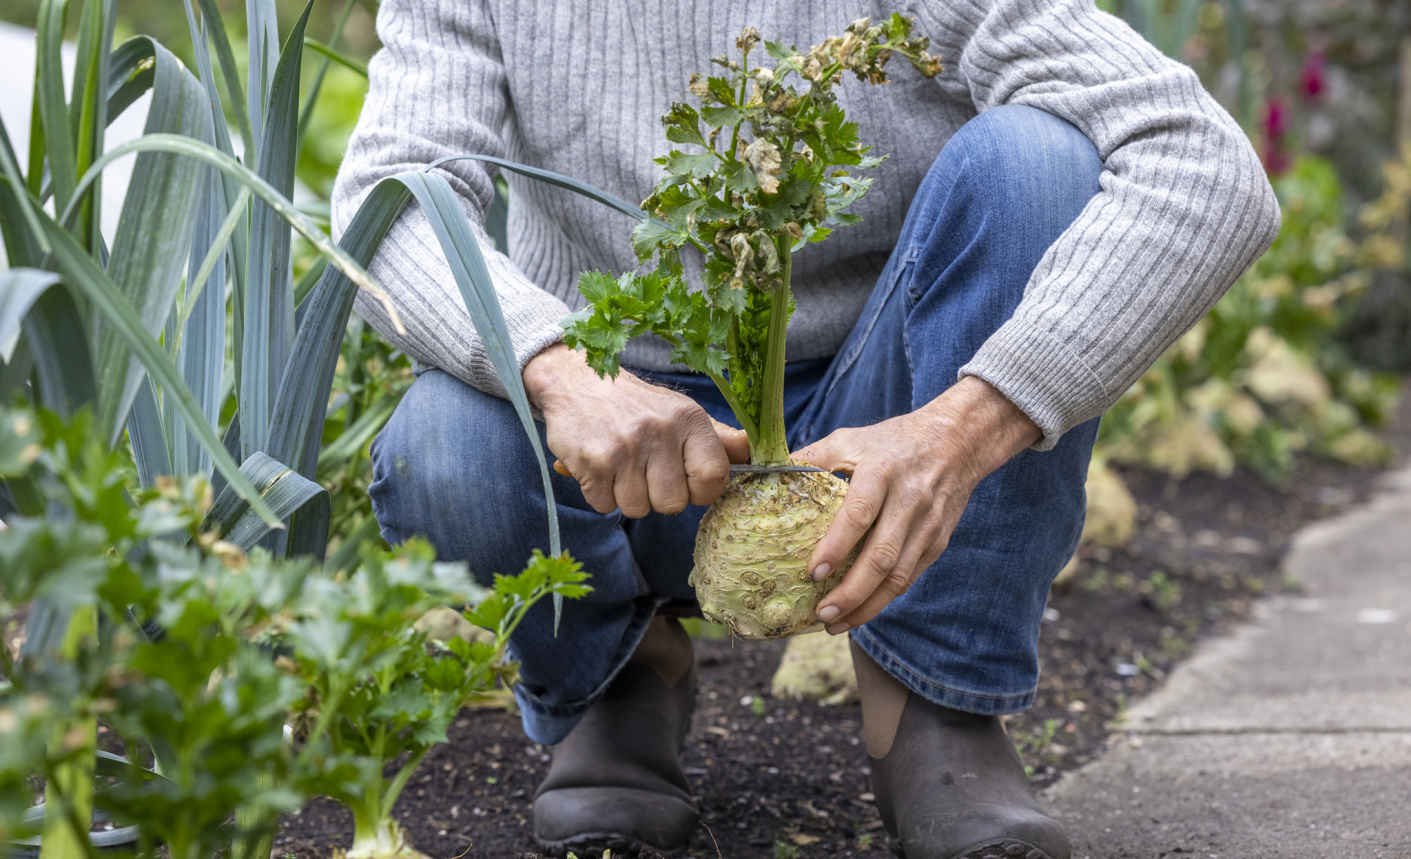
Trim the roots and leaves (here, showing symptoms of celery late blight) after harvest.
VARIETIES
I don’t find much variation in flavor between different celeriac varieties.
‘Prinz’ A long period of healthy growth, producing a uniform, evenly shaped crop.
‘Ibis’ Fast growing and earlier maturing than ‘Prinz’, but the roots don’t store quite so well.
‘Mars’ Can grow large and swells a decent amount above ground.
KEY INFORMATION
Seed to first harvest: 6–7 months
Sowing to transplanting: 8 weeks
Position: Full sun or shade in moisture-retentive soil
Spacing: 14–16 in (35–40 cm) in an equidistant grid pattern
Hardiness: Hardy to 14ºF (-10ºC) and possibly colder
Suitable for interplanting

Unlike its store-bought equivalent, which has been raised using a lot of fertilizer and water, celery grown in no dig soil has extra flavor, fiber, microbes, and I would say more nutrients. Plants flourish in warm, wet conditions that produce rapid growth, juicy celery, and lush foliage.
Celery can be difficult to raise successfully from seed and there is no shame in buying transplants, especially if you haven’t grown it before. You can also raise plants by putting a celery stalk into a glass with water at the bottom. Keep it at room temperature for two weeks or so and when roots appear, plant the rooted stalk into a pot. The seeds need light to germinate, such that even a thin layer of soil on top of the tiny seeds prevents them from coming up well. Sow from the second half of March to late May, always under cover and not in frosty conditions, because this may cause plants to run to seed before producing a crop. March sowings can give harvests through summer, and I recommend a second sowing in late May for a tender crop from September through October.
Fill a small seed tray with fine seed starting mix and make sure it’s fully wet before sowing. Scatter seeds thinly onto the surface, as it’s easy to sow too thickly and have too many plants. Spray with a fine mist to moisten the seeds, then cover the seed tray with a small sheet of glass or a clear plastic bag to retain the moisture. Keep the tray in a warm (59–68°F/15–20°C), light position for about two weeks. Remove the covering when you see the first tiny, green leaves.
Prick out seedlings into 1¼ in (3 cm) cells after about three weeks, although the timing is flexible because they grow slowly at this stage. Grow on for about another five weeks and transplant after the last spring frost into dibbed holes with the top of the root balls about ½ in (1 cm) below the soil surface. Water in thoroughly.
Protect celery planted out during May with fleece if the weather is cool, or cover with mesh for the first month to reduce aphid damage at a time when these insect pests are prolific. Watering is more important for celery than for any other vegetable; if it’s not raining, give plants a good water twice a week, especially as they grow large. Celery can look healthy without the extra water, but rapid, lush growth is essential for a tender harvest, and only regular watering will achieve this.
Traditionally, celery was blanched or earthed up to reduce bitterness, but I find this unnecessary with modern varieties that are bred for less bitterness. Twist off any sideshoots from the base of maturing plants to keep them neat. Sometimes these sideshoots are like mini celeries and can be eaten.
Slugs love celery and will chomp into stalks to spoil the harvest. Control slug numbers by reducing habitat nearby, and don’t grow celery near any favored hiding places. Where rabbits are present, protect young plants with fleece or mesh.
Celery suffers fungal diseases, starting with early blight (Cercospora apii), which causes light brown spots or lesions on outer leaves during the first few weeks of early summer. It’s not a big worry, and you can keep removing damaged leaves to lessen its spread. Late blight (Septoria apiicola) is more serious, sometimes causing almost all leaves and stems to turn brown in damp conditions during late summer and fall, especially when night temperatures are 55°F (13°C) or more. Remove affected leaves to keep the disease in check and harvest promptly if it’s spreading fast. For fall celery, grow varieties with resistance.
You can have a very early harvest by cutting single stalks about three months after sowing and can regularly cut or twist off the outer stalks as needed so that plants continue to grow. Start harvesting whole heads when they are small and tender to prolong the cropping season from one sowing. Mature celery has stringier stalks, but watering reduces this and they can be good to pick for weeks. The harvest season finishes with first frosts of 28°F (-2°C).
To harvest a whole head, cut at the base with a knife. The root will regrow little shoots if left in the soil or can be removed to make space for a new planting by cutting the remaining stem base below soil level with a trowel and putting it on the compost heap.
Harvested celery can be stored in the fridge in a plastic bag for several days or by placing the whole stem in shallow water in a cup or bowl. Celery leaves are packed with flavor and make a valuable ingredient for stock or used like a herb.
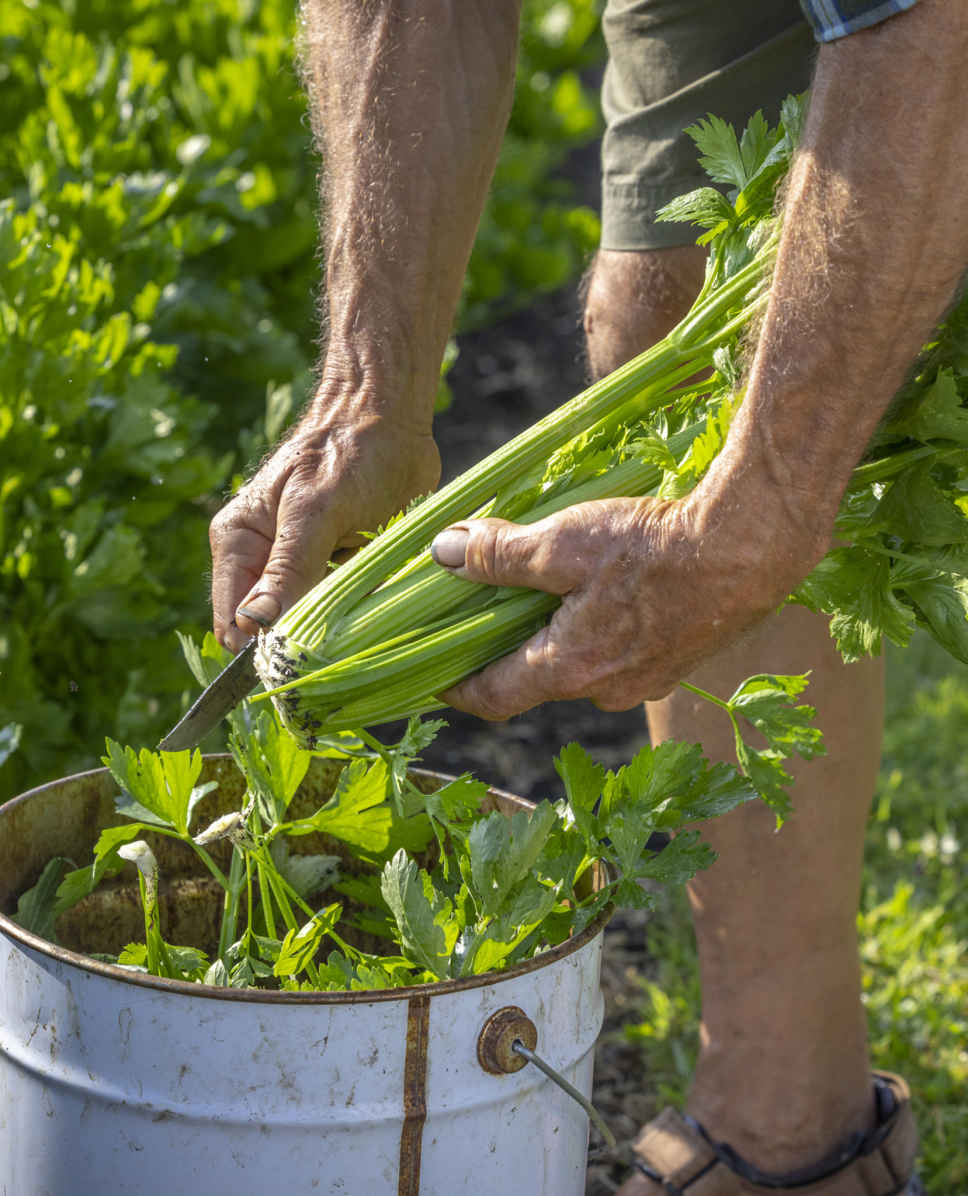
Cut away roots and sideshoots from harvested celery.
VARIETIES
‘Victoria’ F1 An easy, vigorous, and widely grown commercial variety. Its green stalks have a good flavor and are tender.
‘Loretta’ F1 Fast-growing with pale yellow stalks.
‘Granada’ F1 Reliable performance from later sowings thanks to its resistance to celery late blight in fall.
KEY INFORMATION
Seed to first harvest: 3½ months
Sowing to transplanting: 8 weeks
Position: Full sun or shade in moisture-retentive soil
Spacing: 10–12 in (25–30 cm) apart in an equidistant grid pattern
Hardiness: Hardy, but stalks are damaged by moderate frost
Suitable for follow-on planting

The tender bulbs of Florence fennel are quite a delicacy, with a pronounced taste of aniseed that is softened and sweetened by roasting. Fennel has a reputation for bolting before it forms a bulb, but sowing at the two best times prevents this and means that a successful crop is not difficult to grow. Perennial herb fennel is an entirely different plant, grown for harvests of leaves and seeds.
April sowings usually rush to flower before the bulb has had much chance to swell, as fennel’s flowering period is in early to midsummer. With this in mind, I make two sowings: one in late winter or very early spring for harvests in early summer, and a second in midsummer to crop through fall until the first moderate frost of about 27°F (-3°C).
Either sow in a seed tray to prick out into cells or sow two seeds into each cell of a 1¼ in (3 cm) tray and thin to the strongest seedling once they have germinated. Although fennel is related to carrots and parsnips, it pricks out and transplants well because the tap root is not harvested. Keep early sowings in the warmth of your house for about a week to aid germination. Seedlings then need to be under cover but free of frost, coming ready to plant out in four or five weeks. To transplant, make small holes with a dibble 8 in (20 cm) apart and deep enough so that the top of the cell will rest at least ¾ in (2 cm) below ground level. This shelters and supports the long-stemmed seedlings while they establish.
There’s a myth that fennel is a bad companion to other plants; I’ve seen no evidence of this and find that it works perfectly even as an interplant between other vegetables. I’ve placed fennel plants between cucumbers, lettuce, and spinach during their last few weeks of picking. Then after about four weeks, when the finished crop is removed, the fennel plants are already established and quick to swell their bulbs.
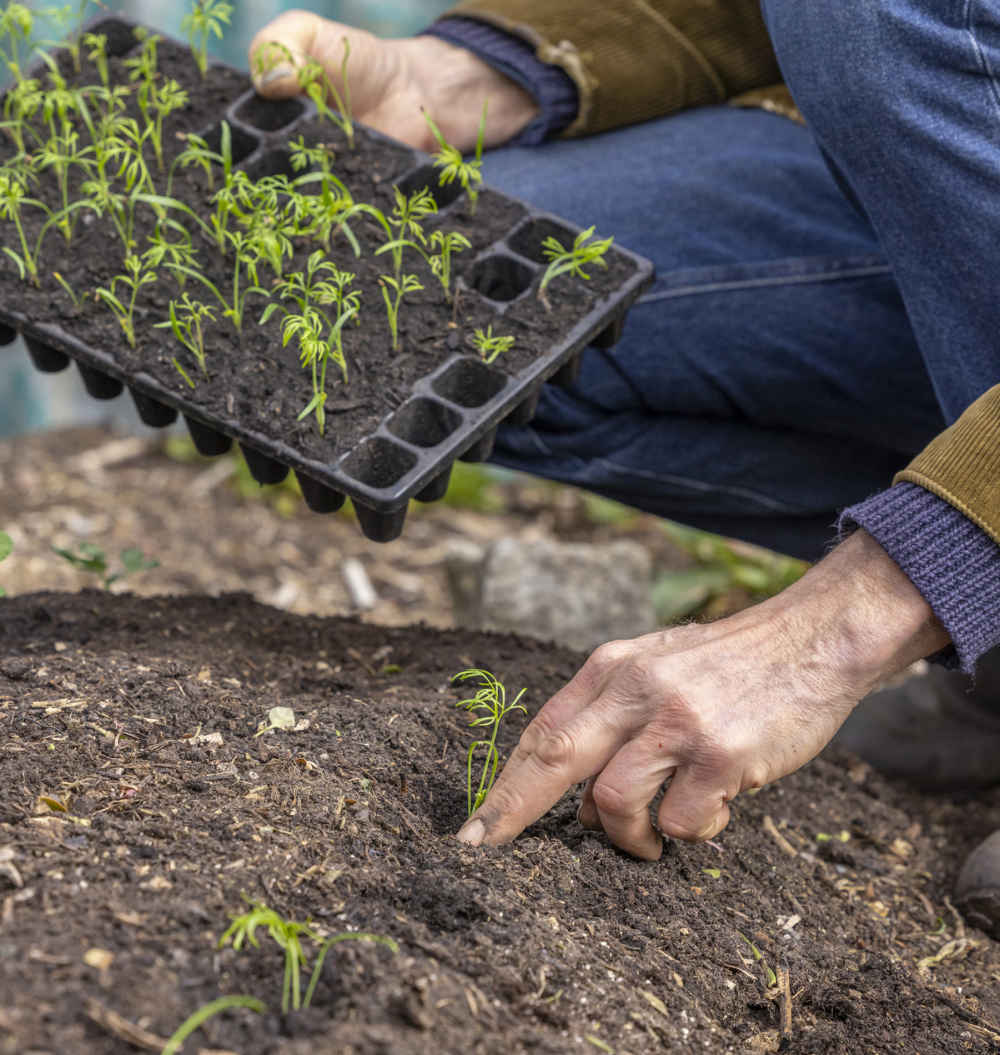
Transplant fennel in spring or late summer.
Water transplanted seedlings, and if it’s dry, keep them watered until you see strong leaf growth. It’s also worth watering fennel that’s maturing from late May into early summer to help the bulbs swell, but it’s rare that you need to do that in fall, when the weather is usually wetter.
Cover early spring transplants with fleece placed right on top of plants to protect from frost and blustery winds. Smaller fennel seedlings tend to survive spring frost better than bigger bulbs exposed to frost in fall. Fleece can often be left over plants until early May, by which time they’re nearly half-grown. Fennel is not prone to pests, but fleece in spring will prevent rabbits from eating the feathery leaves. If your garden is prone to slug damage, direct-sown fennel risks disappearing at the two-leaf stage.
There is not a massive difference between the flavor of immature and mature bulbs, but there is an optimum moment to harvest, especially from first sowings, while the bulb is plump and in good condition. Left longer, little sideshoots appear from the base of bulbs, and bulbs also elongate in early summer as the precursor to making a flower stem. To harvest, pull the whole plant up if the soil is soft, but be gentle in case the bulb snaps. A safer alternative is to slice under the bulb and through the top of the roots using a trowel or knife. The leaves are also edible with a subtle dill flavor.
Fennel bulbs store well in cool conditions. I harvest to store the last of my fall crop as late as possible, just before the first frost, leaving the roots attached with a little soil to aid storage. Bulbs can stay in good condition for up to a month in the shed at that time of year.
VARIETIES
‘Perfektion’ The main variety I grow for all sowings, with excellent results.
‘Zefa Fino’ This strong, fast-growing variety swells up nicely, whether sown early or late.
‘Solaris’ F1 A hybrid variety that produces nicely swollen bulbs.
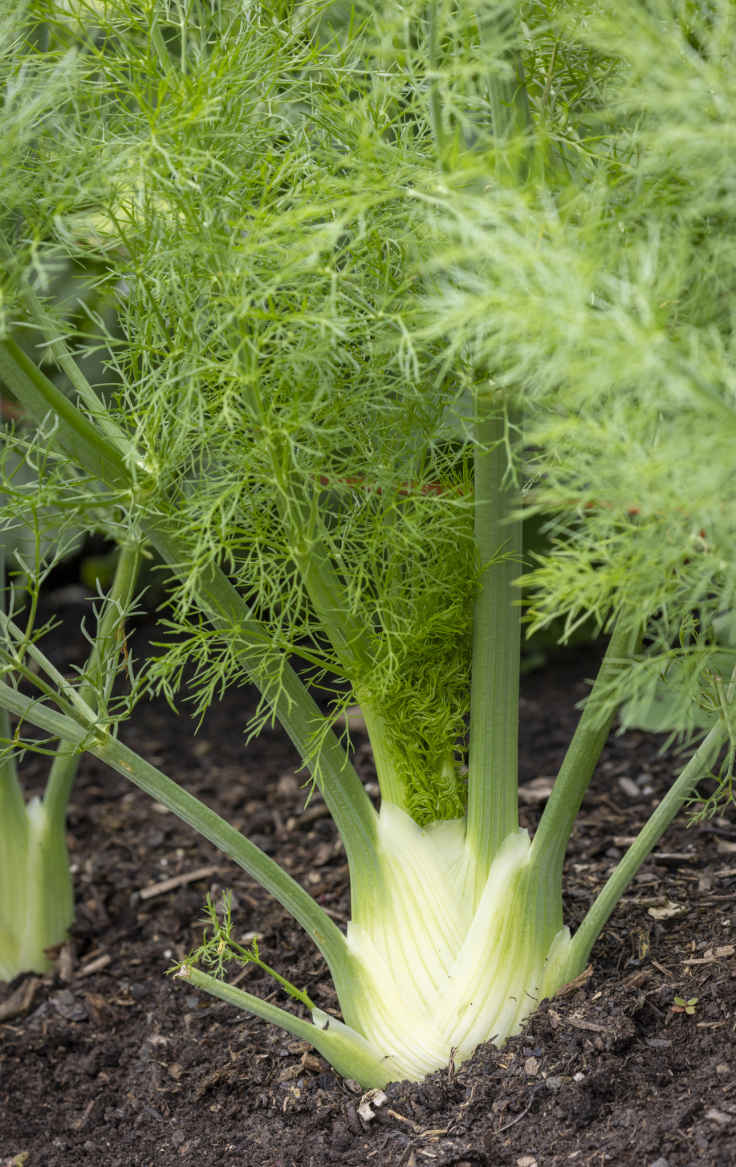
Florence fennel ‘Perfektion’, maturing.
KEY INFORMATION
Seed to first harvest: 13 weeks early sowings, 8 weeks summer sowings
Sowing to transplanting: 4–5 weeks
Position: Can tolerate shade, but early plantings benefit from warmth and sunshine
Spacing: 8 in (20 cm)
Hardiness: Slightly hardy to about 27ºF (-3ºC)
Suitable for interplanting and as a follow-on crop

Parsnips are a winter staple, and with no dig, they’re easy to grow. The open soil structure created by no dig methods allows their roots to travel deeply down, such that you may need a spade to lever them out. They become sweeter when exposed to frost and keep well in the ground on all but the heaviest soil, where canker may develop.
Sow parsnips directly into the soil because transplanting seedlings breaks the long tap root. They have a reputation for being difficult to germinate, but in my experience, they come up reliably when sown into the compost layer. I have never found that compost on the surface causes roots to fork, unlike when it’s dug in. Parsnip seeds take a long time to germinate, needing moist soil around them for about two weeks. In cooler climates, the ideal time to sow is mid-February to the end of March, although you can also sow later, even until mid-June, providing you keep the seedbed moist. Later sowings are less affected by parsnip canker.
Lightly rake the compost surface to break up lumps; this is easiest when compost was spread a few weeks earlier. In weedy soil, sow after the first flush of weed germination in spring, which you can hoe a day or two before sowing. Choose a still day for sowing because the flaky seeds may otherwise blow away. Draw out 1¼-in (3-cm) deep drills 12 in (30 cm) apart and drop in seeds roughly ½ in (1 cm) apart, then cover with the surface compost. If it’s dry, water drills before sowing and tamp down the surface afterward to keep the moisture in. You can sow fast-germinating radish seeds every 2–4 in (5–10 cm) in the same row for safer weeding once the radishes emerge to mark the row. Radishes sown along the row can be harvested after six to eight weeks.
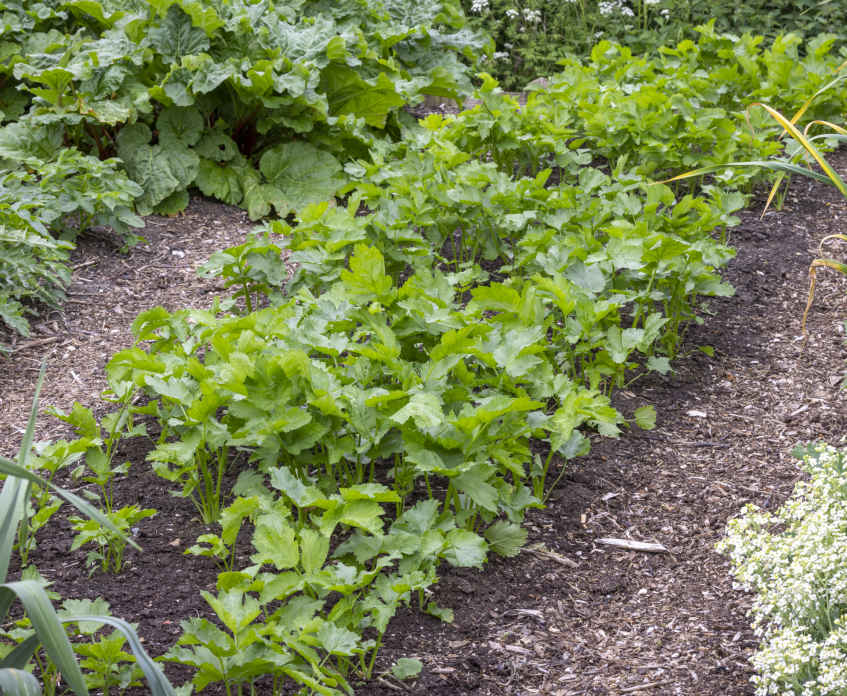
A bed filled with healthy parsnips.
Lay fleece over the seedbed after early sowings to speed up germination, keep moisture in, and protect seedlings from rabbits. Once you see the first or second true leaves, thin seedlings to 1 in (2.5 cm) apart for small parsnips, 2 in (5 cm) apart for medium-sized roots, or 4 in (10 cm) apart for big ones. Remove fleece before it gets too hot, which is often in late April. Weed regularly and remove any weeds before the canopy of parsnip leaves closes over. Keep your skin covered when weeding, as parsnip sap can cause serious skin irritation. Parsnips thrive in moist conditions but rarely need watering because they can root deeply for moisture and swell nicely in the rains of fall. After that, it’s normal for the leaves to rot during winter.
In wet conditions and heavy soils, a fungal disease called canker causes orange-brown rotting around the shoulders of roots. This damage can be cut off after harvest and the remaining root will be edible, but if your soil is usually sodden during winter, rotting may be extensive and it’s worth harvesting all parsnips in early December to store in a shed or outbuilding (see below). Carrot root fly larvae tunnel into roots, but damage is usually superficial and can be trimmed off. Rodents may chew the crowns of overwintering roots; lift and store roots if this is a problem.
Roots may be pulled out of soft soil by hand, but for long roots in heavy soil, use a spade or fork. I prefer the precision of a spade and pull the handle toward me to lever the root from the soil while gently pulling the shoulder of the parsnip upward. Harvest roots as required from mid-September to March. Finish harvesting before many new leaves sprout from parsnips at the end of winter, which reduces sweetness and makes them fibrous.
To store lifted roots, remove any leaves before laying them, unwashed, in a box or two-ply paper bag kept in a shed or outbuilding. The high dry matter of parsnips means that they store into early spring in reasonable condition.
VARIETIES
‘White Gem’ A good standard variety that’s widely available with white, broad-shouldered roots.
‘Gladiator’ F1 My favorite long parsnip, which grows big to give a good yield, with some canker resistance.
‘Javelin’ F1 Another good hybrid that is slightly longer and thinner than ‘Gladiator’.
‘Tender and True’ This popular old variety is considered to have a better flavor than others, although I don’t notice a difference.
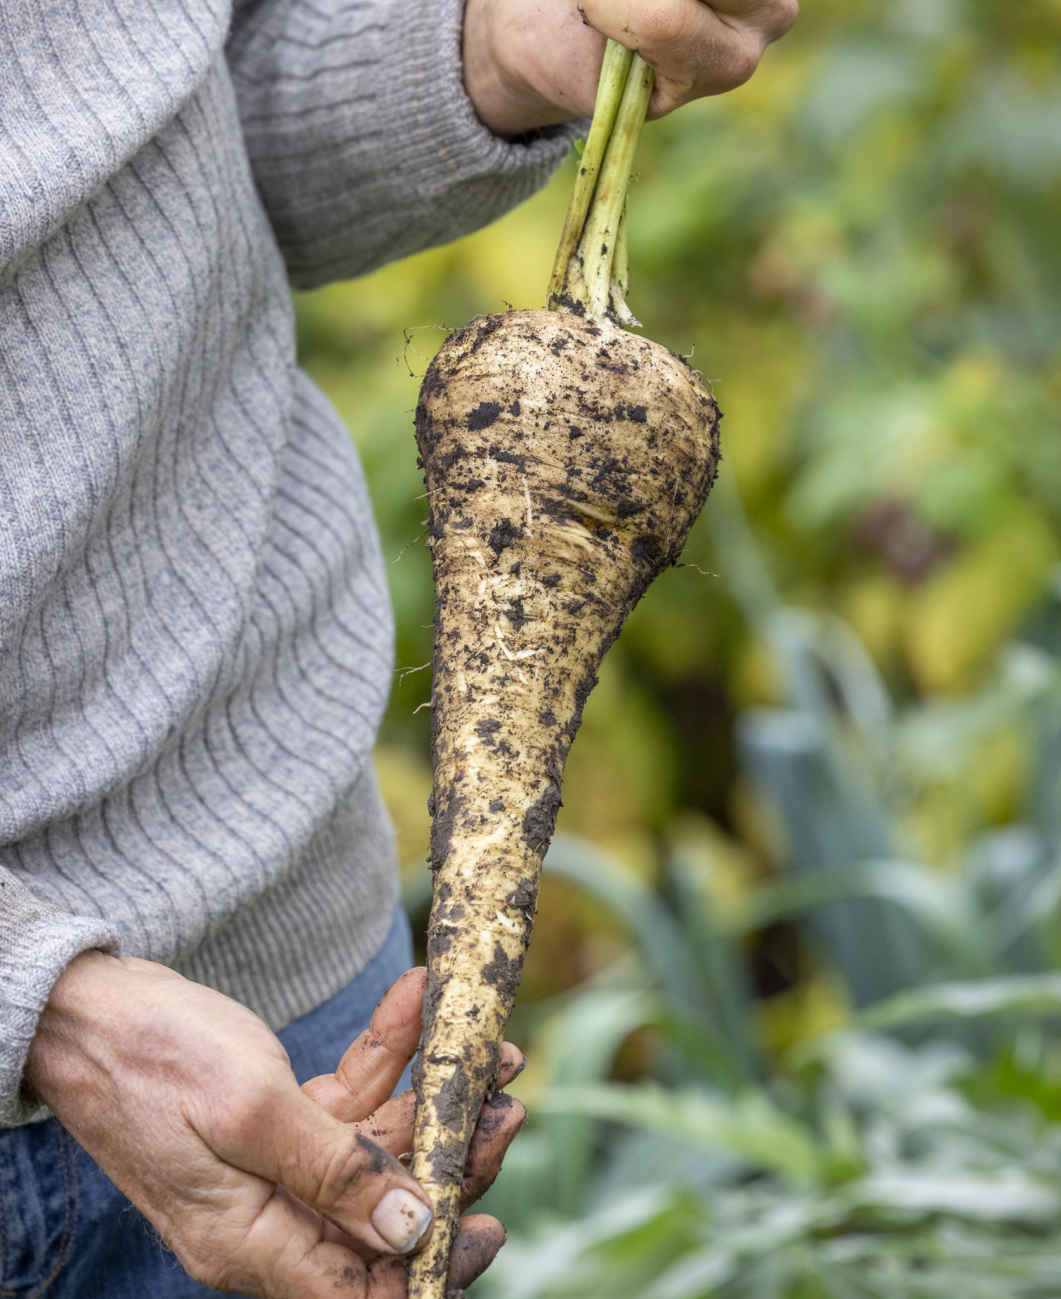
A long ‘Gladiator’ F1 parsnip grown in no dig soil.
KEY INFORMATION
Seed to first harvest: 6 months
Duration of harvest: 6 months
Position: Grows in all soils and tolerates some shade
Spacing: 2–4 in (5–10 cm) apart with 12 in (30 cm) between rows
Hardiness: Very hardy, down to at least 5ºF (-15ºC)
Suitable for interplanting with a quick spring crop

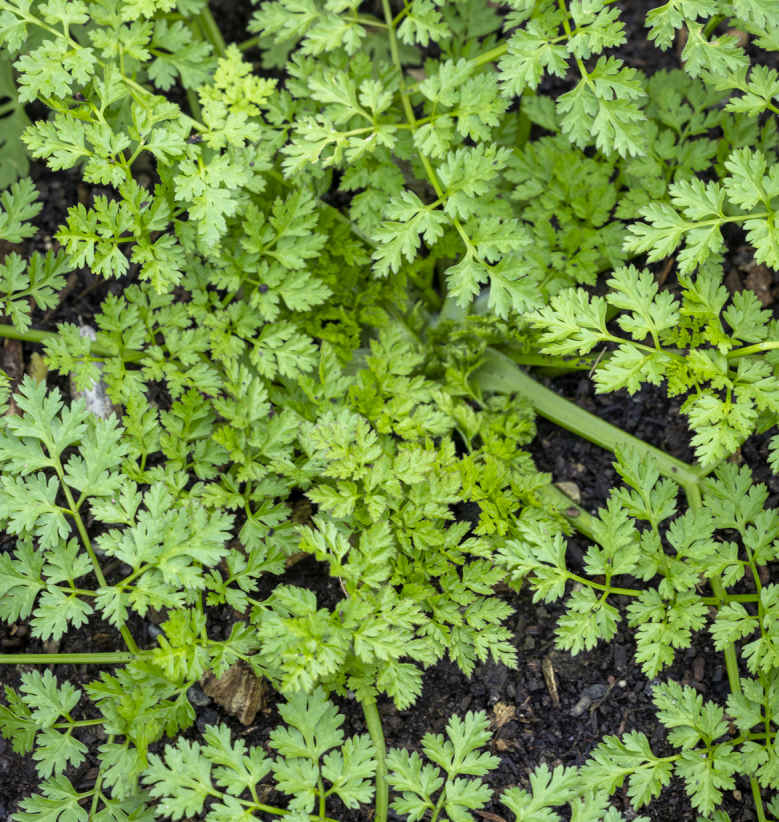
Chervil thrives in cool conditions and is best sown annually in late summer for picking during fall and winter. Although related to parsley, its leaves are more delicate, with a lovely bright green color and a mild but pronounced taste of aniseed.
Sow chervil under cover from mid-July until September 10. Germination can be erratic, so I sow into a small tray, then prick the seedlings out into cells at the two-leaf stage. You could also sow two or three seeds per cell, then thin to one seedling for easier picking. Plants can go in the ground when they are still quite small, about a month after sowing, spaced 8 in (20 cm) apart each way.
Chervil is hardy but will only grow new leaves during mild winter weather. For larger winter harvests, grow it under cover. It’s a moisture-loving plant, so watering during a dry fall or early spring will promote growth. Few pests trouble this herb, but protect plants with bird netting, mesh, or fleece over winter where rabbits are present. Fleece laid on top of plants also insulates them from cold weather for more rapid growth.
Pick frequently in fall, when growth is prolific, by gently twisting or pinching off outer leaves at the base of their stalks, which branch quite close to the main stem. Remove the whole stalk to keep the plant tidy. I prefer not to cut across the top of plants and instead leave the smaller central leaves to develop to increase the rate of growth. Harvest until late April or early May, when plants produce edible white flowers.
If you have at least six plants to create a broad gene pool, allow seedheads to form after flowering and twist whole plants out of the ground in July. Hang plants to dry under cover and then rub out the seeds, which you can sow right away.
VARIETIES
I do not know any named varieties, but there is a distinction between plain and curled chervil. Their growth and flavor are similar.
KEY INFORMATION 
Seed to first harvest: 8 weeks
Sowing to transplanting: 4 weeks
Position: Adaptable, tolerates shade
Spacing: 8 in (20 cm) equidistant
Hardiness: Hardy to approx. 14ºF (-10ºC)
Suitable for interplanting

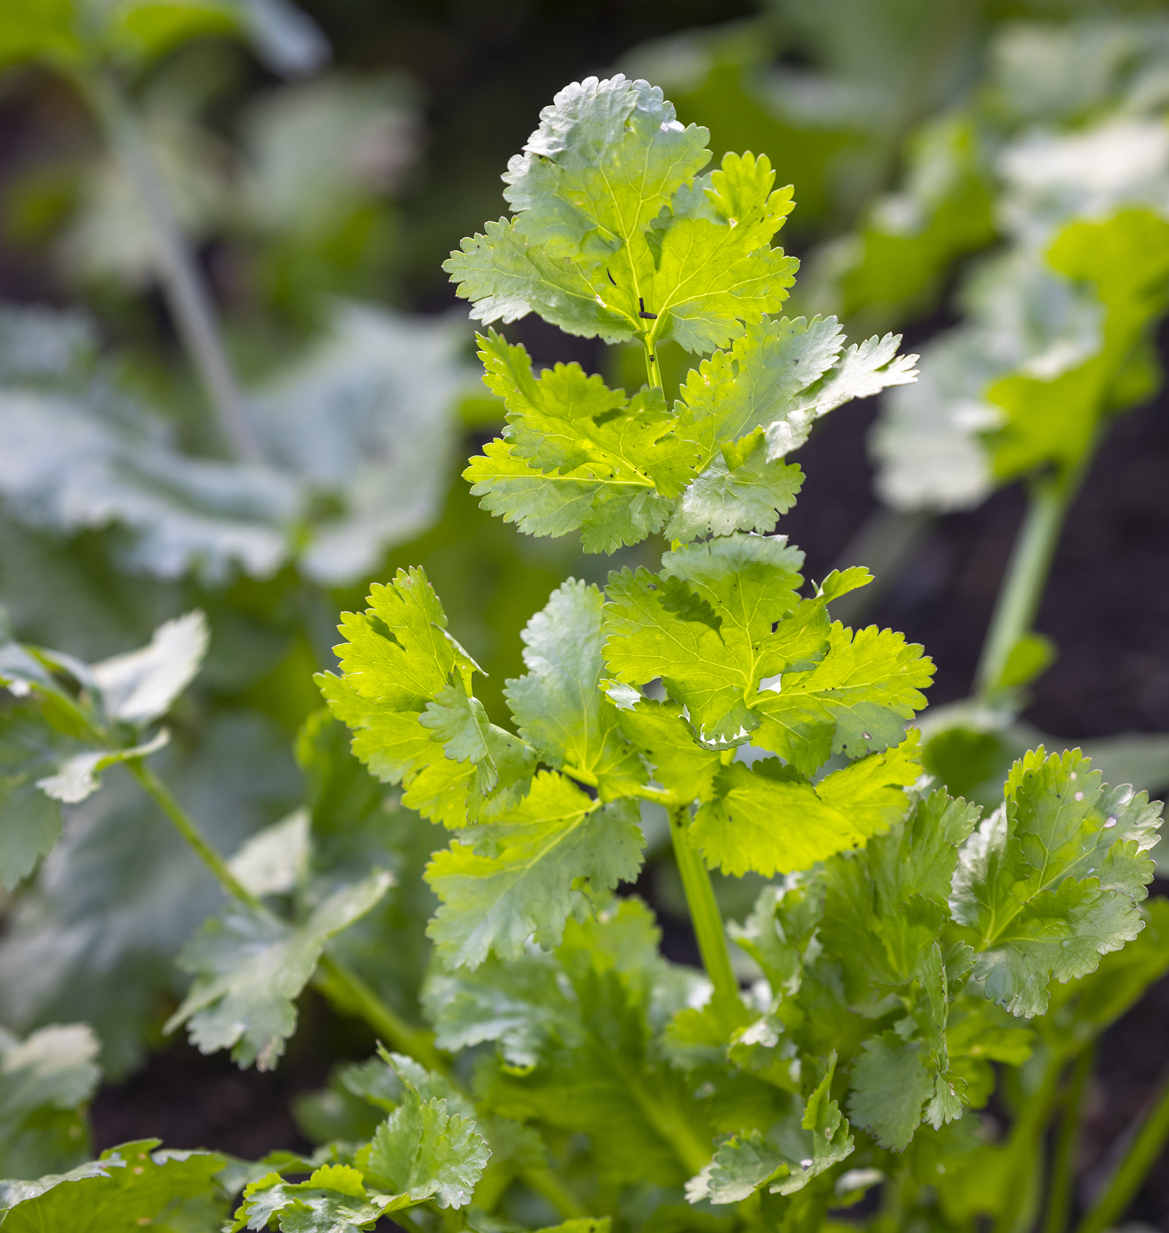
Cilantro is an annual herb that produces strongly flavored leaves and aromatic seeds (known as coriander). Plants rush to flower from late spring through summer, so the best way to enjoy a long leaf harvest is to sow in late summer, as it is hardy enough to survive moderate frost.
My favorite sowing date here is July 26, but sowing anytime from mid-July until mid-September will supply leaves through fall, winter, and into early spring. If you want cilantro leaves during summer, make new sowings every four to six weeks from mid-February until early July. Sow either in rows outside at 8 in (20 cm) apart or two seeds per 1¼ in (3 cm) cell to transplant after about four weeks at a 6–8 in (15–20 cm) equidistant spacing. Early fall sowings planted under cover, either in soil or a container, will be much more productive during winter than plants grown outdoors.
During summer, water cilantro generously to promote leafy growth and reduce flowering. Slugs can damage new plantings in particular, so remove any nearby hiding places and mount patrols to remove them after dark. I rarely experience problems with slugs through winter.
Start twisting or cutting off the lower stalks as soon as their leaves touch those of neighboring plants. Good crops can be picked from outdoor plants in fall and from plants grown under cover in late winter and early spring. Leaves grow thinner and smaller as plants start to flower, and the first tender flower stems are edible. It’s worth keeping plants growing to enjoy the flowers and a harvest of delicious coriander seeds.
Saving seed is easy, as plants readily produce seed by late summer, but for resowing, you need at least 6 to 10 plants to provide a varied gene pool. Harvest seeds when still a little green because they start to fall once fully dry and brown.
VARIETIES
‘Cruiser’ A favorite new variety with leaves that are especially broad, dark green, and tender.
‘Confetti’ A lovely contrast to ‘Cruiser’, producing feathery, light green foliage.
KEY INFORMATION
Seed to first harvest: 8 weeks
Sowing to transplanting: 4 weeks
Position: Tolerates shade
Spacing: 6–8 in (15–20 cm) equidistant or rows 8 in (20 cm) apart
Hardiness: To 23ºF (-5ºC) or colder

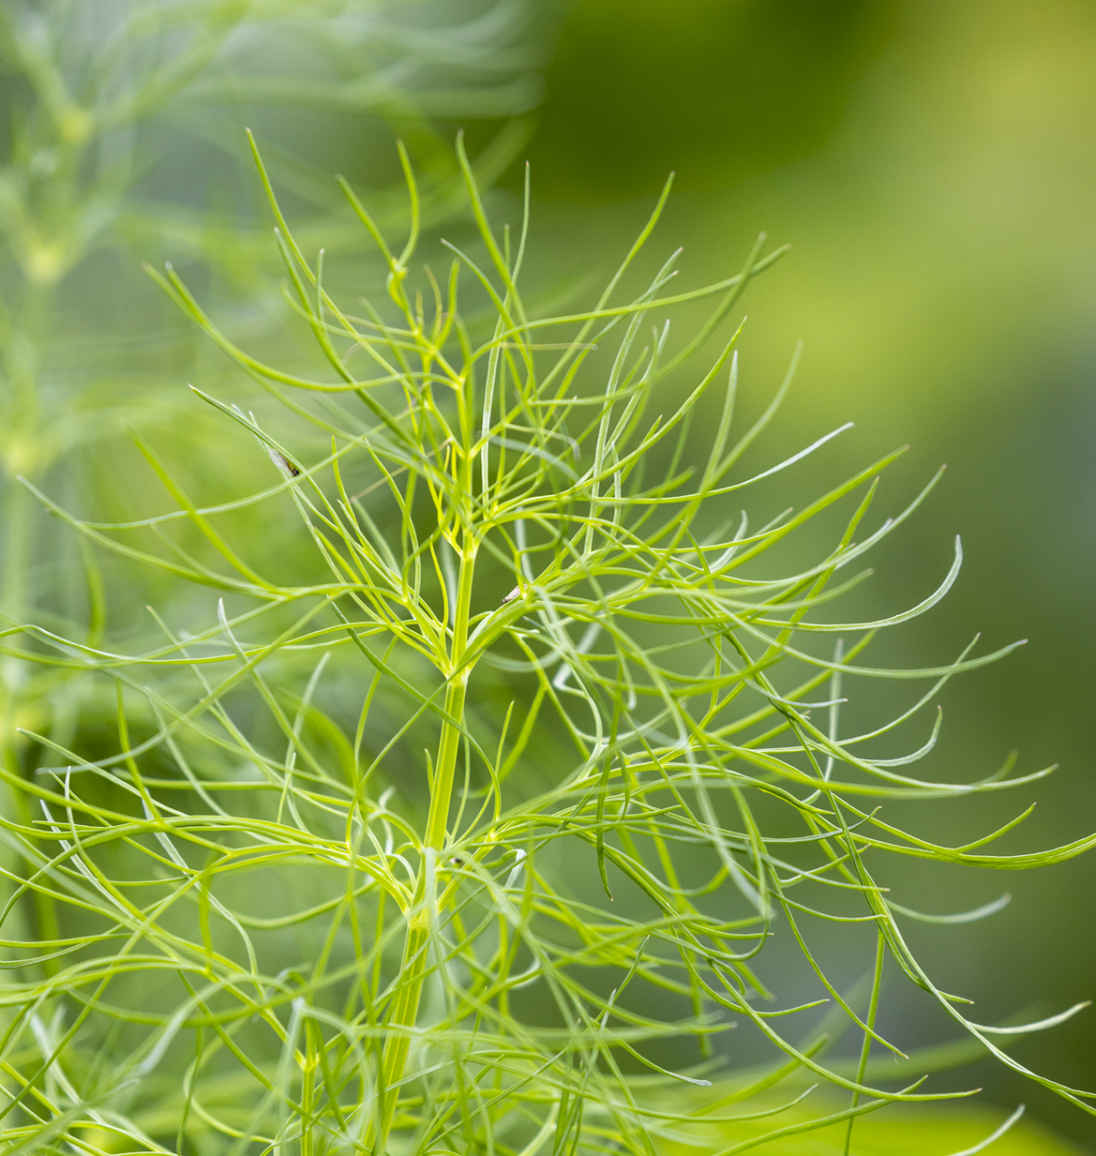
I love the sweet, zesty, anise aroma of dill, though not everyone shares my enthusiasm! If you do, it’s an easy annual herb to grow but rises to flower even more quickly than cilantro and is less hardy. The flowers, feathery leaves, and strongly flavored seeds are all edible.
There are two decent seasons of harvest: the first from sowing under cover in late winter or early spring to transplant outside for picking through spring and summer, and the second from mid- to late summer for fall harvests. Sow two or three seeds per 1¼ in (3 cm) cell, or sow into a seed tray to prick out one seedling per cell. From April, you can also sow directly outside by dropping a seed roughly every 1 in (2.5 cm) into ½ in (1 cm) deep drills, spaced 8 in (20 cm) apart.
Transplant three or four weeks after sowing by dibbing deep holes so that plants sit 1¼ in (3 cm) below soil level to support their long stems. Where space is scarce in late summer, place dill transplants between cucumbers or salad plants that are four to six weeks away from being removed.
Even though plants are hardy enough to resist light frosts, early spring sowings and transplants are best covered with fleece for the first month to keep them warm and protected from rabbits. For summer plantings, bird netting on hoops is the best option.
Pick larger leaves by snapping off their stalks at the base. Harvest every few days to increase pickings before plants flower. Kept in water, long-stemmed leaves will stay fresh for a week.
You can save seed for culinary uses from just one plant, but save seed for sowing when you have at least five plants nearby to ensure a wide gene pool. Cut seedheads when the seeds are brown and hard, then rub them off the stalks onto a sheet of paper. Remove any unwanted seedheads to prevent self-seeding.
VARIETIES
There has not been a huge amount of breeding in the world of dill, and I haven’t noticed significant variation between named varieties.
KEY INFORMATION
Seed to first harvest: 6 weeks
Sowing to transplanting: 3–4 weeks
Position: Can grow in shade
Spacing: 6–9 in (15–23 cm)
Hardiness: Some frost resistance to about 28ºF (-2ºC)
Suitable for interplanting

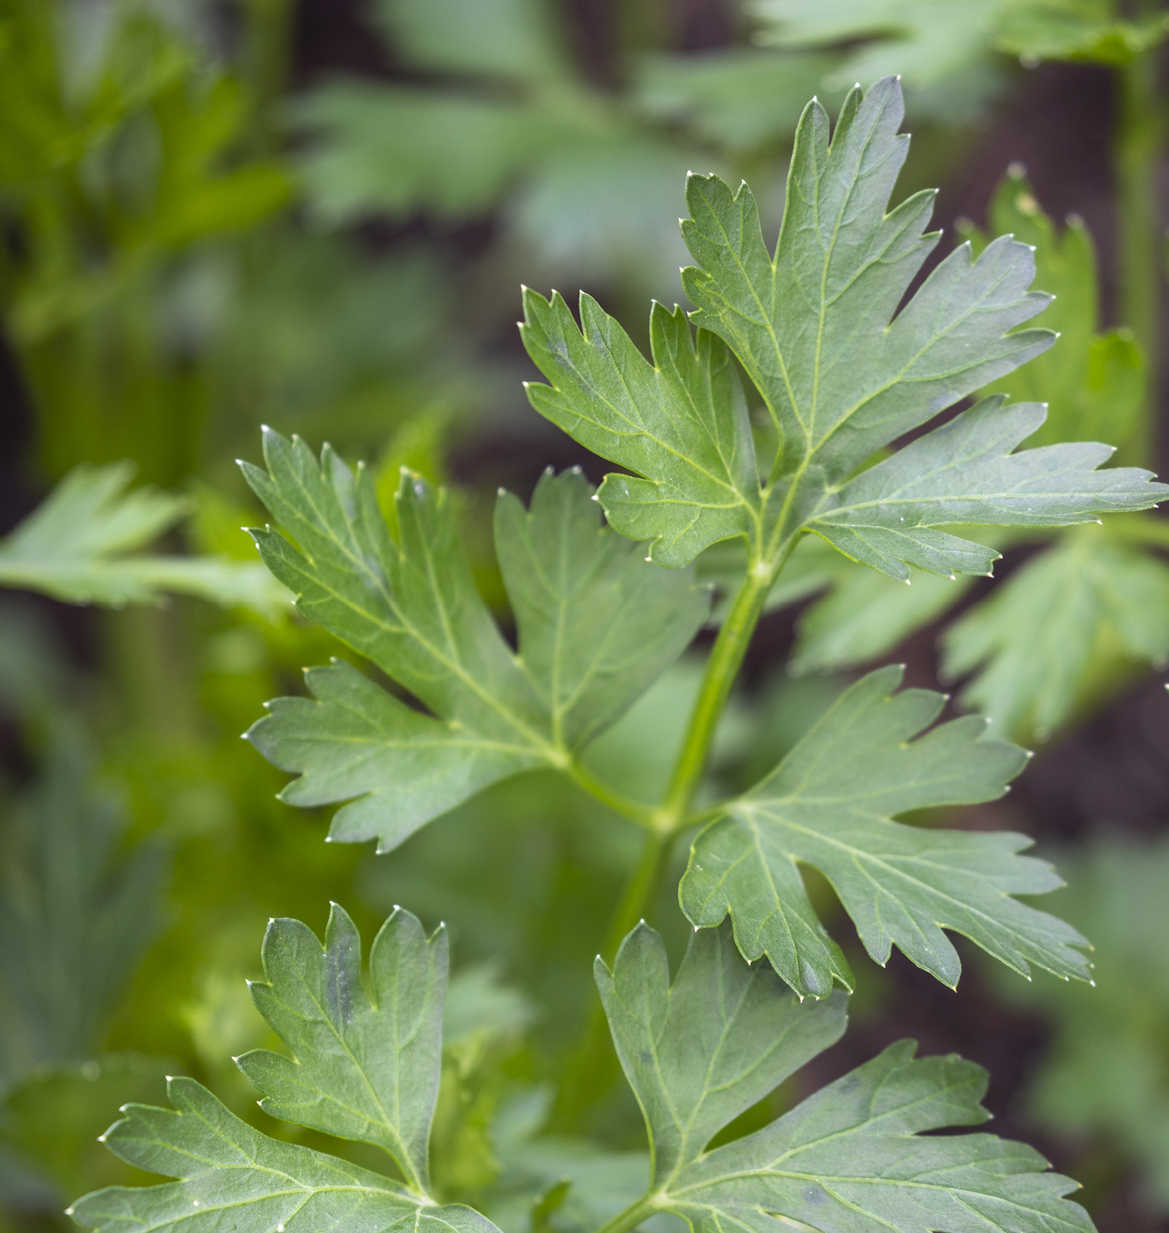
Parsley is slow to germinate but is a fantastic source of vibrant, nutritious leaves for most of the year from just two sowings. Choose between the ruffled leaves of curled parsley and the larger, more flavorful foliage of flat-leaved varieties.
Parsley can take up to three weeks to germinate and usually appears after you have given up on seeing any leaves. Sow into a seed tray under cover from mid-February until late July, pricking out seedlings into cells, or sow directly into a drill outdoors once the weather warms in spring. Transplant up to six weeks after sowing, dibbing deep holes so that plants sit a little below soil level. Early sowings may rise to flower in summer, especially flat-leaf parsley, but summer sowings should survive winter to crop through into spring.
Cover early spring plantings with fleece to keep them warm and to protect them from rabbits; they can be kept off later crops using bird netting. You may notice aphids, particularly in spring, when I find that extra watering is the best remedy. Aphids can infect parsley with a virus, which becomes obvious when the leaves of overwintered plants turn bright yellow in spring. Twist out any plants showing symptoms and compost them.
Twist or cut the stalks of the largest lower leaves close to the main stem. The smaller central leaves will grow for repeat harvests over many months. Remove and compost any yellowing older leaves. Growth is slow through winter, so grow a plant or two under cover to pick through cold weather.
Collect dry seed from overwintered plants in late summer, where at least six plants have been grown for cross-pollination. Curled and flat-leaved varieties will hybridize; therefore, save seed where you are growing only a single type.
VARIETIES
There are many varieties, most of which only have small differences in growth and appearance.
‘Italian Giant’ A flat-leaf variety that lives up to its name, although leaf size decreases as plants age.
‘Lisette’ An attractive curled parsley, with a bushy habit and light green leaves.
KEY INFORMATION
Seed to harvest: 10 weeks early sowings, 8 weeks summer sowings
Sowing to transplanting: 5–6 weeks
Position: Prefers sun but tolerates shade
Spacing: 6–8 in (15–20 cm)
Hardiness: Hardy to about 18ºF (-8ºC)

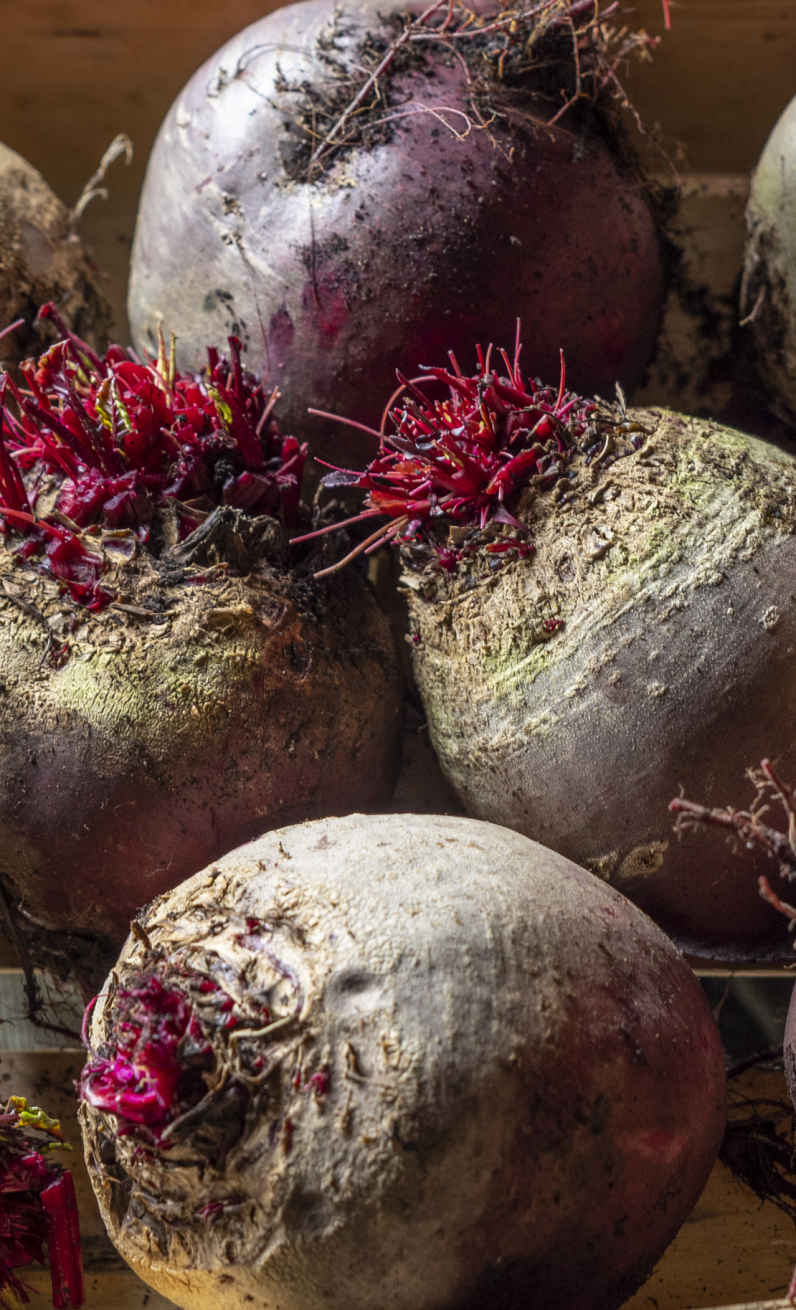
These hardy plants are easy to grow and can give you food over a long period from just a few sowings. Sow spinach either in very early spring or in late summer to enjoy healthy harvests through fall before plants overwinter and then regrow for valuable pickings during spring’s hungry gap. Beets are delicious fresh and store beautifully, so you can have them available to eat for 10 months of the year. The colorful leaves and stems of beets and chard also add an attractive ornamental quality to your vegetable garden.
Plants from the beet family remain medium-sized, which makes them easy to find space for in any garden. Chard and spinach are kept more compact when their outer leaves are picked regularly, and you do not need many plants to produce heavy harvests. All of these vegetables also make good follow-on second crops from summer sowings and grow well when interplanted, which provides many opportunities to include them in your beds.
Homegrown vegetables from the beet family are packed with flavor at whatever stage they are picked. Beets remain tender and juicy when grown in no dig soil, even when they grow exceptionally large. These larger roots are ideal for storing over winter because they retain moisture better than smaller ones. Fresh spinach leaves are always delicious and develop an amazing sweetness when picked from overwintered plants after cold weather.
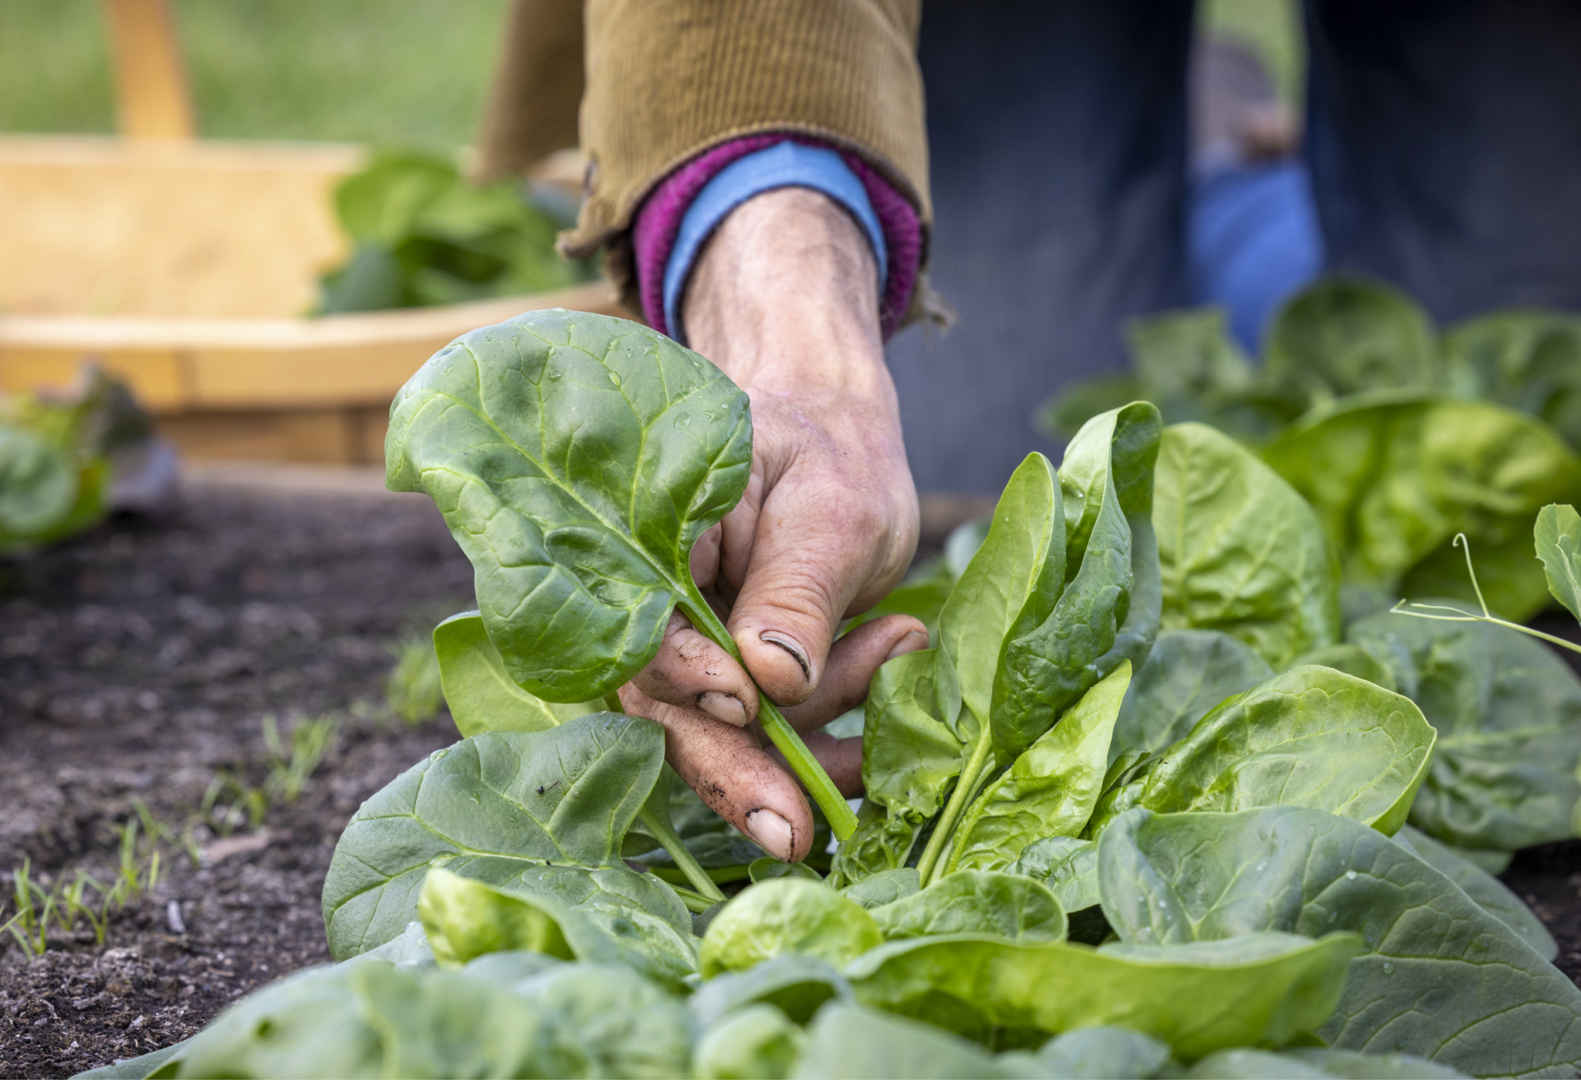
Pick outer spinach leaves with their stems to keep plants tidy and productive for longer.
The seeds of all three of these crops are large enough to handle easily, and I find that multisowing them in cells works really well. They are all “multigerm” clustered seeds, which have the potential to produce more than one plant. These can be multisown, but with a seed or two less than normal. If the seed packet is labeled “monogerm,” this tells you that the clusters have been separated into single seeds of uniform size. Ideal timings for second sowings of beets, chard, and spinach are in June, July, and August respectively.
Leafy spinach and chard plants require regular watering during dry weather, but beets tolerate dry soil well and will produce sweeter roots if watered minimally. Keep plants tidy by removing any yellow or damaged leaves to reduce pest problems and make picking easier. No dig methods make growing these vegetables straightforward because there is very little weeding to do, allowing you time to enjoy the frequent and bountiful harvests.
Careful picking using the right techniques will prolong the harvest period of all these vegetables and reduce the need for repeat sowings. Twist, rather than pull, the largest roots from multisown clumps of beets as you need them and leave the rest to continue growing. This allows a single sowing to be harvested over a prolonged period of two to three months. Picking the largest outer leaves of spinach and chard repeatedly keeps plants productive for much longer than cutting across the top and waiting for plants to regrow.
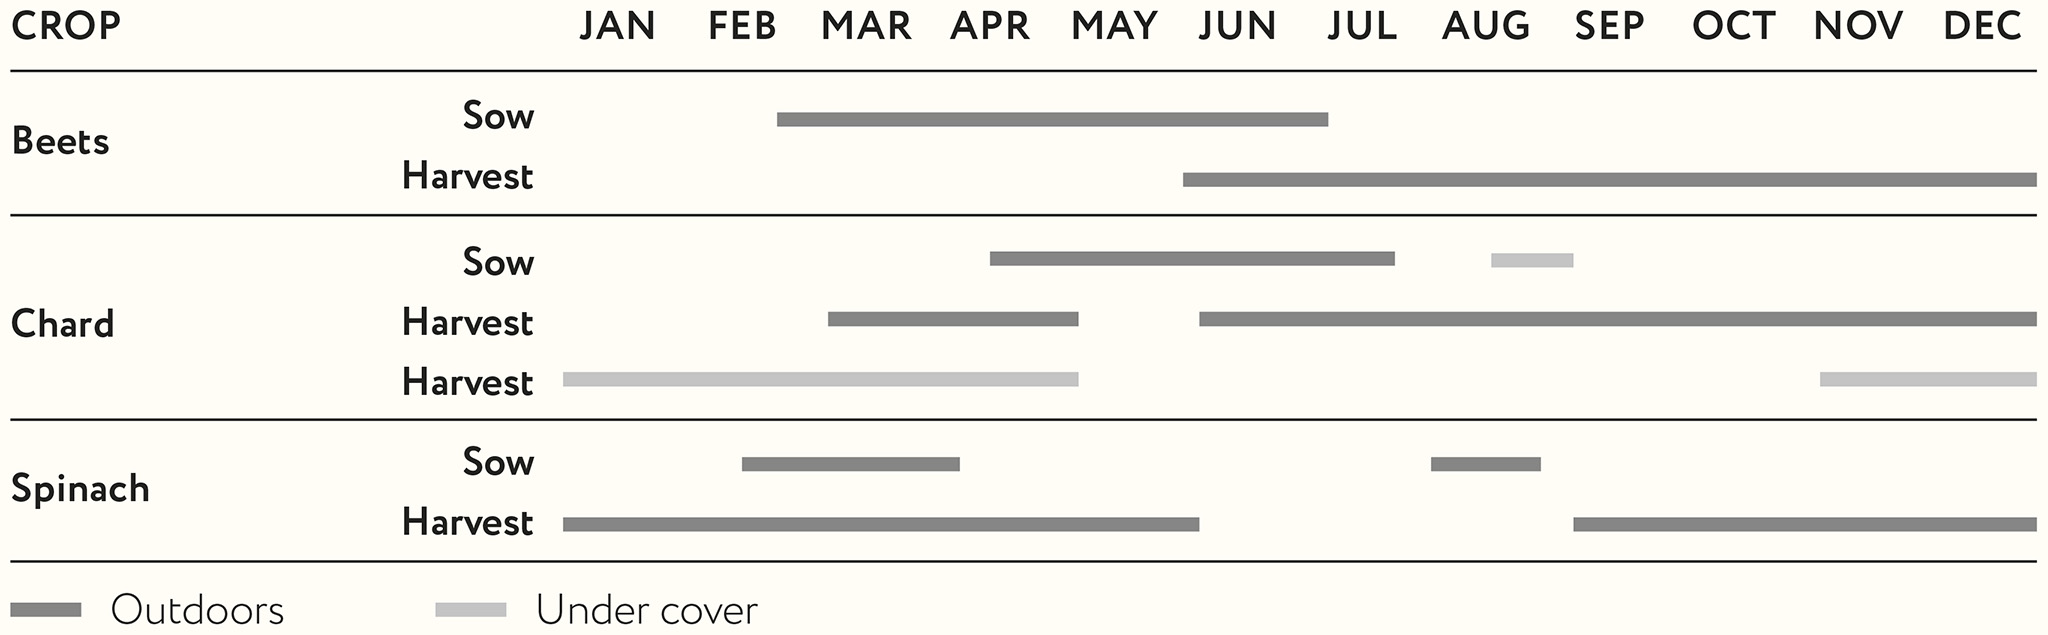
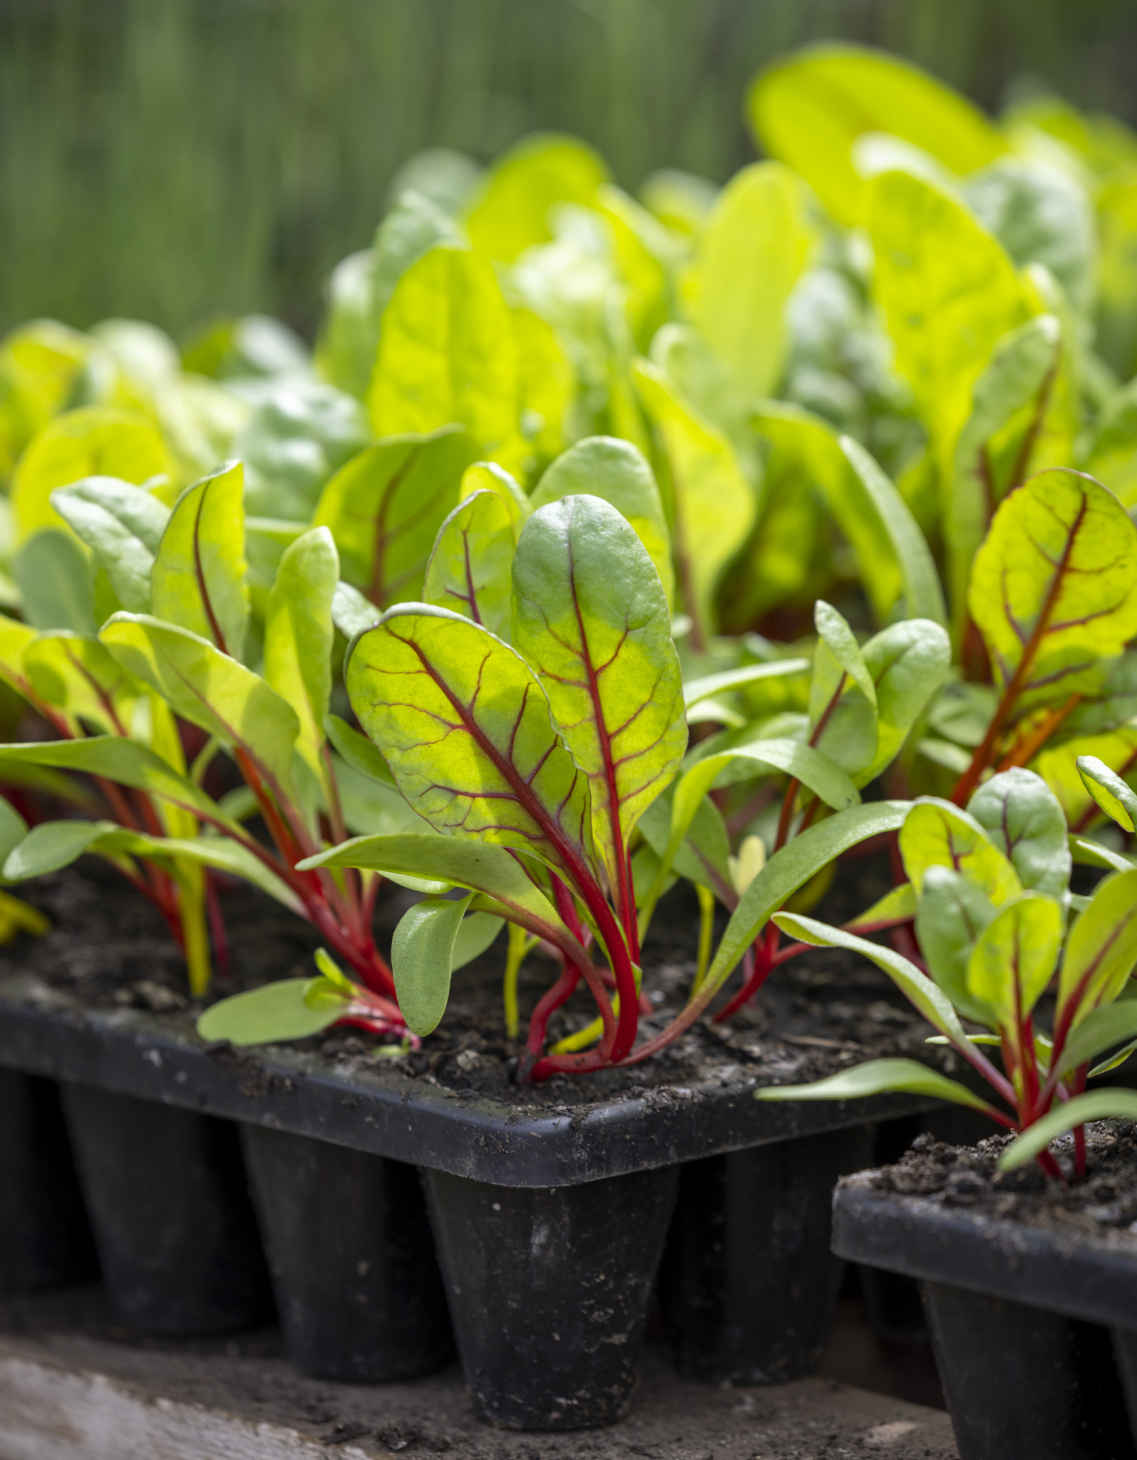
Multisow vibrant chard into cells to raise many young plants in a small space.
Few pest and disease problems affect the beet family, which really helps make them easy to grow. It may be necessary to cover plants with mesh or bird netting in gardens where birds or rabbits are likely to cause damage. Slugs find spinach seedlings particularly attractive, but this is less of a problem in no dig beds, provided that the growing space is kept tidy and there is no slug habitat nearby. Leaf miner causes medium-sized yellow patches on leaves, where they have been sucked dry from the inside by feeding insect larvae. This can look dramatic, but I do not worry about it because the damage is only ever moderate. Cover plants with mesh to exclude the insects if you are concerned that leaf miner activity may affect plant growth. Bolting, where plants rush to flower before producing a crop, can affect all these crops but is easily avoided by timing sowings carefully. Beets and chard will bolt if sown too early, so don’t rush to start sowing in early spring and wait until mid-April for chard. Spinach naturally flowers in midsummer, so avoid trying to harvest at this time and make two sowings—one in early spring and another in summer—to provide pickings from fall to late spring.
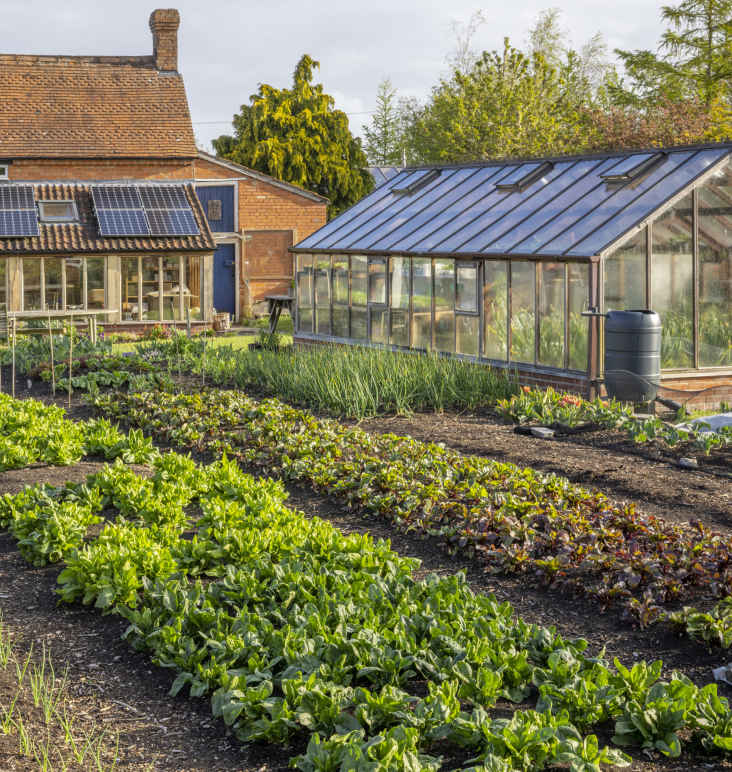
Large beds of spinach and beets feature prominently in late spring at Homeacres.
Beets grow rapidly; the flavor is sweet and earthy; plus they store easily, so you can enjoy roots through winter. What’s not to like? I recommend multisowing under cover to produce good germination and clusters of roots that can be harvested for two months or more from a single sowing, giving you 10 months of eating (including stored roots) from just two sowings.
Sow under cover to aid germination and protect delicate seedlings from pests. The earliest sowings in February and March need warmth to germinate and are best kept in the house for five to seven days, in dark or light conditions, before moving the cold-tolerant seedlings into the greenhouse. ‘Boltardy’ and ‘Pablo’ F1 are good for the earliest sowings because when exposed to low temperatures they are less inclined to bolt (run to seed). I don’t sow other varieties until late March. The second period of sowing is June, for harvests through fall and into early winter, with extra to store. Don’t sow later than mid-July because roots won’t have time to swell.
Most beet seeds are multigerm clusters that can produce up to four seedlings, while single-seed monogerm varieties are available. Multisow three multigerm seeds or five monogerm seeds into each 1¼ in (3 cm) cell, aiming for four seedlings to transplant as a clump. Thin out the weaker seedlings in each cell while they are small and add the thinnings to salads. After four to six weeks, use a dibble to make evenly spaced holes 12–14 in (30–35 cm) apart and transplant deep enough so that most of the stems are below soil level.
Early plantings grow faster with a covering of fleece for the first few weeks, supported on wire hoops if nights are frosty. This also prevents birds from eating the young leaves, while you can cover later plantings with mesh or netting if birds, rabbits, or deer are potential pests. Leaf miner may cause translucent yellow blotches where insect larvae feed inside the leaves, but this rarely results in significant damage. Rats and mice enjoy beets, especially in fall; if you see their teeth marks in the beets, they are still edible, but it’s best to harvest right away.
Water new transplants two or three times, then once plants are established, there is no need to water for a month or more. Beets become sweeter in dry weather and only benefit from a little watering once roots have reached golf ball size.
Harvest early sowings from June to August and summer sowings from September to November, after which any remaining roots can be lifted to store. Pick the largest root from any multisown clump by grasping the base of the stems and twisting while easing the beet upward. This leaves the smaller roots to develop and gives a harvest period of six weeks or more for sowings that mature in summer and three months in fall.
Lift the last roots in early to midwinter, before night temperatures go below 25°F (-4°C), to store in a box in a cool, dark shed until early spring. Twist off the leaves at harvest and leave a little soil on roots to hold moisture and reduce shriveling; eat the small beets first, as the larger ones keep for longer. In milder areas, leave beets in the ground during winter with a little new compost around them to protect from hard frost, but watch for rodent damage. Any roots still there in spring will sprout little leaves, which are pretty and delicious in a salad.
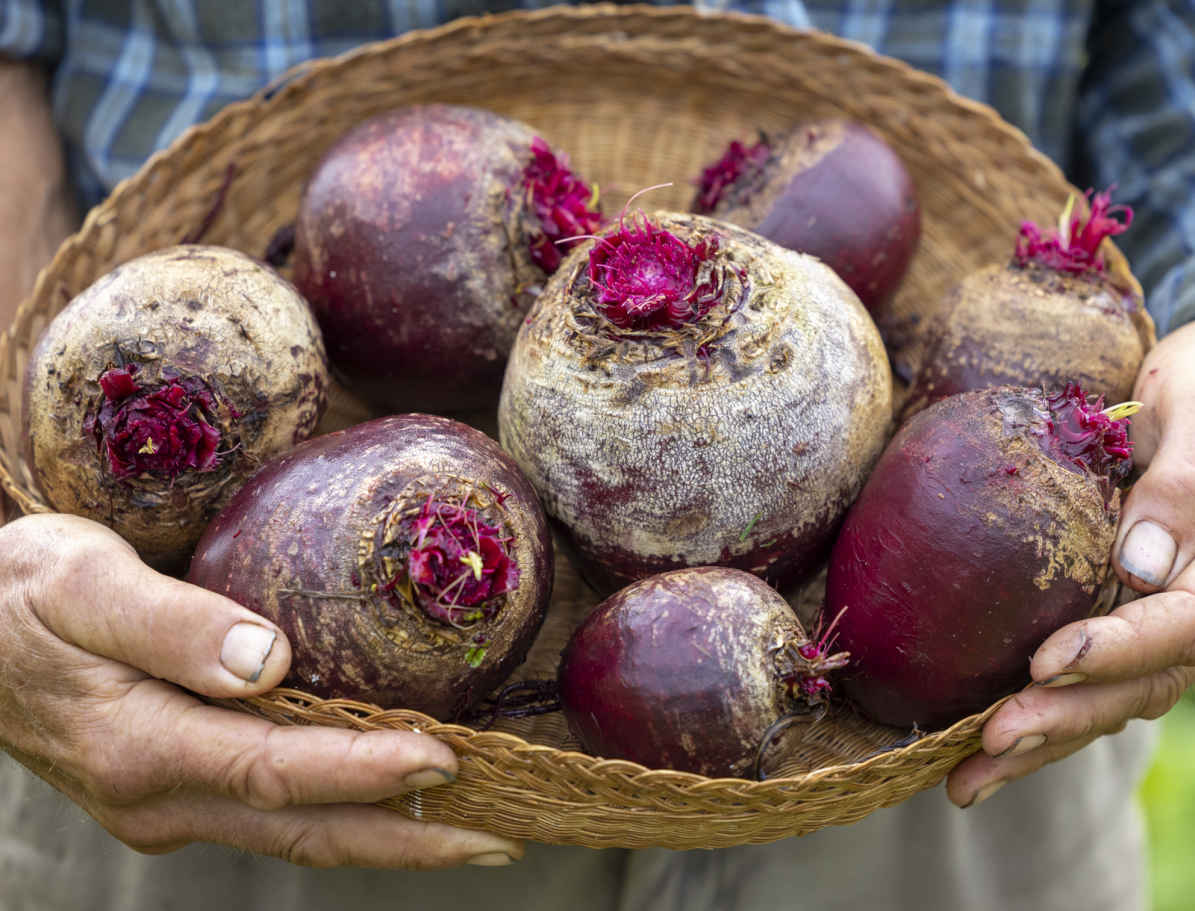
Large roots remain tender in no dig soil.
VARIETIES
Red unless stated.
‘Boltardy’ Ideal for the earliest sowings and resists bolting, but see Delve deeper.
‘Pablo’ F1 Lovely globe-shaped beets, grows early.
‘Jannis’ Another good early variety.
‘Burpees Golden’ Sweet yellow flesh with a less earthy flavor than red beets.
‘Cheltenham Green Top’ Green leaves and long roots. Very hardy for winter use, when frost adds sweetness.
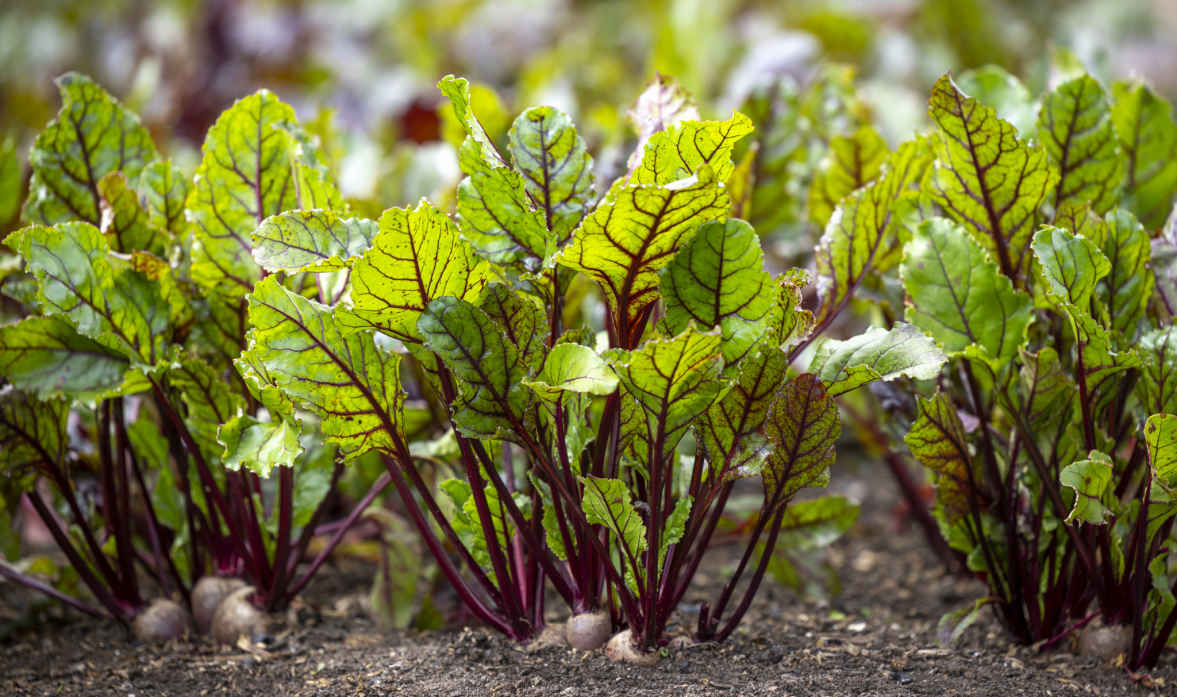
Multisown clumps of beets ‘Pablo’ F1.
KEY INFORMATION
Seed to harvest: 13 weeks spring sowing, 10 weeks summer sowing
Sowing to transplanting: 3–5 weeks
Position: Adaptable, tolerates shade
Spacing: 12–14 in (30–35 cm)
Hardiness: Hardy to approx. 25ºF (-4ºC)
Suitable for multisowing, follow-on planting, interplanting

The contrast between chard’s glossy leaves and vividly colored stems looks amazing both in the garden and on the plate. It’s easy to grow, but what sets it apart from most other plants is its sheer productivity—up to six months from a single sowing. Perpetual spinach is closely related to chard and grown in a similar way for a productive alternative to true spinach.
Don’t be tempted to sow too early to avoid the risk of plants bolting during summer. I make my first sowing under cover no earlier than mid-April. Place single seeds into 1¼ in (3 cm) cells where they will produce two to three seedlings, as with beets. Either thin to one or two seedlings per cell for bigger leaves to cook, or multisow two seeds per cell for harvests of smaller salad leaves. You can also sow directly into the ground in rows 12 in (30 cm) apart, spacing seeds 2 in (5 cm) apart. Thin direct-sown seedlings to leave 2 in (5 cm) between plants for salad chard and 6 in (15 cm) for larger leaves to cook.
Chard can be sown until July. Plants from later summer sowings stand a better chance of overwintering successfully outdoors. They won’t be productive through cold winter weather and may be killed by frost, but those that survive will provide a useful spring harvest until they flower in May. For a slow but steady under-cover crop through mild winters, sow chard from mid-August until early September to transplant in a polytunnel or greenhouse in early fall.
Transplant cells 8¾–12 in (22–30 cm) apart, using the wider spacing if you want to harvest larger leaves. Dib holes a little deeper than the root ball and place the plants in so that their long stems are below the soil surface; this provides added shelter and stability while the plants establish.
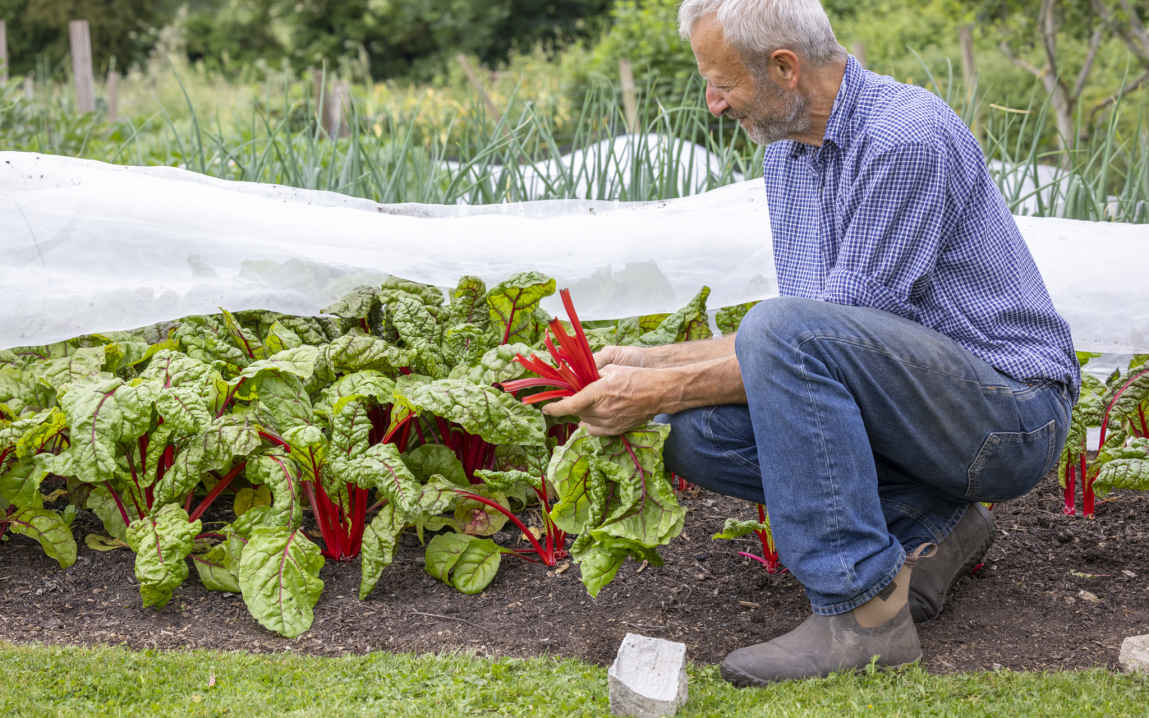
Pick only the outer leaves for regular harvests.
Water after transplanting and, if the weather is dry, keep these leafy plants well watered. Slugs often chomp holes in the older leaves. Minimize damage by removing and composting diseased and fading leaves from the outside of plants, so only healthy, vigorous leaves remain. Cover chard with bird netting or fine mesh if you find bird damage; at Homeacres, sparrows often feast on the leaves.
Pick multisown chard for salad when leaves and stalks reach 4 in (10 cm) tall. Allow single plants to reach over 12 in (30 cm) high before picking leaves for cooking. In summer, pick every few days for tender leaves and stalks, which can still be delicious when up to 20 in (50 cm) long while summer growth is fast, but stalks will gradually go stringy as they age. Winter leaves grown under cover do not grow large, but their bright colors are decorative in salads.
Pick by putting your thumb on top of the stalk and twisting it off the main stem at the base. Don’t leave the stalk attached to the stem, as these remnants will attract slugs. Pick the outer leaves, retaining those clustered at the center to power new growth. Regrowth will be much slower if you cut across the top to harvest all the leaves. Harvested chard keeps well in a cool, dark, moist environment and will last for a week refrigerated in a plastic bag.
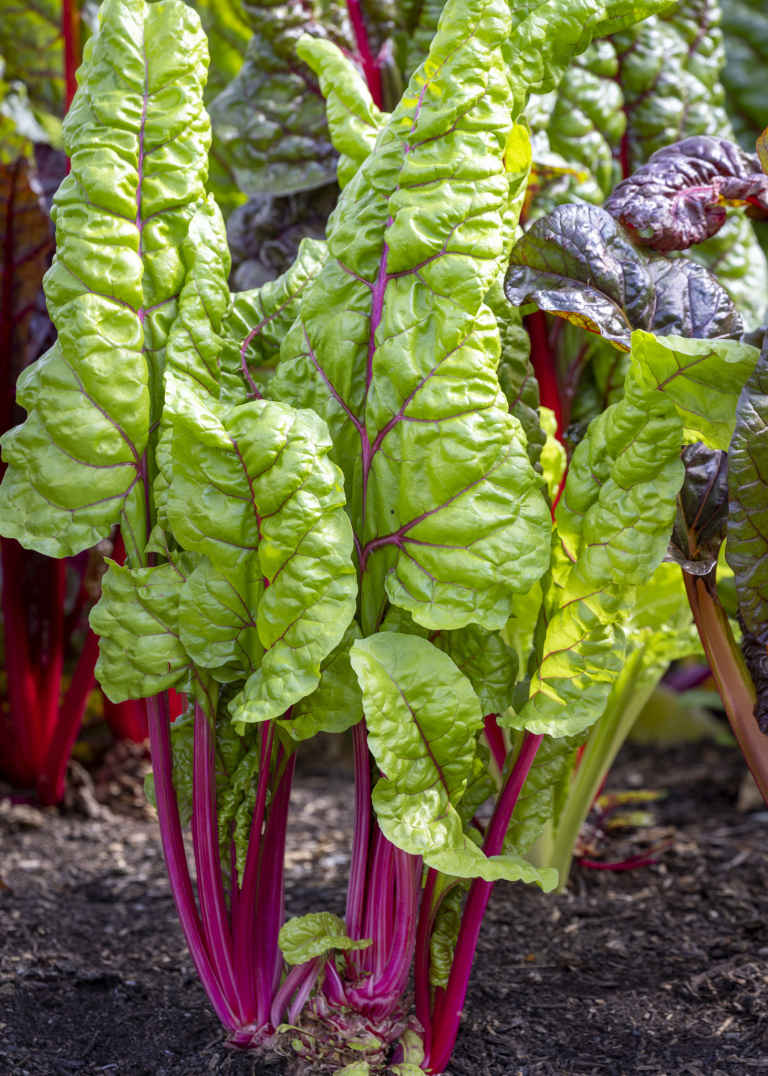
Tidy plants are healthy and quick to pick.
VARIETIES
Swiss chard Vigorous with fat, white stems. Hardier than colored varieties and very productive. Try ‘White Silver’ and ‘Fordhook Giant’.
Ruby chard Striking red stalks contrast with glossy dark green leaves. Try ‘Charlotte’, ‘Fantasy’, or ‘Peppermint’ for pink stalks.
‘Bright Yellow’ Green leaves with vibrant yellow stalks and veins.
‘Rainbow’ and ‘Bright Lights’ Attractive mixes of white, orange, yellow, and red chards. Thin out the white-stalked plants, as they can be dominant.
Perpetual spinach Thinner, mostly pale green stalks; a beet leaf with a flavor closer to true spinach and tender stalks. ‘Lucullus’ has a long harvest period and is resistant to bolting.
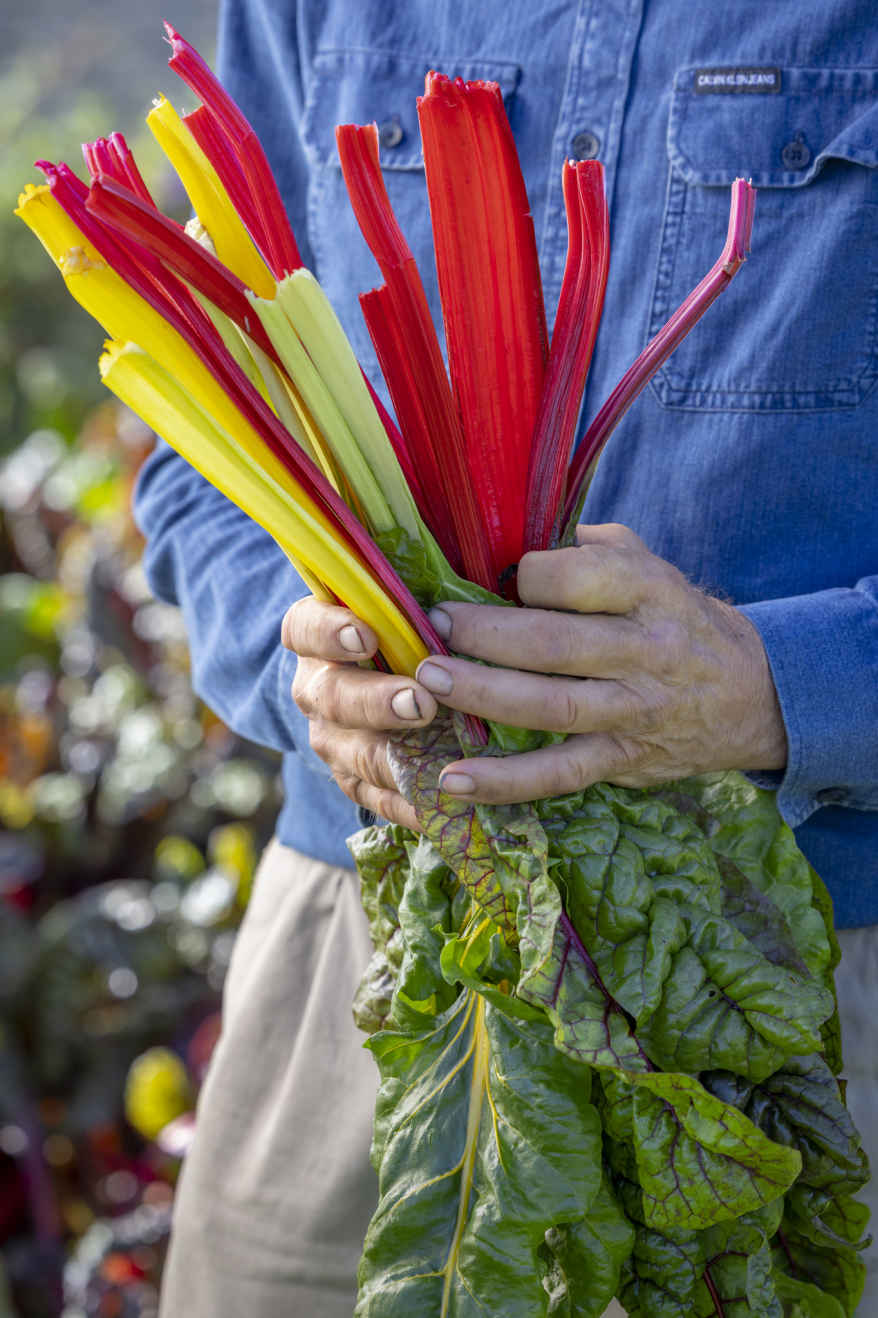
The vibrant stems of chard ‘Rainbow’.
KEY INFORMATION
Seed to first harvest: 7–10 weeks
Sowing to transplanting: 3–4 weeks
Position: Any; tolerates shade
Spacing: 8¾–12 in (22–30 cm) equidistant or direct-sown in rows 12 in (30 cm) apart, with 2–6 in (5–15 cm) between plants
Hardiness: Will tolerate slight frost; plants hardy to 23ºF (-5ºC)
Suitable for multisowing and as a second follow-on crop

Spinach (Spinacia oleracea) is a fall, winter, and spring leaf with wonderful flavor and nutritional value, distinct from perpetual spinach (Beta vulgaris subsp. cicla) (see Chard). One sowing can give eight months of harvest because overwintering plants are incredibly hardy thanks to their production of sugars as antifreeze, which makes their leaves remarkably sweet. Don’t try to replicate supermarket baby leaf spinach at home; instead, pick small leaves for salads or let them grow larger for cooking, when they will still be tender and delicious. In healthy soil, spinach leaves can reach the size of a dinner plate.
Avoid sowing spinach between mid-April and late July because it flowers in early summer and will bolt rather than making leaf growth. I find that sowing in the second week of August (August 10 at Homeacres) gives a large harvest from late September to November, and plants will overwinter to crop again in spring. Sowing anytime in August is suitable for plants to overwinter, but the later you leave it, the smaller your fall harvest will be. You can also sow in late winter or early spring, but do this as early as possible to maximize cropping before plants bolt. Make your last spring sowing by the end of March, or early April in cool areas.
Multisow 2 to 3 seeds into 1¼ in (3 cm) cells under cover to produce clumps of two or three plants for salad leaves, or one plant for leaves to cook. Transplant two to three weeks after sowing in late summer, or four weeks after sowing in spring. Space 8–8¾ in (20–22 cm) apart each way, into holes dibbed ½ in (1 cm) deeper than the root ball. You can also sow directly in late March or in August, either in drills 8 in (20 cm) apart, or scatter seed thinly under summer crops like tomatoes or cucumber. Spinach starts well as an understory plant, while the taller vegetables above finish cropping. If you sow direct, thin plants in drills to at least 4 in (10 cm) apart for larger leaves to pick for cooking and half that for smaller salad leaves.
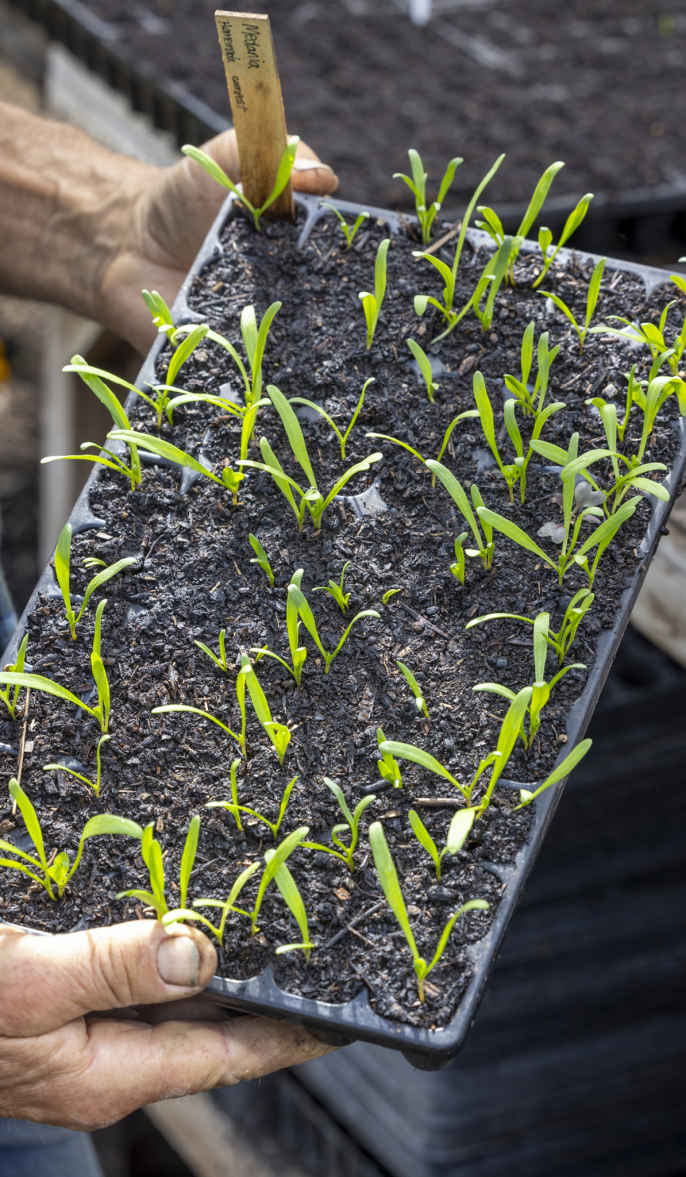
Multisown spinach seedlings.
Water new transplants and continue to water in dry weather until you see them grow strongly, which may be just five to seven days. Fall spinach rarely needs further watering, but during spring, it can be dry when plants are putting on growth, such that watering twice a week will pay off.
Although spinach is hardy to frost and wind, it is worth protecting new transplants with fleece or mesh in early spring to speed growth and protect from pests. A mesh cover on overwintering plants will shield them from the worst of the weather and promote growth in late winter, as light levels increase.
Slugs are often an issue, so be sure to sow or plant into clear ground, with no slug habitats nearby. Cutworms can also damage early plantings, severing stems or even eating small plants entirely. Sift through the soil where the plant was and you can often find and dispose of the brown grub. Keep spare plants as replacements for up to two weeks after you transplant.
Harvest spinach leaves small for salad or much larger for cooking. Exactly when to pick is your call, depending on the size you like. Pinch off leaves or use a knife if you prefer. I enjoy eating the stalks, but even if you don’t, remove them to make the next picking easier and to prevent remaining stalks from rotting on the plant. Keeping plants tidy like this and removing any yellowing leaves helps reduce slug problems.
Spinach’s first leaves grow large, particularly in spring, then get smaller and more pointed with each passing week. Once you see a flower stalk in the center of plants in early summer, you can keep picking for another week or so, but leaves will be small and thin. You cannot prevent flowering by pinching out the flower stalk, so twist out bolted plants and add them to your compost. Like most leaves, spinach will keep for up to five days in a plastic bag in the fridge, but it is tastier and more nutritious when freshly picked.
Saving seed
Saving spinach seed is viable in a small garden, but you need at least three to six plants to provide a sufficient pool of genes. Stop picking plants in early May so that they become sizeable before flowering in early summer. Seed clusters develop on each stem and turn from green to pale brown during July, when plants should be twisted out and hung to dry under cover with good ventilation. Once the seed clusters feel dry, rub them off the stalks, clean by winnowing, dry for a week on a sunny windowsill, and store in an envelope or jar. I’ve noticed that fresh spinach seeds don’t germinate rapidly, and after storing for a year, germination is as good or even better. My seed saved from ‘Medania’ has produced plants with darker green leaves that were slower to grow and bolt. This genetic variability is one facet of the fun you can have when saving seed.
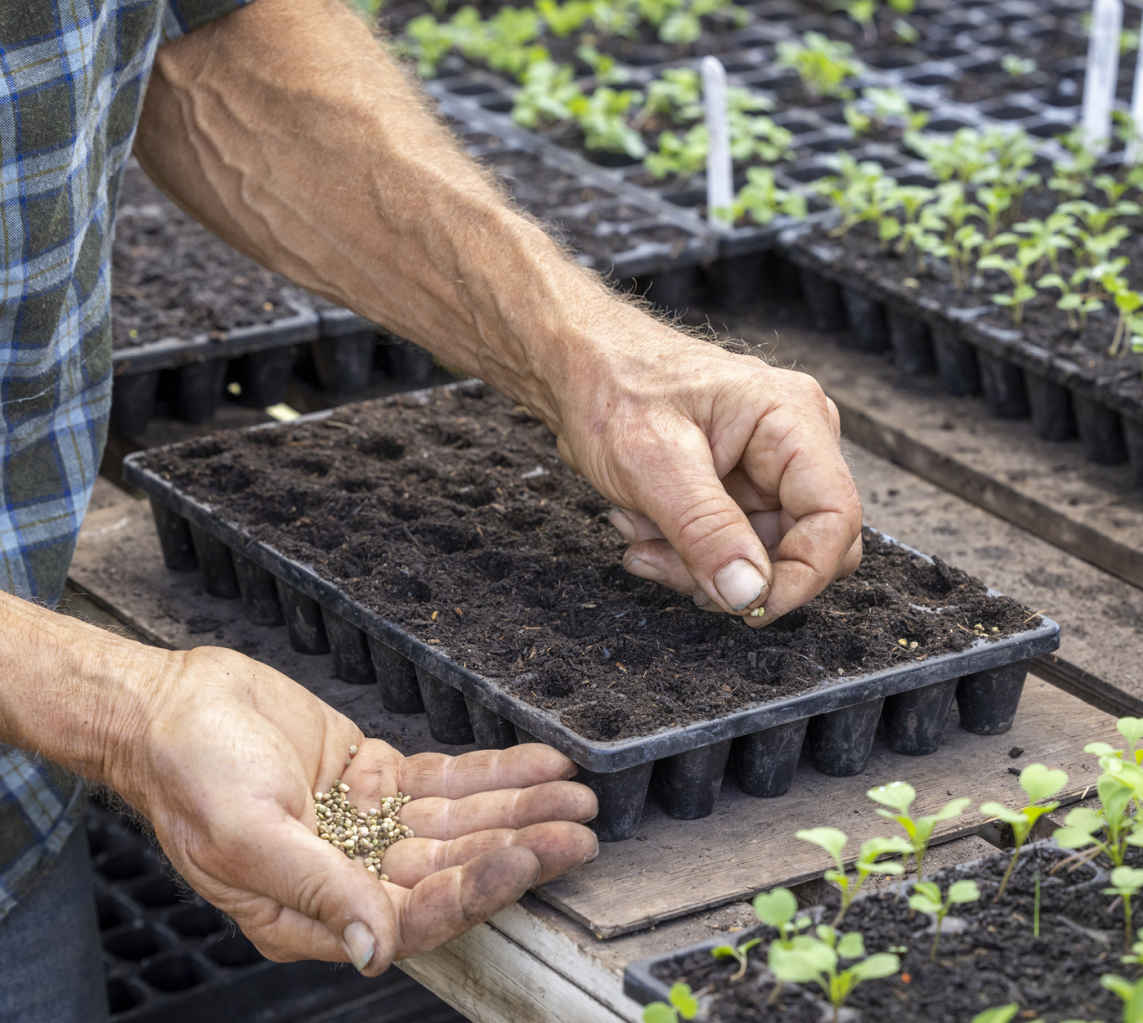
VARIETIES
‘Medania’ My favorite for being so winter hardy and long-lived. Its large, soft leaves are also suitable for salad if picked smaller.
‘Giant Winter’ Makes big leaves in cool conditions, but I found it flowered early in spring, giving a shorter harvest, and a few plants bolted before winter.
‘Missouri’ F1 and ‘Emilia’ F1 Similar large, dark green leaves. Possibly a little quicker to crop and more uniform than ‘Medania’, but the seeds are more expensive and you can’t save your own.
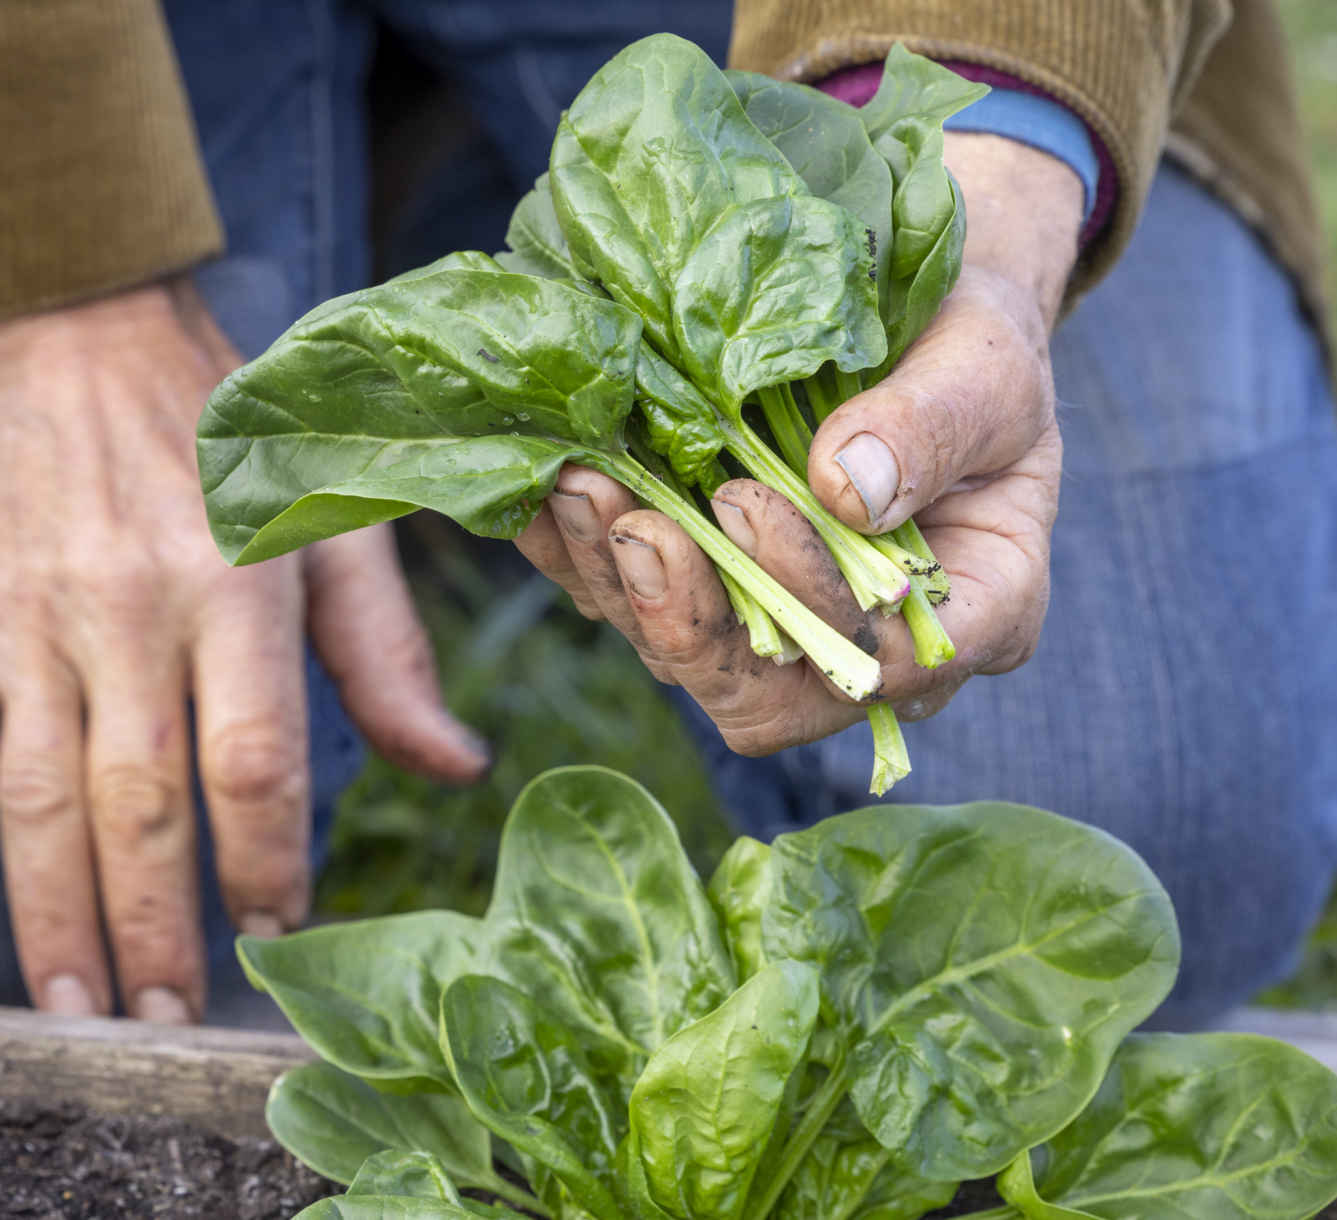
Picking spinach ‘Medania’ with its stalks.
KEY INFORMATION
Seed to first harvest: 6–7 weeks
Sowing to transplanting: 2–4 weeks
Position: Full sun or some shade, where slugs aren’t too numerous
Spacing: 8–8¾ in (20–22 cm) equidistant for multisown clumps, or direct sown in rows 8 in (20 cm) apart, with 4 in (10 cm) between plants
Hardiness: Hardy, down to 5ºF (-15ºC) or lower
Suitable for multisowing and as a follow-on crop

LETTUCE FAMILY
BRASSICA FAMILY
WINTER SALADS
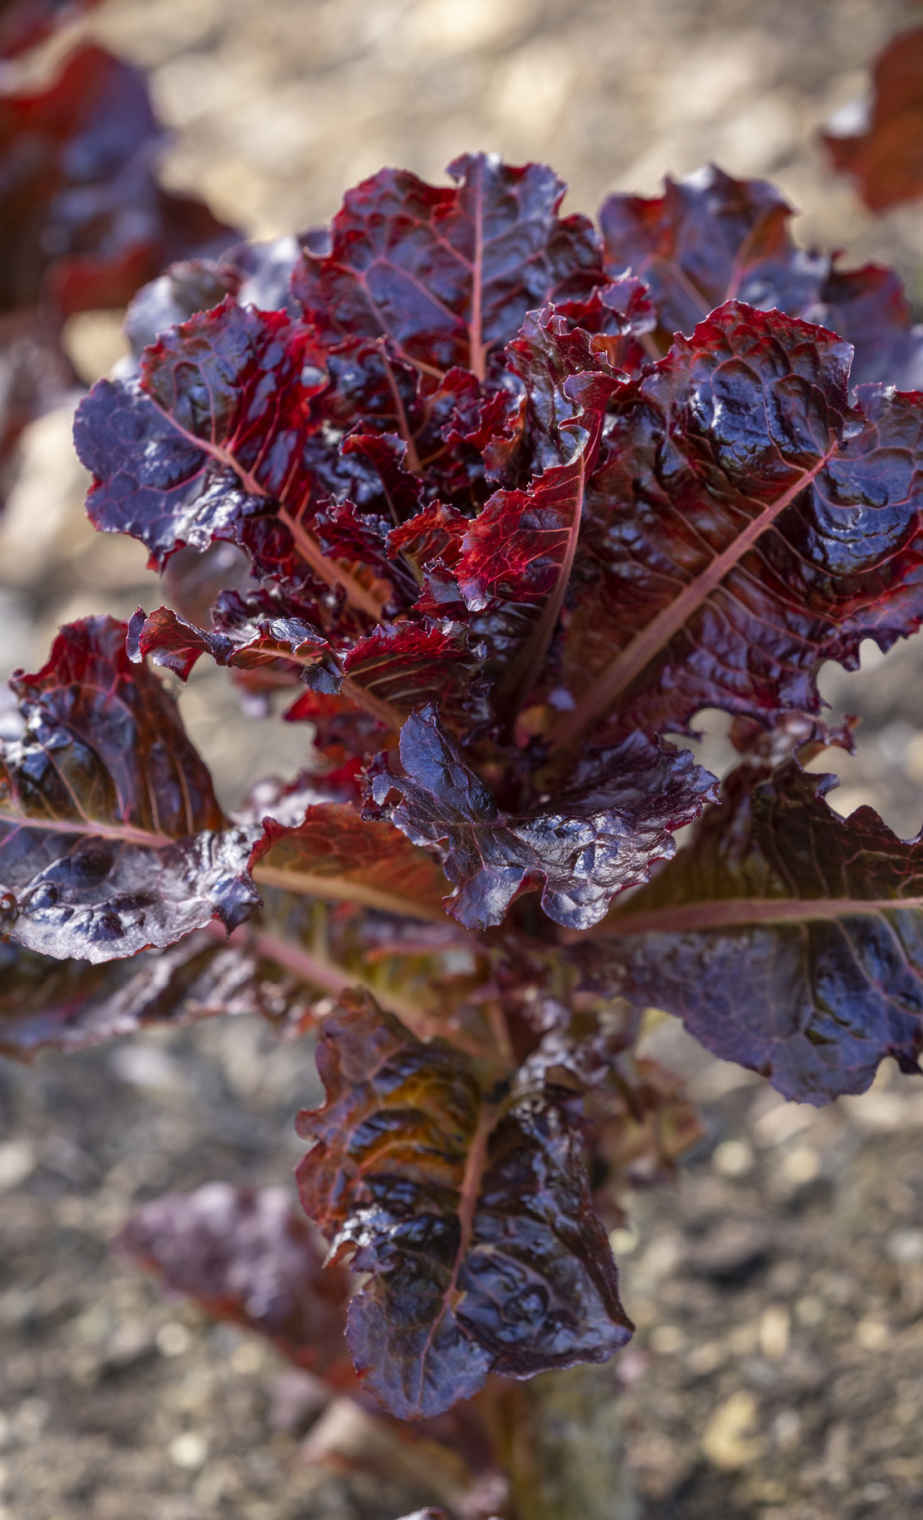
You can produce fresh leaves with an incredible range of colors and flavors at any time of year by choosing wisely from the great diversity of vegetables that produce salad leaves. For best results, time sowings carefully to enjoy a long period of picking healthy leaves and to avoid plants running to seed rapidly. Select vegetables that naturally grow strongly in the season when you want harvests and pick carefully to prolong the life of plants.
I have divided leafy salad crops into three groups: the lettuce family, the brassica family, and winter salads. Understanding the common characteristics of the crops within each group, such as flowering time and susceptibility to particular pests, will help you grow them successfully. For example, brassica salads flourish in fall and winter but quickly start to flower and suffer pest damage in spring and summer, when lettuce growth is lush and healthy. Be aware of this seasonal flow when planning what to grow, and ignore the long range of sowing dates on many seed packets.
It’s possible to harvest crops belonging to the lettuce family almost year-round. Juicy lettuce leaves are abundant from spring to early fall, but plants suffer more disease and become less productive through fall, and their hearts are not frost hardy. Endive and chicory are both hardier—chicory especially so—and yield crisp, bitter leaves through fall and into winter.
Salads from the brassica family produce the tastiest leaves throughout fall, winter, and early spring. They include the attractive, vigorous, and pungently flavored oriental mustards; peppery arugula; and mild, crisp pak choi and Chinese cabbage.
Winter salad crops are also hardy enough to provide salad leaves through the coldest months. Mild-flavored corn salad never grows large and survives exceptionally cold weather. Upland cress grows quite quickly in milder winter weather but has a strong flavor and is best used in small amounts. Winter purslane is less hardy but worth growing in milder regions for its tender leaves.
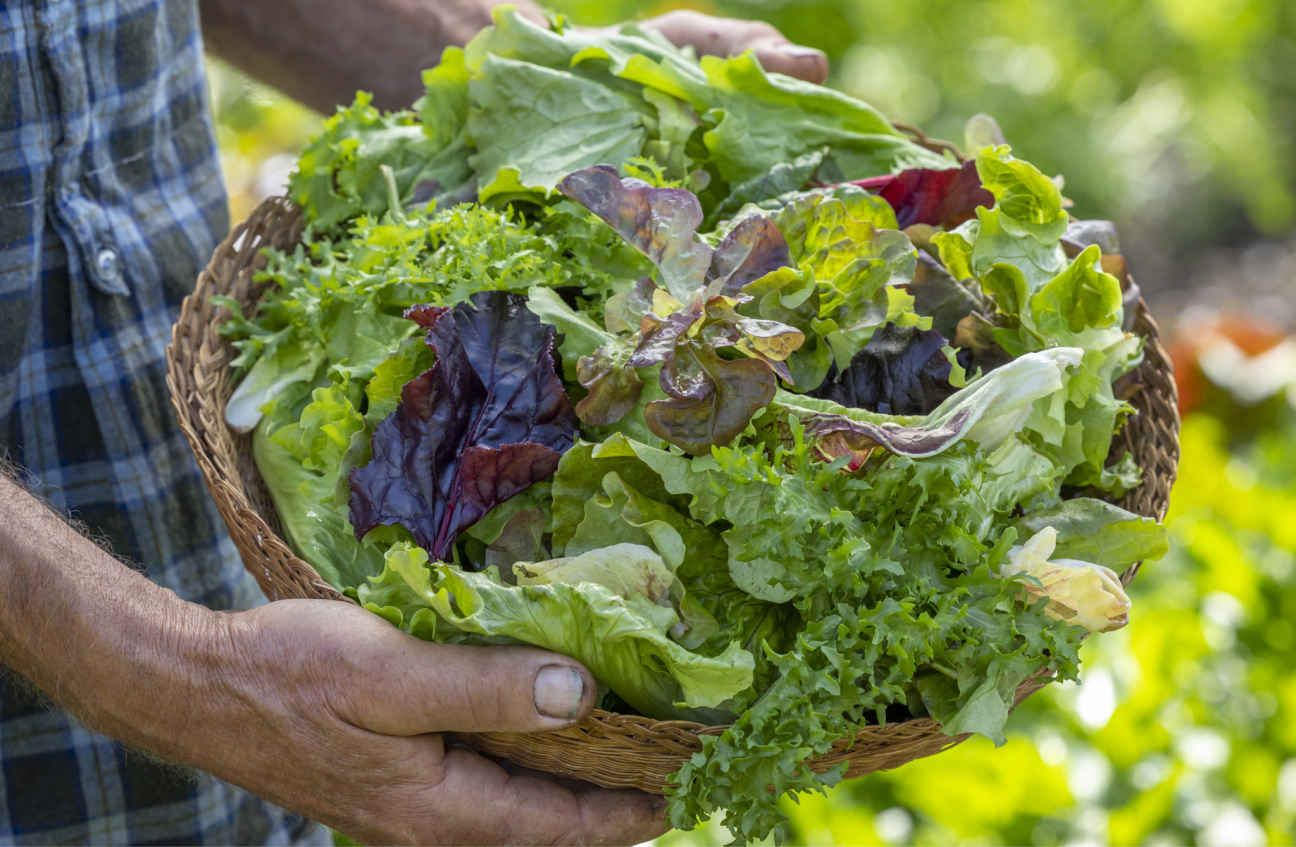
An appetizing early fall salad mix containing lettuce, frisée and escarole endive, sorrel, beet leaves, and two types of radicchio.
Raise transplants under cover and have these fast-growing vegetables ready to plant as soon as other crops are finished or even before that as interplants. Almost all salad vegetables can be picked regularly of outer leaves, for a longer period of regular harvests compared to cutting. I harvest lettuce almost year-round from just four sowings, thanks to my leaf lettuce method of picking (see Harvesting and storage). Lettuce and other salad vegetables can also be grown for heads, which need longer to mature and produce a single, larger harvest. Chinese cabbage, endive, and some varieties of chicory will make firm heads in fall, which blanches and sweetens the inner leaves and enables them to be stored in a cool place for several weeks.
All these salad plants are frost hardy and can survive winter outside but often without putting on much new growth. Productivity and quality during winter can be increased by transplanting them under cover in early to mid-October, immediately after summer vegetables, such as tomatoes, are cleared.
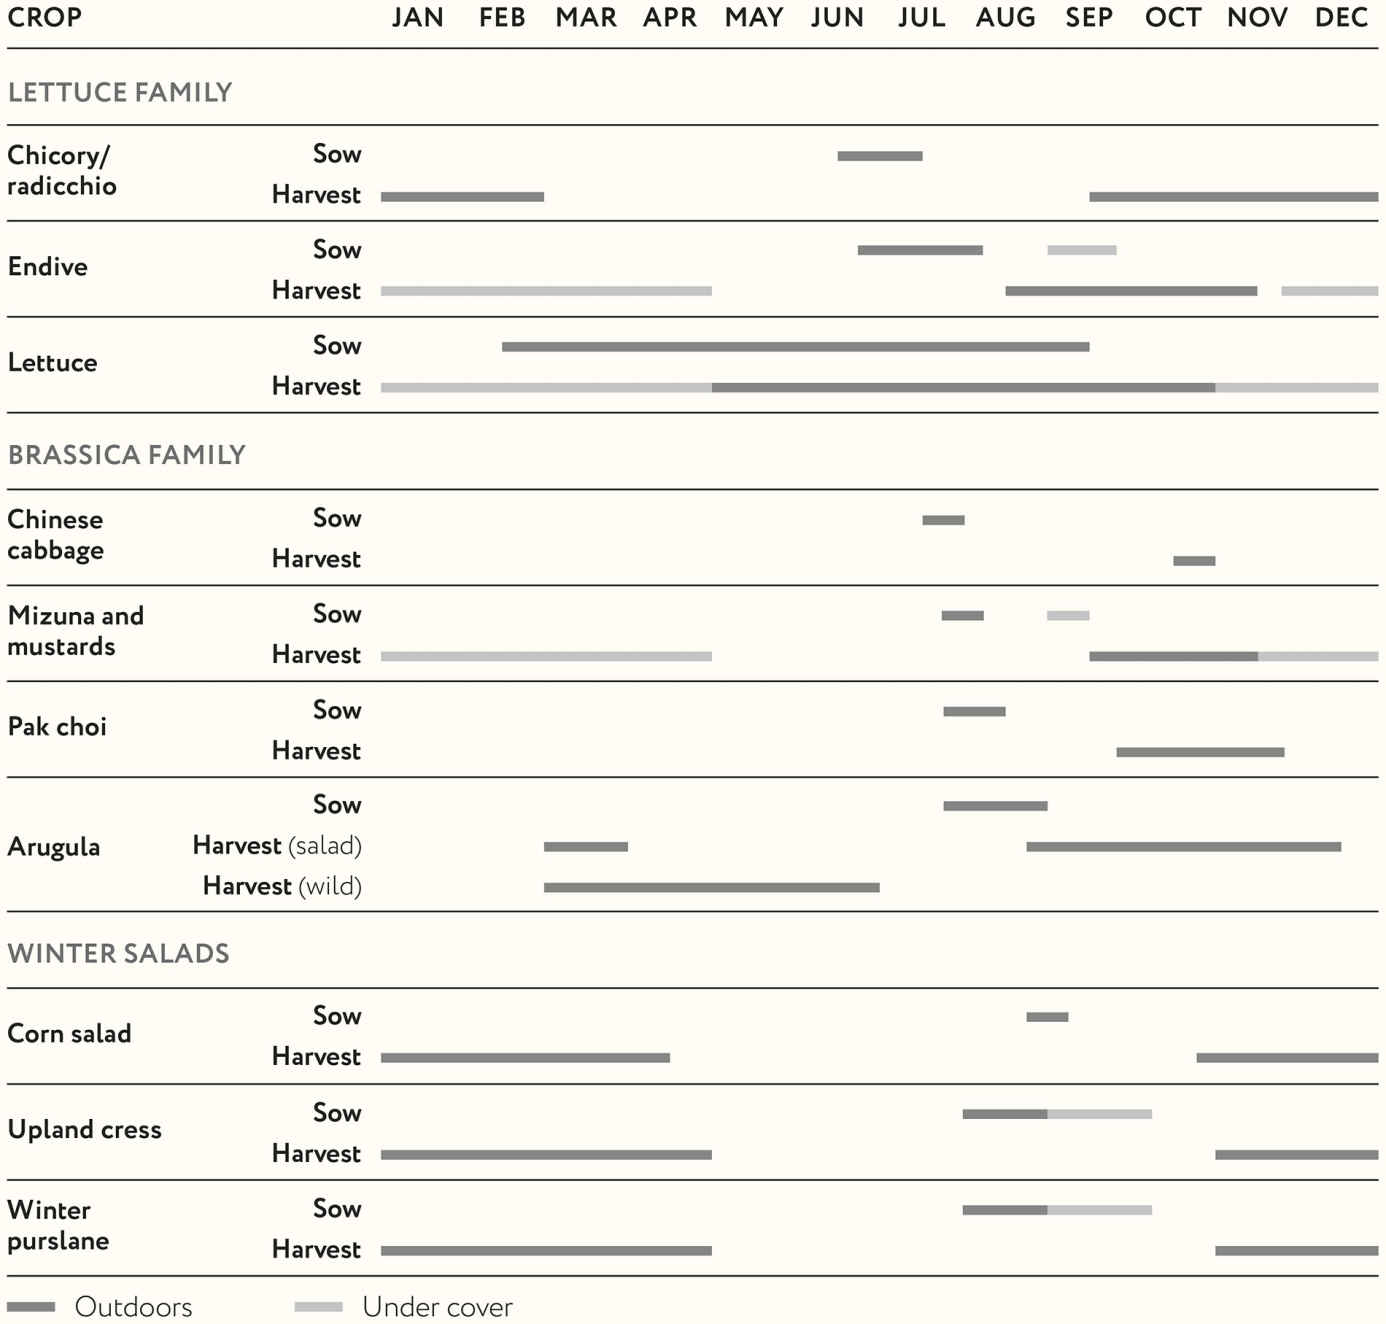
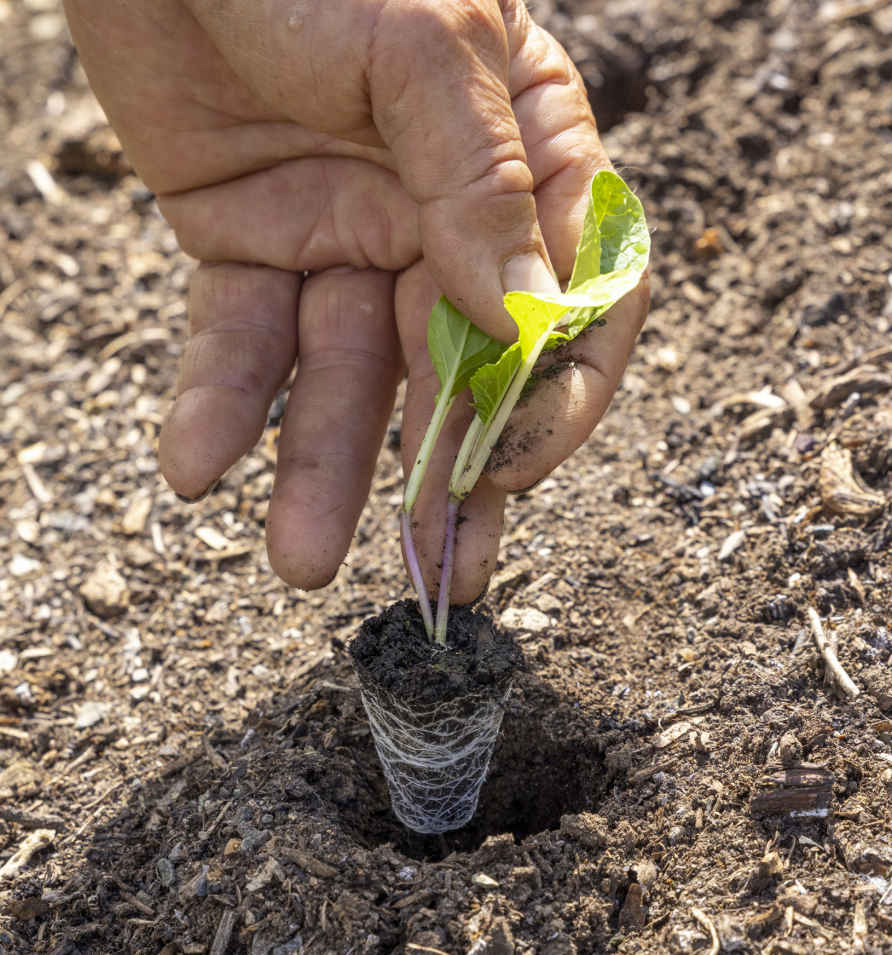
Transplant young pak choi into holes dibbed deep enough to bury the entire stem.
Tender salad leaves are a magnet for slugs and snails, which chew holes in leaves and destroy seedlings. Protect plants initially by raising them under cover, then reduce food sources and hiding places for mollusks by picking regularly and removing fading leaves. Rabbits can also decimate salad beds, but plantings can be protected at any stage with covers of mesh or bird netting.
Root aphids can damage lettuce badly in late summer. These small, sap-sucking insects feed unnoticed on roots; the most obvious sign of their presence is plants wilting suddenly and unexpectedly, especially in warm, dry weather. Endive and chicory are not affected, which makes them a good choice for fall salads where root aphids occur. Lettuce can also be prone to downy mildew, especially later in the growing season and in damp conditions. This fungal disease causes patches of leaf to turn yellow, then brown, often with white, fuzzy growth underneath. To help prevent its spread, remove affected leaves and water plants less frequently, preferably early on a sunny day.
Brassica salad crops are prone to insect pests in late spring and summer, which is a good reason to wait until late summer to sow them. Protect plants under fine mesh where necessary. Flea beetles are little black beetles that spring up when disturbed and pepper young foliage with round holes. They spoil the appearance of crops, check the growth of plants, and can even kill seedlings. Cabbage root flies lay eggs at the base of plants, and the resulting white maggots burrow down to feed on roots. This damage slows growth, results in sudden wilting when the weather is sunny, and may kill young transplants. Cabbage butterfly and moth caterpillars feed on the succulent leaves of pak choi and Chinese cabbage, often causing serious damage. Cover new transplants with fine mesh immediately to prevent adult insects from laying eggs.
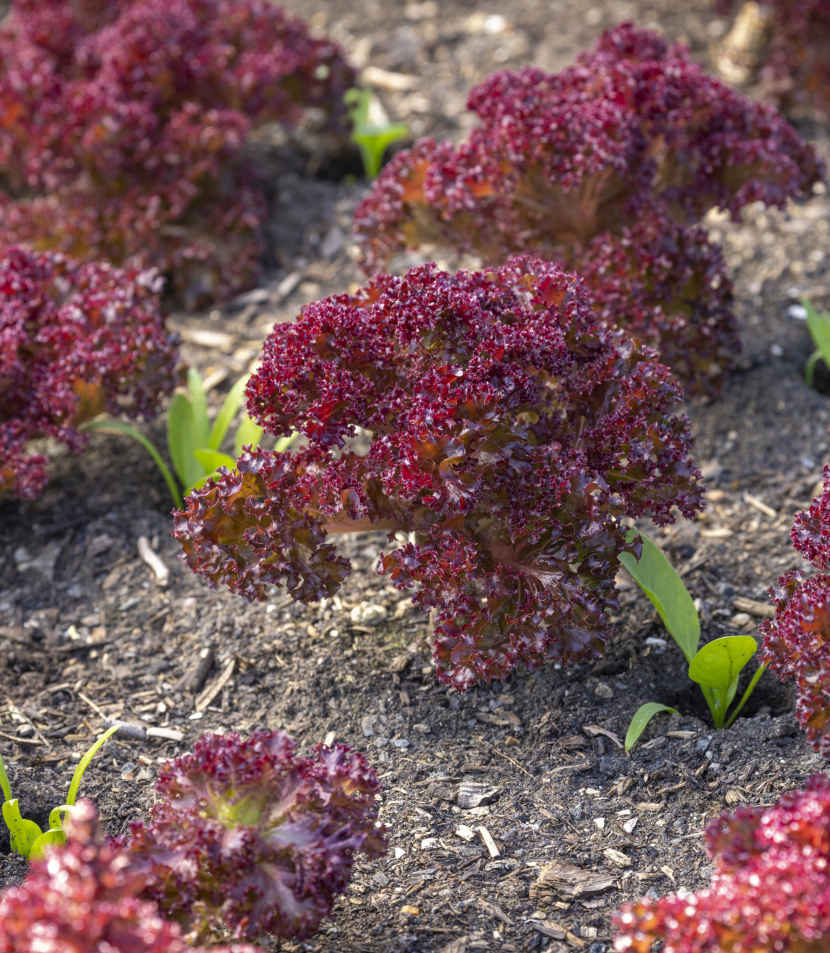
Lettuce ‘Lollo Rossa’, picked of its outer leaves, interplanted with spinach ‘Medania’.
Sow radicchio in summer, to transplant as a second planting after earlier crops, and harvest in fall. Find good-quality seeds and you can grow tight hearts of colorful, bittersweet leaves that are untroubled by most pests and are perfect in salads or gently cooked. Be wary of misleading seed packet descriptions. This profile covers raising Palla Rossa and Treviso radicchios in open ground during fall, but you can also grow varieties specially bred for forcing chicons and dig up their roots in early winter for forcing in any dark place.
Don’t sow radicchio in spring or the plants will rush to flower. Sow from the second week of June to mid-July, opting for the earlier date in cool climates. The later in this window you sow, the greater the value of your late-fall harvests, when there will be fewer fresh leaves around. Either sow thinly in a seed tray to prick out into 1¼ in (3 cm) cells or sow two seeds per cell and thin to one seedling.
Seedlings grow fast in summer and can be transplanted three weeks after sowing while still quite small. Where space isn’t available, pot them on into 2¾ in (7 cm) pots or interplant among a weed-free crop that’s three to four weeks from harvest. Dib holes 12 in (30 cm) apart and place in plants with the cell top below soil level to help retain moisture, as it’s often dry at planting time.
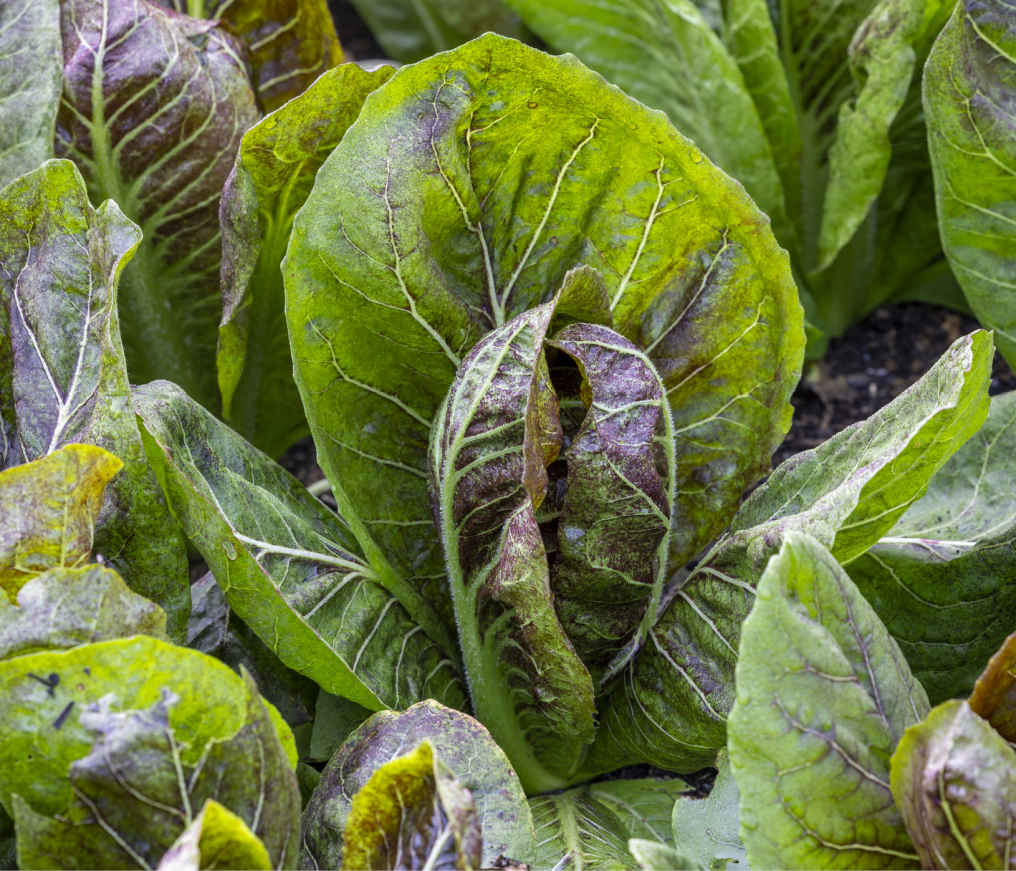
A maturing Treviso radicchio.
Water newly transplanted seedlings every couple of days in hot summer weather until you see them growing strongly. Plants heart up in fall when moisture isn’t a problem and carry on growing slowly in mild conditions until early winter.
The lovely thing about radicchio is that it has few problems with insect pests. Slugs will eat seedlings, but you can reduce potential damage by raising larger transplants in 2 in (5 cm) cells or 2¾ in (7 cm) pots. Keep rabbits off seedlings with bird netting or mesh—don’t use fleece because the plants will get too hot. Plants withstand frost best when hearts are still loose. Protect firm hearts with fleece for a late harvest in winter, if you don’t want to harvest and store them.
The prime harvest time is September from early sowings to November from later sowings. Plants may stand the winter, but harvest before spring because in March they switch growth habit toward flowering, and leaves become bitter. To pick, slip a knife under the head and cut the main stem, then trim off a good number of the outer leaves. Each variety has a different habit; if it’s not tight-hearting, the central leaves remain loose for a harvest containing many tough, bitter outer leaves.
Left too long, the outer leaves of hearts can turn brown and rot—some varieties are more prone to this than others. Check plants regularly, and if you see a rotting heart, cut it immediately. A lovely heart can usually still be found inside the rotten outer leaves. After harvest, slide a trowel underneath old stems to remove them and prevent regrowth. Firm radicchio hearts can store for four to six weeks in a box kept in a shed below 50°F (10°C), where they will tolerate some frost. This is often a better option than leaving them in the ground during winter.
VARIETIES
BALL-SHAPED PALLA ROSSA TYPES
‘506TT’ My favorite Italian variety is less readily available, but it’s worth seeking out for excellent red hearts.
‘Marzatica’ A red variety that performs well and hearts to a reasonable extent in fall.
‘Castelfranco’ Pretty green leaves, speckled yellow and pink, which fold inward rather than creating a tight heart. Some plants stand well through winter.
POINTED TREVISO TYPES
Select a variety suitable for growing outdoors, as some are bred for forcing under cover.
‘206TT’ A reliable Italian variety, less readily available, that forms fat, conical hearts outdoors, with thick, juicy white stalks.
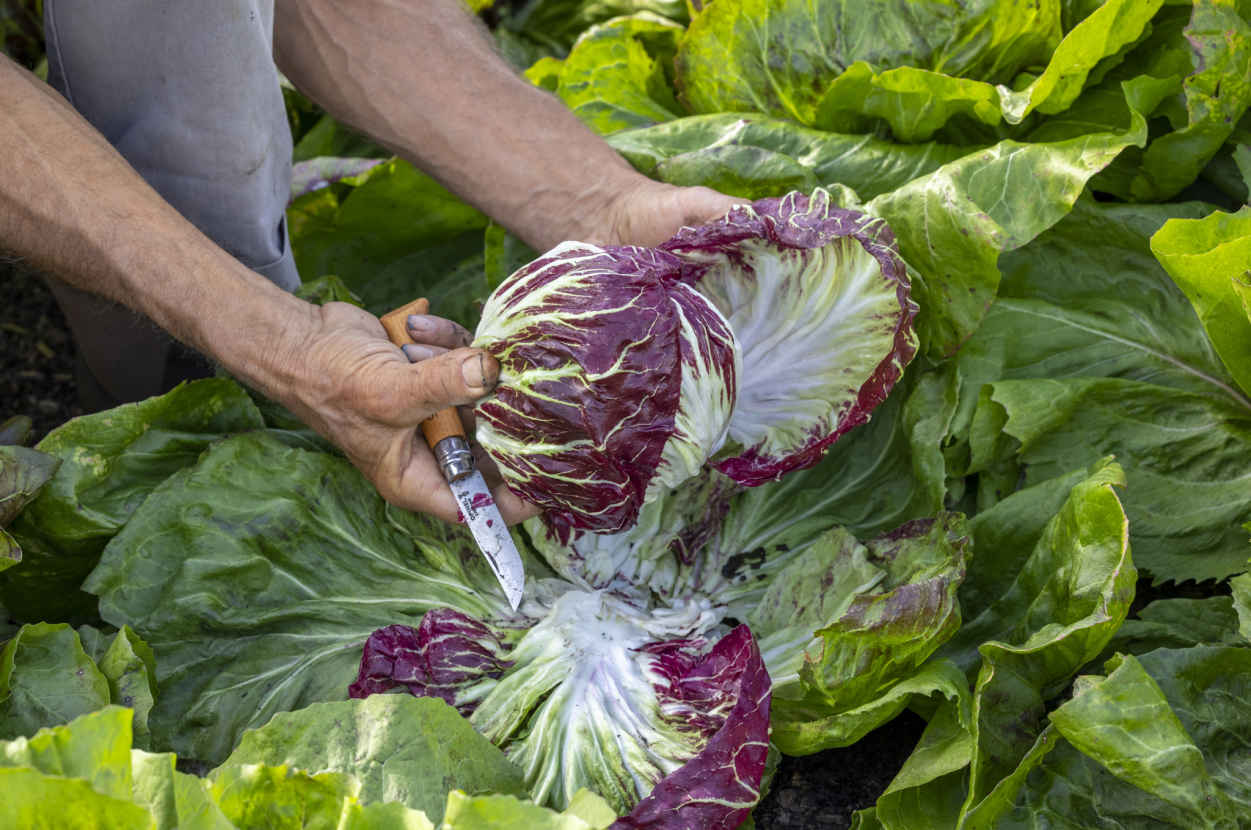
Cutting a firm head of Palla Rossa radicchio ‘506TT’.
KEY INFORMATION
Seed to first harvest: 3 months
Sowing to transplanting: 3–5 weeks
Position: Prefers full sun, but will tolerate shade
Spacing: 12 in (30 cm) equidistant for all types
Hardiness: Hardy; young or looseleaf plants to 5ºF (-15ºC), mature hearted plants to 23ºF (-5ºC)
Suitable for follow-on planting and interplanting

Endive flowers in late spring and is best sown in summer for abundant crops through fall and into winter, when it resists mildew and root aphid. Choose from broad-leaved escarole and attractive frisée varieties with highly indented leaves. Endive is sometimes confused with closely related lettuce and can be harvested in the same way for outer leaves or whole hearts. The difference is its bitter flavor, which is delicious countered with a slightly sweet dressing.
Sow from late June to early August for fast-growing seedlings to give harvests outdoors through fall. If you have space to grow endive under cover through winter, sow in early September. Germination can be variable, and I favor sowing into a small seed tray to prick out seedlings individually into 1¼ in (3 cm) cells. Other options are to sow two seeds per cell and thin to one or to make direct sowings thinly into rows 10 in (25 cm) apart, with seeds 2–4 in (5–10 cm) apart.
Summer-sown seedlings grow rapidly and are best transplanted after just three weeks. Endive is ideal to fill space after summer harvests of onions, summer cabbage, peas, and broad beans. Space planting holes 8¾ in (22 cm) apart each way for leaf harvests and 12 in (30 cm) apart to produce hearts. Drop plants in so that the top of the root ball sits below soil level and water in.
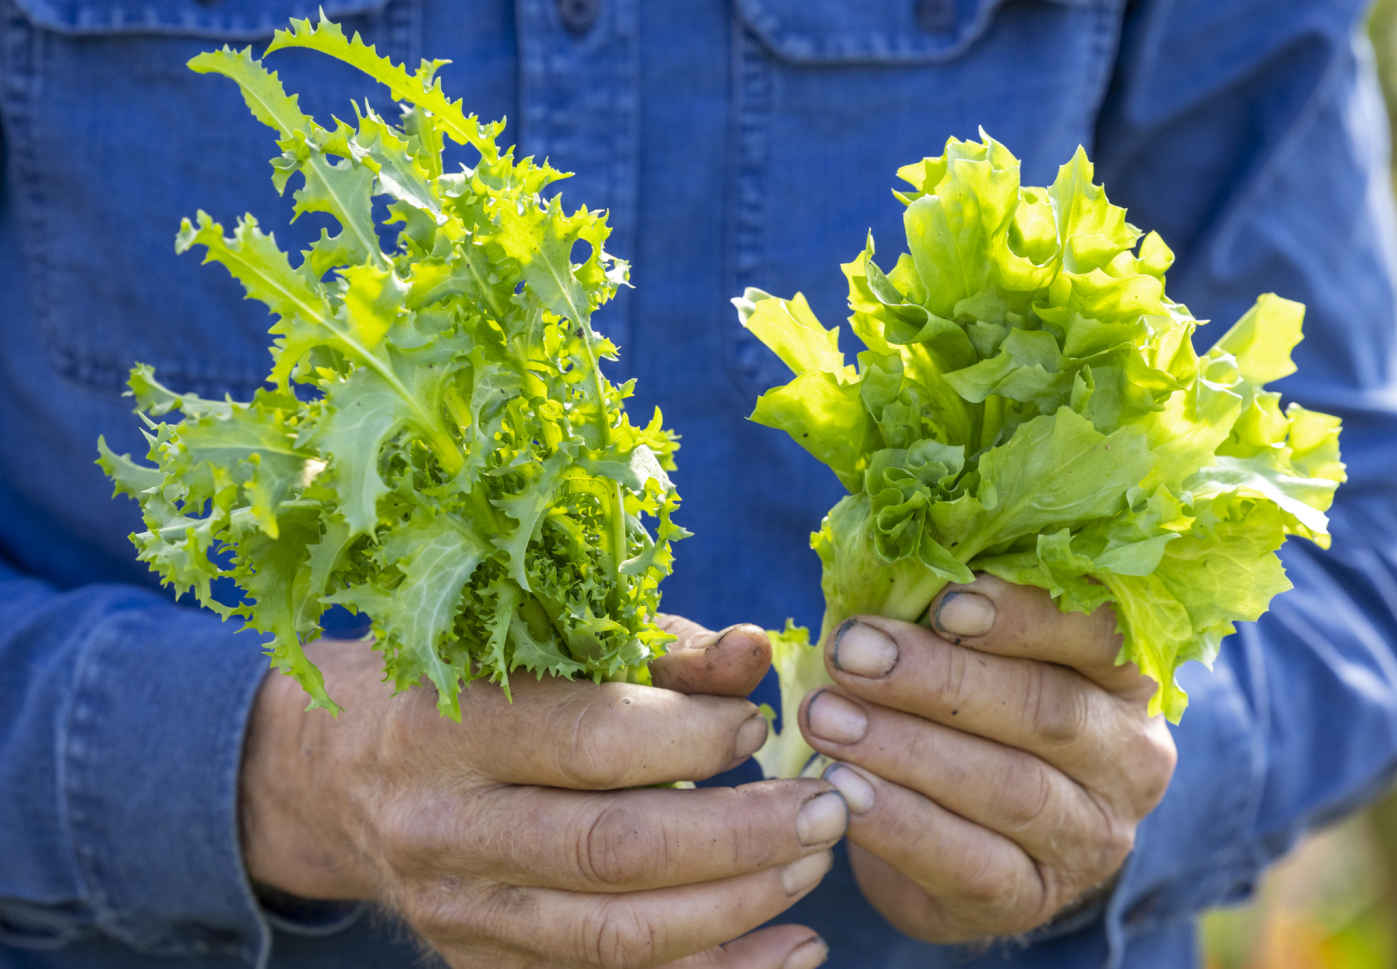
Freshly picked frisée and escarole endive.
Water generously during dry weather because these leafy plants don’t thrive in dry soil. Slugs cause only minor damage and rarely eat frisée varieties. Unlike lettuce, endive is not affected by root aphid in late summer. Rabbits and deer love endive, and bird netting is a better protection than mesh, as it allows more of fall’s scarce light to pass through.
Blanching is a way to reduce the bitterness of leaves by depriving plants of light, but I enjoy the taste of endive when green and firmly believe that bitter flavors are good for our health. It can also be difficult to blanch endive without at least some leaves rotting in darkness or slugs going rampant, and I don’t find it’s worth the effort. If you want to blanch, cover each plant with a large pot for a maximum of one week, allowing reasonable space between the plant and cover, before harvesting the whole head of leaves.
Harvest medium-sized, outer leaves individually from the base of plants. Place your thumb on top of a stalk and twist while gently pulling to break it off near the main stem of the plant. Work your way around the outside of plants, always leaving a rosette of leaves at the center for rapid regrowth and a lovely succession of green leaves through fall. Plants under cover will produce a few leaves over winter and many more as growth resumes in early spring.
Endive can also be left to heart up to give a single, large harvest of leaves anytime from late September to mid-November, depending on the sowing date. Cut the main stem just above soil level and trim off everything discolored and rotting. Sometimes the leaves between the outermost and innermost leaves of hearting plants turn brown, but you can still harvest the finest heart leaves, with careful trimming. Hearts can stand for two weeks or more in reasonable condition, even in temperatures down to about 28°F (-2°C), but harder frosts will damage the leaves. Endive leaves are drier than lettuce, which helps them store well for up to a week in a plastic bag in the fridge.
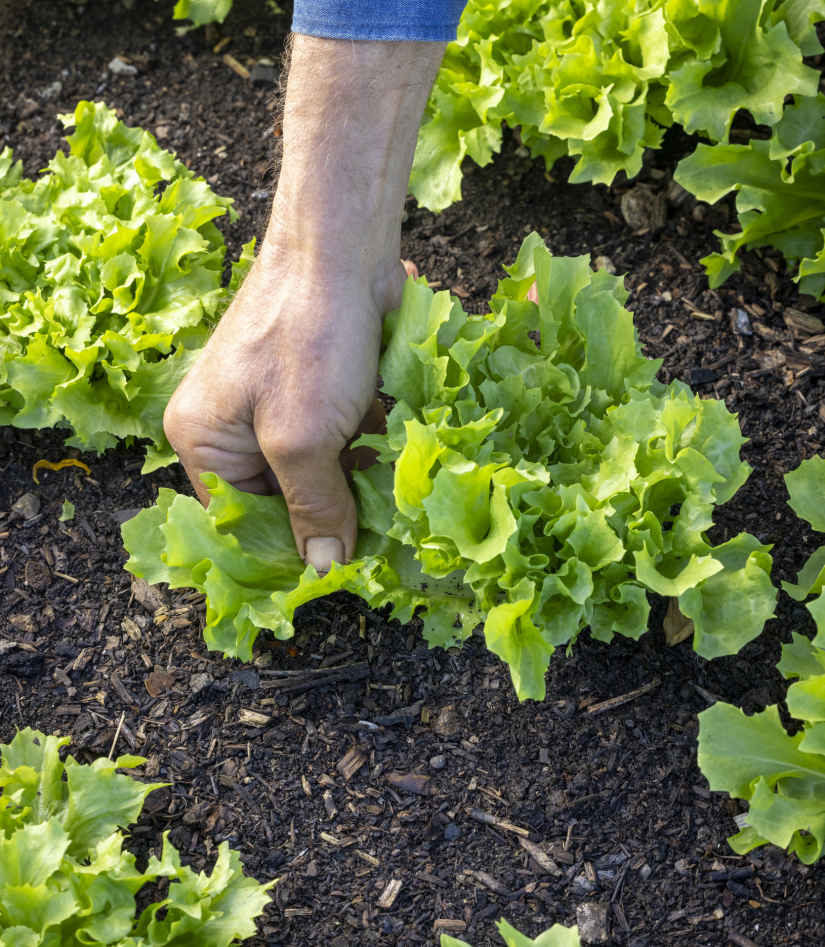
Pick outer leaves regularly during fall.
VARIETIES
FRISÉE
‘Wallone’ Strong growth and dark green, with plentiful leaves over a long period.
‘Pancalieri’ Prolific plants with deeply indented leaves.
ESCAROLE
‘Bubikopf’ and ‘Diva’ Both have large, slightly ruffled, pale green leaves, softer in texture than frisée.
KEY INFORMATION
Seed to harvest: 7–8 weeks for outer leaves, 11 weeks for hearts
Sowing to transplanting: 3 weeks
Position: Full sun is best, and they like moisture
Spacing: 8¾ in (22 cm) equidistant for outer leaves, 12 in (30 cm) for hearts, rows 10 in (25 cm) apart sown direct
Hardiness: Hardy to 14ºF (-10ºC), although hearts damaged by lighter frosts
Suitable as a follow-on crop

I’m a lettuce fanatic and enjoy regular harvests from very few sowings. In temperate climates, its natural season of growth is spring to midsummer, but it will grow in low temperatures to crop year-round. My method of picking medium-sized leaves rather than whole heads extends the harvest period from each sowing, reduces pest and disease problems, and makes lettuce the most productive vegetable I grow. A huge range of varieties is available; harvesting Batavian and cos types (see below) as leaf lettuce makes for a salad with an enticing mix of color and texture.
Sow from mid-February to mid-September in cells under cover. Within that period, I recommend just four sowing times for year-round harvests of leaf lettuce: late February to early March for harvests midspring through to midsummer; late-May to early June to pick from midsummer into early fall; mid-July for leaves from September until the first notable frosts; and early September to transplant under cover to pick from November to April. Sow more frequently for a steady supply of heading lettuce.
Either sow in a seed tray and prick seedlings into 1¼ in (3 cm) cells or sow two seeds into each cell and thin to one seedling. Picking is easier from single plants than from a clump. Sow a mixture of varieties for different colors and textures. Lettuce seeds need some light to germinate, so rather than covering them, scatter lightly with perlite or vermiculite or cover the seed tray with glass to keep seeds moist while they germinate. Keep the February sowing in the house because nights are cold. Although lettuce has a reputation for failing to germinate at high temperatures, summer sowings grow well in the greenhouse when kept out of direct sunlight for the first week.
Seedlings grow fast and can be transplanted just four weeks after early sowings and three weeks after summer sowings. Dib holes 8¾ in (22 cm) apart for leaf lettuce or 12 in (30 cm) apart for hearting lettuce and set the top of the root ball ½ in (1 cm) below soil level to retain moisture and ensure sturdy stems. Lettuce also thrives in wide, shallow boxes. For winter harvests, transplant a September sowing into boxes on staging under cover rather than a windowsill with low light levels.
Lettuce can also be grown from direct sowings. Sow thinly into moist soil or containers, from mid-March to early August, for quick cut-and-come-again crops of small leaves. Or thin plants to 8¾ in (22 cm) for leaf picking and 12 in (30 cm) for hearts.
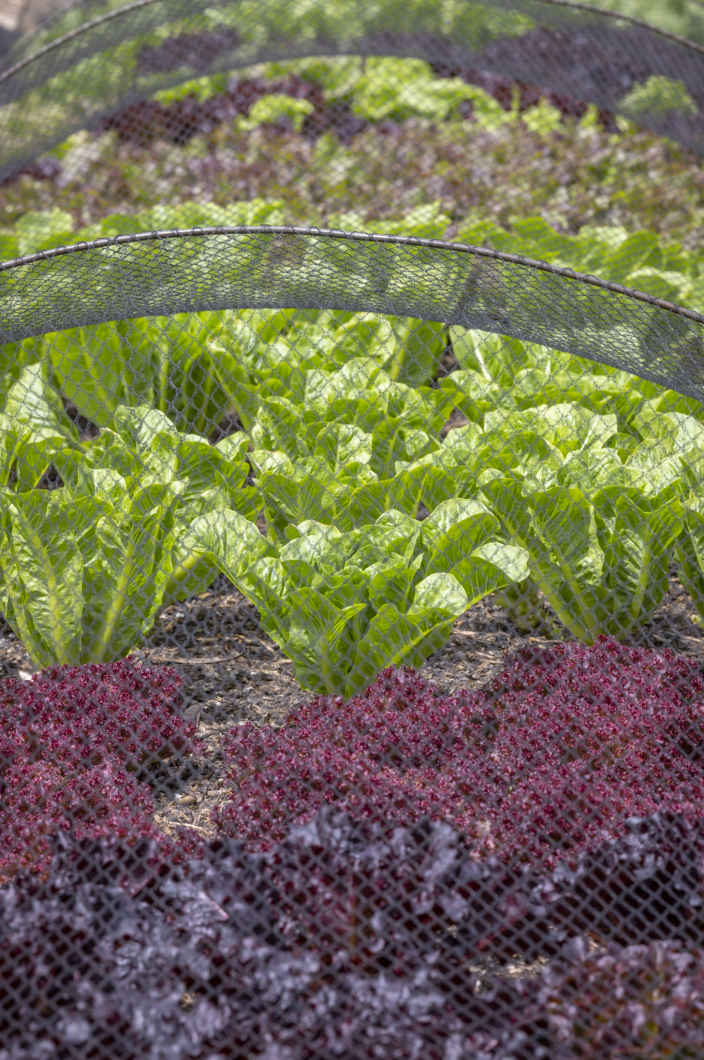
Use netting to protect a colorful lettuce crop from pests.
Water right after transplanting and again a couple of days later, then water only in hot weather, when a good soak every two or three days is beneficial and plants in pots should be checked daily. Water in the morning to avoid wet leaves overnight, as this reduces damage from slugs and downy mildew. In winter, I hardly water lettuce in my polytunnels to keep the soil surface and leaves dry, which reduces slug numbers and fungal disease.
Cover early spring plantings with fleece for warmth and protection from pests like rabbits and birds. From May onward, exclude these pests using cooler netting, thermacrop, or mesh. Reduce slug habitat by keeping nearby beds tidy and removing rotting wooden sides of beds. Other soil pests, like cutworms or wireworms, can cut young plants at the base, especially in spring. Find and remove them by rummaging in soil under the affected plant. Keep a few transplants in reserve, especially in spring, to replace any losses.
Lettuce root aphids feed mostly in late summer, sometimes causing plants to wilt quickly and dramatically. Remove affected plants to compost. To help combat root aphids, keep soil moist and add an annual compost mulch to retain soil moisture in summer.
Picking leaf lettuce regularly prevents downy mildew, which affects mainly older leaves. When daylight levels decrease rapidly in October and growth slows, leaves become more prone to downy mildew, especially in damp weather. Escarole endives are a more reliable fall harvest.
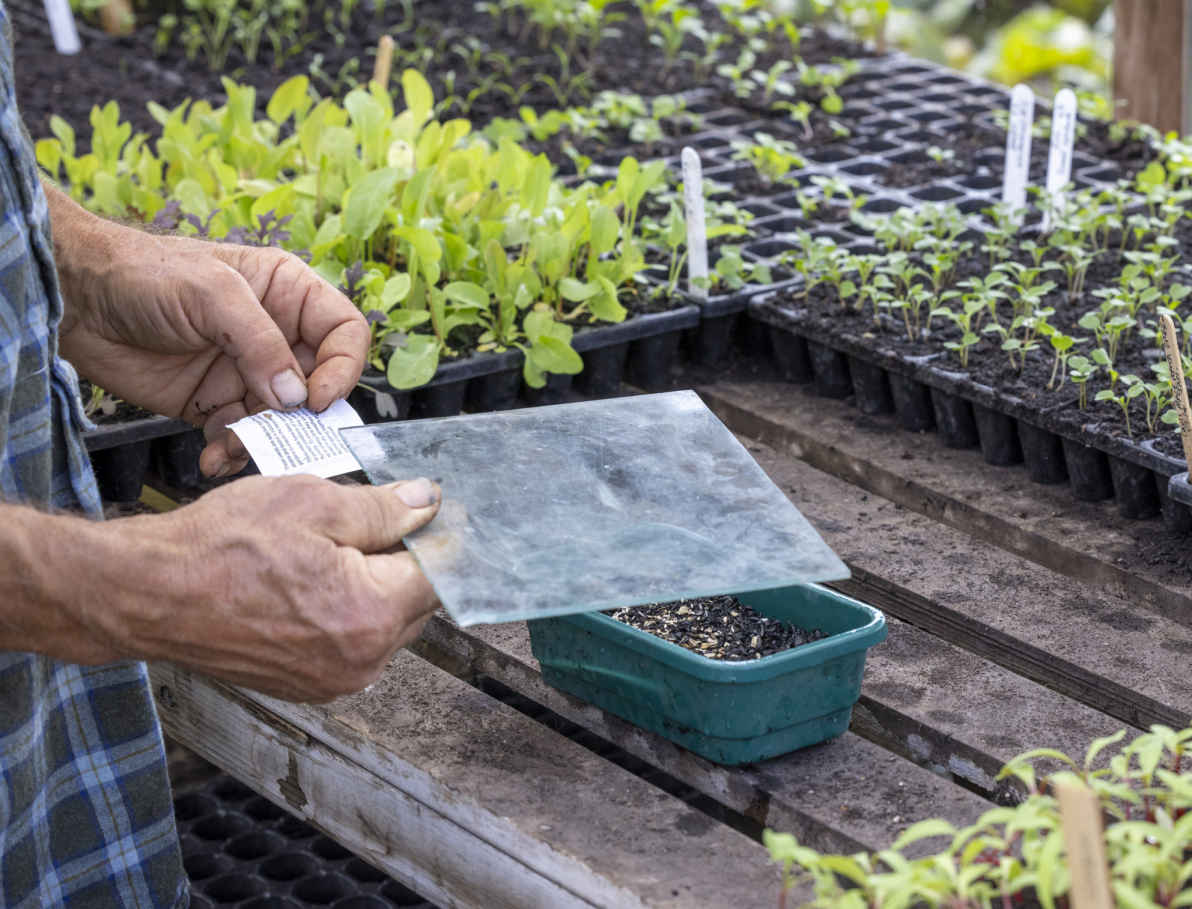
Cover sowings with glass to aid germination.
Harvests in spring and summer are larger and healthier than those in fall. Pick larger outer leaves at least weekly, leaving the baby central leaves to grow on. This enables plants to “stay young” and produce new leaves for 10 weeks, or even for six months from a fall sowing, until eventually a flower head forms and leaves become smaller and bitter.
Begin to harvest when the outer leaves of plants spaced 8¾ in (22 cm) apart start touching their neighbors. To pick, place your thumb over a leaf stalk close to the main stem and push down with a slight rotation to detach the leaf cleanly with its stalk attached. Do this carefully on a first pick, when plants and roots are especially delicate. Remove any damaged or discolored lower leaves and keep the stem tidy so that it starts to resemble a little tree trunk as the plant grows upward. Pick leaves every few days and at least once a week, whether or not you need the leaves, because unpicked plants will go to flower more quickly.
From May to September, lettuce plants easily grow one new leaf a day, and they all need picking before they start to decay and attract slugs. Establishing how often and how hard to pick takes practice. If too many small leaves are removed from the center, plants take longer to regrow; however, take advantage of this if you’re going away for a week or two in summer and pick plants heavily before you go so that they are just ready to pick on your return. Wash harvested leaves and shake out excess moisture, and they will keep in a plastic bag in the fridge for a few days. Lettuce stalks brown at the tip after a day or two, but they are still good to eat.
Cut heads of lettuce when the central leaves fold in and turn paler. Start to harvest heads before they’re too tight because they lose quality after about two weeks and begin to turn bitter as they rise toward flowering. Harvested heads can also be kept in the fridge so that leaves can be removed as required. Always harvest cut-and-come-again lettuce above the smallest leaf; otherwise, the plant won’t regrow. It’s usually possible to make two or three cuts per sowing.
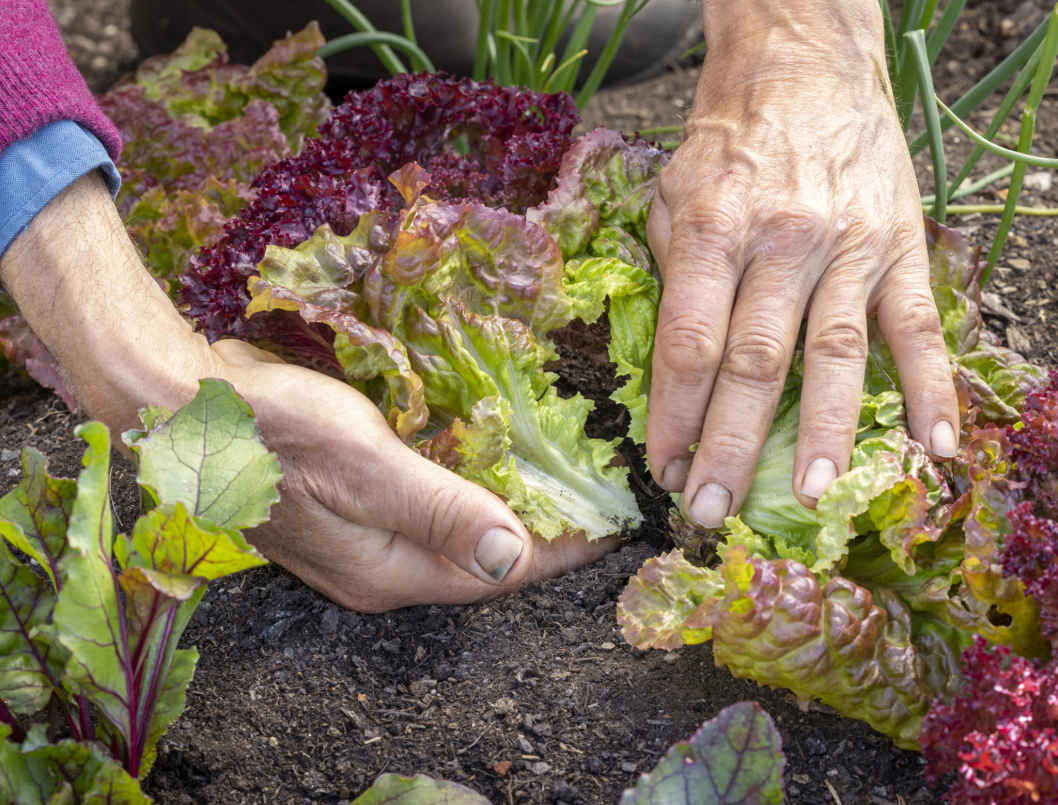
Picking outer leaves gives harvests over a long period.
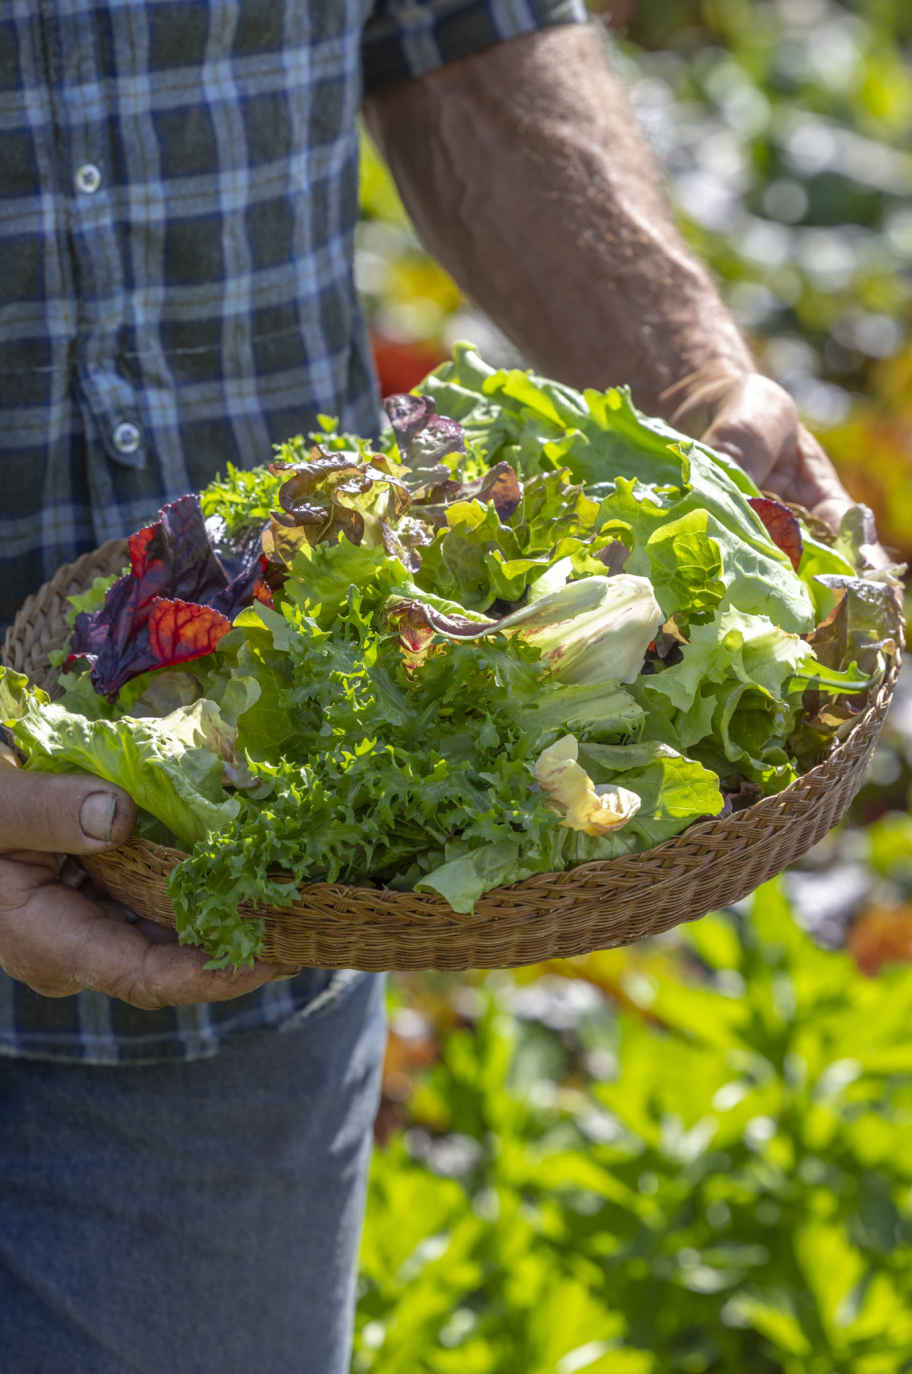
Mix lettuce varieties with endive and radicchio for diverse colors and textures.
SAVING SEED
It is possible to save lettuce seed from a single plant, and you could save seed from two neighboring plants of different varieties because they don’t cross-pollinate. It can be difficult to gather dry seed from a spring sowing because seeds ripen as late as September. An alternative is to sow in early September and overwinter seedlings under cover to plant out in spring for plants that flower and set seed in late summer. Select your strongest plant and stake the 30-in (75-cm) tall flowering stem. About two weeks after you see the head of yellow, tufted flowers, twist out the plant and hang it up to dry. A month later, rub out the seeds from the many dry tufts.
VARIETIES
COS TYPES
Easy to pick as leaf lettuce with an upright growth habit. They also make fine, sweet hearts.
‘Valmaine’, ‘Parris Island Cos’ Both are quite large and give plentiful dark green leaves over a long period.
‘Little Gem’, ‘Maureen’ Smaller cos varieties normally grown for heads that also give many harvests when picked of outer leaves.
‘Winter Density’ Reliably forms a nice green heart or very productive picked for leaves.
‘Bijou’ Slower growing with attractive dark red leaves and a slightly bitter flavor. More prone to mildew.
‘Rosedale’ Crunchy leaves with a blush of pink color.
BATAVIAN TYPES
Long-lived plants whose leaves are slightly firmer and crunchier than cos types.
‘Grenoble Red’ (‘Rouge Grenobloise’) Originates from the Alps and is hardy, especially over winter in a polytunnel where it can crop from November to late May.
‘Maravilla de Verano’ At its best in summer, when it crops for a very long period before flowering. Leaves are sweet and a good size.
BUTTERHEAD TYPES
Usually grown for their heads of soft, buttery, rounded leaves.
‘Marvel of Four Seasons’ This excellent hardy variety has bronzed, light green leaves and can be picked for leaf lettuce and sown for overwintering.
‘Humil’ Pale green and has super-soft leaves.
ICEBERG OR CRISPHEAD TYPES
Form tight heads of crisp, pale green leaves and cannot be grown as leaf lettuce. They need a warm summer.
‘Webbs Wonderful’ and ‘Lakeland’ Both have softer, thicker leaves than supermarket iceberg heads.
LOOSE-LEAF TYPES
Never form a heart and can be picked as leaf lettuce or a cut-and-come-again crop.
‘Lollo Rossa’ and ‘Lollo Bionda’ Frilled, deep red and light green leaves respectively add color and texture to salads.
‘Navara’ Rich red, glossy leaves with some resistance to root aphid.
‘Red Salad Bowl’ and ‘Green Salad Bowl’ Widely available oak leaf varieties that often run to seed quickly and are best avoided.
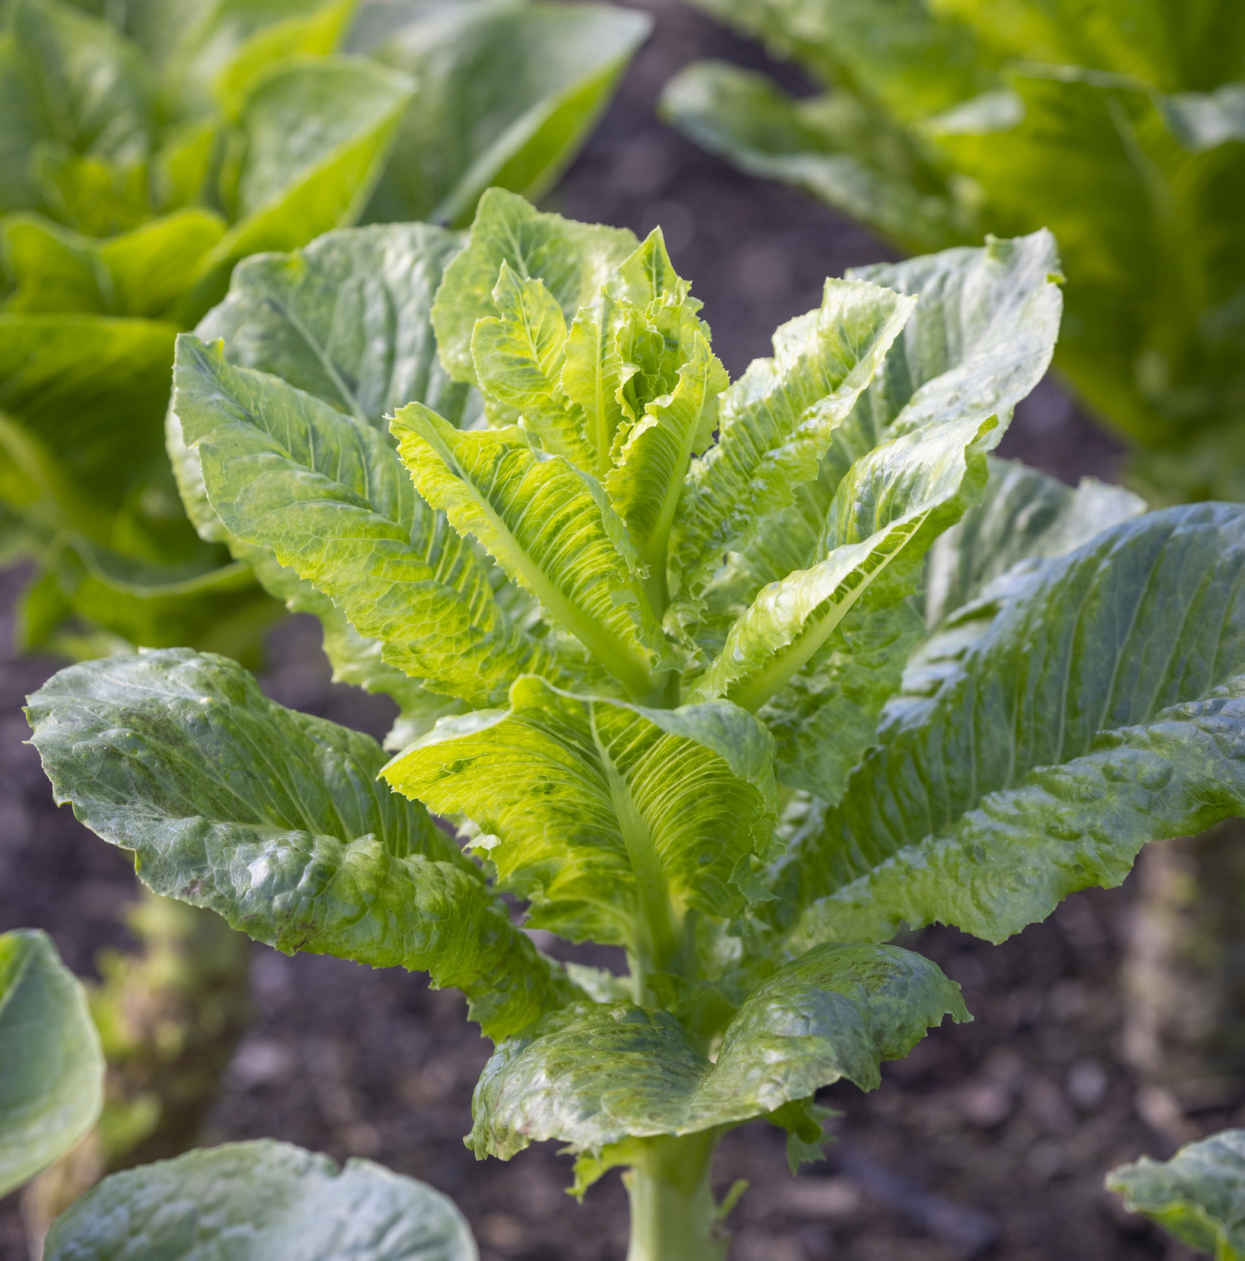
Lettuce ‘Winter Density’.
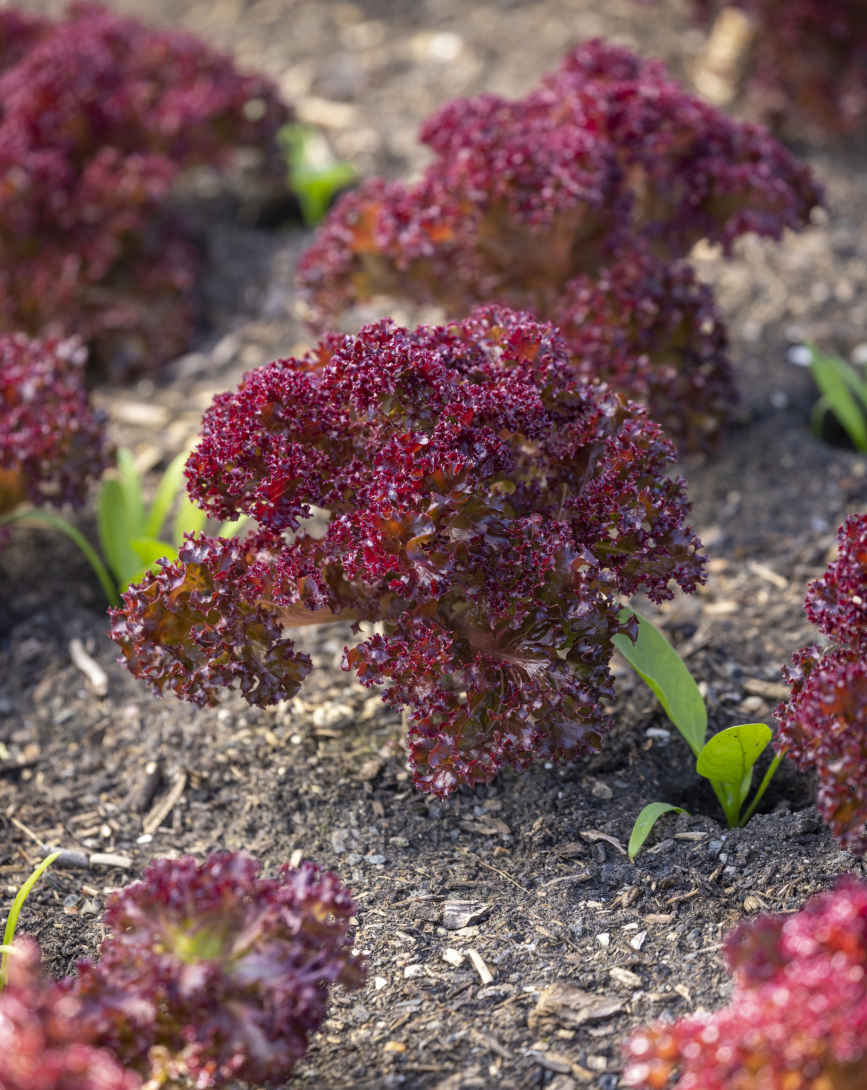
‘Lollo Rossa’, interplanted with spinach.
KEY INFORMATION
EARLY VARIETIES
Seed to first harvest: 6 weeks for leaf lettuce, 10–12 weeks for hearts, 4–5 weeks for cut-and-come-again
Sowing to transplanting: 3–4 weeks
Position: Full sun or light shade; full sun in winter
Spacing: Leaf lettuce, 8¾ in (22 cm) equidistant. Hearting lettuce, 12 in (30 cm). Cut-and-come-again, rows 6–8¾ in (15–22 cm) apart
Hardiness: Hardy, but don’t thrive in regular frost. To 19ºF (-7ºC) in a polytunnel
Suitable for interplanting and saving seed

Chinese cabbage has a mild flavor and tender texture, perfect for stir-fries, salads, or roasting. It is also fast-growing, capable of withstanding some frost, and will store for up to a month. Unfortunately, caterpillars and other insects also have a taste for the puckered, pale green leaves, and the difficultly of growing plants to maturity with tight hearts free of caterpillar holes should not be underestimated.
Like other salads from the brassica family, Chinese cabbage is a crop for the second half of the year, best-suited to sowing in late July. They naturally rise to flower in late spring or early summer, which leaves spring sowings little opportunity to develop hearts before they start to bolt.
For insect protection, raise plants under cover by either sowing into a seed tray to prick out into cells, or sow two seeds in each 1¼ in (3 cm) cell and thin to the strongest seedling. Growth is so fast that seedlings can be transplanted from 15 to 21 days old; don’t leave plants in cells for any longer. Space plants 12 in (30 cm) apart each way, and up to 14 in (35 cm) apart to produce larger hearts. Dib holes and transplant so that the top of the cell is 2 in (5 cm) below the soil to support the tall stems. Protect plants with a fine mesh cover as soon as they are in the ground to exclude as many insect pests as possible.
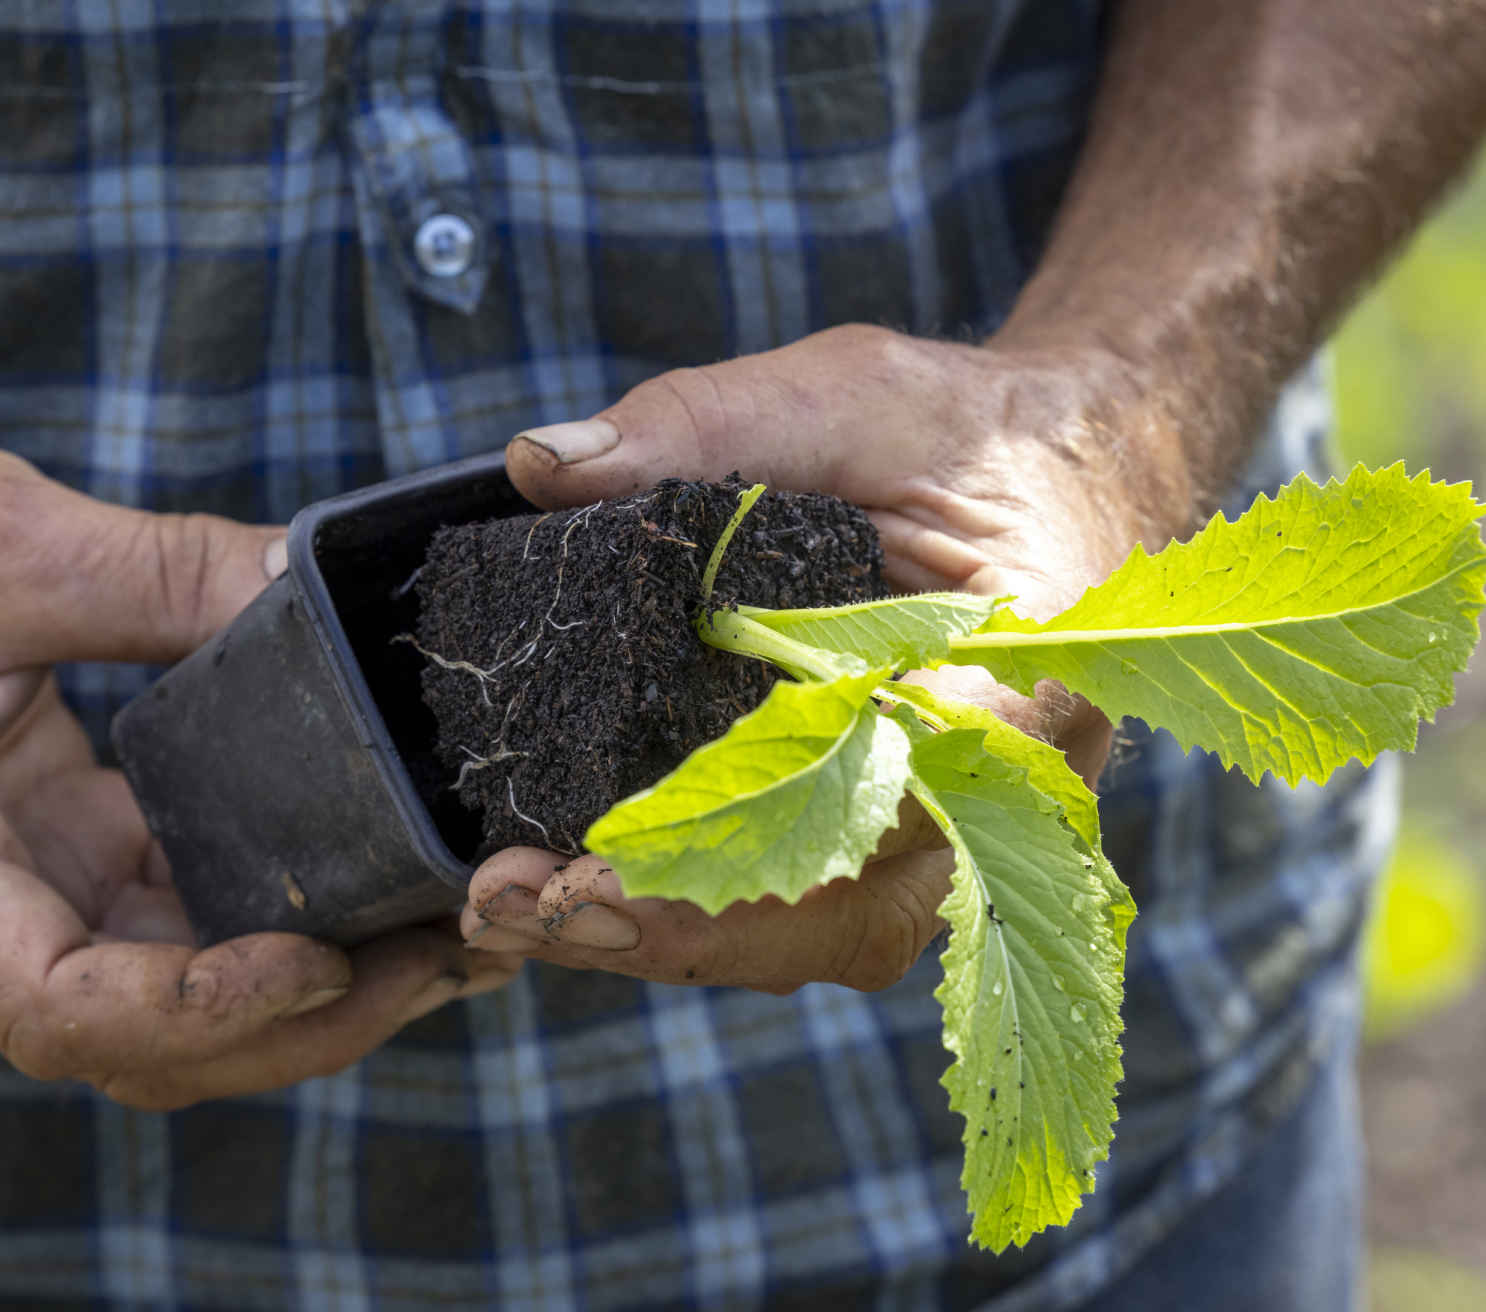
A 24-day-old Chinese cabbage ready to transplant.
Continue to cover plants with fine mesh until harvest to provide as much protection as possible from pests, but even then, check plants and remove any caterpillars you see. Where slugs are numerous, remove and compost the older, outer leaves as they start to yellow, since this is where most slugs will hide. Twist each leaf off gently while holding the center of the plant where the heart leaves are forming so as not to disturb the shallow roots. This creates space for dry air to circulate around each plant, where otherwise there can be a mass of rotting leaves by October.
In late summer, new transplants need watering every two or three days in dry weather. Even once established, fast-growing Chinese cabbage plants are thirsty and benefit from a good soak twice a week unless rainfall is plentiful. Water less as fall advances.
The size and tightness of the heart at the center of each plant will vary according to the variety. Plants usually mature in October when there is a short window of about two weeks to harvest hearts in good condition before the outer leaves start to discolor and decay. Plants are hardy, but frost can spoil mature heads by blowing them open, so harvest before the weather turns too cold. Cut through the main stem, just below the lowest leaves that you want to keep. Twist the remaining stem and roots from the soil to compost. I have tried growing Chinese cabbage to harvest by picking off the outer leaves individually, but it didn’t work well and is best grown as a hearting plant.
Tight hearts, harvested in their prime, hold moisture well and can be stored in a cool shed for up to a month. Remove any loose outer leaves and check for slugs before storing.
VARIETIES
‘Blues’ F1 A standard short, fat, barrel-shaped variety that stands reasonably well.
‘Michihili’ This taller variety produces pointed hearts 18 in (45 cm) high, which risk both flowering and blowing over.
‘Sat 36’ Compact, cylindrical heads that can reach 3 lb (1.3 kg) in weight.
‘Granat’ Sow July to early August for long, slender heads. Not suitable for storage.
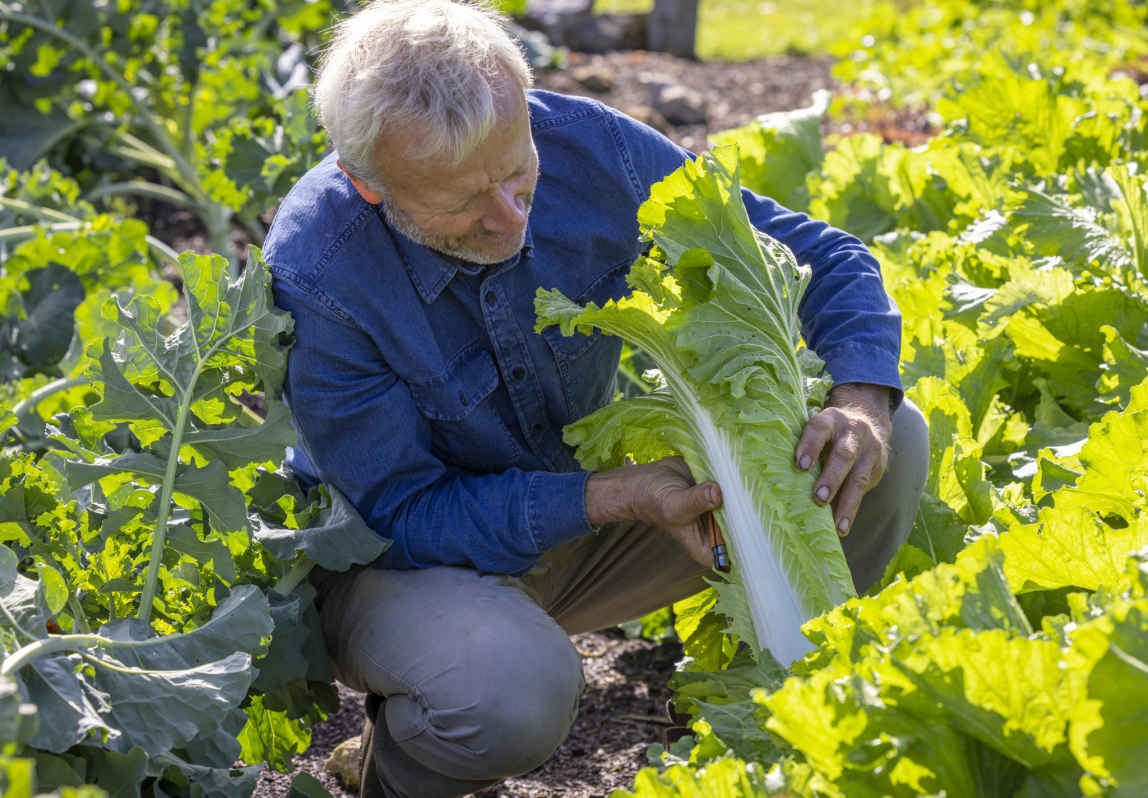
Cutting a head of Chinese cabbage ‘Michihili’.
KEY INFORMATION
Seed to first harvest: 10 weeks
Sowing to transplanting: 2–3 weeks
Position: Full sun for fewer slugs
Spacing: 12–14 in (30–35 cm)
Hardiness: Hardy; nonheaded plants 14ºF (-10ºC), headed plants 25ºF (-4ºC)
Suitable as a second follow-on crop

These attractive, cold-tolerant crops from the brassica family put on tender new growth in cool conditions for fantastic fall and winter harvests. Best sown in late summer, they can also be sown very early in spring for a short cropping period before they flower in late spring and early summer. Mizuna has mild flavor, while mustard leaves are pungent, especially from older plants. Pick or cut them small for salad leaves, or let mustards grow larger for cooking in stir-fries.
Sow in early August, or late July in cooler climates, for leaves to harvest through fall, winter, and into early spring. Winter harvests are small from plants outside, and if possible, I recommend making another sowing in mid-September to grow under cover. Plus you can sow under cover in mid-February to mid-March to plant outdoors for a few spring harvests.
Either sow directly into the soil, in drills 8 in (20 cm) apart, or multisow three seeds in 1¼ in (3 cm) cells to raise plants under cover. Direct sowing works well if you want to grow a thick sward of leaves to cut small for salad; mizuna is more suitable for cutting than mustards because each plant grows many smaller leaves rather than few large ones. Multisowing to give two plants per cell results in larger leaves to pick individually. This uses less seed, and plants live longer.
In late summer, water the bed before transplanting if it is dry after harvesting the previous vegetable crop. Transplant when young, from two to three weeks after sowing, dibbing holes deep enough to bury the seedlings’ long stems. Space cells 8–8¾ in (20–22 cm) apart, whether they contain one or three plants in the cell—clusters of plants just produce smaller leaves. Thin seedlings in direct-sown rows to 1 in (2.5 cm) apart for salad leaves or 4 in (10 cm) apart for large leaves.
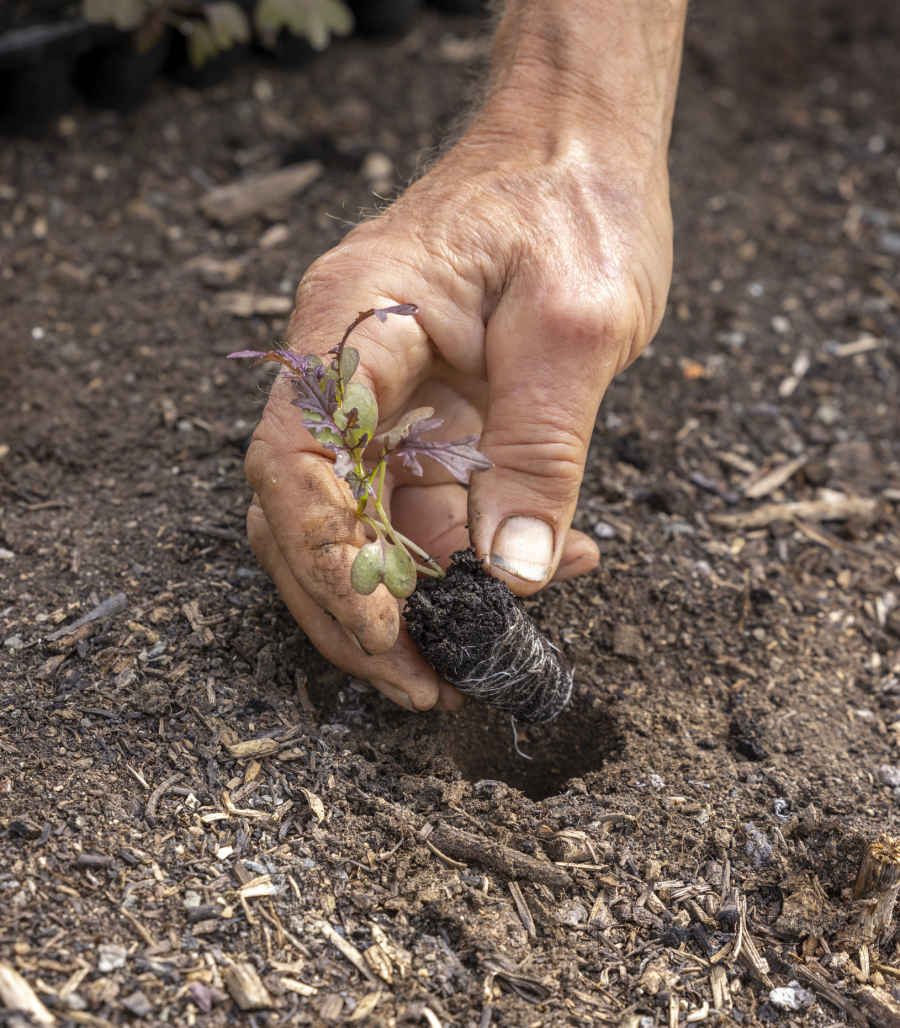
Transplant mustard seedlings small.
Growing mizuna and mustards in the latter part of the year avoids problems with many of the insect pests that affect brassicas, but a mesh cover is worthwhile for about three weeks after transplanting and five weeks after sowing to protect the tender young plants. Cover spring transplants with fleece to give warmth and protection from the weather, as well as to keep off rabbits and pigeons. Slug damage is a common problem, particularly on juicy mizuna leaves, so it may be worth growing more mustards in slug-prone spots.
Water transplants in and continue to water if the weather is dry. Although moisture-loving, plants are unlikely to need further watering during cool fall weather. The flavor of mustards becomes hotter in dry conditions, and watering dilutes this if you prefer a milder taste. Plants under cover need regular watering, but I find that once weekly, and less in midwinter, is enough through winter for plants in my polytunnel.
Leaves can either be picked individually from plants or harvested as a cut-and-come-again crop. If you choose to cut, do it above the smallest leaf at the center of each plant so they can regrow. It’s a quick and easy harvest, but the total yield will be smaller and over a shorter period because plants will regrow only two or three times. I prefer to spend a bit more time picking leaf-by-leaf, little and often, as this extends the life of the plants. Pick when leaves reach your preferred size at the base of the stalk between thumb and forefinger, with scissors, or with a knife while taking care not rock the plants and damage their fragile roots. Mustard leaves are agreeable to eat raw when small but grow more pungent as their size increases and plants age. The stalks are best picked even if you want to eat leaves only to prevent them from rotting on the plant.
Leaves will keep for five days in the fridge, kept moist in a plastic bag.
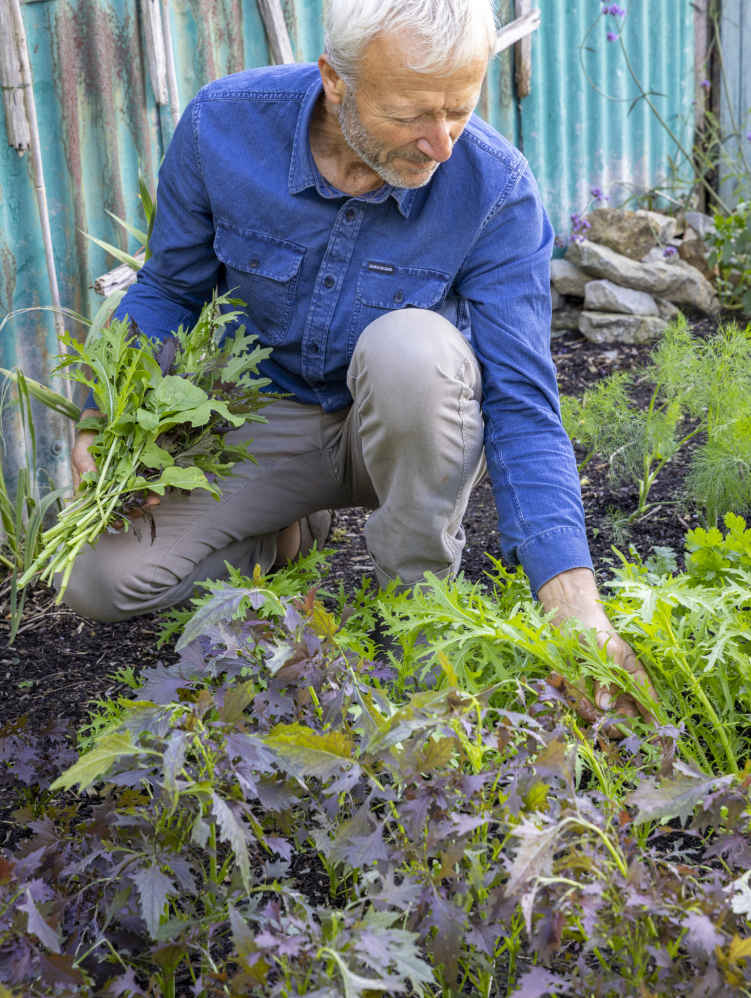
Picking individual leaves from mustards ‘Green Frills’ and ‘Red Frills’ in early fall.
VARIETIES
MIZUNA
Seed is usually sold under its generic name, and this is what I recommend you grow.
MIBUNA
Similar to mizuna but with slender, smooth-edged leaves and less green on each stalk.
MUSTARDS
‘Red Frills’ and ‘Green Frills’ Ideal for salads. Elegant, finely divided leaves in rich burgundy or vibrant green (sometimes called ‘Red Lace’ and ‘Green Streaks’).
‘Red Giant’ Puckered, rounded, red leaves have a strong flavor and suit stir-fries.
‘Pizzo’ Broad, green, frilly leaves lovely for cooking.
‘Red Dragon’ Pretty and can be picked small for salad or large for cooking.
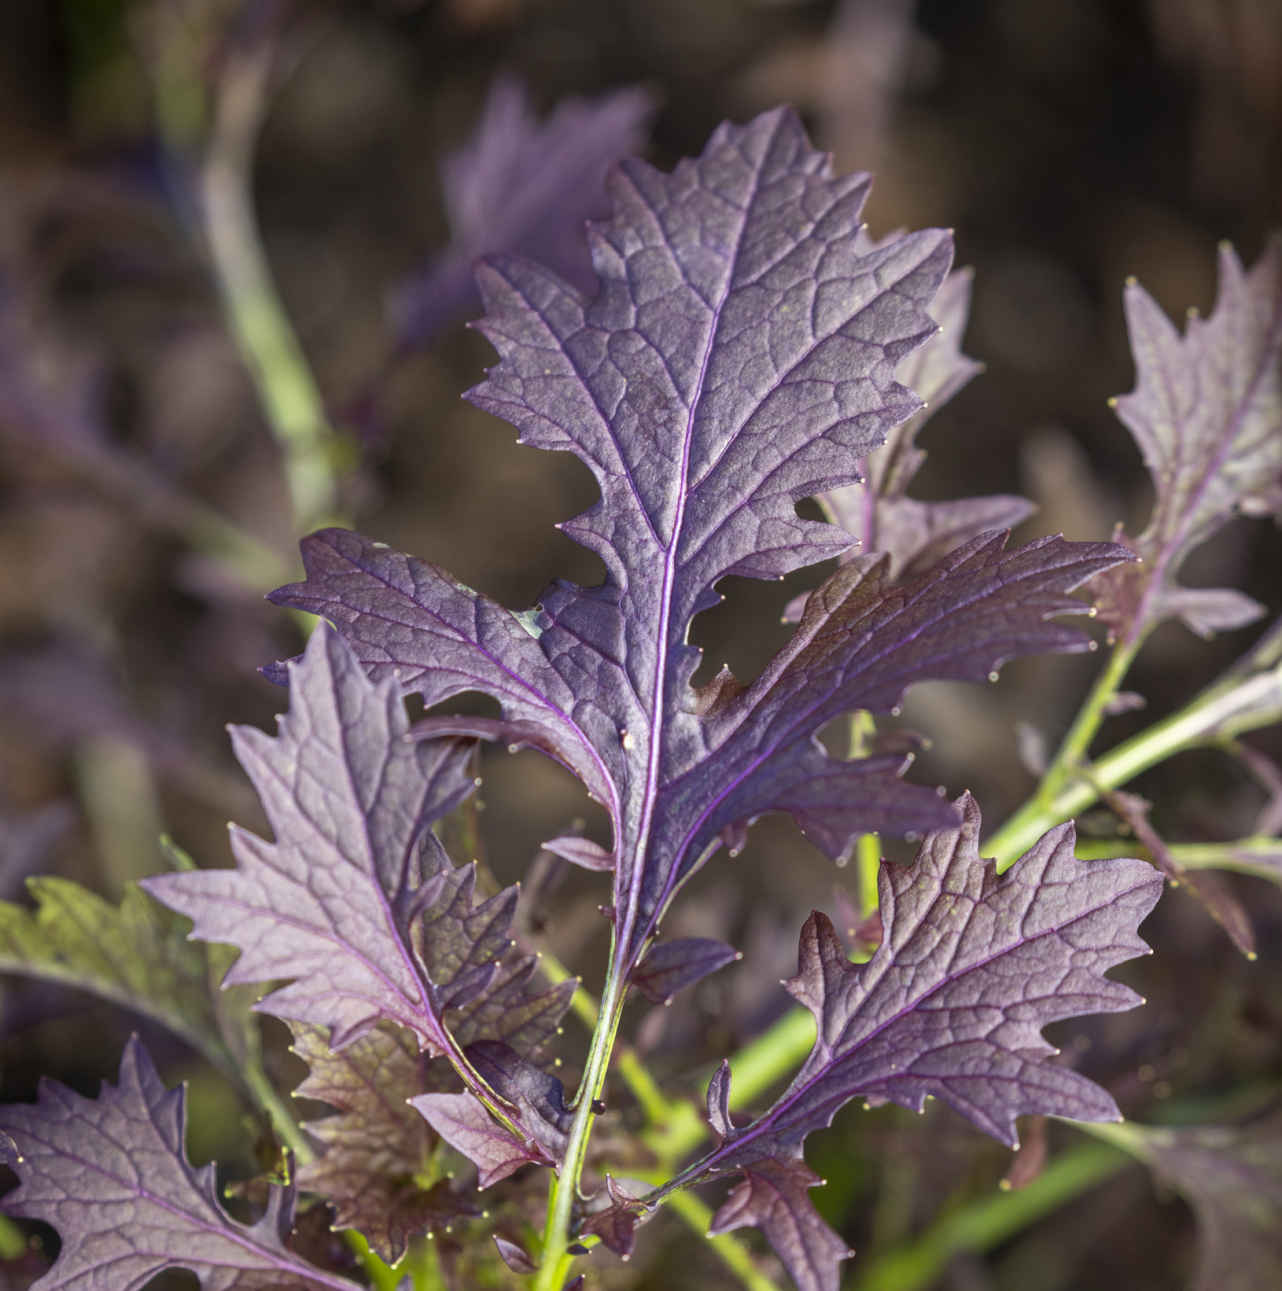
Mustard ‘Red Frills’ has richly colored leaves.
KEY INFORMATION
Seed to first harvest: 5–6 weeks
Sowing to transplanting: 2–3 weeks
Position: Cool, moist conditions. Grow well in some shade
Spacing: 8–8¾ in (20–22 cm) equidistant or in rows 8 in (20 cm) apart
Hardiness: Fairly hardy; mizuna to 27ºF (-3ºC) and mustard to 23ºF (-5ºC)
Suitable for multisowing and as a second follow-on crop

Fast-growing and highly productive, pak choi is an attractive proposition, but pest problems can make it one of the most difficult vegetables to grow well. The best harvests are in fall, when plants thrive in lower temperatures and benefit from the presence of fewer insects. Nonetheless your plants will have more holes than pak choi on supermarket shelves but will certainly boast more flavor and crunch.
By far the best option is to sow in early August, when there will be fewer caterpillars and flea beetles, which plague pak choi during summer. Sowing in mid-February can also give a brief harvest in early spring until plants rise to flower. Always sow under cover either three seeds in a 1¼ in (3 cm) cell or a few seeds in a little seed tray to prick out into cells within five days of sowing at the two-leaf stage.
Transplant pak choi at just two, or a maximum of three, weeks old because they grow so fast. Dib holes 8–10 in (20–25 cm) apart, deep enough to bury the long, spindly stems. You can grow multisown plants at a 10 in (25 cm) spacing, with two or three in a clump for smaller heads.
Watering is particularly important in dry weather because pak choi is so fast-growing and full of water. The beauty of growing them in fall is that it rains more, and usually less watering is required than in spring. To reduce slug damage, water in the morning so that most leaves are dry before nightfall.
Protect spring crops from cold weather and pests with a covering of fleece. In late summer, cover pak choi with fine mesh supported on hoops immediately after transplanting to keep out flea beetles, thrips, pigeons, and egg-laying butterflies. The first month is critical; after that, plants toughen up and suffer less pest damage. It may then be possible to take the mesh cover off, but you have to judge for your own garden. Remove any yellow or rotting lower leaves as plants mature to keep the bed tidy and reduce habitat for slugs.
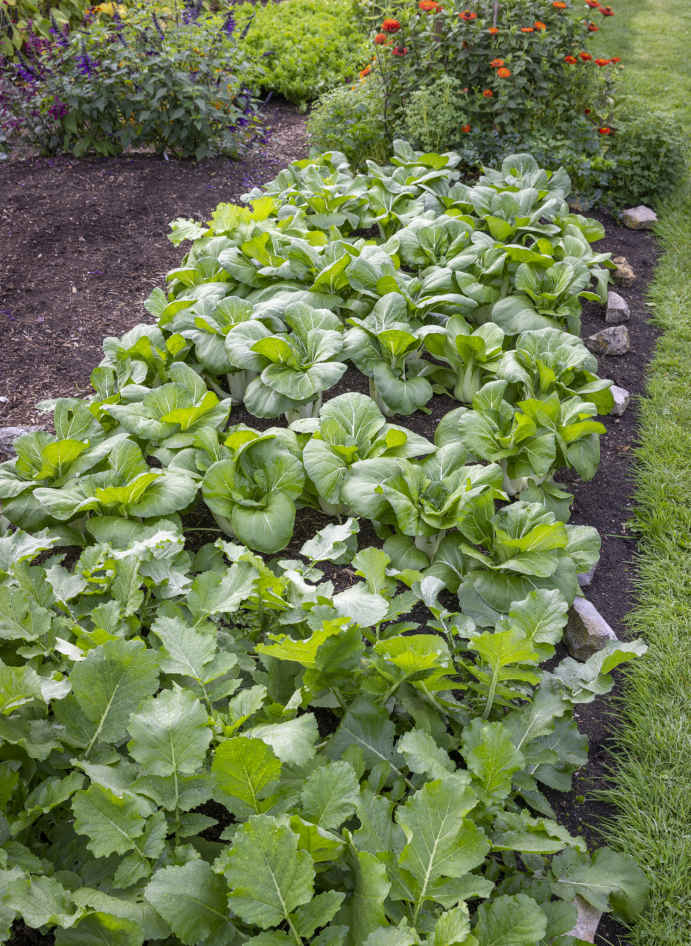
Mature pak choi in early fall with winter radish.
There are two ways to harvest pak choi, which will be ready once the leaves of neighboring plants are close to touching each other. The first is to cut the outer leaves from plants regularly and allow younger leaves to continue growing. This needs care and works best if you hold the center of the plant while cutting the outer leaves because the roots are fragile and easily disturbed. Alternatively, harvest a whole plant by cutting through the base of its main stem. This works nicely for multisown clumps because the biggest one can be cut first, leaving the others to grow on. In fall, a few plants from August sowings may flower, but most will carry on growing into November until frost damages plants. Plants don’t stand for as long in spring, and all need to be harvested before flower stems develop.
The watery leaves of pak choi don’t store well, but you can keep them in a plastic bag in the fridge for a few days.
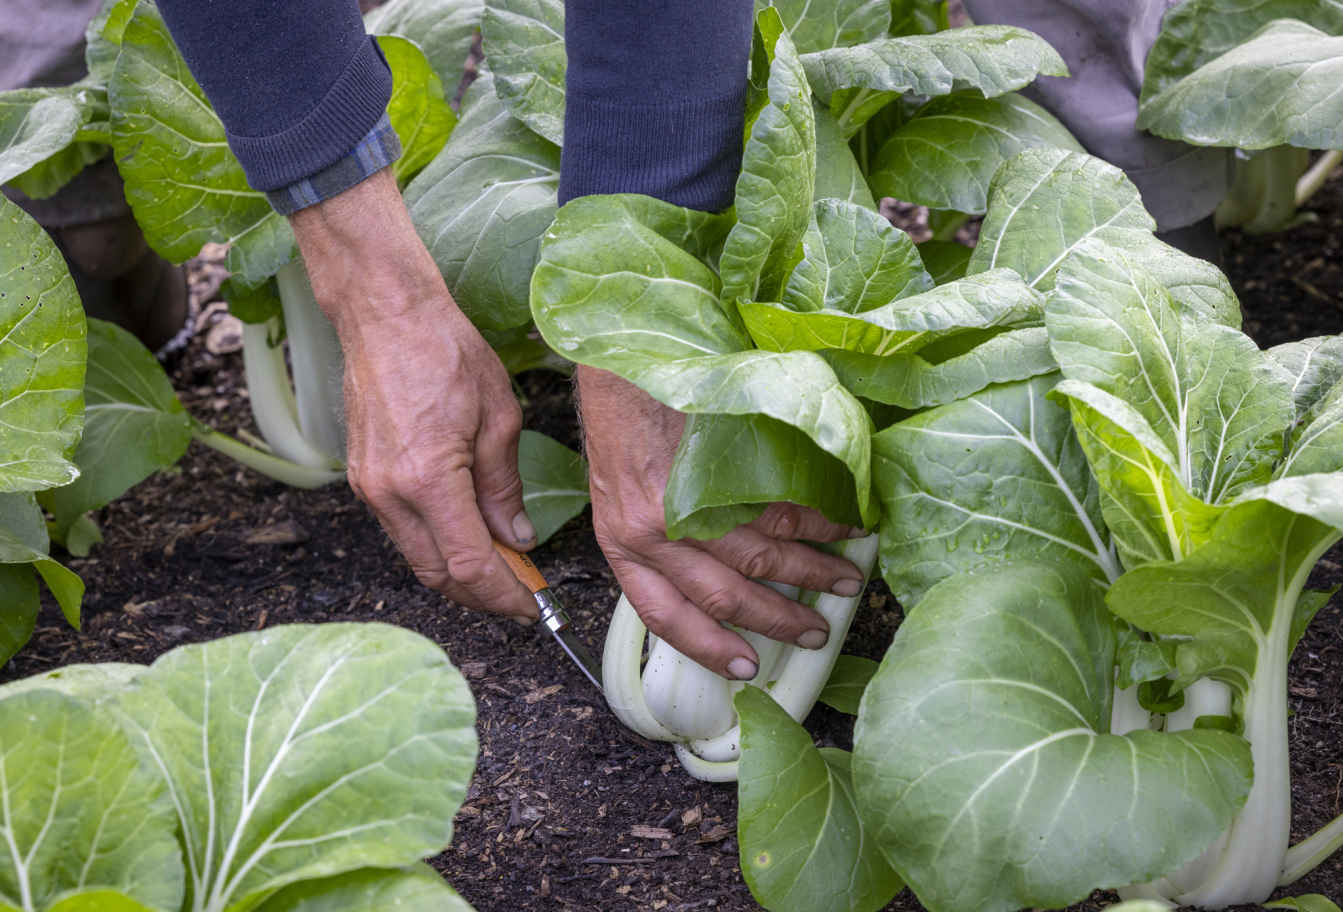
Harvesting a whole pak choi ‘Karaoke’ F1.
VARIETIES
‘Joi Choi’ F1 The main variety for me, which forms large, handsome plants with thick white stems and dark green leaves.
‘Karaoke’ F1 Another good variety with white stems and dark green leaves.
‘Canton White’ Has a squat habit and nicely curled, fat stalks with pale green leaves.
KEY INFORMATION
Seed to first harvest: 6 weeks
Sowing to transplanting: 2–3 weeks
Position: Full sun or shade, but beware of slugs
Spacing: 8–10 in (20–25 cm) equidistant
Hardiness: Hardy down to about 27ºF (-3ºC), but mature plants go soft if they freeze
Suitable for multisowing and as a second follow-on crop

The name arugula is used for two quite different plants: large-leaved arugula and wild arugula, with its slimmer, serrated leaves. Both have a peppery flavor, especially wild arugula, which means you don’t need many leaves to pep up a salad and a few plants go a long way. Large-leaved arugula is productive through fall and winter, while wild arugula grows most leaves through spring and into June. Grow both types for a long period of harvest.
Although arugula can be sown directly outdoors, the seedlings are so vulnerable to damage by slugs, flea beetles, and caterpillars that I recommend sowing in 1¼ in (3 cm) cells under cover. Multisowing three seeds of arugula per cell gives clumps of two or three plants that yield numerous midsized leaves rather than fewer large ones from single plants. Wild arugula has tiny seeds that are difficult to multisow, so I sow into a small seed tray and prick out the seedlings singly into cells.
Sowing both types of arugula in late summer gives a much longer period of harvest, with significantly less flea beetle damage than spring sowings, which rush to flower soon after they are ready to pick. Early August is my top time to sow arugula, but it can be sown for growing outdoors until early September. Arugula can also be grown under cover in a greenhouse or polytunnel from a mid-September sowing for a long and generous winter harvest. Transplant arugula two to three weeks after sowing. Dib a hole deep enough to place plants in with their long stems below ground level.
For the best harvest of wild arugula, I keep young plants under cover in 2¾–3½ in (7–9 cm) pots during late fall and winter when, unlike large-leaved arugula, it doesn’t produce many leaves. It’s then transplanted outdoors very early in spring, using a trowel to make a straight-sided planting hole, when the sturdy plants with strong roots grow rapidly.
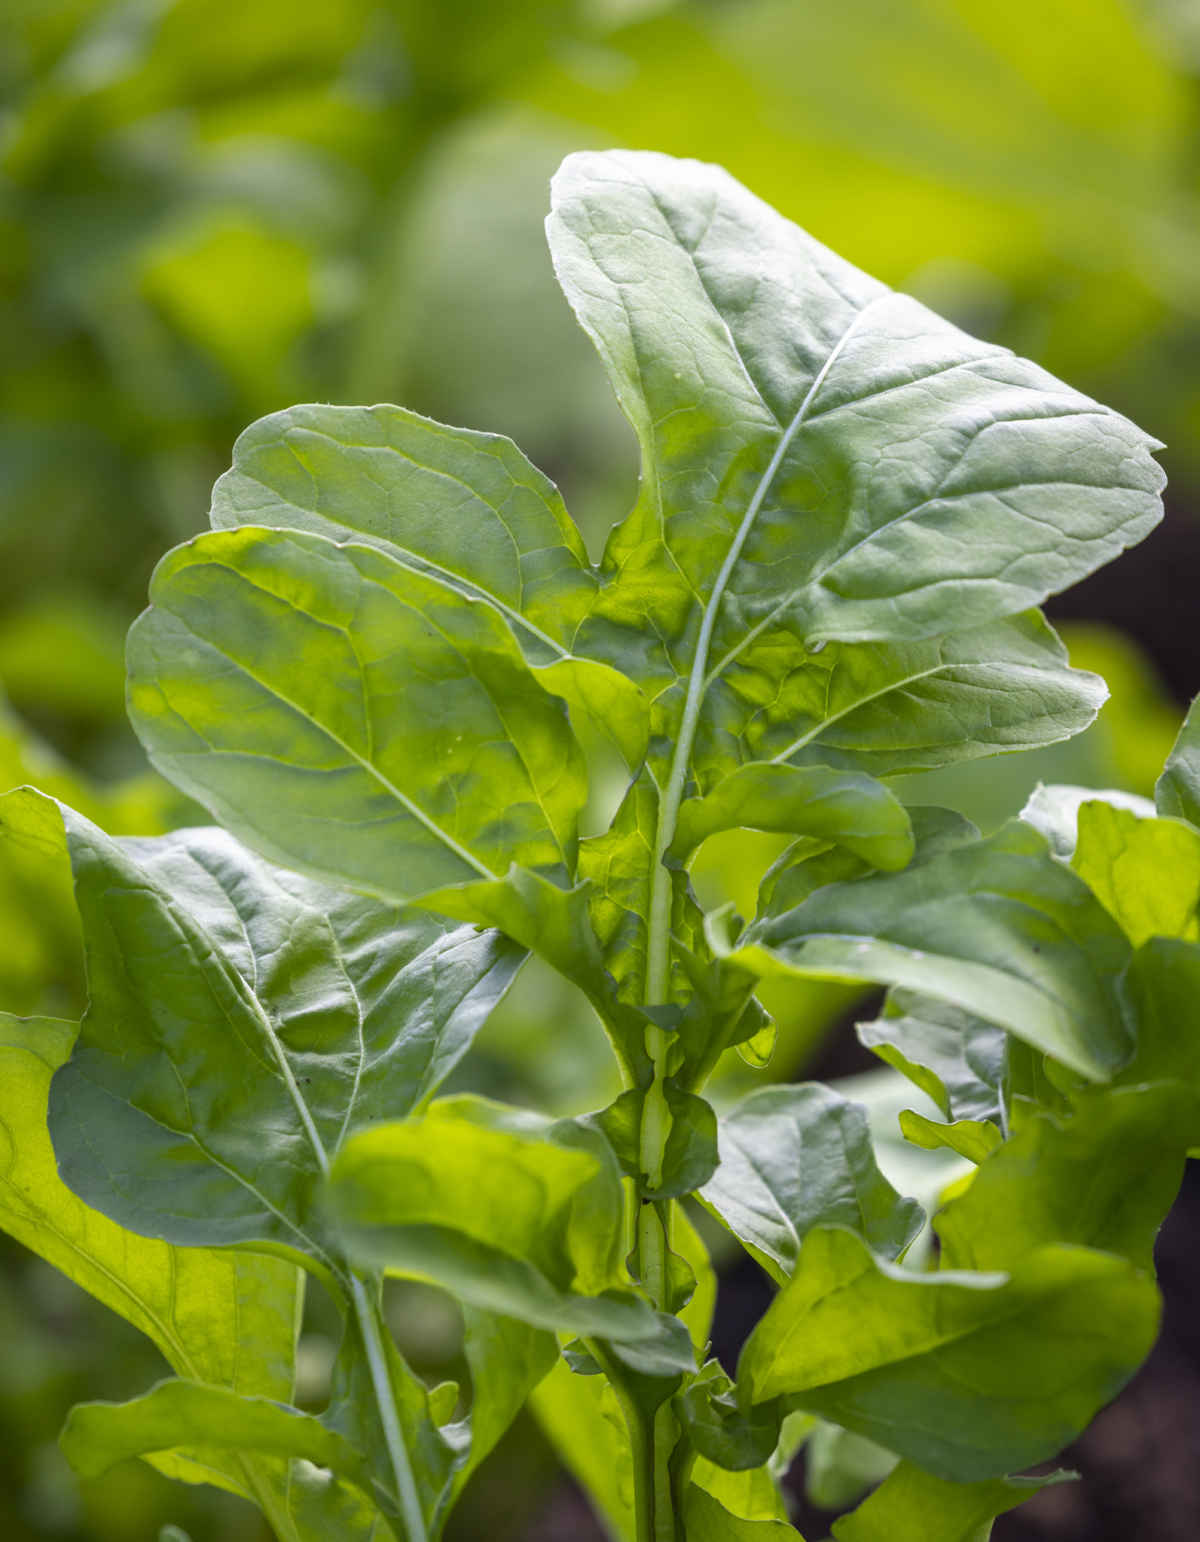
Salad arugula has large, lobed leaves.
Both arugulas are prolific in moist conditions, so water regularly in dry weather. Plants are susceptible to brassica pests, most notably flea beetles, which eat the same tender leaves that we want. Cover beds with fine mesh after transplanting and keep wild arugula protected until it finishes cropping in summer. Mesh will also protect plants from pigeons. Both types of arugula are hardy, although even large-leaved arugula will not grow much through winter when planted outdoors.
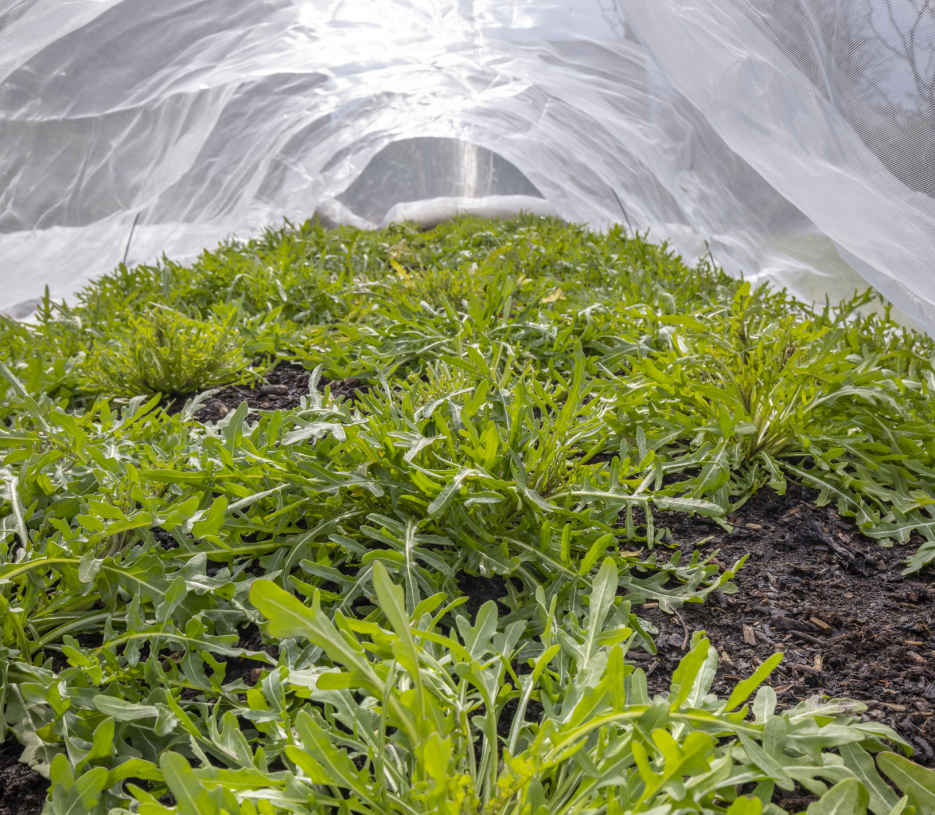
Use mesh to protect wild arugula from pests.
My favorite harvest is the first flush of tender leaves—in September from arugula and in April for wild arugula. Later harvests have a more pungent flavor.
As soon as arugula plants are touching their neighbors, start to pick the outer leaves every few days. Remove any yellowing leaves at the same time to keep plants tidy, reduce pests, and make subsequent picking quicker. Return to pick from the same plants every few days in early fall when growth is rapid, then reduce the frequency of picking as the weather cools and days darken. Plants that survive winter will flower in spring.
Either pick the thin leaves of wild arugula individually or cut the leaves from a whole plant with a knife above the level where you see the tiniest leaves developing. This allows regrowth for another cut in two to three weeks, becoming weekly through May and June. Pick or cut off flowering stems to prolong the harvest. Leaves are best eaten freshly picked, or they will keep for only a few days in a plastic bag in the fridge.
VARIETIES
Some named varieties are available, but both generic arugula and wild arugula yield lovely leaves.
SALAD ARUGULA
‘Apollo’ Larger, more rounded leaves compared to the serrated edges of normal salad arugula.
WILD ARUGULA
‘Athena’ Strong leaf growth over a long period.
KEY INFORMATION
SALAD ARUGULA
Seed to first harvest: 4–5 weeks
Sowing to transplanting: 2–3 weeks
Position: Moist soil in full sun or some shade
Spacing: 8¾ in (22 cm) equidistant
Hardiness: Hardy to at least 21ºF (-6ºC)
Suitable as a second follow-on crop

WILD ARUGULA
Seed to first harvest: 10–30 weeks
Sowing to transplanting: Up to 6 months
Position: Moist soil in full sun or some shade
Spacing: 8¾ in (22 cm) equidistant
Hardiness: Hardy to at least 21ºF (-6ºC)
Suitable as a second follow-on crop

Also known as lamb’s lettuce or mâche, corn salad is amazingly frost hardy and easy to grow. The soft, slightly waxy leaves have a nutty flavor that is milder than other winter salads. Grow a good number of plants to see you through winter, as the harvests per plant are small.
I recommend sowing in early September for valuable leaves to harvest through winter. You can also sow in late August for fall harvests. I avoid spring sowings, as they only occasionally thrive when the weather stays cool and wet.
Direct sowing is viable because seed is fairly cheap and big enough to sow evenly. Space rows 6 in (15 cm) apart, sow seeds every ½–¾ in (1–2 cm), and thin to 2¾–4 in (7–10 cm) apart. You can also sow two or three seeds per 1¼ in (3 cm) cell under cover. Seeds need constant moisture and take at least a week to appear. Transplant after four weeks, 4 in (10 cm) apart, setting the root balls only a little below soil level.
Corn salad is mostly ignored by pests, which makes it easy to grow. It’s tough enough to stand outside all winter, but it can be protected with fleece during really cold spells. Powdery mildew affects August-sown plants during fall if the soil is dry; keep plants well watered and sow in early September to avoid this problem.
From mid-October, cut a whole plant at the base with a knife for a one-off harvest. Alternatively, cut a bit higher to pick the central leaves and return about a month later for a smaller second harvest of sideshoots. There is little growth over winter, but plants produce new spring leaves before rising to flower from mid-April.
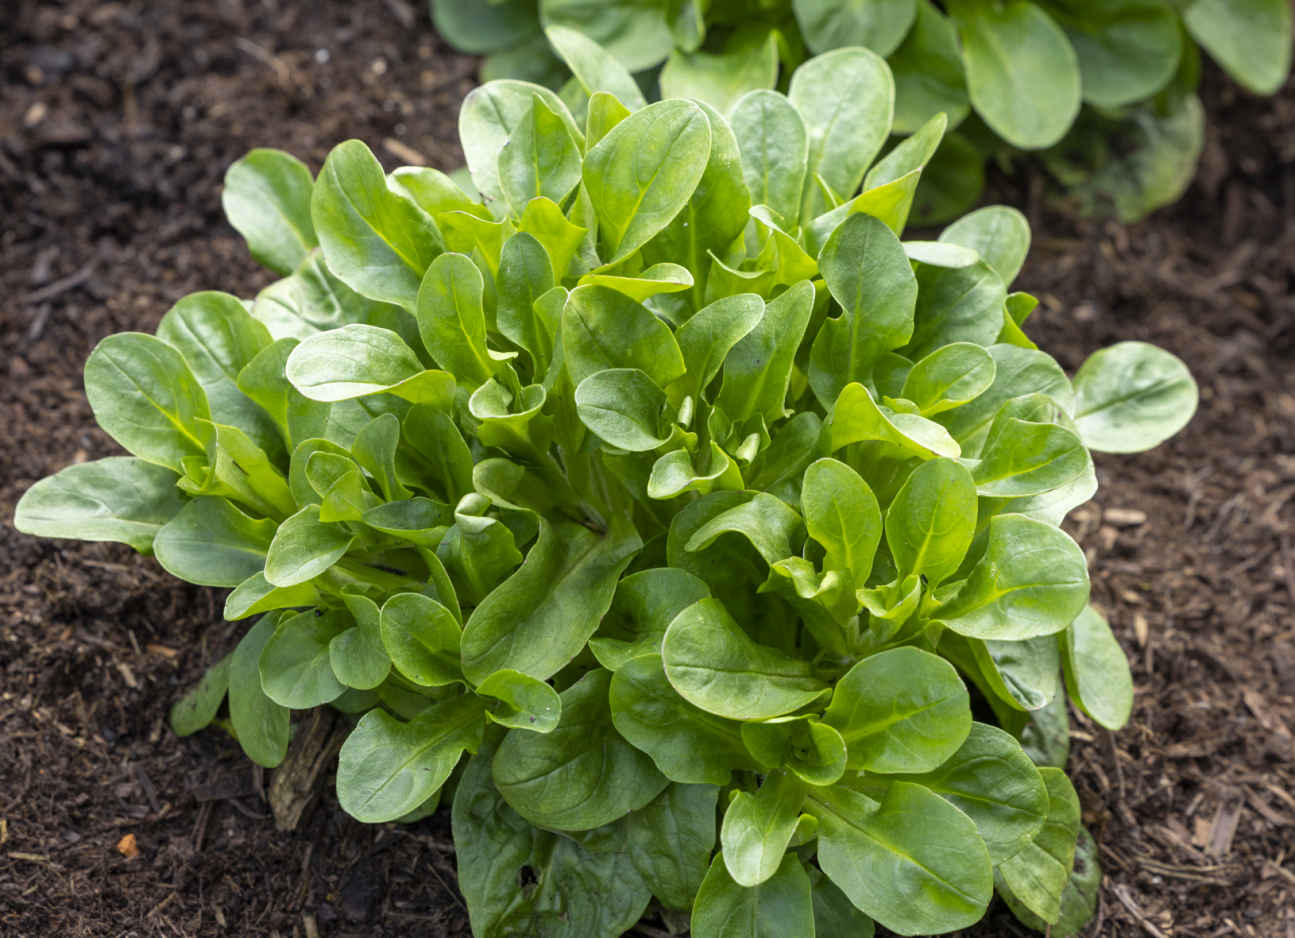
Clusters of new shoots in April after cutting the main head in February.
VARIETIES
There are only small differences between varieties.
‘Vit’ and ‘Verte de Cambrai’ Both widely available and worth trying.
KEY INFORMATION
Seed to harvest: 2–4 months
Sowing to transplanting: 4 weeks
Position: Adaptable; full sun or part shade
Spacing: 4 in (10 cm) equidistant
Hardiness: Very hardy to approx. 14ºF (-10ºC)
Suitable as a follow-on crop

Also called American cress, this incredibly hardy winter salad tastes like watercress but is spicier and more pungent. Grow it outside in temperate climates for small pickings from late fall until midspring or under cover for abundant larger leaves, even in cold conditions.
Sow in seed trays to prick out into 1¼ in (3 cm) cells, or two to three seeds per cell and thin to the strongest plant. Sowings made under cover in August are ideal to follow on from summer crops, or sow directly into beds during early August. Sow by mid-September for plants to grow under cover through winter.
Transplant 8¾ in (22 cm) apart each way to give plants space to produce larger leaves over a longer period. Place plants into dibbed holes slightly deeper than their cells.
Water new transplants until they show new growth and after that outdoor-grown upland cress is unlikely to need watering again. In my polytunnel, I water every two to three weeks through winter, or weekly if it’s sunny.
Cover with bird netting or mesh during winter to keep out pigeons. Flea beetle damage in early spring will not set back established plants. Small slugs often hide under leaves but rarely cause much damage.
Once the leaves of neighboring plants are touching, harvest through winter and early spring until plants flower in late April. Flower stalks are also edible, but plants self-seed if left too long. Twist larger leaves from the base of each plant or gather leaves in one hand and cut through their stems. Ensure the smallest, central leaves are left to regrow for further harvests. Leaves are best picked fresh but keep for a few days in cool, damp conditions.
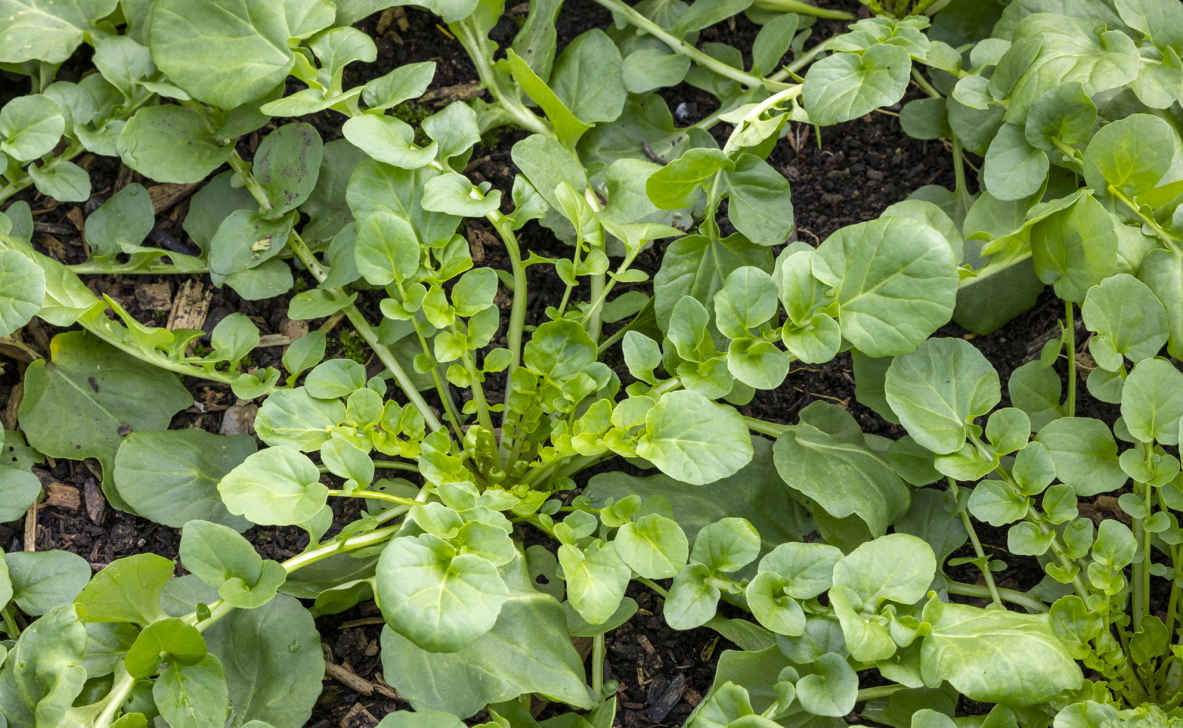
Upland cress has a powerful peppery flavor.
VARIETIES
No cultivated varieties are available.
KEY INFORMATION
Seed to harvest: 10 weeks
Sowing to transplanting: 4–5 weeks
Position: Full sun or shade
Spacing: 8–8¾ in (20–22 cm) equidistant
Hardiness: Very hardy to 5ºF (-15ºC) or lower
Suitable as a follow-on crop

Winter purslane is a prolific winter staple, hardy enough to grow outdoors in temperate climates. Plants provide repeat harvests of soft, mild leaves from November to April. It is also known as Claytonia and miners’ lettuce and is entirely different from summer purslane (Portulaca oleracea).
Sow under cover from mid-August to early September for outdoor harvests and until mid-September to grow under cover. Spring sowings are not productive because plants flower in April. Sow the tiny seeds in a seed tray to prick out into 1¼ in (3 cm) cells, or into cells to thin to one—and certainly no more than three—seedlings for easier harvest. Barely cover the seeds to aid germination. Transplant about four weeks after sowing into equidistant holes dibbed 8 in (20 cm) apart; I often interplant between the last lettuce of fall. Finding space for direct sowings can be difficult in late summer, so it’s useful to have transplants ready to follow fall harvests.
New transplants need little attention apart from initial watering and are untroubled by pests. Plants are hardy, but moderate frosts cause brown discoloration on older leaves. Remove any stalks of white male flowers that appear during winter because their flavor is poor.
Harvest bushy plants from late fall by gently cutting above small developing leaves. The leaf stalks are good to eat, so cut as much of them as you can. Cut again within four weeks, depending on the temperature. Growth stops in midwinter but restarts in February as light levels and warmth increase. Remove plants by late April to prevent self-seeding.
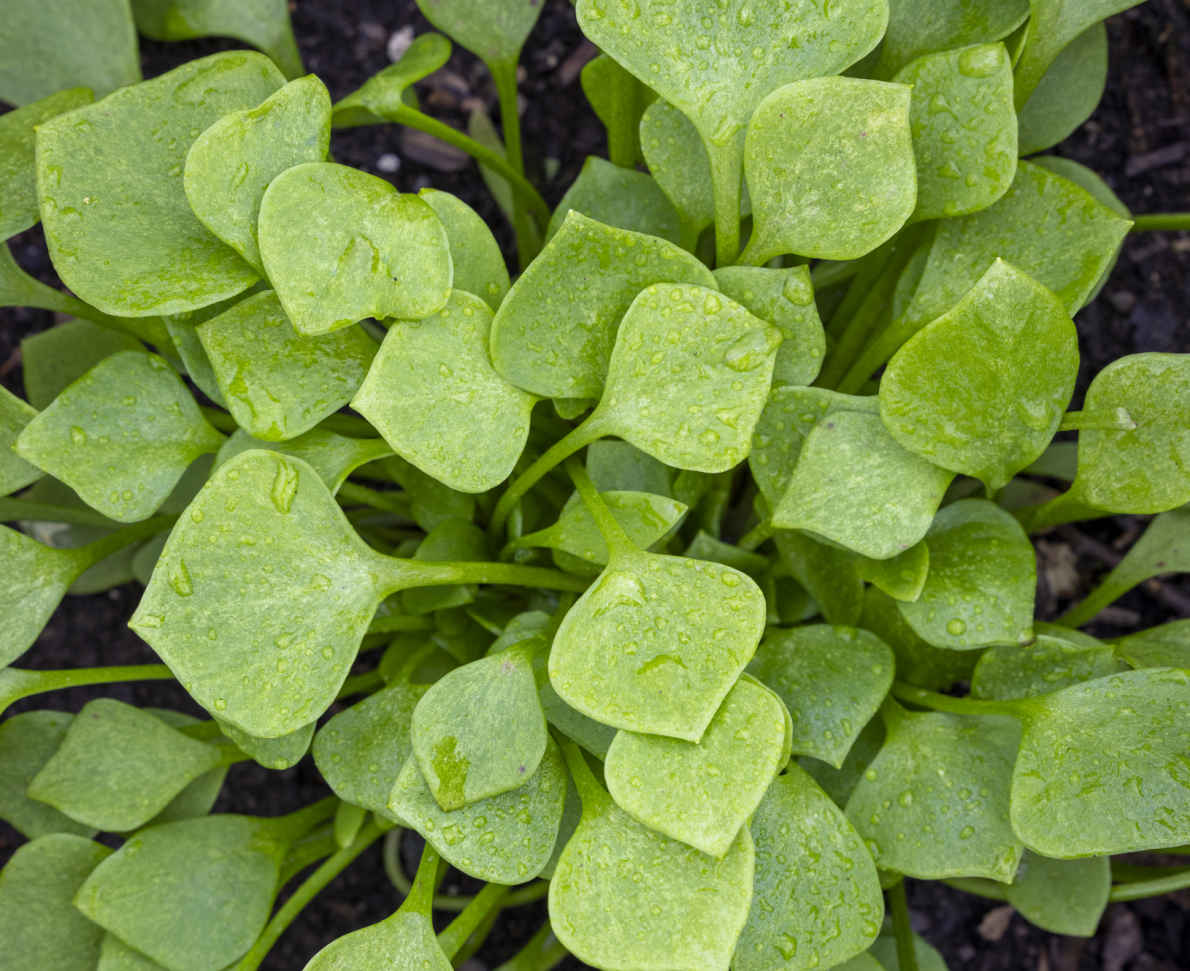
Winter purslane has succulent, spade-shaped leaves.
VARIETIES
Varieties of Claytonia perfoliata are not available.
KEY INFORMATION
Seed to harvest: 10 weeks
Sowing to transplanting: 4–5 weeks
Position: Adaptable; will grow in shade
Spacing: 8¾ in (22 cm) equidistant
Hardiness: Very hardy to 14ºF (-10ºC)
Suitable as a follow-on crop

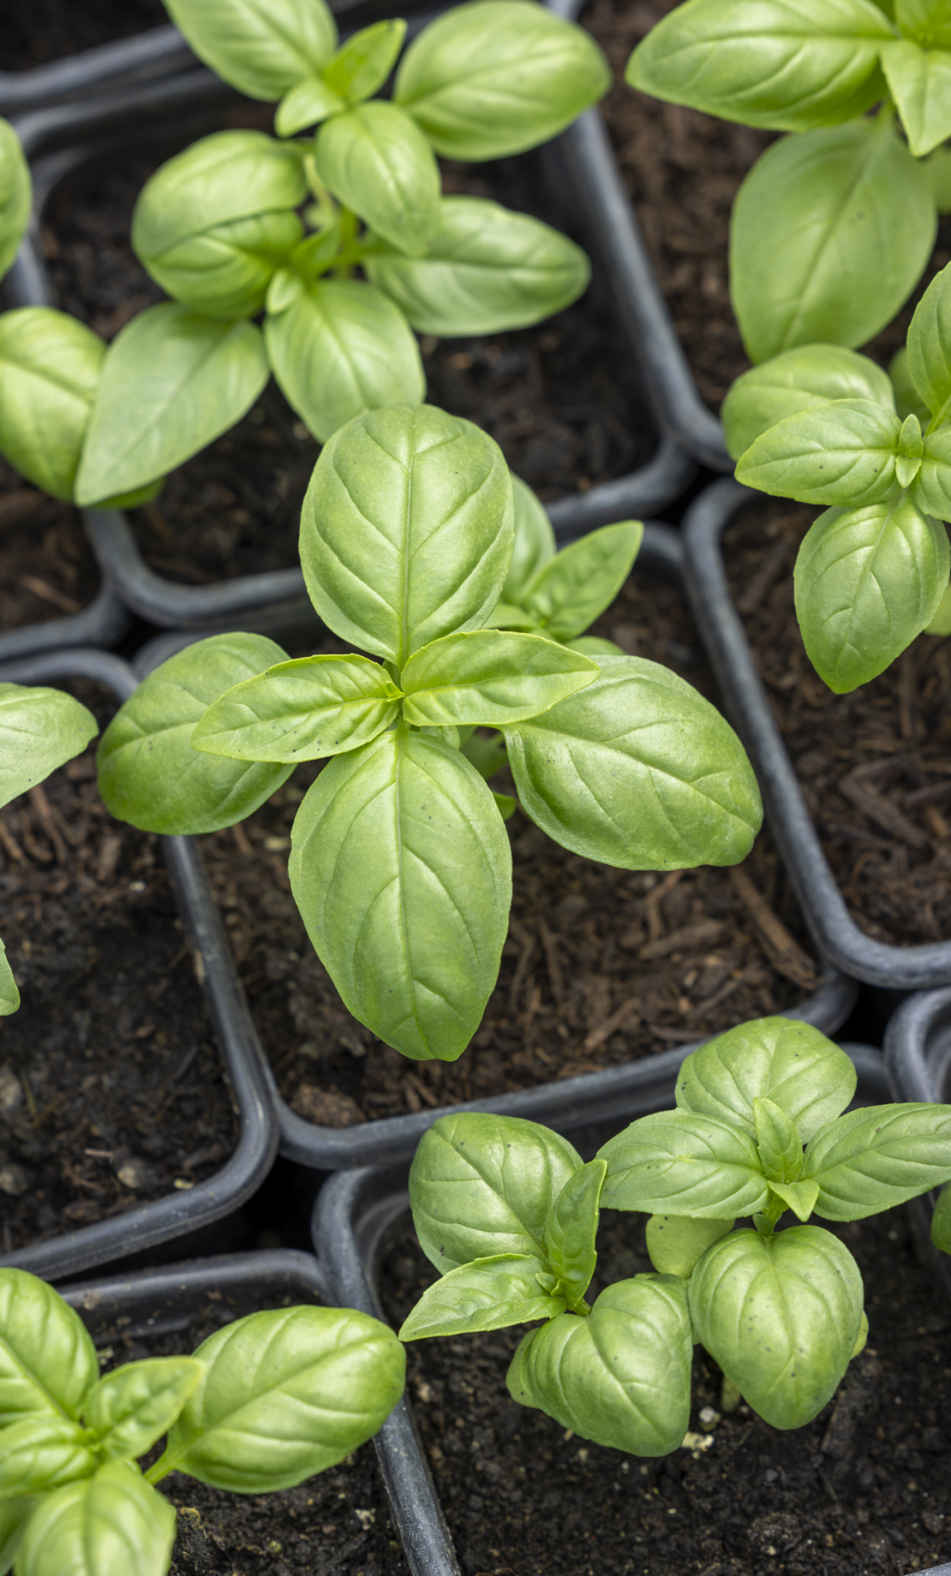
Plants in this group need summer warmth and are damaged or killed by frost. Many are best grown under cover except in climates with hot summers. Choose varieties carefully for outdoor growing and don’t sow or plant them too early. They are all exciting to grow—potatoes for their rapid growth and the joy of unearthing buried tubers, and the rest for their intense flavors that are highlights of the summer and early fall garden.
All of these vegetables thrive in no dig soil, and potatoes in particular produce heavy yields of tubers that are easy to harvest from the soft surface of no dig beds. In this group, potatoes yield the earliest crop, store most easily, and are ideal to grow while weeds are dying under a mulch of cardboard and compost or plastic.
The flavor of homegrown tomatoes, corn, and freshly harvested new potatoes is remarkable, so no matter how small your garden, I recommend that you find space for at least a few! All except corn, chilies, and basil make large plants though, so be careful to avoid overcrowding when growing them under cover. Potatoes also need plenty of space, but it only takes three months to grow a crop of midseason varieties to lift and store, which leaves ample time for a follow-on crop.
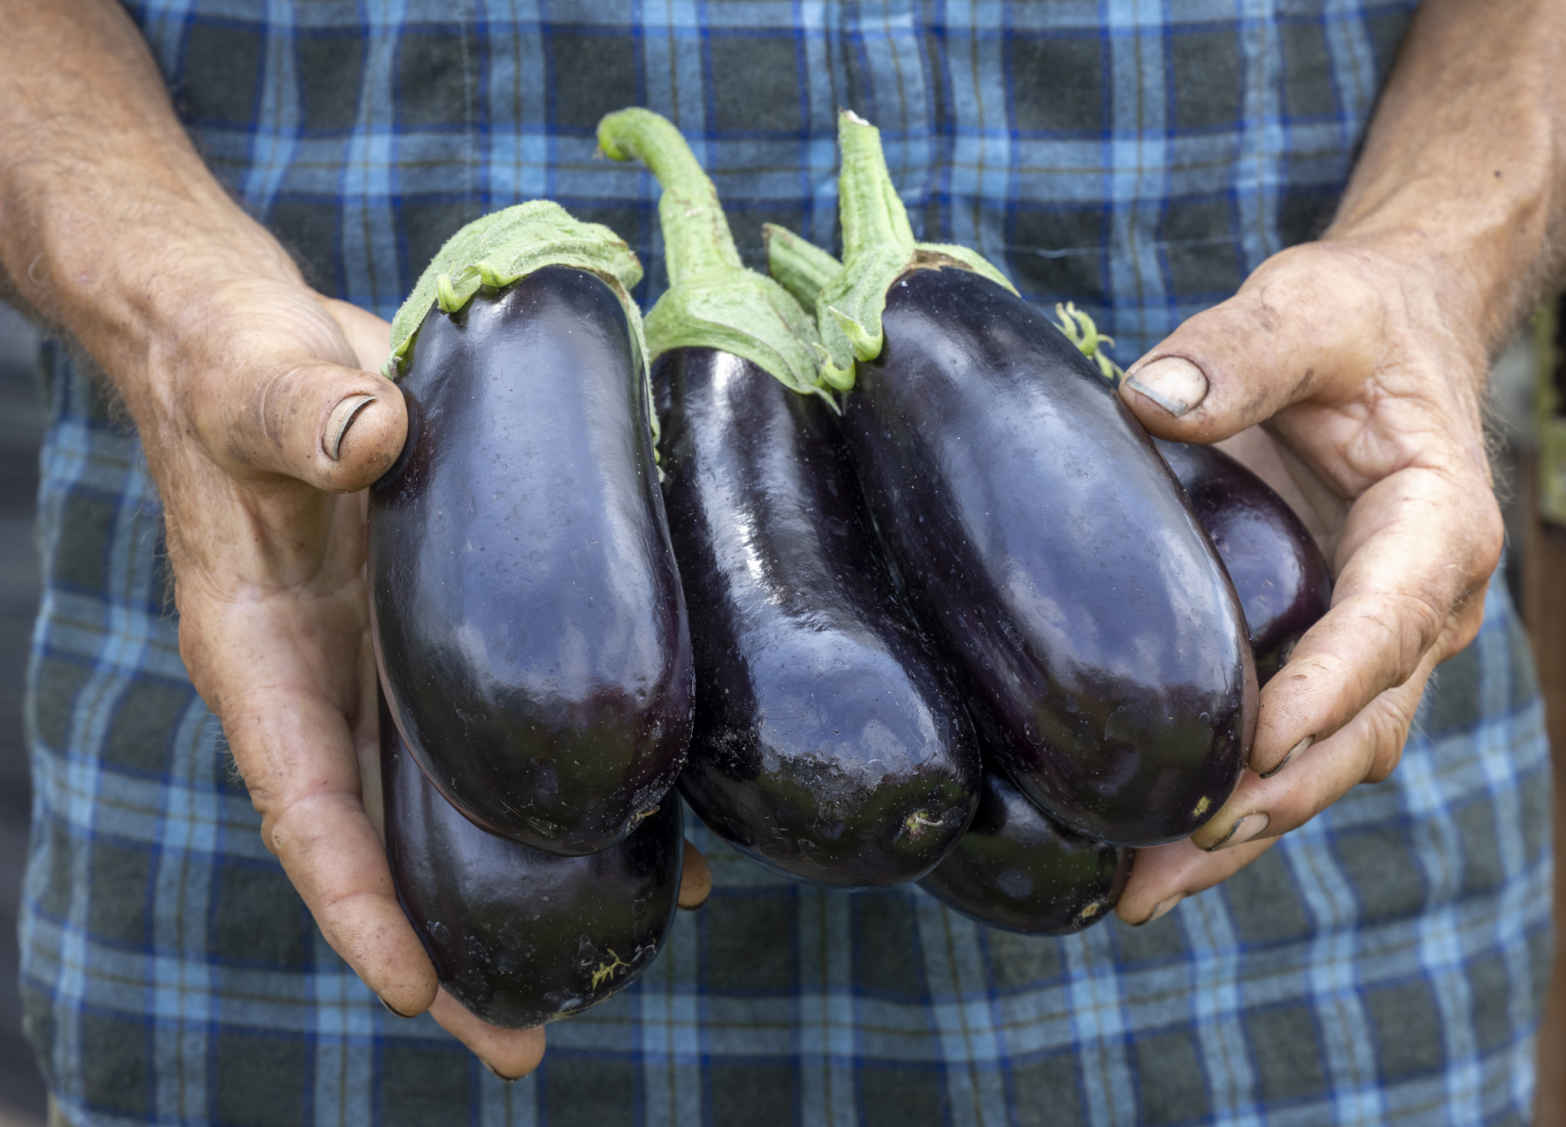
Eggplant ‘Black Pearl’ F1 from my greenhouse, where summer heat ripens fruit by July.
Sow all except potatoes under cover in warmth, but not so early that your plants grow large and leggy before it’s warm enough to transplant them, after the last frost. Seed potatoes can be planted directly outdoors earlier in spring because their first growth is underground, but their new shoots need to be protected from spring frosts with fleece.
It’s easiest to grow eggplants, sweet peppers, and tomatoes in open soil where possible, but they also thrive in pots, given regular feeding and daily watering in summer. Chilies and basil make more compact plants that are excellent for containers and will flourish in a sunny, sheltered position. Vining tomatoes and eggplants need to be trained up tall supports, but this effort is worthwhile to make efficient use of space and produce healthy, high-yielding plants. It is important to water plants consistently once fruits and tubers are swelling.
Pick fruit and ears when ripe or before that to increase the productivity of capsicums. Know the signs of ripeness to look for, as these vary according to each crop and individual varieties, which can be different sizes, shapes, and colors when mature. Harvest no dig potatoes once you see the leafy tops begin to yellow by pulling the stems rather than digging the tubers out. Pinch off the shoot tips of basil to use as required.
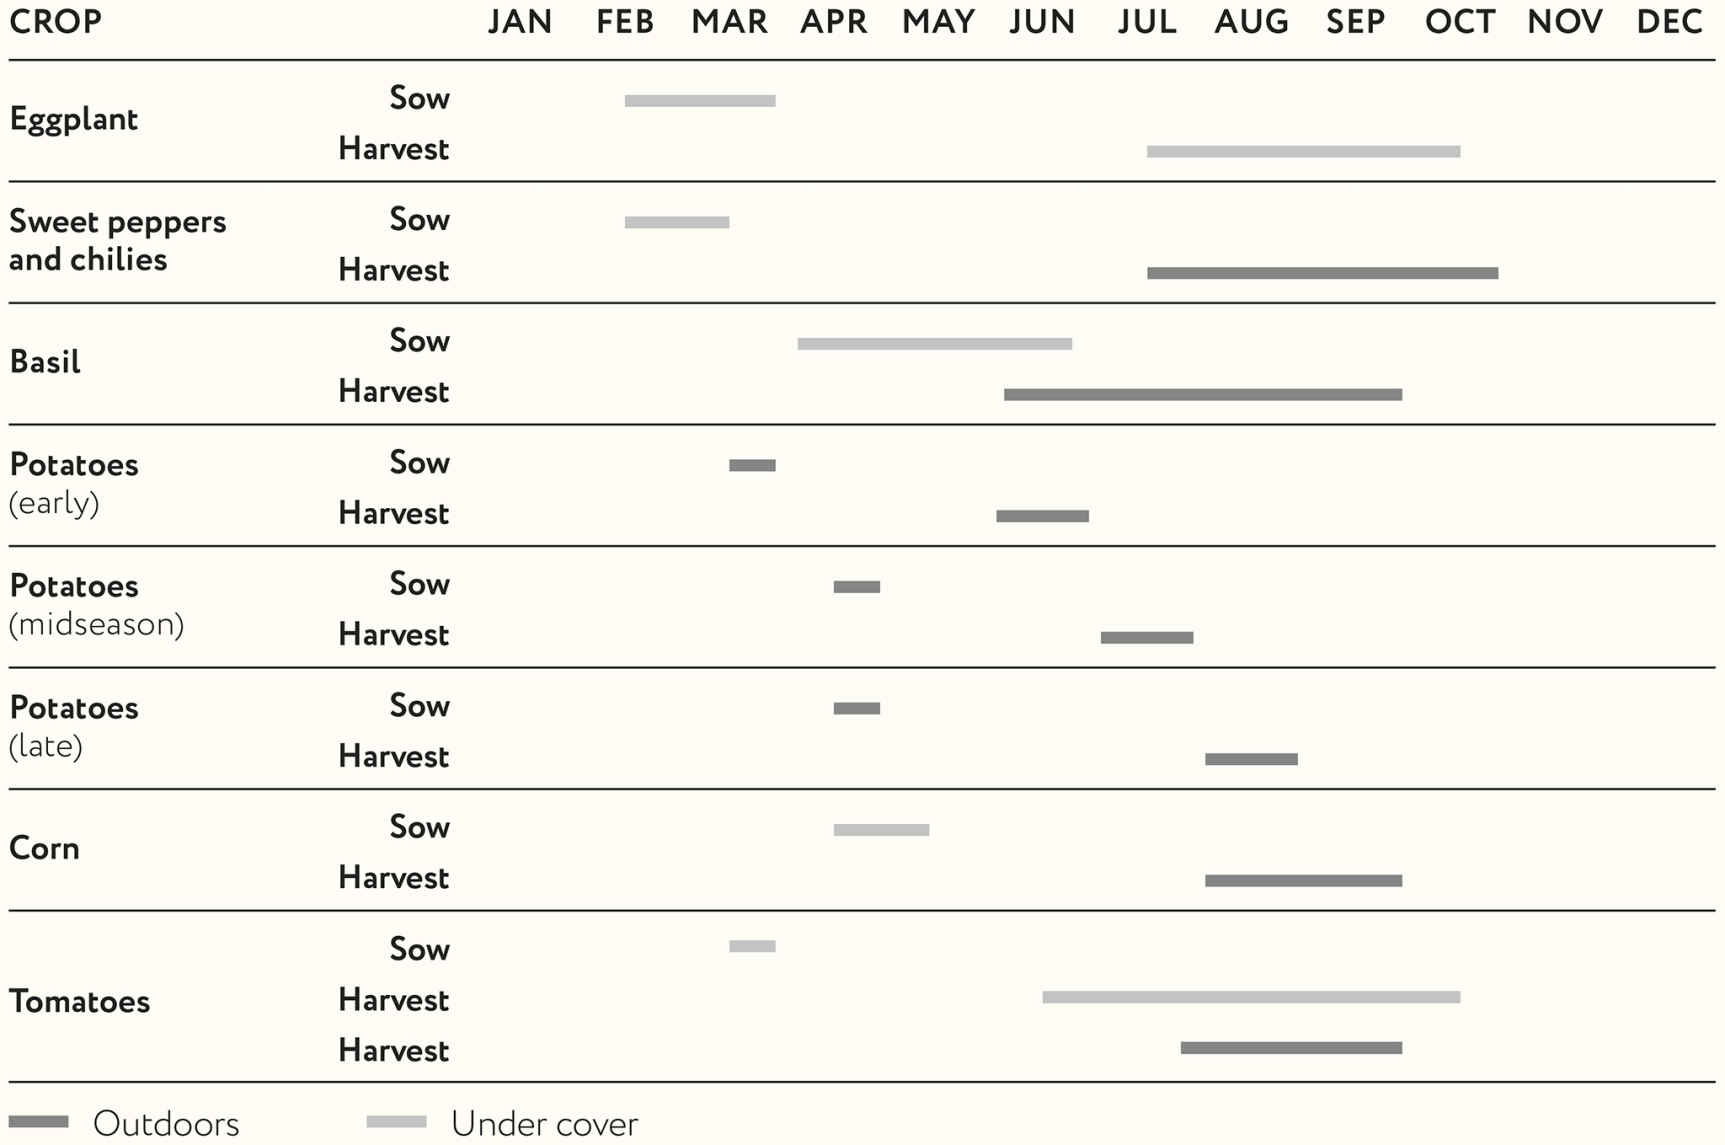
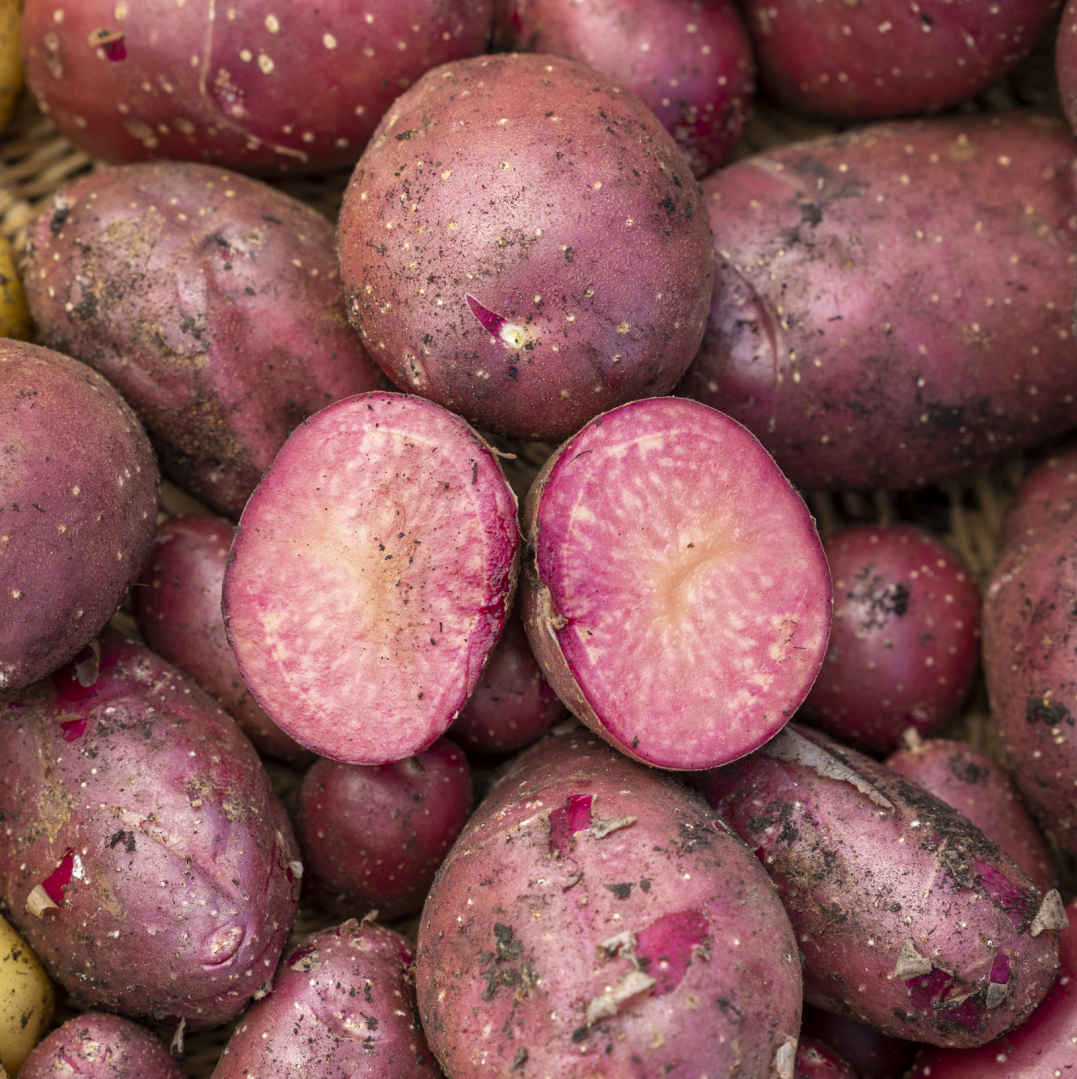
Midseason potato ‘Lily Rose’ has unusual pink-fleshed tubers.
Late blight is a disease that affects tomatoes and potatoes and can be a major issue during wet and dull summers. Periods of consistently high humidity with temperatures above 50°F (10°C) allow spores to infect plants with wet leaves and stems and reproduce within just a few days. In most of the UK, these conditions are only likely to occur after the third week in June. Symptoms develop very quickly and affected plants turn brown, limp, and soft within just three days.
Eggplants grown under cover are prone to damage by red spider mites, which feed on their sap and cause pale mottling of foliage that can be difficult to notice at first. Significant damage may kill plants. Aphids suck sap from the leaves and stems of all these vegetables but are a short-term problem in spring, which is brought under control when their natural predators, including ladybugs, arrive in early summer. Water directly onto leaves to knock aphids off plants and reduce damage. Slugs are mainly a concern where potatoes are left in the ground for too long before lifting because they eat holes in tubers, which allow easy access for other pests and diseases and mean that the crop can’t be stored. Eelworms and other soil grubs may also damage tomato roots and potatoes, but rarely to a worrying extent. Ripe corn is a favorite food for badgers, rodents, and birds, which will sometimes eat ears just before you plan to harvest. It’s worthwhile picking ears slightly underripe anywhere that there is a possibility of this happening.
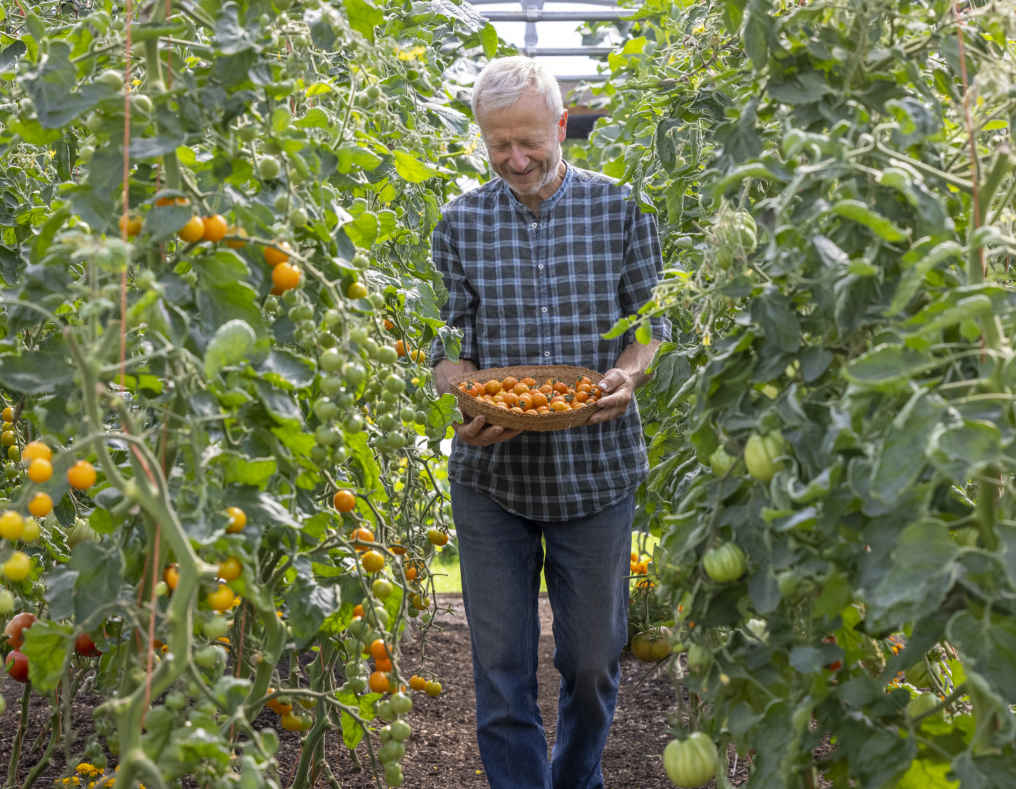
Picking tomato ‘Sungold’ F1 from vining plants trained up string supports in the polytunnel.
Eggplants demand warmth to grow well. In temperate climates where summer temperatures average around 70°F (21°C) in the afternoon, grow them under cover or perhaps in a sunny and sheltered position outdoors. I don’t notice a marked difference in flavor between homegrown and purchased eggplants, but the fruits look beautiful at all stages of development and the fancy varieties are fun to grow.
Sow eggplants under cover by the end of March to give them the warmth and long growing season they need. Sow seed thinly in a small seed tray to prick out into 1¼ in (3 cm) cells. Pot plants on into 2¾ in (7 cm) pots when about six weeks old or 2 in (5 cm) high for good-sized plants to transplant in mid-May, or after the last frost date if planting outdoors.
Transplant in open ground 16–20 in (40–50 cm) apart, where more space gives a longer cropping season, or in large pots 12 in (30 cm) in diameter. Bury the stem by 2 in (5 cm) because plants are often drawn up when raised together in small pots. Plants under cover can be grown as bushes or trained as cordons with two stems. To support cordon eggplants, place two knotted plastic strings in the bottom of the planting hole, slide the root ball in on top of them, and water each plant in. Tie the tops of the string to the greenhouse or polytunnel frame or wire in a narrow v-shape.
Be careful not to overwater seedlings and young plants. Water more when fruits start swelling, but each plant’s requirements will vary according to the weather and its size. Remove older, lower leaves as they naturally brown and die off.
To train a cordon plant with two stems, remove all sideshoots between the main stem and leaves until the plant reaches 12–14 in (30–35 cm) tall. Then leave a strong sideshoot near the top to become the second stem. Gently twist each stem around its supporting string as it grows, removing any sideshoots. Pinch off the first flower bud to channel the plant’s energy into growth rather than fruiting. Grow outdoor plants without removing their sideshoots to form a bush. Provide support by looping string around the outside of the plant, about halfway up, and tying it to a central cane, pushed into soil close to the main stem.
Eggplants are prone to aphids and whitefly, mostly in late spring, but vigorous plants grown in healthy soil are less vulnerable to damage. Spray aphids off plants with a hose, and natural aphid predators should soon arrive to restore balance. Tiny red spider mites are barely visible, so a problem is often serious by the time it’s noticed. Watch for the undersides of young leaves turning pale and matte. Wetting the leaves of plants under cover can help, but biological controls are probably too expensive for anyone just growing one or two plants.
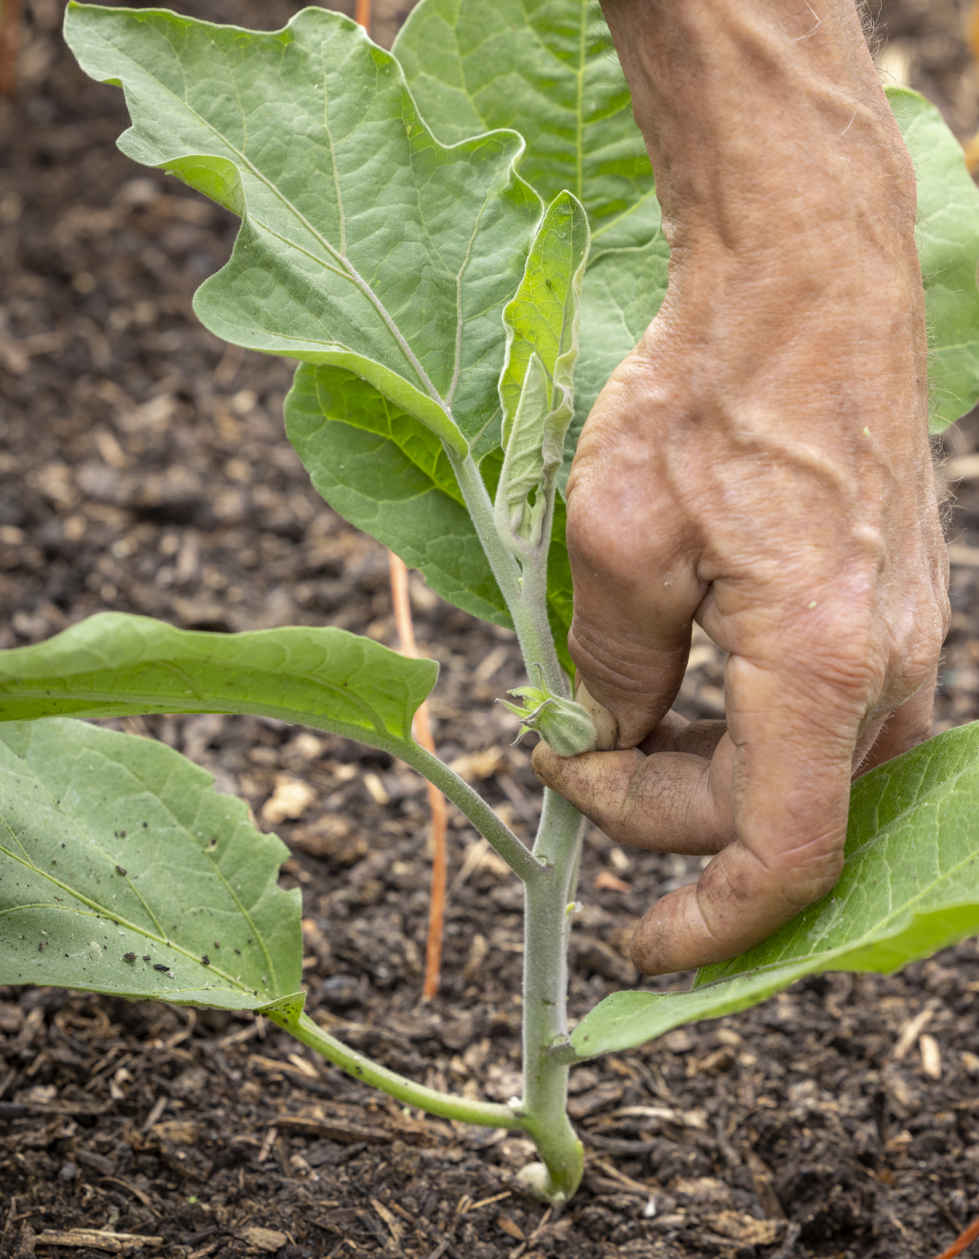
Remove the first flower to promote growth.
It is not always obvious when eggplants are fully grown and ripe. Check the size and color of your variety so you know what to expect. The flesh of overmature eggplants becomes fibrous, seedy, and loses flavor, while their glossy skin turns more matte. Pick by pulling the chosen eggplant upward to snap its stalk from the main stem, or cut the stalk with a knife or pruning shears. Keep picking to encourage the production of new fruits. Eggplants keep well for about a week at ambient kitchen temperature rather than in the fridge.
VARIETIES
‘Black Pearl’ F1 A reliable variety producing large, deep purple fruit.
‘Slim Jim’ Long, slender, purple fruits.
‘Pot Black’ F1 Small plants that grow well in containers and produce round fruits.
‘Rosa Bianca’ Egg-shaped fruits with skin streaked purple and white.
‘Thai Long Green’ Long, thin fruits ripen to pale green.
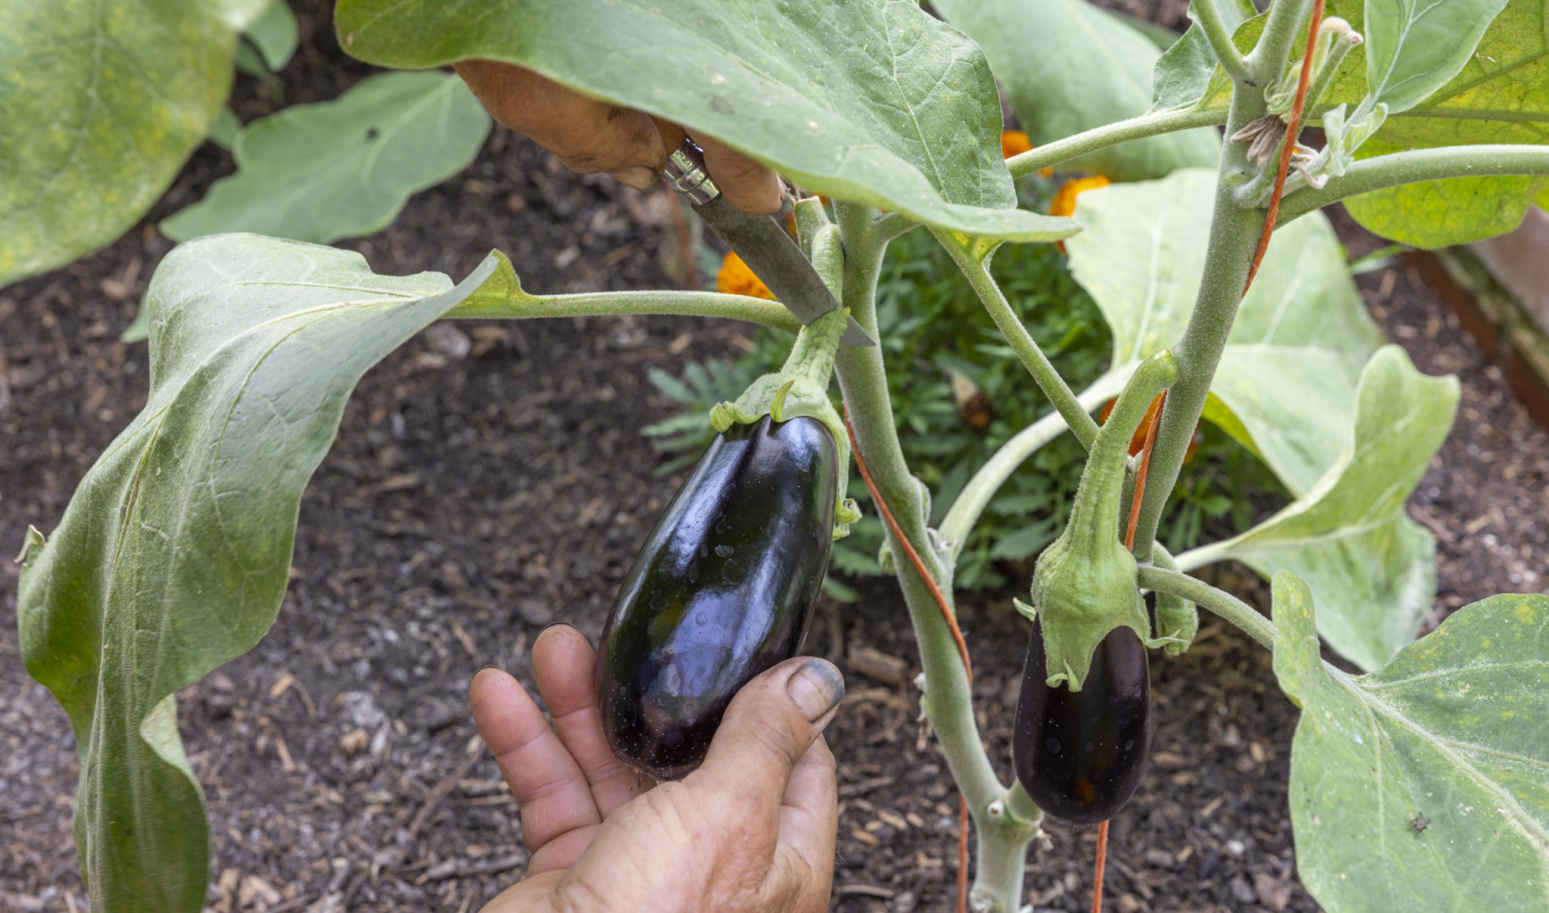
Using a knife to cut eggplant ‘Black Pearl’ F1.
KEY INFORMATION 
Seed to harvest: 4 months
Sowing to transplanting: 2–3 months
Position: Under cover or outdoors in a sheltered, sunny position with as much warmth as possible
Spacing: 16–20 in (40–50 cm) apart
Hardiness: Will not tolerate frost; need nighttime temperatures above 50ºF (10ºC) for strong growth

These tender crops are killed by frosts and need a long, warm growing season, so they need special care in cooler climates. Waiting for sweet peppers to ripen from green to the vibrant reds and yellows familiar in the supermarket results in low yields; pick fruit green for a bigger harvest. Chilies are prolific plants that are easier to grow, and ripen fruit in slightly cooler conditions. They grow well in 10 in (25 cm) pots, which means there is always space for them on a sheltered patio, greenhouse staging, or even a windowsill.
Sow early, from mid-February to mid-March, to allow capsicums the long growing season they need to grow, flower, and develop fruits. Where summers are really hot, you can sow in late March or April. Germinate seeds under cover, with added warmth, which is easiest to provide in the house. You could also buy plug plants in early April to reduce the work involved.
Sow seeds singly into 1¼ in (3 cm) cells or scatter a few over potting mix in a small seed tray, cover thinly, and water well. Prick out seedlings from a seed tray into 1¼ in (3 cm) cells when they develop their first true leaf, and continue to pot young plants on about every three weeks—first into a 2¾ in (7 cm) pot, then into a 3½ in (9 cm) pot. This keeps plants growing without overwhelming them with too much potting mix and moisture at any stage and will produce sturdy plants by mid-May that have been raised entirely under cover.
Always wait until after your last frost date and for the weather to warm up before planting capsicums, especially if growing them outdoors. Grow sweet peppers in 12 in (30 cm) containers, or space them 18 in (45 cm) apart in open soil. Plant deeply so that 2 in (5 cm) of the stem is below the surface.
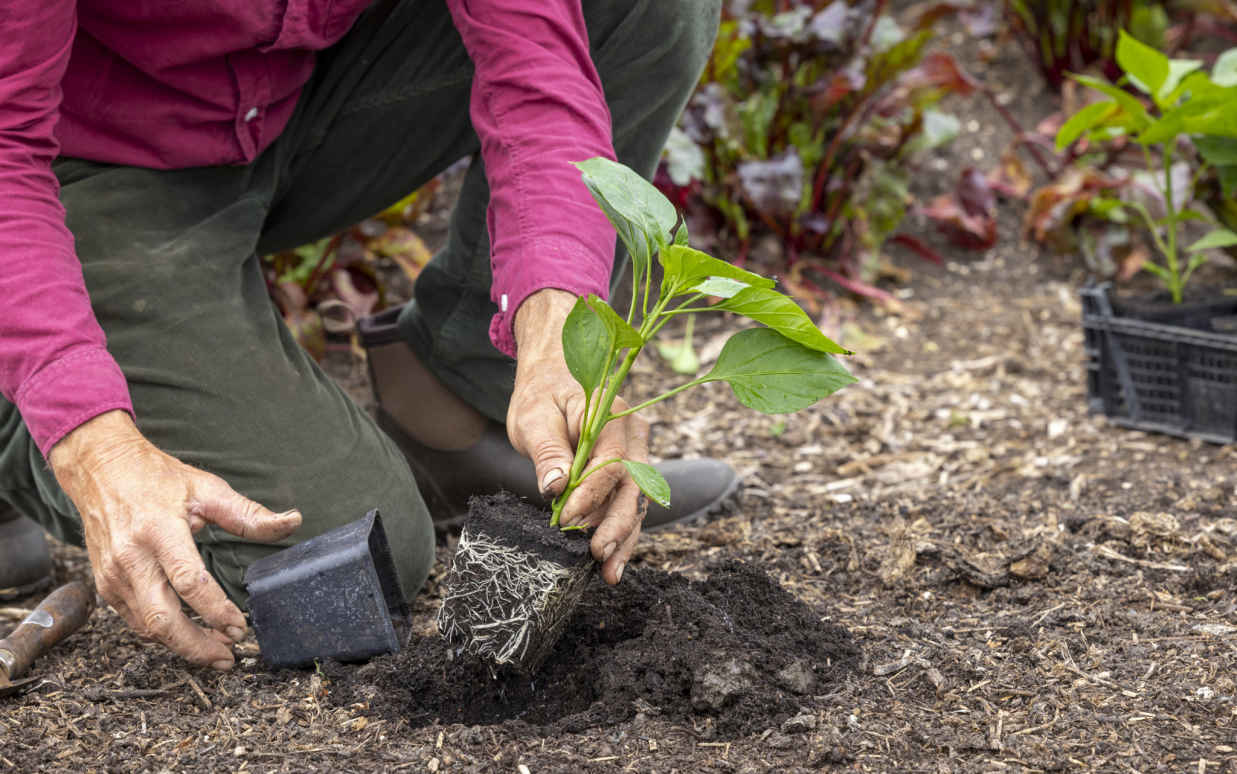
Transplant sweet peppers after the last frost.
Capsicums need less water than eggplant and tomato plants. Lift plants in pots and only water when they feel light. Chili plants in particular are slow growing, and plentiful moisture encourages lush grow at the expense of flowering and fruiting. Water sweet pepper plants more when fruits start to swell, but reduce watering for both sweet peppers and chilies in late summer to slow new growth and help intensify the flavor. Feeding is not necessary for plants in open ground, but feed sweet peppers in containers regularly with an organic liquid fertilizer. I tend not to feed container-grown chilies.
Chilies usually make compact plants that grow without support or with just their central stem tied to a cane. Sweet pepper plants need support, however, because stems can snap under the weight of large fruits. The bushy plants are difficult to train, so I wait until they are well established before looping string around the outside of the plant and tying it to a cane close to the main stem to prevent branches from dropping outward. From mid-August until the end of the growing season, pinch out all new stems and small flowers so that plants concentrate resources on developing and ripening the last fruits.
These plants are fairly trouble free and healthy soil, good husbandry, and careful watering all keep problems to a minimum. If aphids appear on new growth in spring, wash them off plants with water to keep them in check until predators arrive.
It’s your choice whether to harvest fruit green or delay picking by up to a month waiting for them to color as they ripen. In cool climates, it might be better to enjoy the green fruit because ripening diverts energy away from forming new fruits, resulting in a small crop.
All capsicums are ready to pick when the matte, pale green fruit become darker green and glossy. After that, they slowly ripen and color, developing sweeter, more tender flesh. Pick chilies by gently snapping the stalk off with an upward rotation, being careful not to break the fragile stems. Use pruning shears to cut the thick stalks of sweet peppers to avoid damaging the plant. Keep picking through fall, but get your harvest in before it is spoiled by the first frost, or move plants in pots under cover to continue cropping. Try pruning chili plants down by two-thirds to overwinter in their pot. Watered very sparingly and kept frost-free during winter, they may grow away again when spring arrives.
Fruit that has started to color will continue to ripen if kept at room temperature after picking. Eat sweet peppers within two weeks of harvest. Chilies are easy to store after drying them on a sunny windowsill, or packing them in jars under oil.
VARIETIES
SWEET PEPPERS
‘California Wonder’ Large, red, square-shaped fruit.
‘Sweet Banana’ Long, pointed, yellow fruit.
‘Bell Boy’ F1 Heavy, block-shaped fruit with thick flesh. Slower to ripen but prolific picked green.
‘Gogorez’ F1 Slightly flat, ribbed, thick-walled fruit that ripen to deep red.
‘Cayenne’ Long, slender fruit with a slight chili heat. Ripens to red and grows well in cooler conditions.
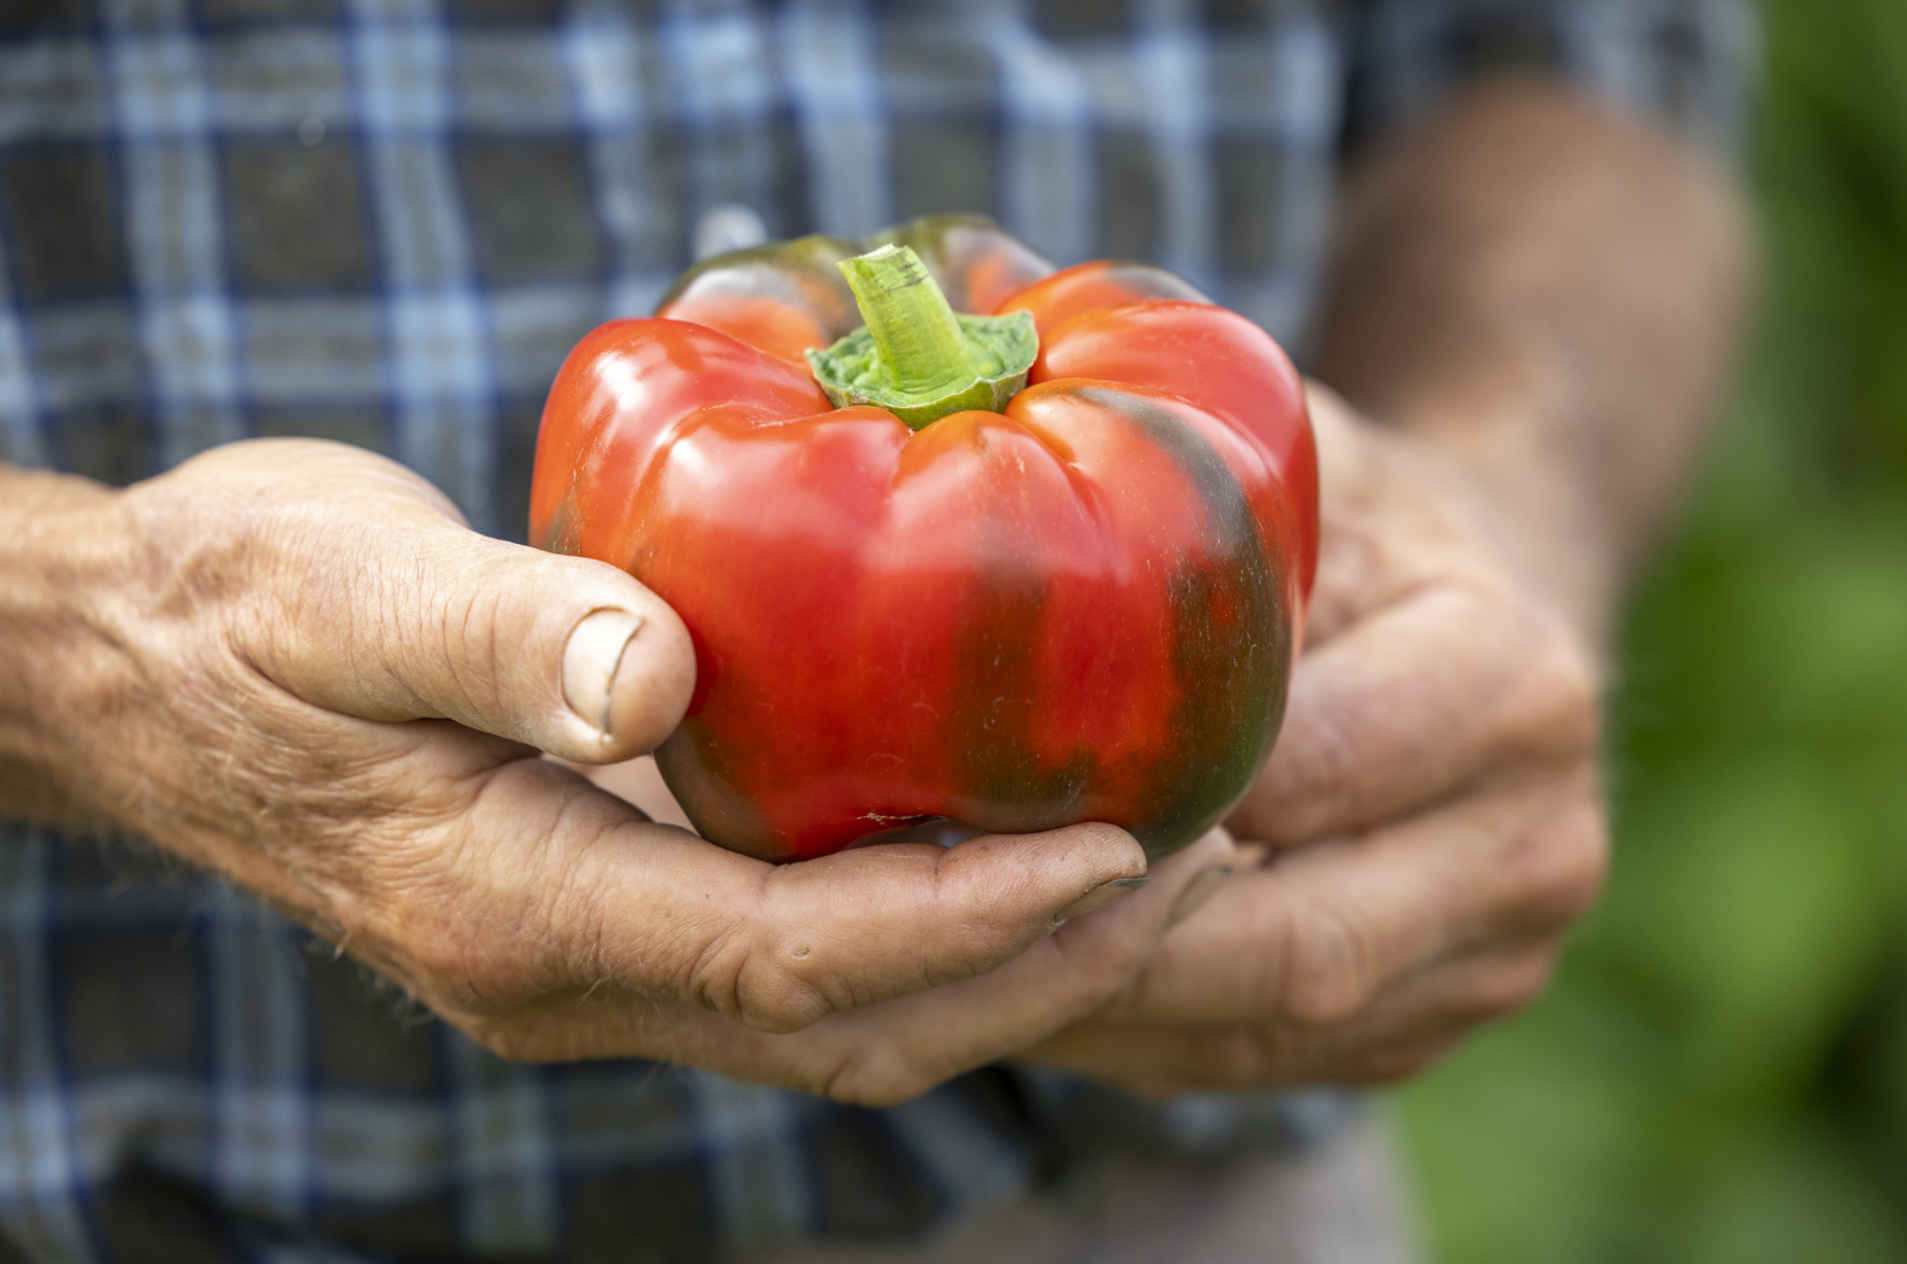
Ripe sweet pepper ‘Gogorez’ F1.
CHILIES
‘Fire Flame’ F1 Long, thin fruit ripen to red and are hot. Can be grown outdoors.
‘Little Bomb’ Small, rounded fruits ripen to dark red and have plenty of heat.
‘Jalapeño Early’ Extra-hot, red, semilong fruits with rounded tips.
‘Purple Gusto’ F1 Mild, purple fruits ripen to red.
‘Poblano’ The mildest of these chilies. Long fruits ripen from purple to red.
‘Hungarian Hot Wax’ Pointed fruits ripen through yellow to orange, with variable heat.
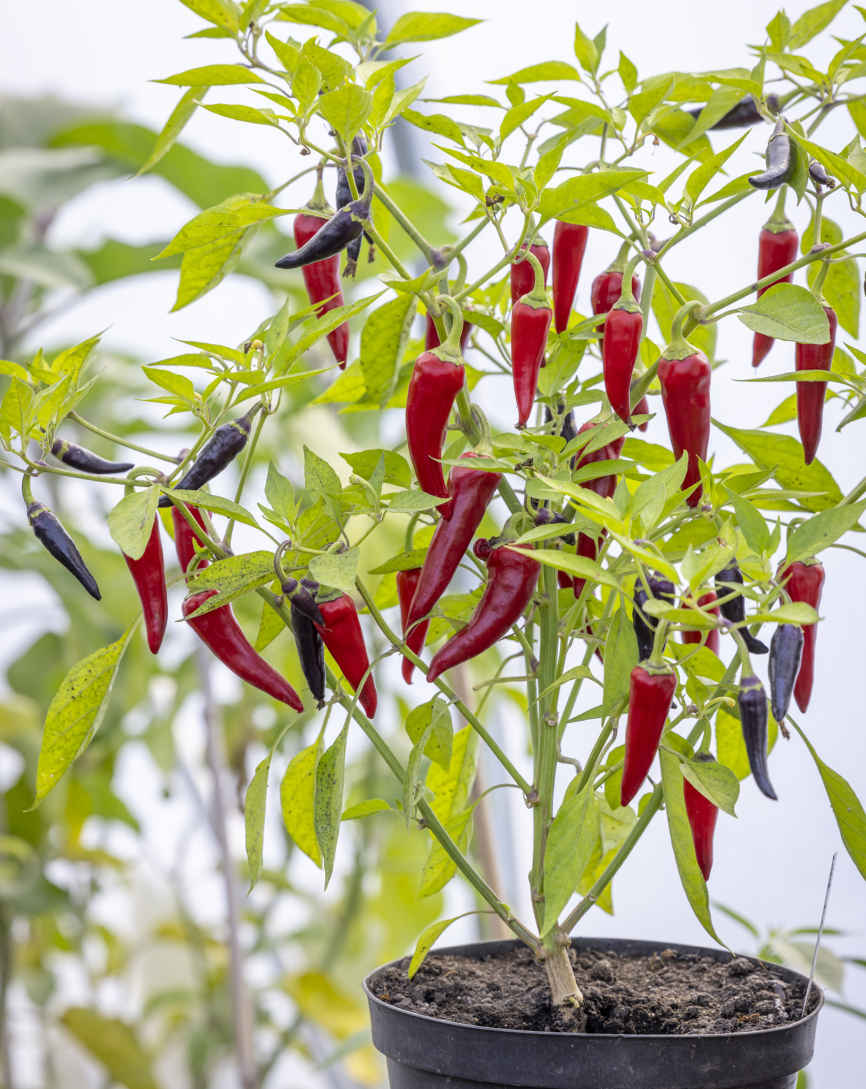
Chili ‘Purple Gusto’ F1.
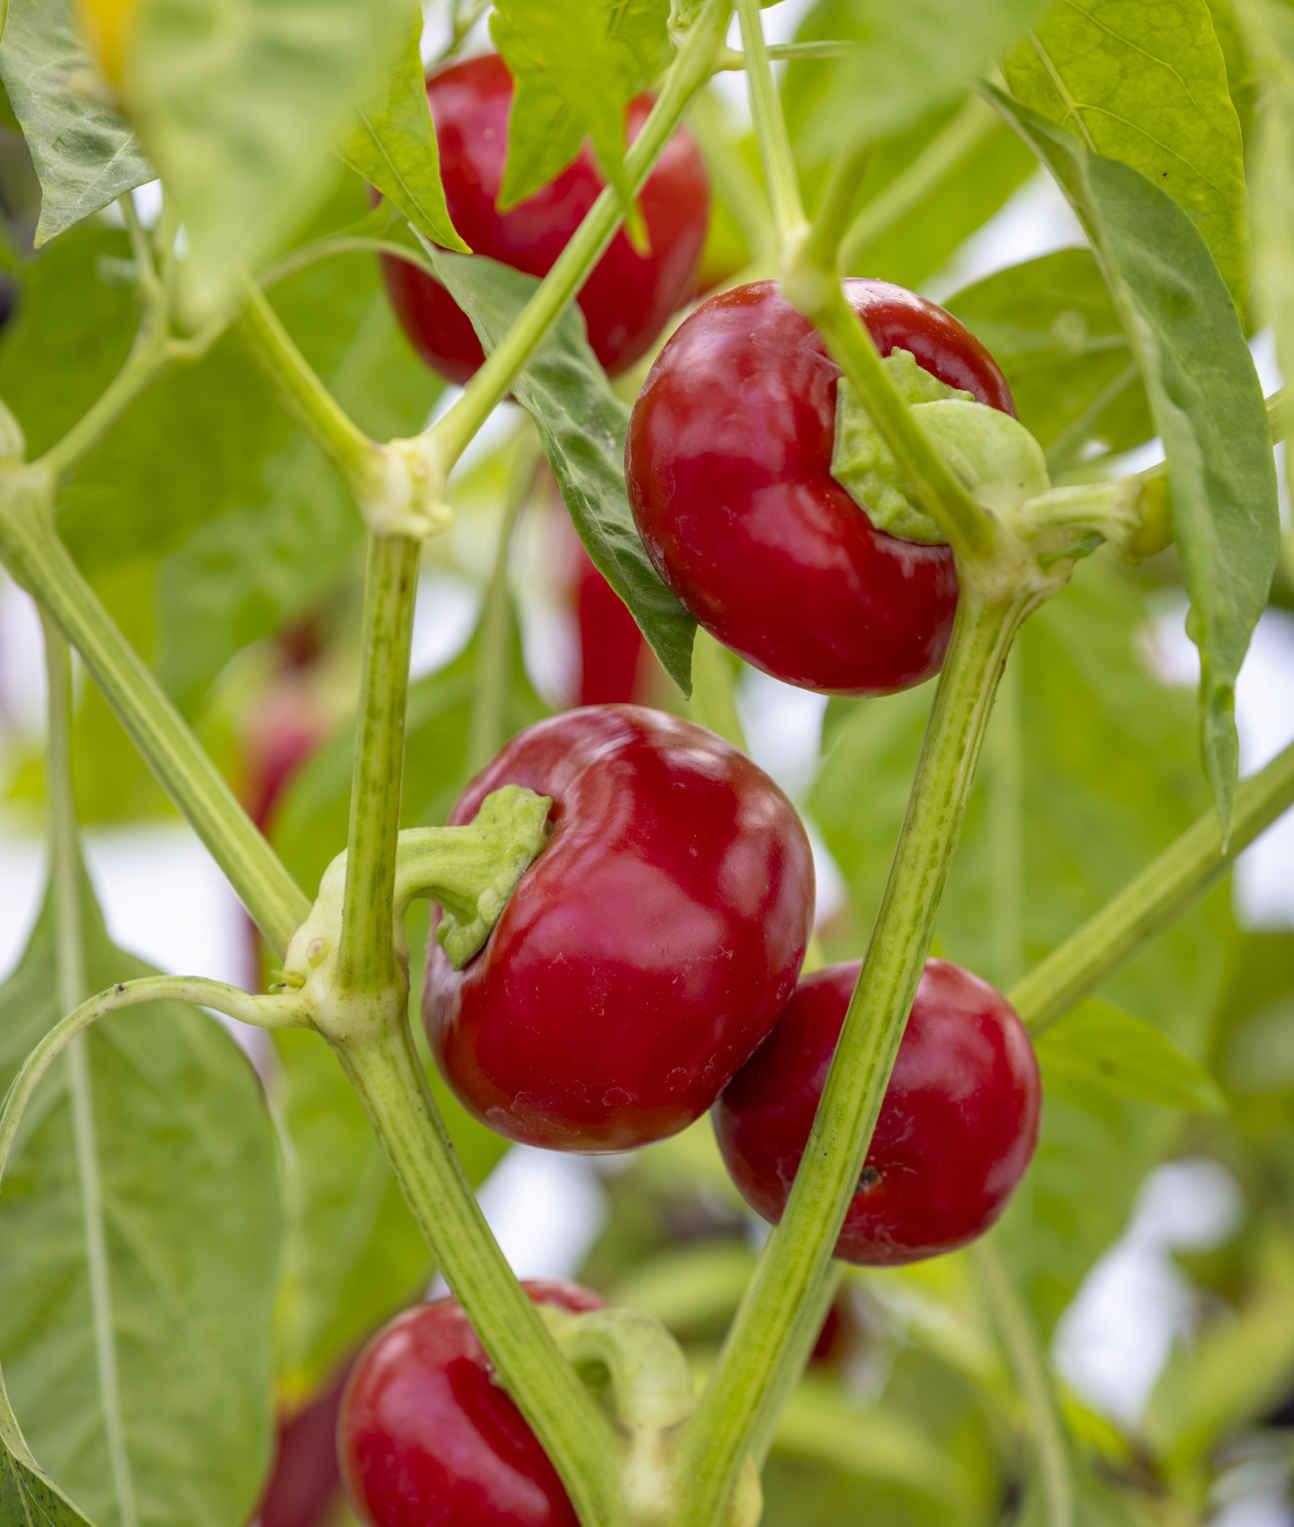
‘Little Bomb’.
KEY INFORMATION
Seed to first harvest: 4 months for green fruits under cover
Sowing to transplanting: 3 months
Position: Grow under cover or outdoors in a warm (over 70ºF/21ºC), sunny, sheltered position
Spacing: Sweet peppers 18 in (45 cm) apart in open ground.
Chilies 12 in (30 cm) apart in open ground
Hardiness: Not hardy; some of the most warmth-demanding plants

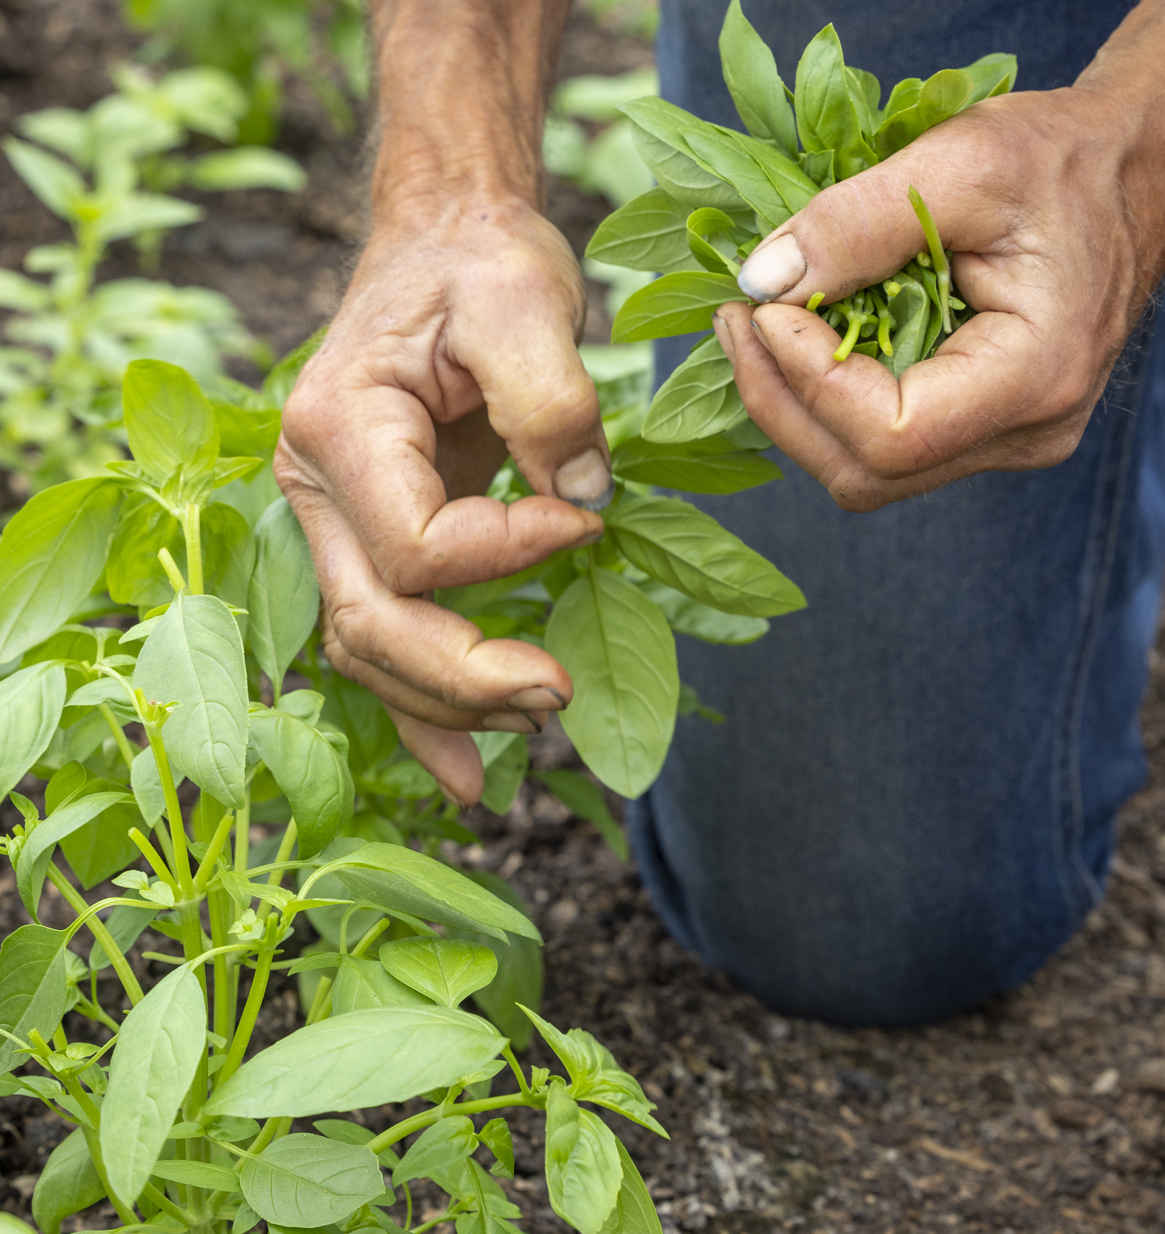
Basil thrives in warmth and bright sunlight, making it an easy summer annual. It is less abundant and more prone to disease in cool, damp weather and is killed by frost. Grow basil under cover in cool climates. Different varieties have distinctive spicy or fruity flavors.
Make your first sowing in April under cover with a propagation mat or on a windowsill indoors. This could provide basil all summer, but you can continue to sow under cover until June. The roots decay in soggy potting mix, so add up to 60 percent sand, vermiculite, or perlite to the seed starting mix and water as little as you dare. Multisow three seeds per cell and, after 10 days, thin to one or two plants for easy picking. Alternatively, buy pots of supermarket seedlings and divide them up to pot on into 3½ in (9 cm) pots. Transplant once your last frost date has passed and the weather is warm. Basil grows well in containers.
Water plants growing in open soil twice a week, while those in containers may require daily watering in summer. Seedlings are vulnerable to slug damage, especially if planted when temperatures are low. Green caterpillars sometimes cause slight damage in high summer.
Pick 2 in (5 cm) from the top of each plant before it flowers, then pinch out the tops of all new stems every few days. This promotes tender new sideshoots throughout summer. Remove flower stems. Keep picked stems in water for a few days and take leaves as needed. You can also make new plants like this because stems in water are quick to make roots. You can then move them to small pots of compost.
VARIETIES
‘Sweet Genovese’ A popular, high-yielding variety, with large, dark green leaves and classic basil flavor.
Sweet Thai basil Strong aniseed flavor, which is great for Asian dishes.
Many other varieties are named according to their flavor, such as Lemon, Cinnamon, and Lime basil, which are all remarkably intense.
KEY INFORMATION
Seed to harvest: 7 weeks
Sowing to transplanting: 4–6 weeks
Position: Full sun
Spacing: 8¾–12 in (22–30 cm) apart
Hardiness: Killed by frost; grows best when nighttime temperatures are above 54ºF (12ºC)

Potatoes grow quickly and easily for a plentiful crop that will store well and taste better than anything you can buy. No dig potato plants root deep into the ground while, compared to dug soil, the potatoes themselves develop close to the surface and can be harvested with minimal soil disturbance. The huge range of varieties is divided into three types according to the speed at which they mature: early, midseason, and maincrop. Early and midseason types crop in half a growing season, freeing up bed space in late summer. Maincrops take longer, making them susceptible to late blight.
Potatoes are grown from “seed potatoes” saved from the previous year’s harvest. Put seed potatoes in a box on a light windowsill in late winter and they will form sturdy green shoots that remain compact until it’s time to plant—a process known as “chitting.” Avoid keeping seed potatoes in darkness, where new shoots will grow long, pale, and unmanageable for planting.
Nonorganic potatoes sold in supermarkets may have been treated to prevent them from sprouting, which means they probably won’t grow if used as seed potatoes. You can save your own seed potatoes, buy seed potatoes from seed merchants, or try planting organically grown eating potatoes—just check the variety and its pattern of growth.
It’s risky to plant seed potatoes more than three weeks before the last frost date because damage to leaves and stems may set back their growth. But in much of the US, earlies can be planted in late March, provided their leaves are protected from late frost with fleece, then midseason from mid- to late April and maincrops from mid-April to mid-May.
Rather than dig a trench, use a trowel to plant potatoes individually in the soft top layer of no dig beds. Look closely and you will see that new shoots are concentrated at one end of the tuber, called the “rose end”; plant with these shoots at the top. Push the trowel straight down, pull it toward you to make a slit, and drop in the potato with its top at least 2 in (5 cm) below the soil surface. If you plant deeper, you’re more likely to need to dig them out. Potatoes can also be planted through a mulch of black plastic sheeting over a new patch of weedy ground (see Controlling Weeds). Push the trowel through a slit in the plastic and plant in the same way. Shoots will grow up through the slit toward the light, although you may occasionally need to ease them out.
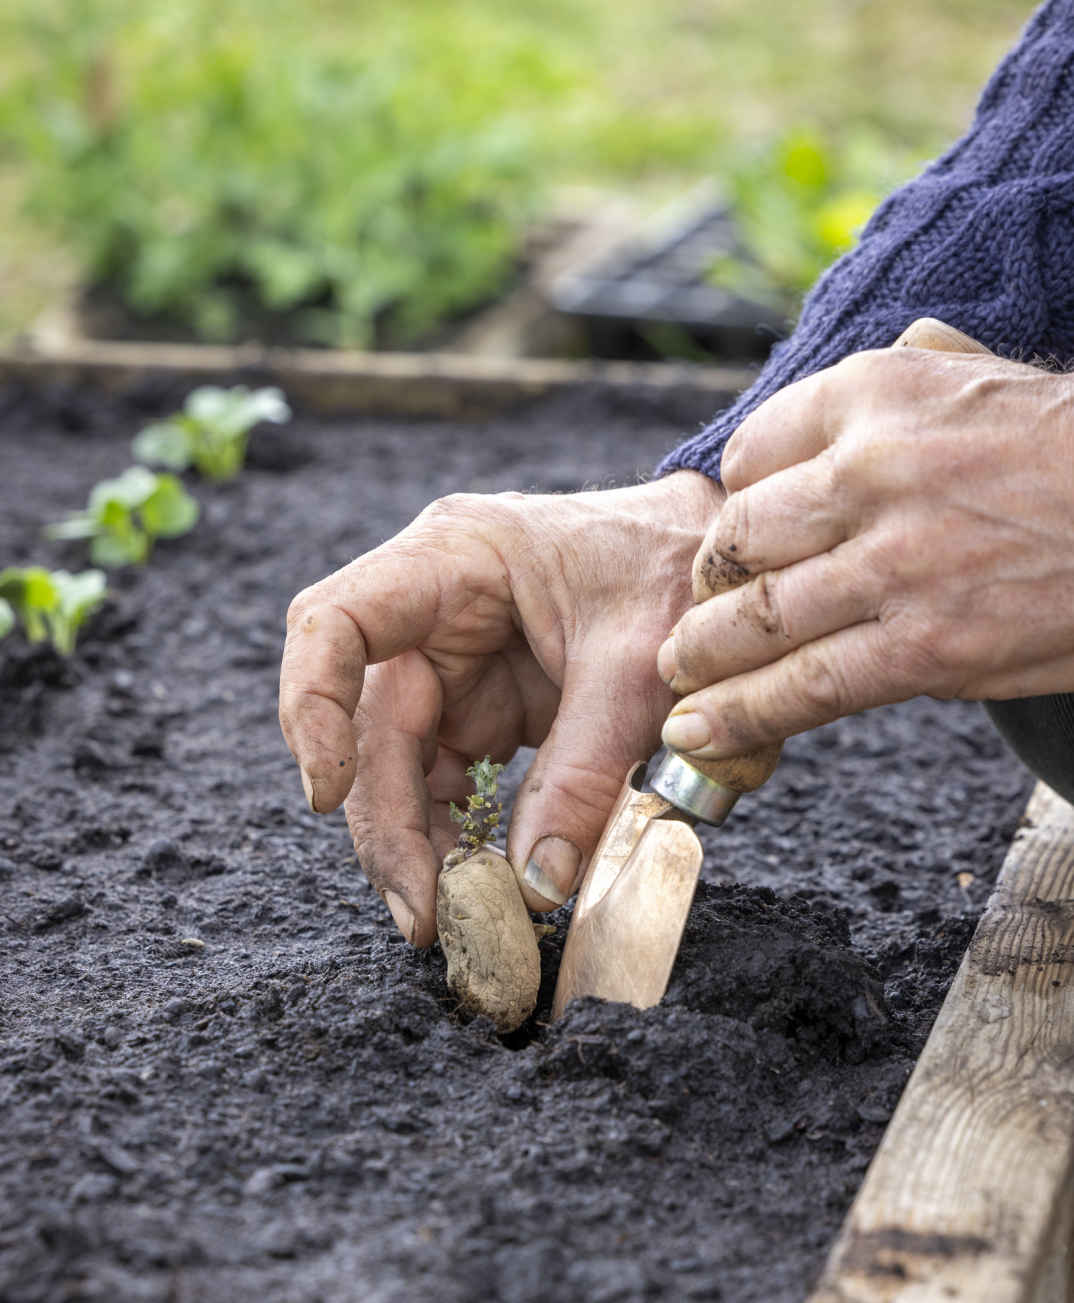
Planting seed potatoes is easy in no dig soil.
Once the leaves of early plantings are above ground, they risk being singed by frost. When a night of 37°F (3°C) or lower is forecast, you can protect the leaves by “earthing-up” and pulling compost over them or by covering plants with a double layer of fleece. These spring frosts do not kill the roots because there’s insufficient time for ice to penetrate into the soil, and by late May, growth will be rapid.
If exposed to light, tubers produce solanine, which turns them green and is mildly poisonous with an unpleasant taste. To prevent this, watch for new potatoes breaking the surface and drop more compost on top to cover them. For midseason ones, I use a shovelful of compost per plant, which is also a long-term investment to improve the soil and benefits subsequent plantings. Watering is unlikely to be necessary in moist spring soil. As harvest approaches in early summer, growth is phenomenally rapid, and you’ll get a bigger crop by watering generously twice a week for the last two weeks should the weather be dry.
Late blight is a disease of wet, dull summers, which can cause the leaves and stems of previously healthy plants to turn gray-brown, limp, and soft within three days (see Common problems). Watch out for it in warm, wet weather, and at the first sign of infection, cut plants at ground level to prevent blight from reaching the tubers. You can compost the tops because blight spores survive only in living plant tissue and die in a compost heap, even if it’s not hot. After removing diseased foliage, leave potatoes in the soil for a few days to allow blight spores on the surface to die before harvesting. It’s said that blight persists in soil, but it does not. I have tested growing potatoes in the same bed for the last seven years, and in year seven, the harvest was superb with no disease problems.
Common scab is a disease that causes surface disfigurement, and having to peel away discolored tissue reduces the edible portion of each potato. Scab usually occurs on disturbed soil with a high pH, and potatoes developing close to the surface in no dig beds are rarely affected. Potato blackleg comes from infected seed potatoes and usually occurs on those isolated plants. Diseased stems turn black at ground level, rot, and fall over, halting development, but any potatoes are still edible. You can compost the tops in a hot heap. In my experience, it doesn’t persist in the soil—just don’t save tubers from infected plants for seed.
Soil-dwelling slugs chew into potatoes, allowing entry to other pests and diseases, which is good reason to lift tubers promptly. Eat slug-damaged tubers first because they won’t store well.
Wireworms can be a pest in ground that was grassland or weed-covered before planting. These yellow-brown beetle larvae burrow thin tunnels deep into tubers, making it hard work to cut away damage and allowing rot to set in. Check for wireworms and reduce the population by baiting them in spring with half an old potato left on the soil surface overnight; wireworms will have begun to feed on it by the following morning. Place them in your compost heap and continue to lay bait until no more wireworms are found.
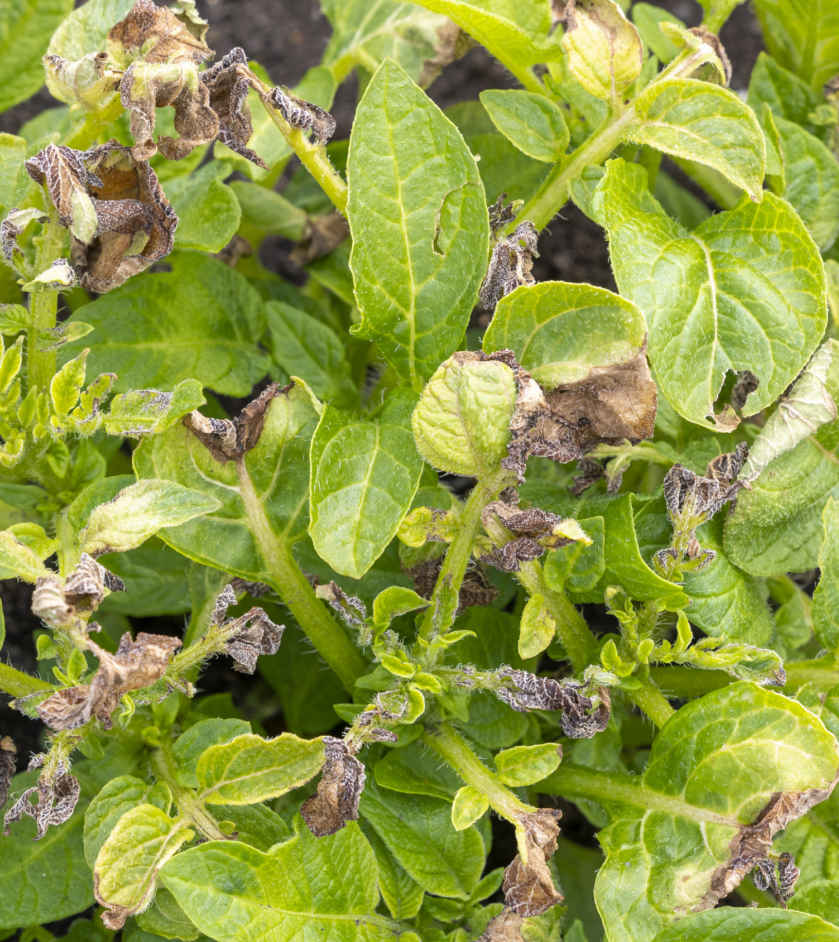
Spring frost damage on potato foliage.
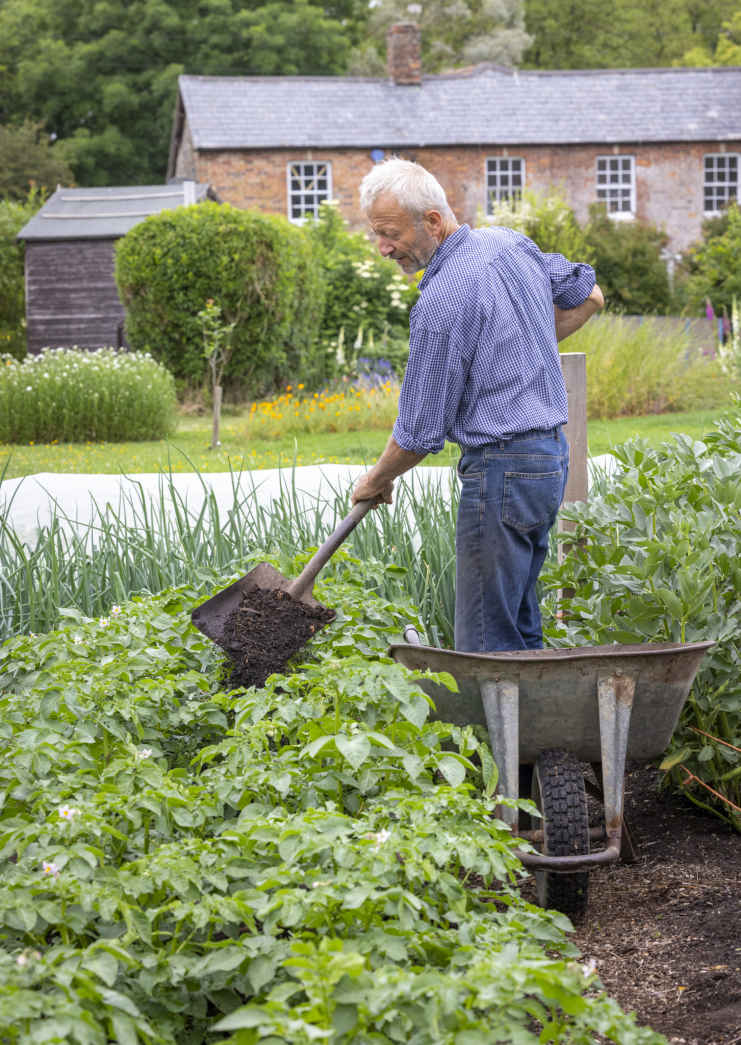
Earthing up plants with extra compost.
The first harvests of fresh potatoes have a high sugar content and that prized “new potato” flavor, both of which diminish after harvest and as tubers grow to maturity. Flowering is a first sign that harvest is imminent, although flowers can be inconspicuous or nonexistent, especially on early varieties. A more reliable signal that potatoes are ready is the dark green leaves losing their luster and turning pale or yellow. Don’t wait for the tops to die off completely because this increases the likelihood of slug damage and reduces the window of time for a second planting after the potato harvest.
Pull rather than dig your potatoes from no dig soil. Grasp a plant’s stems, give a gentle upward pull, and three-quarters of the tubers will lift with the top, leaving some nestling in the ground. Rummage with your fingers to unearth the remaining tubers, which come out with very little soil sticking to them. Potatoes may develop more deeply in sandy soils, where a trowel or fork helps remove them. Harvest even the tiniest potatoes because any left behind will grow like weeds.
Tubers store well in 2- or 3-ply paper sacks, which exclude light and prevent them turning green. Remove any damaged tubers and check that the skins are dry before putting them in the sack. Leave lifted potatoes on the soil in the sun for a few hours, or lay them in crates or boxes in the shed for two or three days. Keep the sacks somewhere dry and dark. Warmth during late summer is no problem for storage, but don’t allow them to freeze in winter. Empty sacks every few weeks and remove any rotten potatoes to prevent infection spreading. Remove sprouts from tubers in late winter. Earlies sprout sooner, so they are not usually stored, but midseason types like ‘Charlotte’ keep until April. By midspring, stored potatoes look slightly shriveled but remain tasty.
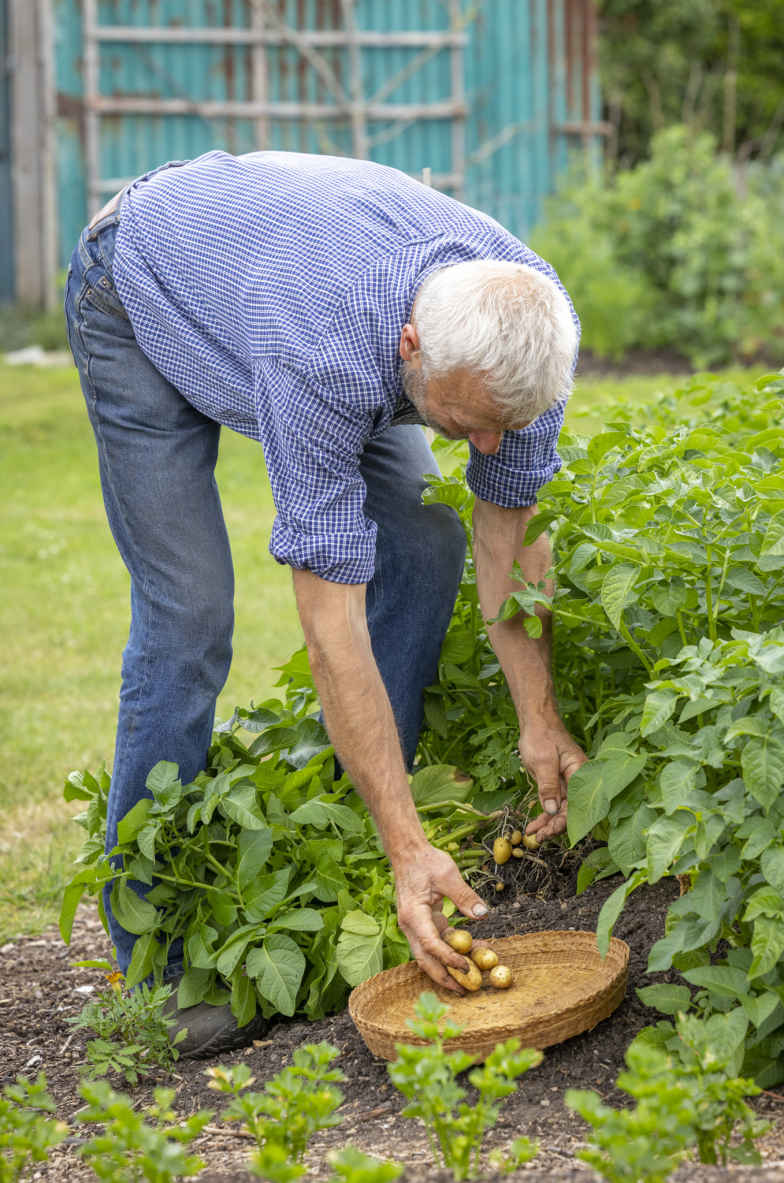
Harvesting baby new potatoes in early June.
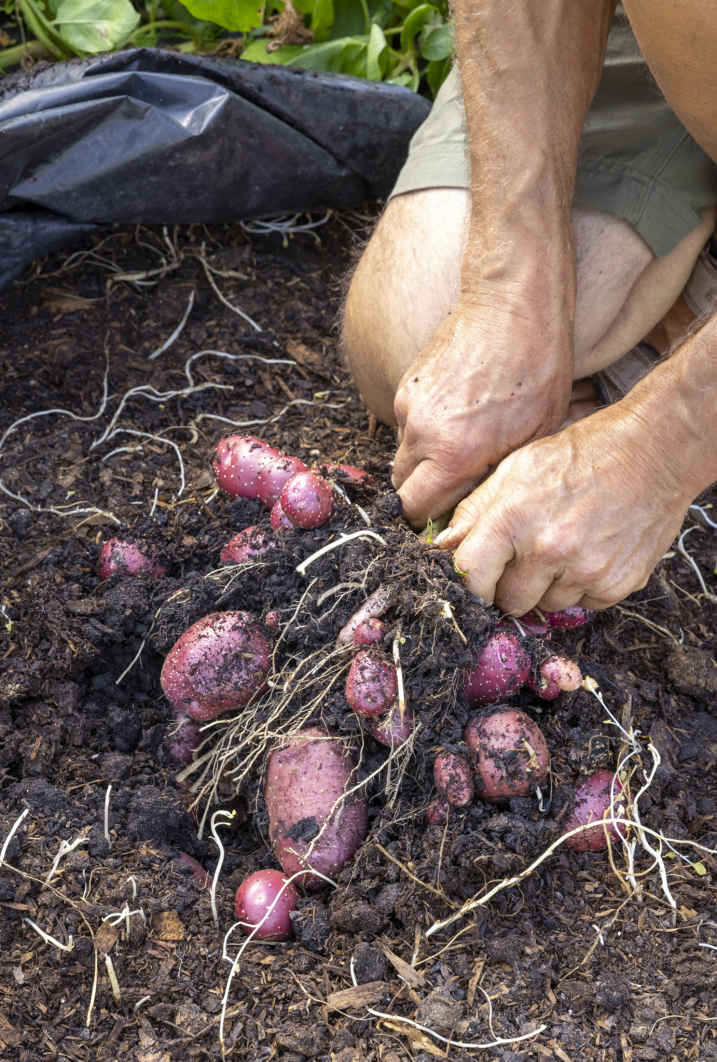
Plentiful ‘Lily Rose‘ tubers under black plastic.
I recently began using my own potatoes as seed and the results have been brilliant. To save your own seed, put some egg-sized tubers from healthy plants to one side at harvest time—this is an ideal use for any potatoes that are slightly green. Keep them in a paper bag, labeled with the variety, away from rodents. In midwinter, when they start to sprout, place them in light to chit as normal.
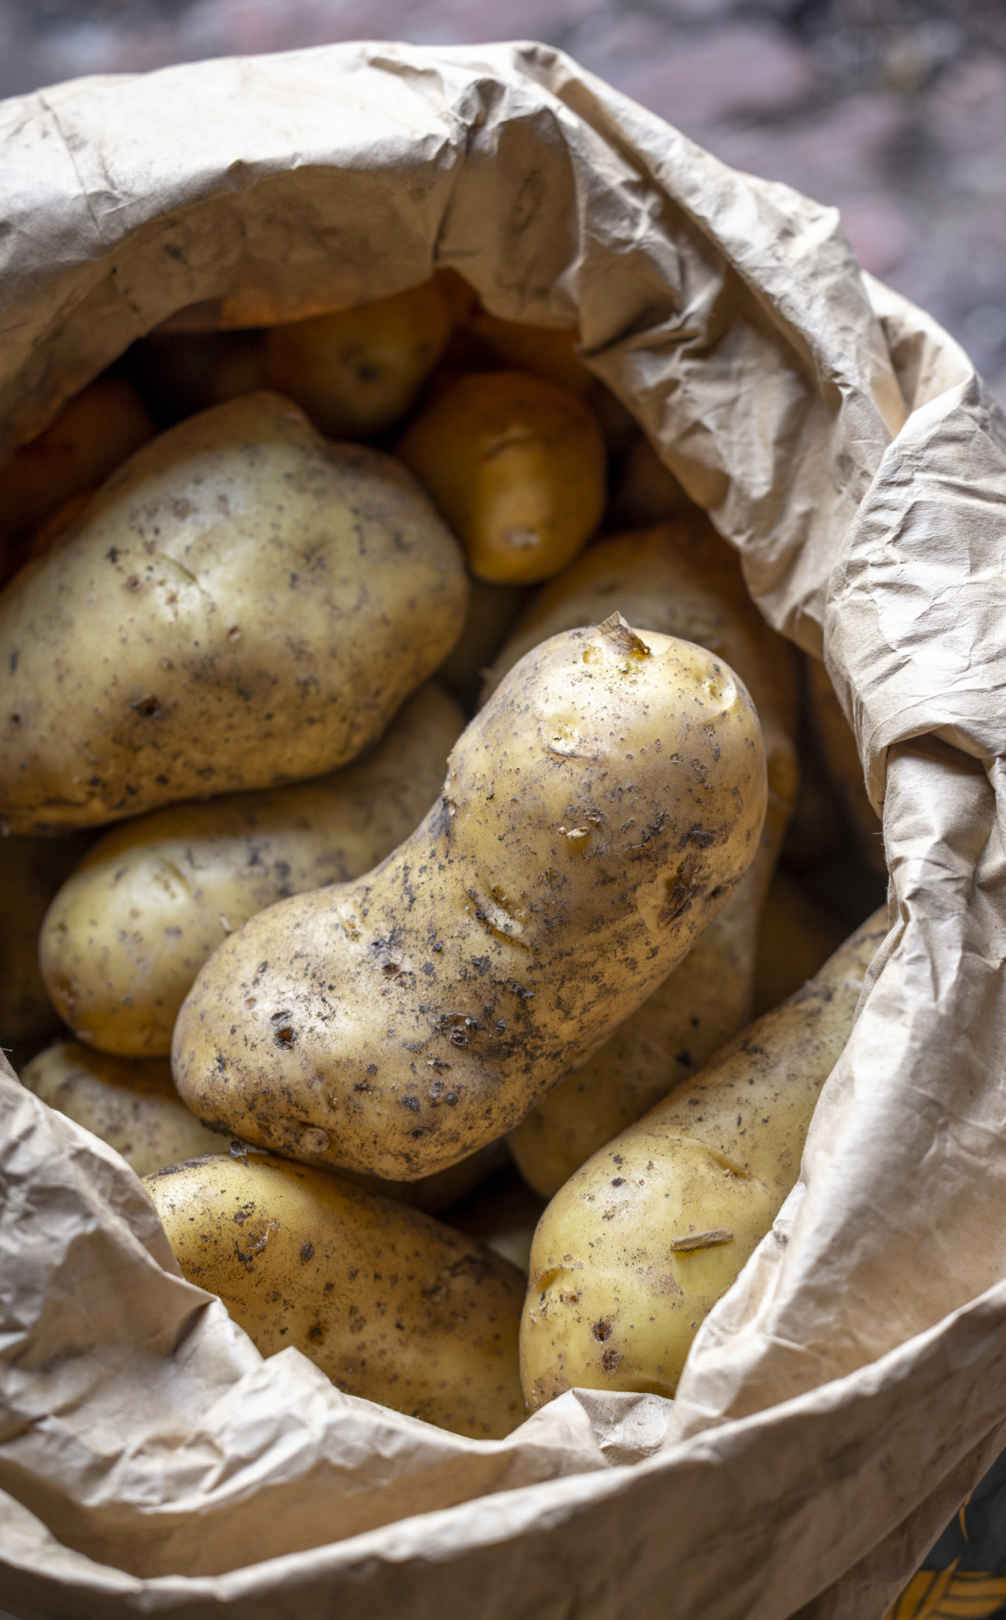
Dry potatoes keep well in a thick paper sack.
VARIETIES
EARLIES
‘Swift’ Extra-fast with cream, oval-shaped tubers, but an unremarkable flavor.
‘Sharpe’s Express’ Slower to mature, almost a midseason, with tasty yellow tubers.
‘Red Duke of York’ Red-skinned tubers have pale flesh of fine flavor.
‘Casablanca’ Matures a week later than true earlies for a good yield of large, slightly watery tubers.
MIDSEASON
‘Estima’ and ‘Charlotte’ Both give high yields of large potatoes, with a waxy consistency and lovely flavor.
‘Apache’ Unusual pink skin mottled with yellow patches and delicious yellow flesh.
‘Linzer Delikatess’ A yellow salad potato, with a good yield of small, waxy tubers.
‘Lily Rose’ The striking dark pink-red color of the skin also extends into the flesh.
‘Mayan Gold’ Long, yellow tubers with a buttery texture and amazing flavor. Cook in just five minutes.
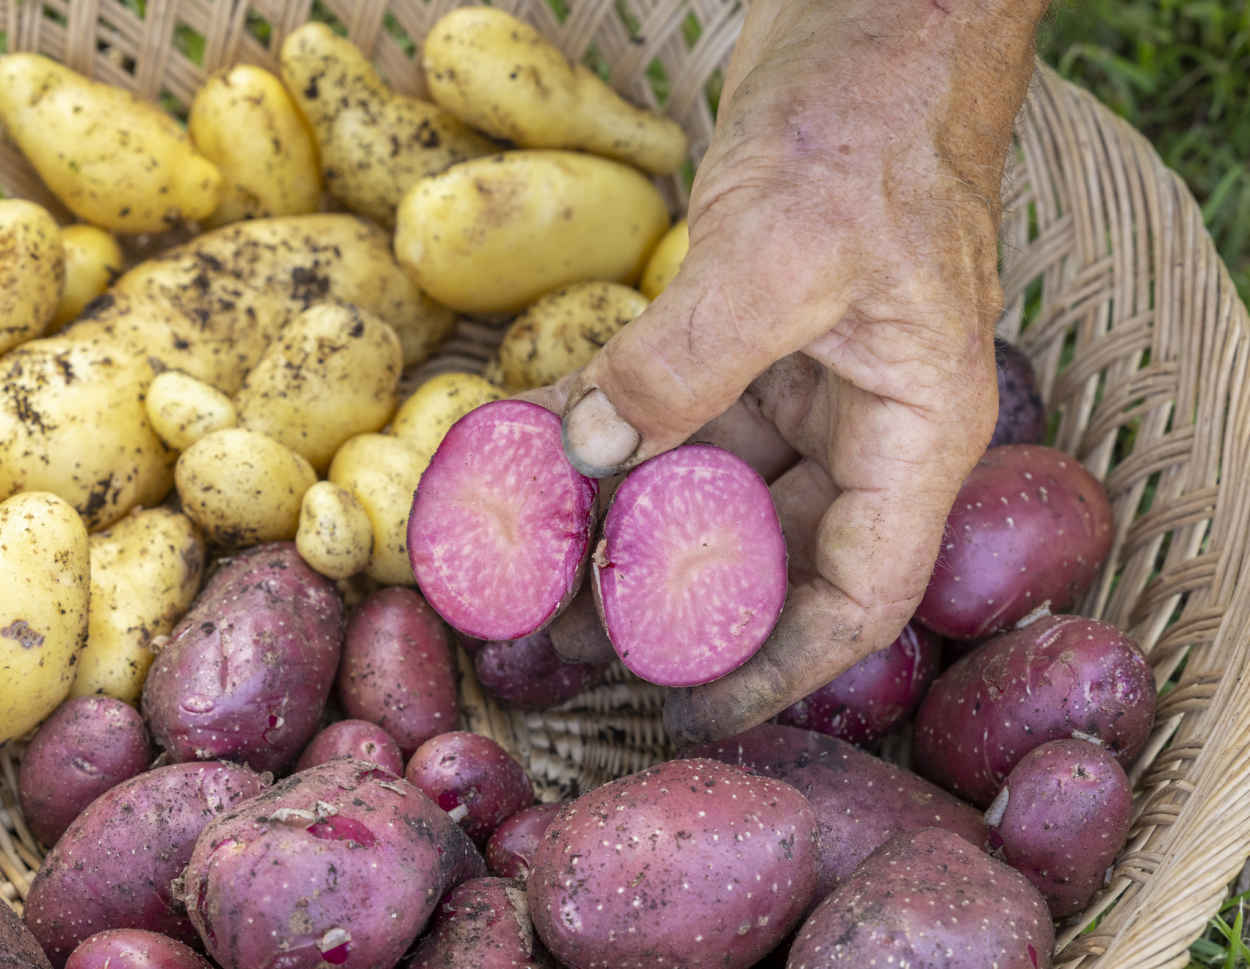
Midseason ‘Lily Rose’ and ‘Linzer Delikatess’.
MAINCROPS
‘Desiree’ A delicious, dense potato with purple skin and yellow flesh. Less prone to scab in no dig beds.
‘King Edward’ Deservedly popular for its fine flavor and good yields.
‘Sarpo Mira’ and ‘Sarpo Axona’ From the ‘Sarpo’ range of reliably blight-resistant varieties, which are tall and can grow into fall. Cut their tops back at the end of August to keep tubers from becoming starchy and dry.
KEY INFORMATION
EARLIES
Seed to first harvest: 2 months
Position: Full sun is best to keep leaves dry
Spacing: 14–16 in (35–40 cm) or 12 in (30 cm) for a small, very early harvest
Hardiness: Not frost hardy

MIDSEASON
Seed to first harvest: 3 months
Position: Full sun is best to keep leaves dry
Spacing: 18–20 in (45–50 cm)
Hardiness: Not frost hardy

MAINCROPS
Seed to first harvest: 4 months
Position: Full sun is best to keep leaves dry
Spacing: Up to 2 ft (60 cm)
Hardiness: Not frost hardy

Freshly picked sweet corn has a special flavor and sweetness that you cannot buy. The sugars in cobs are only temporary and soon turn to starch before the kernels eventually become dry corn or maize. Sweet corn is easy to grow when summers are warm, but it can be difficult to protect ripening cobs from the many animals and birds who also have a taste for them. When I lived in France, I noticed that farmers grew maize but never ate it at the sweet stage. I tried to sell sweet corn at the market, only to receive comments like “duck food”!
Sow a combination of early and later varieties at the same time for a succession of cobs to harvest in late summer and early fall. Where summers are cool, choose an early variety that needs less time to mature.
Sweet corn needs warmth to thrive, so there is no point sowing it too early in spring. Wait until about a month before your last frost date to sow under cover, and only sow outdoors once the risk of frost has passed. Sowing under cover is more reliable because warmth gets germination underway quickly and the fat seeds are protected from rodents and birds, although it may still be worth setting a mousetrap near the trays.
Sow seeds singly about ½ in (1 cm) deep, into 1¼ in (3 cm) or 2 in (5 cm) cells under cover, or sow directly by dibbing holes ½–¾ in (1–2 cm) deep every 10 in (25 cm) across a bed. Transplant seedlings after about four weeks, always after the last frost. Sweet corn is often grown in a block, with plants 10–12 in (25–30 cm) apart, to aid pollination. This makes sense, as pollen drifts down from male flowers at the top onto the hairs of cobs growing on surrounding plants, enabling sweet kernels to swell. However, I also harvest fat, well-pollinated cobs from plants growing in rows. Transplanting tall sweet corn between sprawling winter squash plants makes efficient use of space, but the UK climate is not hot enough to grow climbing beans up the corn for harvesting both at a dry stage, which is known as “the three sisters” method.
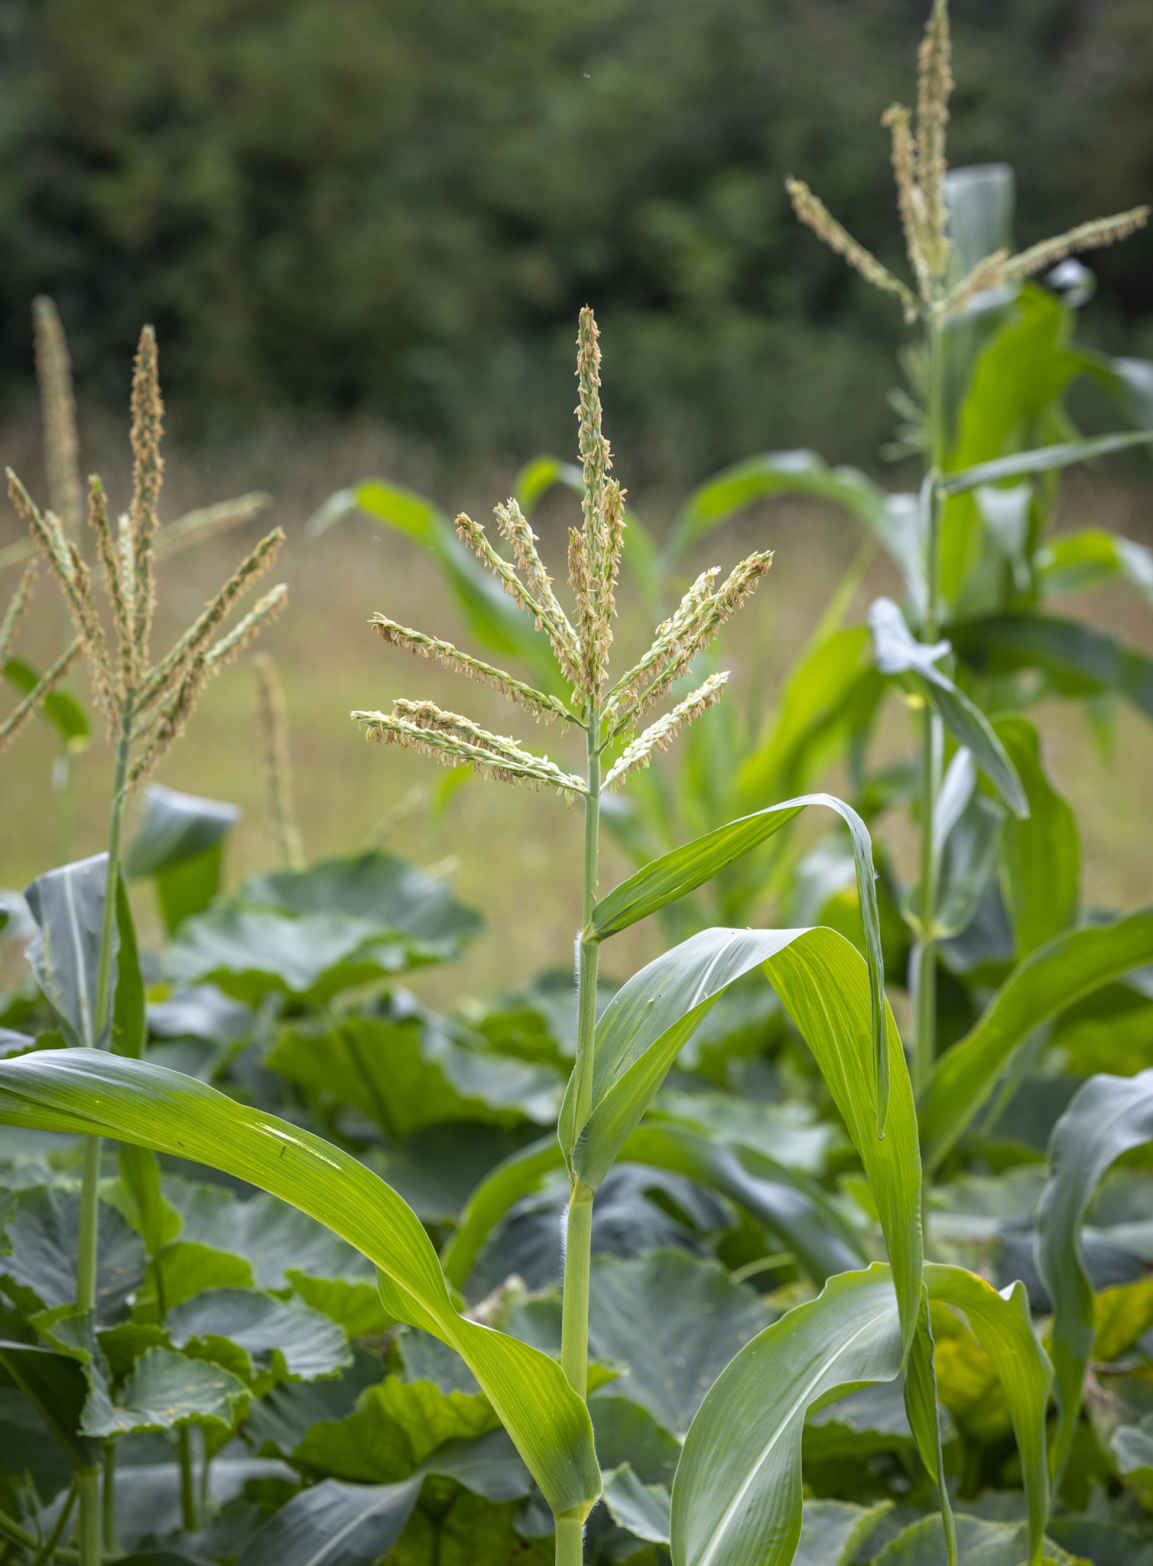
Male flowers drop pollen onto the cobs below.
If it is cold after you transplant, lay fleece over plants for the first two or three weeks to help them establish. In cool conditions, plants will just sit there and turn yellow but grow away rapidly once the soil warms up. Water after transplanting. Soak twice a week if the weather is dry when the cobs are swelling.
Maturing cobs are vulnerable to rodents, badgers, and birds. My only advice is to beat them to it: harvest mature cobs immediately, or even slightly underripe, when they are extra tender. Sideshoots from the base of stems can be removed or left to bear smaller, often poorly pollinated cobs.
Watch for the hairy silks at the tops of cobs turning brown as they ripen. You can also pull the outer green husk apart enough to check the kernels’ size and color; look for pale yellow-cream, which will darken to golden-yellow when cooked. Push down to snap a cob off the stem and eat it as fresh as possible, either raw or lightly boiled. The harvest period is short and is one to relish.
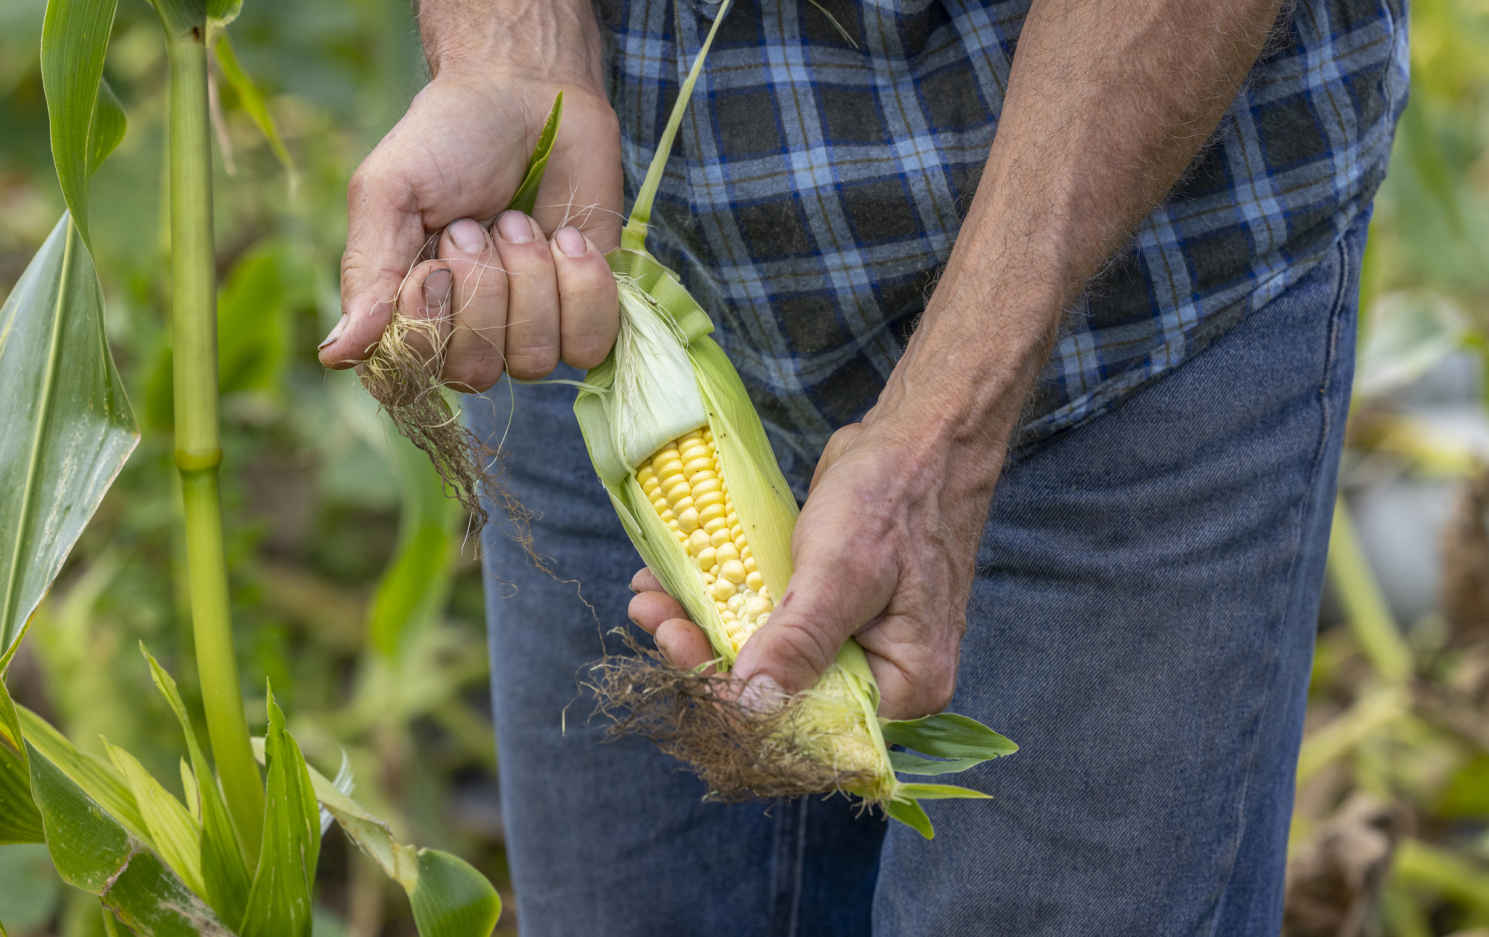
Peeling a cob to reveal ripe yellow kernels.
VARIETIES
‘Tramunt’ A fantastic open-pollinated, late, extra-sweet variety, which retains sweetness well after picking.
‘Mezdi’ A medium-early, open-pollinated, extra-sweet variety that produces smaller cobs than ‘Tramunt’.
‘Northern Extra Sweet’ F1 and ‘Earlibird’ F1 Both good early varieties, well suited to growing in cooler summers.
‘Sweet Nugget’ F1 A reliable, midseason variety for good-sized cobs.
Babycorn ‘Minipop’ F1 Produces a succession of small baby cobs for fun rather than to fill your plate.
KEY INFORMATION
Seed to first harvest: 3 months for early varieties
Sowing to transplanting: 4–5 weeks
Position: Full sun and warmth
Spacing: 10–12 in (25–30 cm) equidistant
Hardiness: Tender; will be killed by frost
Suitable for interplanting

Raised under cover and transplanted outdoors after the last frost, tomato plants grow fast in full sun where summers are warm. I recommend growing at least half of your crop under cover in damp climates to protect plants from the summer rain, which brings late blight and ruins potential harvests. Long-stemmed, upright varieties are called “vine” or “indeterminate,” while compact types are known as “bush” or “determinate.” Vine tomatoes take time to train up supports, but their varied colors, shapes, amazing flavors, and high yields are your reward. Tomatoes also grow well in containers, given regular feeding and daily watering during summer.
When to sow depends on your last frost date. I sow six to eight weeks before that date, which is the second half of March, in warmth under cover. This allows time to grow good-sized transplants and maximize the chance of fruit ripening during temperate summers. Resist the temptation to sow in February because seedlings will quickly become overcrowded and spindly under cover while waiting to be planted out.
Sow seeds thinly into a small seed tray or sow one seed into each cell of a 1¼ in (3 cm) cell tray. Avoid sowing into bigger pots to save space and prevent seeds from rotting in excessively moist potting mix—the trick is to pot plants on regularly into slightly larger containers as they grow. Prick out from a tray into 1¼ in (3 cm) cells when seedlings have their first two seed leaves (cotyledons). After about three weeks, once plants have two true leaves, pot them on into 2¾ in (7 cm) pots, then after roughly 10 to 12 days, pot them on again into 3½ in (9 cm) pots. Ten days later, you should have a sturdy young plant, possibly with a truss of flower buds visible, ready to transplant.
When the last frost date has passed, transplant into open soil, large containers, or grow-bags in a vine or polytunnel, or outdoors where summers are reliably warm. Tomato plants have long stems, which grow additional roots when buried, so always transplant deeper than they were growing in their previous pot. Allow at least 18 in (45 cm) between plants and up to 22 in (55 cm) for vine plants under cover, and grow two plants per grow-bag rather than the three sometimes suggested.
Bush tomato varieties grow well in pots where they can be left to do their own thing and drape over the sides. When grown in open ground, their stems trail over the soil and fruit may be eaten by slugs. Vine tomatoes need support either with a sturdy stake driven into the soil close to the root ball after planting or with robust polypropylene strings secured under the root ball and tied to supporting bars in the roof of the vine or polytunnel. When transplanting, tie a knot in one end of the string and place it in the hole under the root ball so that it will be held in place by the plant’s roots, then secure the top using a simple loop knot.
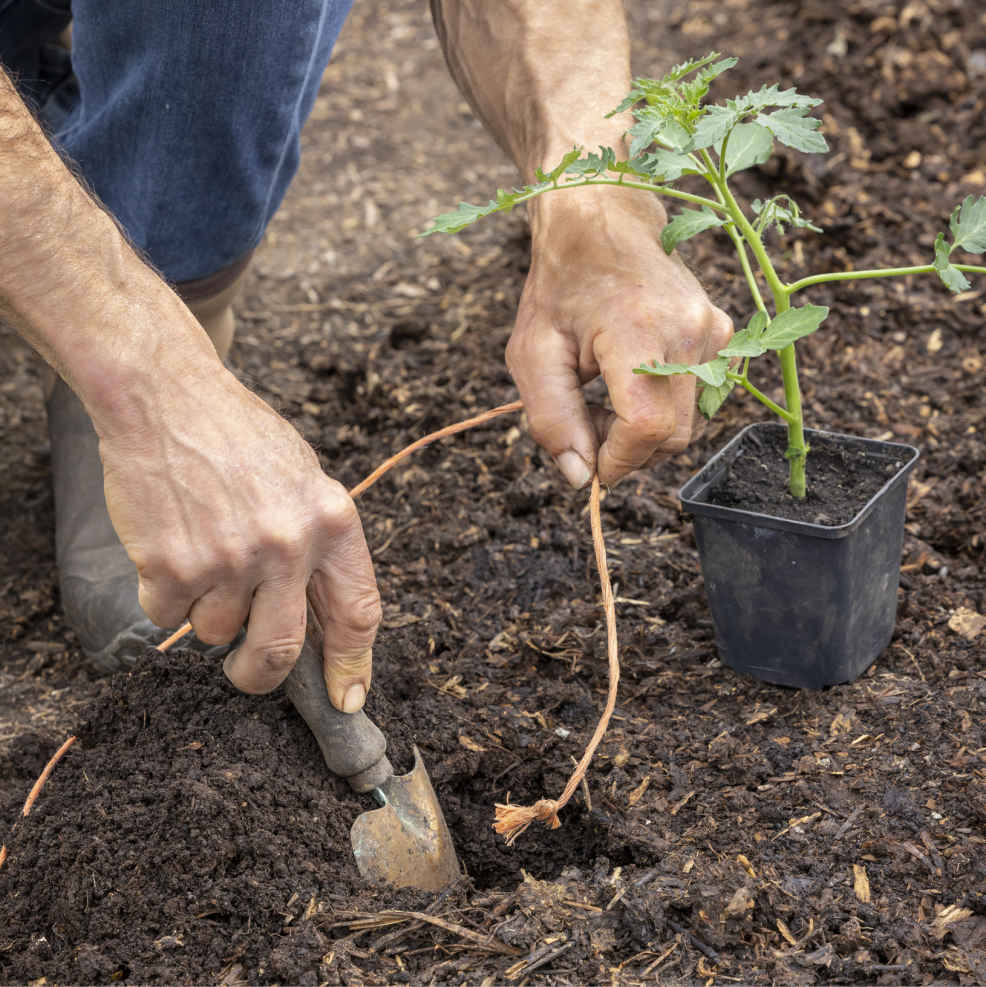
Under cover, bury a supporting string under the roots.
Support vine plants either by loosely tying in the main stem to the stake every 6–8 in (15–20 cm) or gently twisting it around the string as it grows. Snap off sideshoots that appear where leaves join the main stem, so the plant retains a single stem and is easy to maintain. I cut off the lower leaves of vine plants from about a month after transplanting, before they are too yellow. This makes access easier for watering and picking and improves ventilation around plants so that leaves dry quickly, reducing the risk of disease. Pinch out the tops of plants in early August to limit development of new flower trusses and reduce the quantity of unripe fruit at the end of the growing season.
Pruning flower trusses helps improve the quality of fruit. Cut off about half of the first truss to prevent the bottom tomatoes from lying on the ground and being damaged by slugs or woodlice. Removing the last few flowers from the ends of trusses prevents them from growing so long that their last tomatoes take ages to develop. Later trusses generally need less pruning, but this depends on variety; to produce large beefsteak tomatoes, leave only three or four fruits on each truss.
More problems come from overwatering than under-watering tomatoes, so go steady with the can or hose. The reservoir of moisture in no dig soil makes water management easier for plants in the ground than those in pots. In summer, I water plants growing in soil in my polytunnel twice a week, or every two days if it’s really hot. From July, apply water directly onto the soil or potting mix around the plant without wetting the leaves to reduce the chance of late blight. Irregular watering can cause fruit skins to split, especially for varieties such as ‘Sungold’ and ‘Rosella’. Reduce watering to just once a week in September to concentrate plant energy on ripening fruits rather than growing more leaves and to intensify the sweetness of the fruit.
There is no need to feed tomatoes growing in no dig soil, where soil organisms provide a healthy balance of nutrients under the compost mulch. In contrast, tomatoes in containers or grow-bags need regular feeding with an organic liquid feed according to the manufacturer’s instructions, as well as watering daily or even twice daily during summer. Avoid saturating the soil in pots, but if you see the leaves wilting on a sunny afternoon, it’s a signal to water a little more. Striking black patches on the bottom of fruits, known as blossom end rot, result from calcium deficiency caused by a lack of water, so the remedy is to water more.
Aphids may cluster on leaves and stems in spring but can be sprayed off with water to help reduce damage until predators arrive in late May and aphid numbers therefore diminish. Leaves rolling upward occurs in some varieties when there is a big difference between daytime and nighttime temperatures, but this is not a major problem.
Late blight can cause major damage, particularly on outdoor tomatoes, but understanding how infection occurs will reduce the risk (see Common problems). Fortunately, those sheltered from rain under cover will have dry leaves and are much less likely to be affected. At the first sign of rapidly spreading gray-brown rotting of foliage, remove and compost the affected leaves to help slow the spread. Blight spores do not survive in soil or compost, so it’s fine to compost diseased material. Once you see blackened stems or stalks, the plant is lost and should be removed, including any fruit, which, although it tastes unpleasant, is not poisonous.
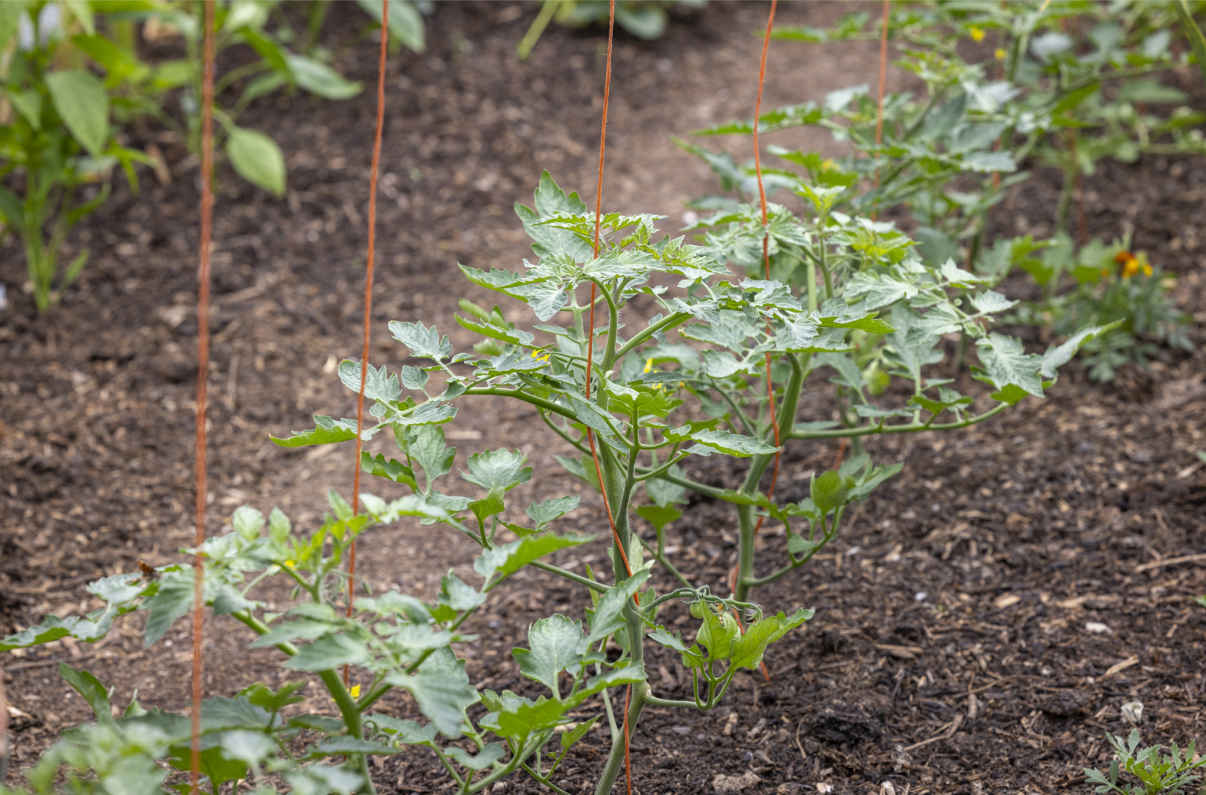
Gently twist the main stems of young plants around their string as they grow.
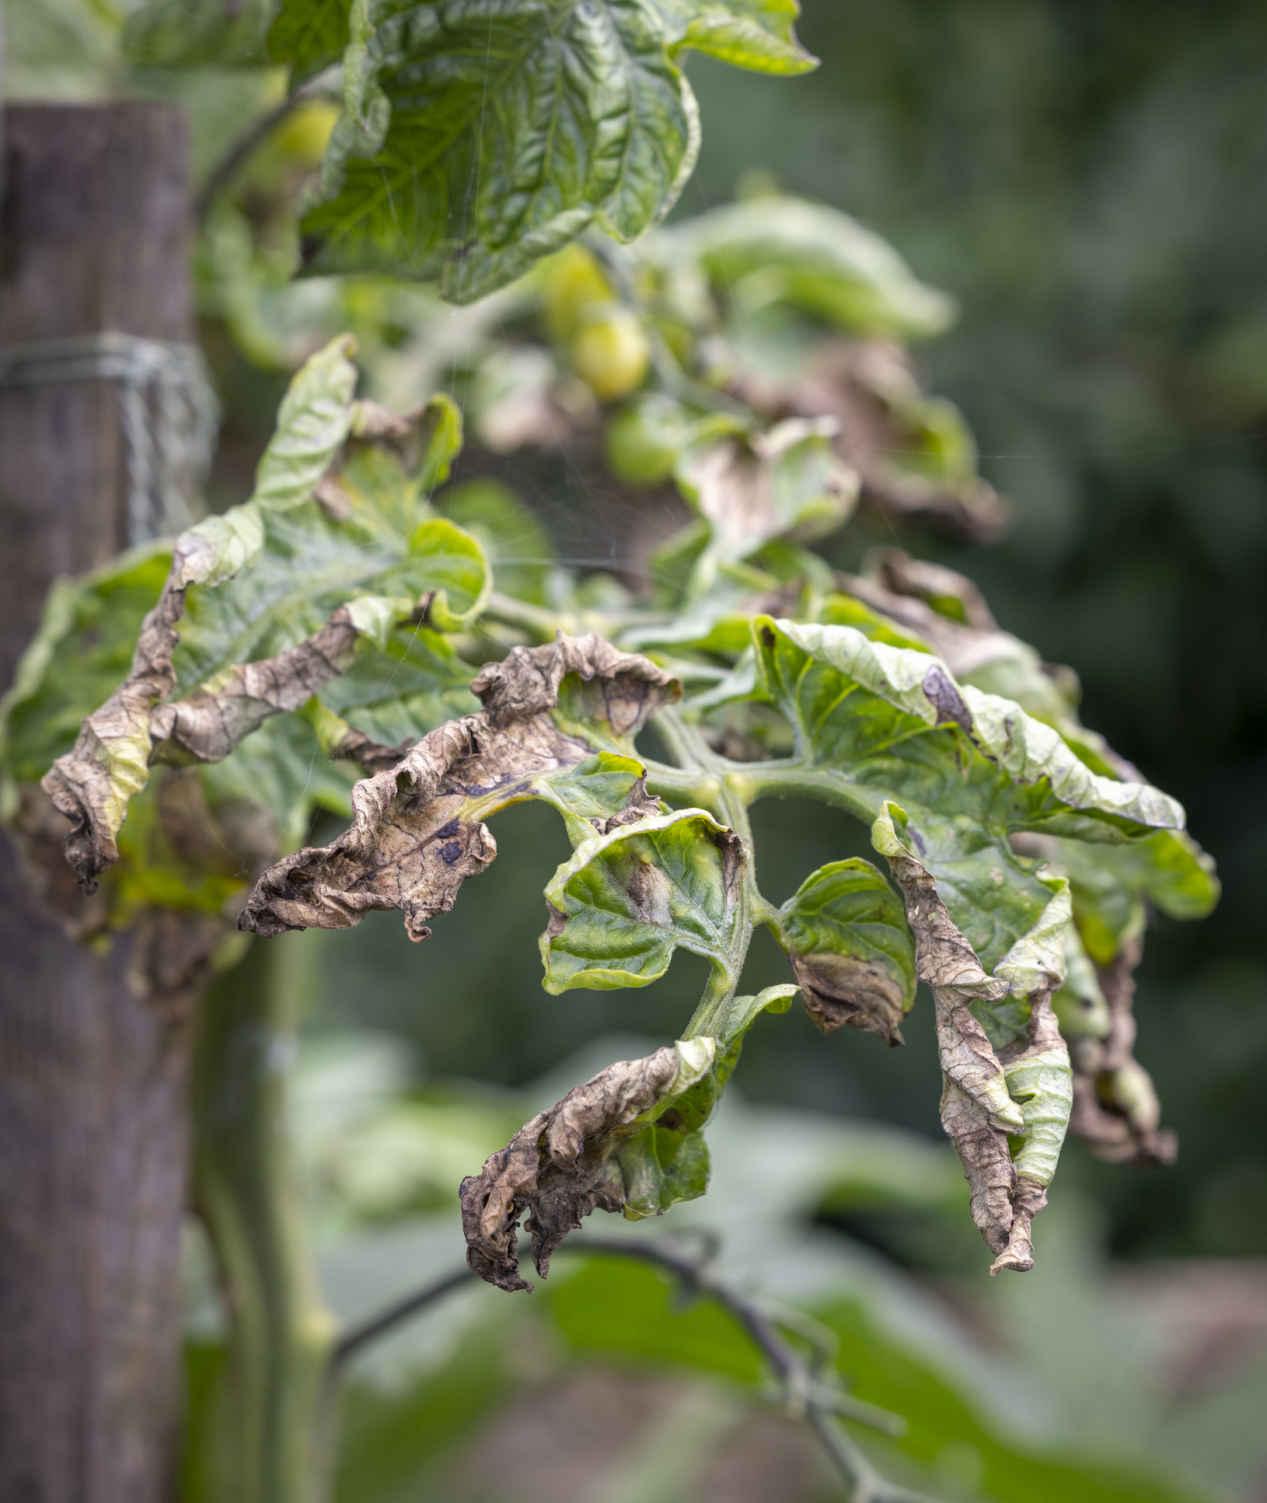
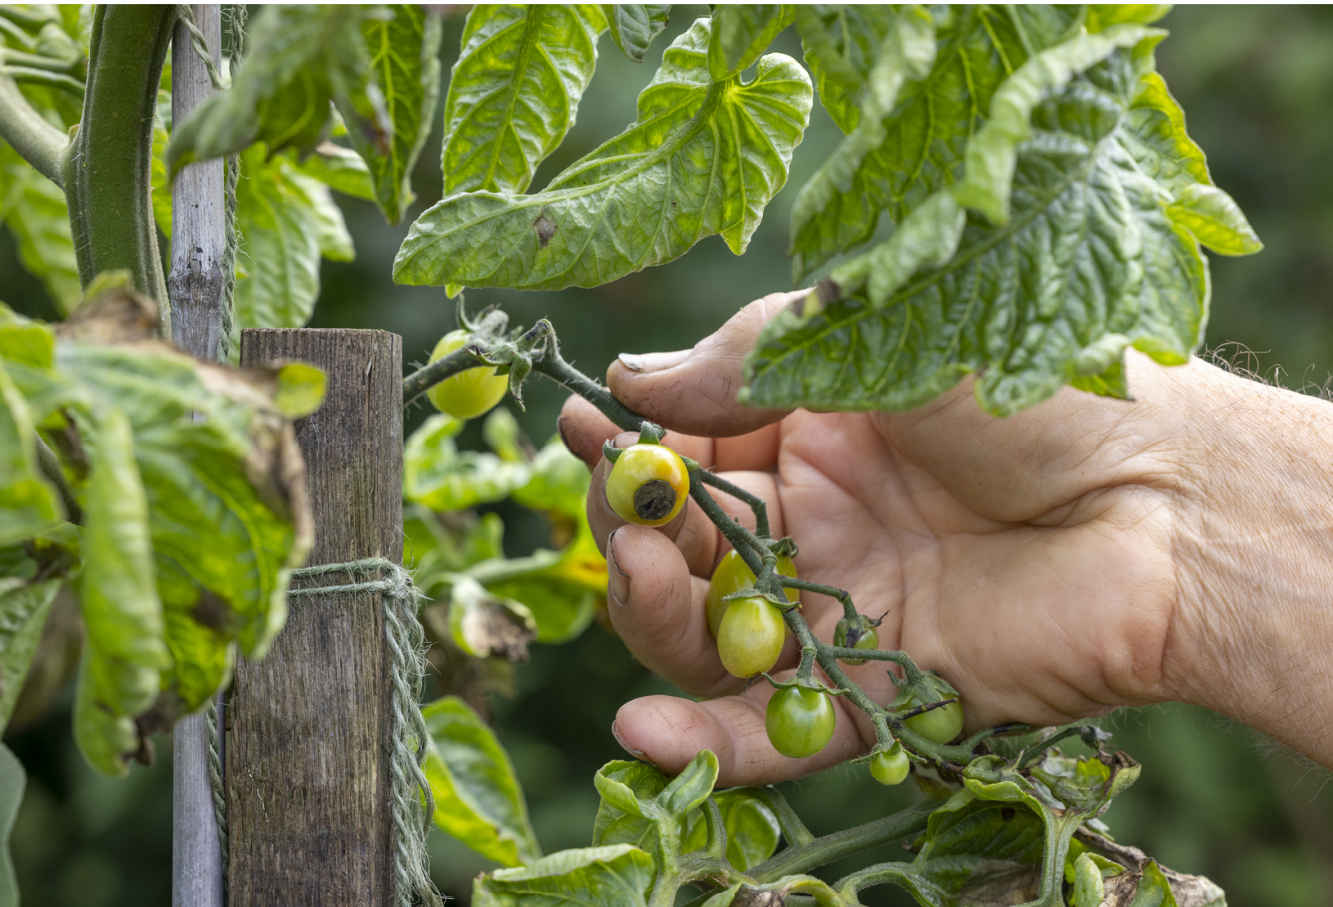
Symptoms of late blight on leaves (top) and blossom end rot on fruit (above).
Tomatoes left on the plant until fully colored have the sweetest flavor, but you can encourage higher yields by picking half-colored fruit and allowing them to finish ripening at room temperature. Pick single fruits when they are mostly colored and before they overripen, when tomatoes go soft and lose the acidic edge to their flavor. They keep best if picked by lifting upward to snap the stalk, leaving the green calyx attached. This is often difficult with beefsteak varieties, which are best harvested with a sharp knife to cut the stalk of each tomato. Handle them carefully to avoid bruising or damaging their thin skin.
Keep harvested fruit at room temperature, out of sunlight, where they will continue to ripen gradually. Avoid placing them near bananas, which increase the chance of rotting, and never put them in the fridge, as this reduces flavor. Once light levels drop in early October, no further ripening will occur on the plant, so pick all remaining fruit to ripen indoors. Pull plants out to make space for winter crops.
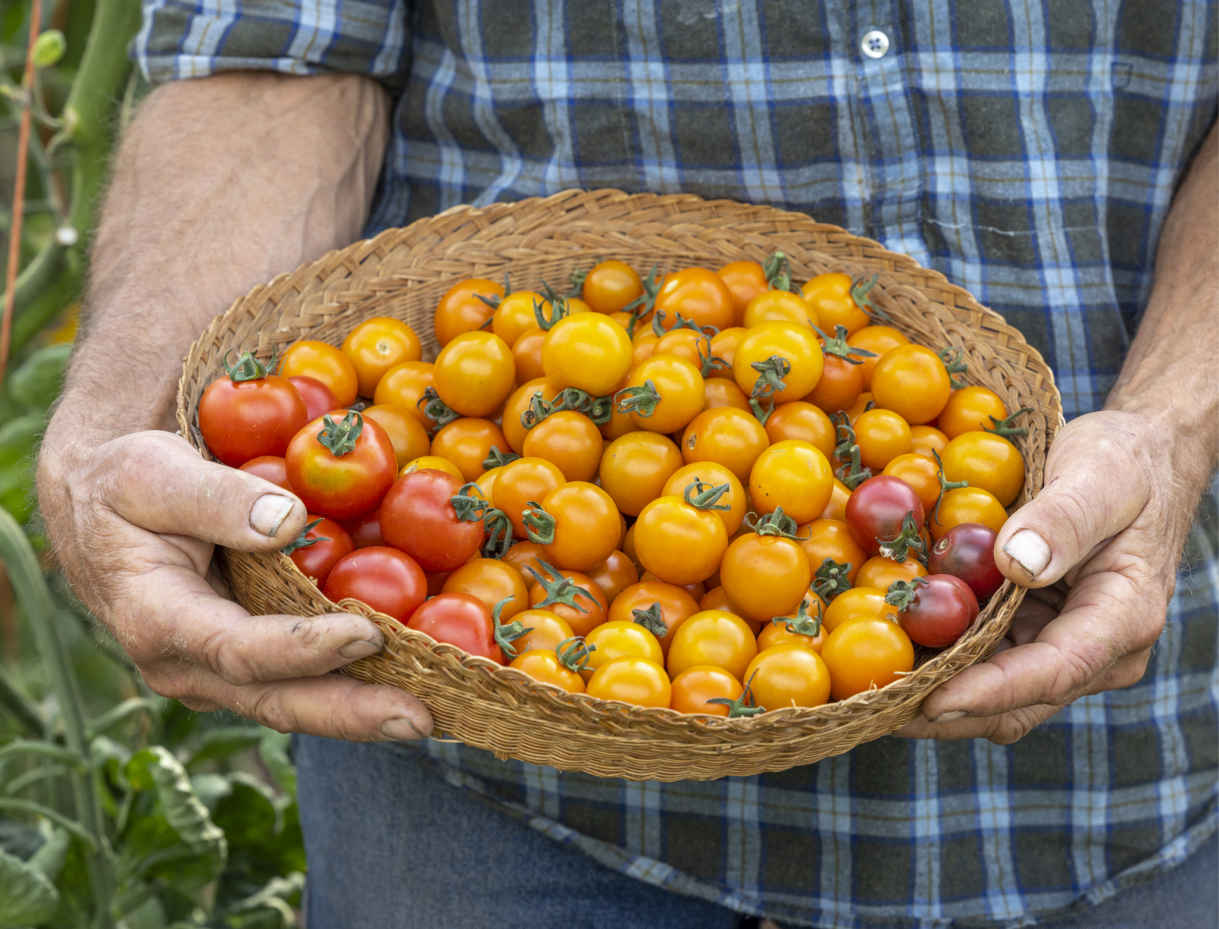
A colorful crop of cherry tomatoes ‘Sakura’ F1, ‘Sungold’ F1, and ‘Rosella’.
Saving seed
Save seeds from any open-pollinated variety. Scoop the seeds from a ripe tomato into a cup, add some water, label, and leave at room temperature for about a week. Soft tissues surrounding the seeds ferment, forming a moldy, gray layer on top of the water, while clean seeds drop to the bottom. This process removes a germination inhibitor present around the tomato seeds. Remove the moldy crust before draining and rinsing the seeds. Leave them to dry in the sun on a piece of cardstock before scraping them into a labeled envelope.
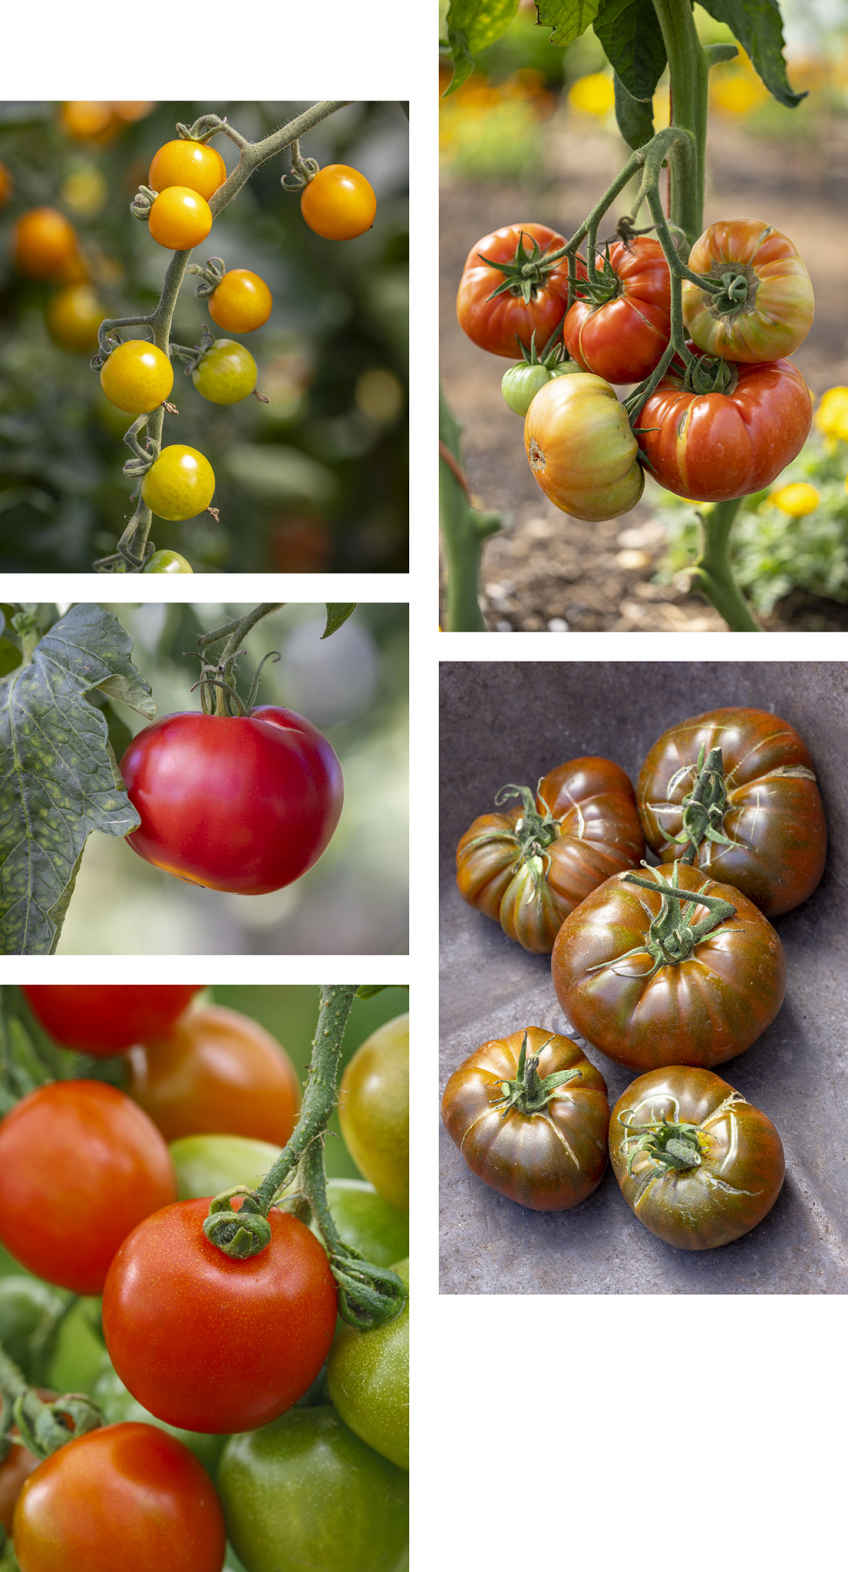
Clockwise from top right: ‘Red Brandywine’; ‘Black Russian’; ‘Red Alert’; ‘Berner Rose’; ‘Sungold’ F1.
VARIETIES
These perform well in my garden and appeal to my taste, but I’d encourage you to try many more and find your own favorites.
VINE VARIETIES
CHERRY Small, sweet, bite-sized tomatoes that ripen earliest and suit cooler climates with short growing seasons.
‘Sungold’ F1 My number one for its extraordinary fruity, sweet flavor and ability to ripen orange fruit under cover a week before other varieties. Tall plants with a long stem between each truss.
‘Sakura’ F1 Good yields of larger, dark red cherry tomatoes, with a full and sweet flavor.
‘Rosella’ Small fruit of a dusky purplish color, with a pleasant and not overly sweet flavor.
MEDIUM-SIZED Standard salad tomatoes.
‘Matina’ Open-pollinated with round, red, midsized fruit and a decent flavor.
‘Orkado’ F1 Grown commercially for a high yield of uniform red fruit; tasty but not remarkable.
BEEFSTEAK Large, dense fruit, with much more flesh and few seed cavities. Slow to ripen and need hot summers.
‘Black Russian’ Yields large, dark red fruit with a fantastic flavor, but plants often look unhealthy!
‘Brandywine’ One of the loveliest open-pollinated beefsteak tomatoes, with excellent flavor and large ribbed fruit. Comes in pink, red, and yellow.
‘Gigantomo’ F1 and ‘Big Boy’ F1 Hybrids bred for exceptionally large, red tomatoes and good flavor.
‘Berner Rose’ Medium-large, pink-red fruit. Not the biggest, but they taste wonderful.
‘Sonnenherz’ Fleshy, heart-shaped, orange-striped fruits.
BUSH VARIETIES
‘Red Alert’ Amazing earliness and tasty small to medium-sized red fruit, with quite a thick skin.
‘Maskotka’ My favorite bush variety. Easy to grow, and trusses of good-sized, tasty red fruit drape over the edge of the container.
‘Tumbling Tom Red’ Widely available and pretty bog standard, producing small, red fruit with an average flavor.
BLIGHT-RESISTANT VARIETIES
Much less prone to blight than standard varieties, but not immune to infection.
‘Crimson Crush’ F1 A vine variety with large fruit, going toward beefsteak, and crimson colored. Delivers decent flavor and quite a high yield when grown outdoors.
‘Mountain Magic’ F1 Also a vine for round, red, medium-sized tomatoes with an average flavor.
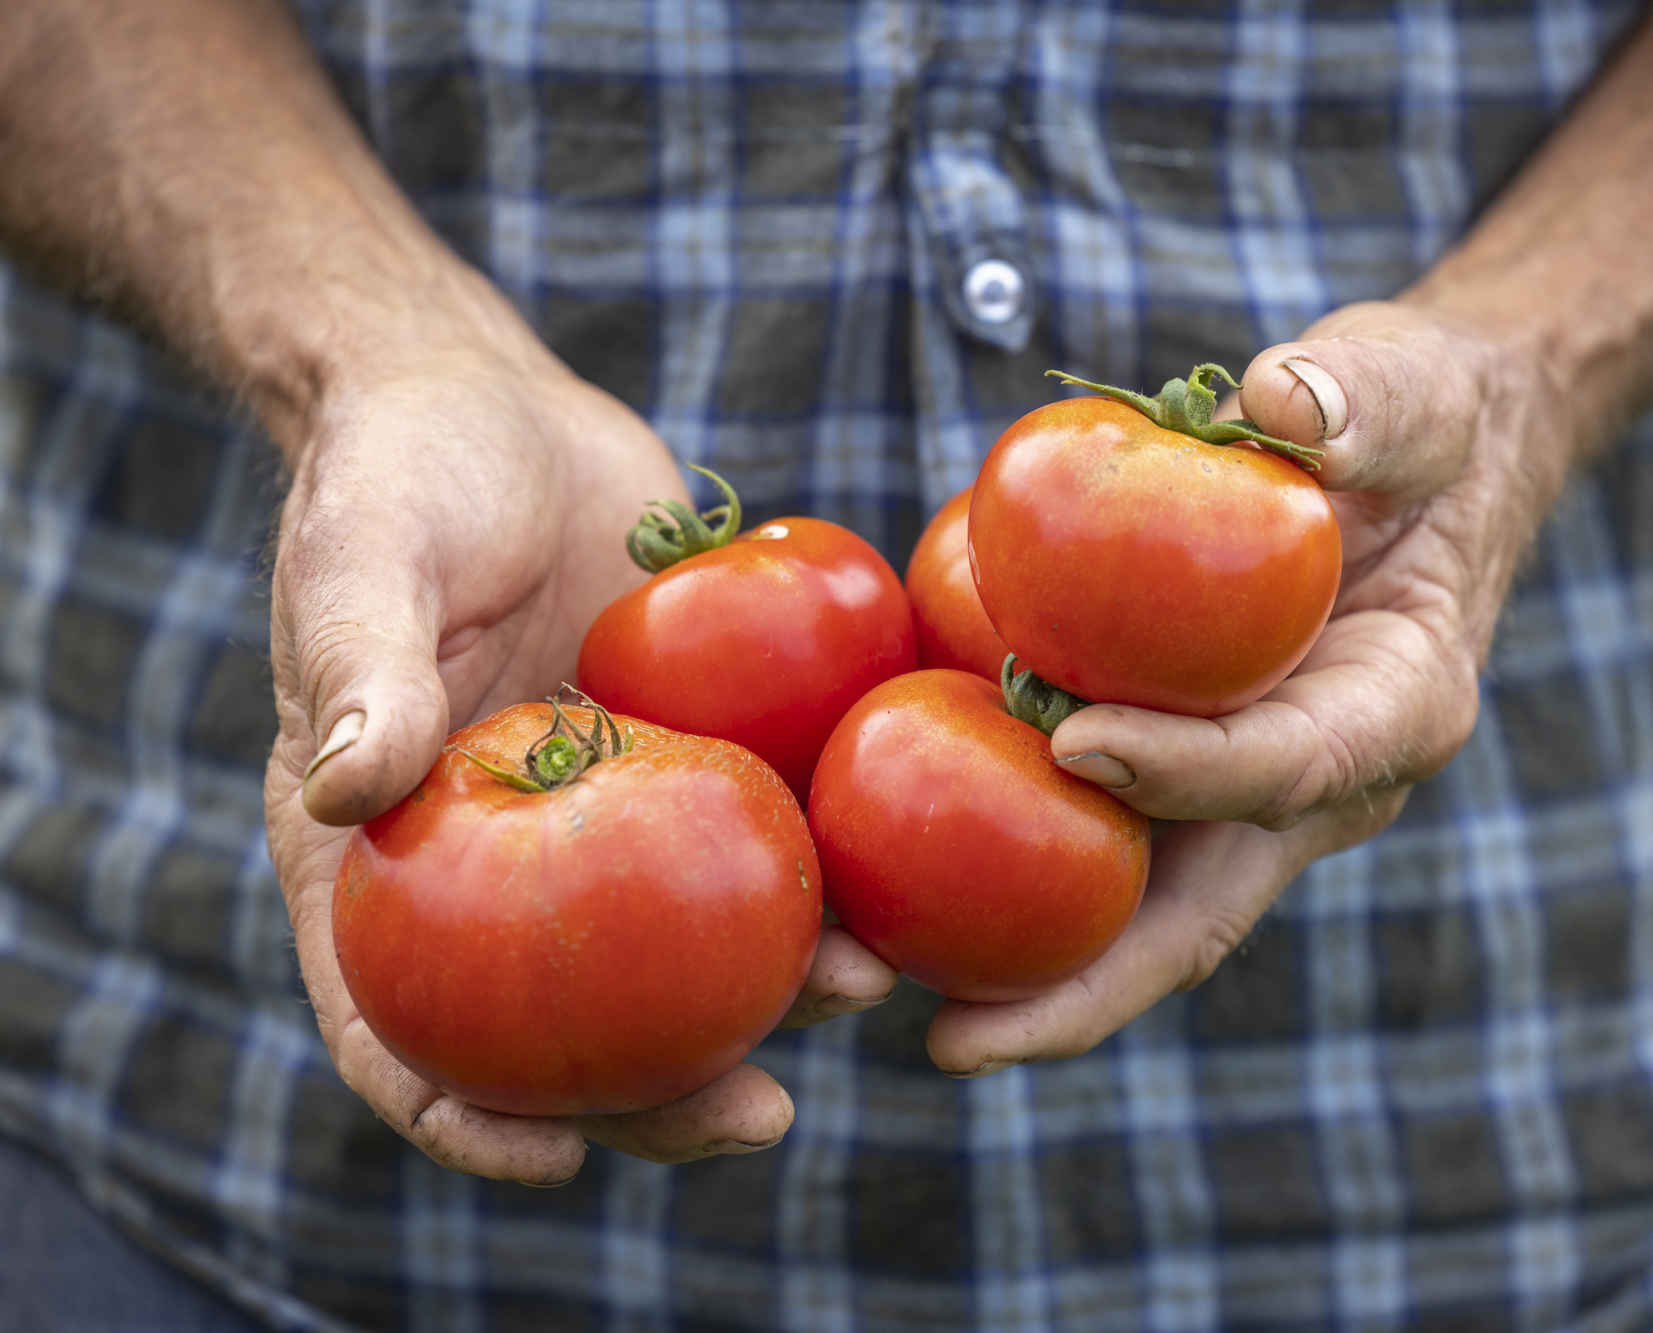
Tomato ‘Crimson Crush’ F1 grown outdoors.
KEY INFORMATION
Seed to first harvest: 3 months for cherry varieties, 4 months for medium to large fruit under cover, 4½ months outdoors
Sowing to transplanting: 6 weeks
Position: Full sun, and shelter for vine varieties
Spacing: 16–22 in (40–55 cm) apart
Hardiness: Not hardy; killed by frost, but more cold tolerant than eggplants and peppers

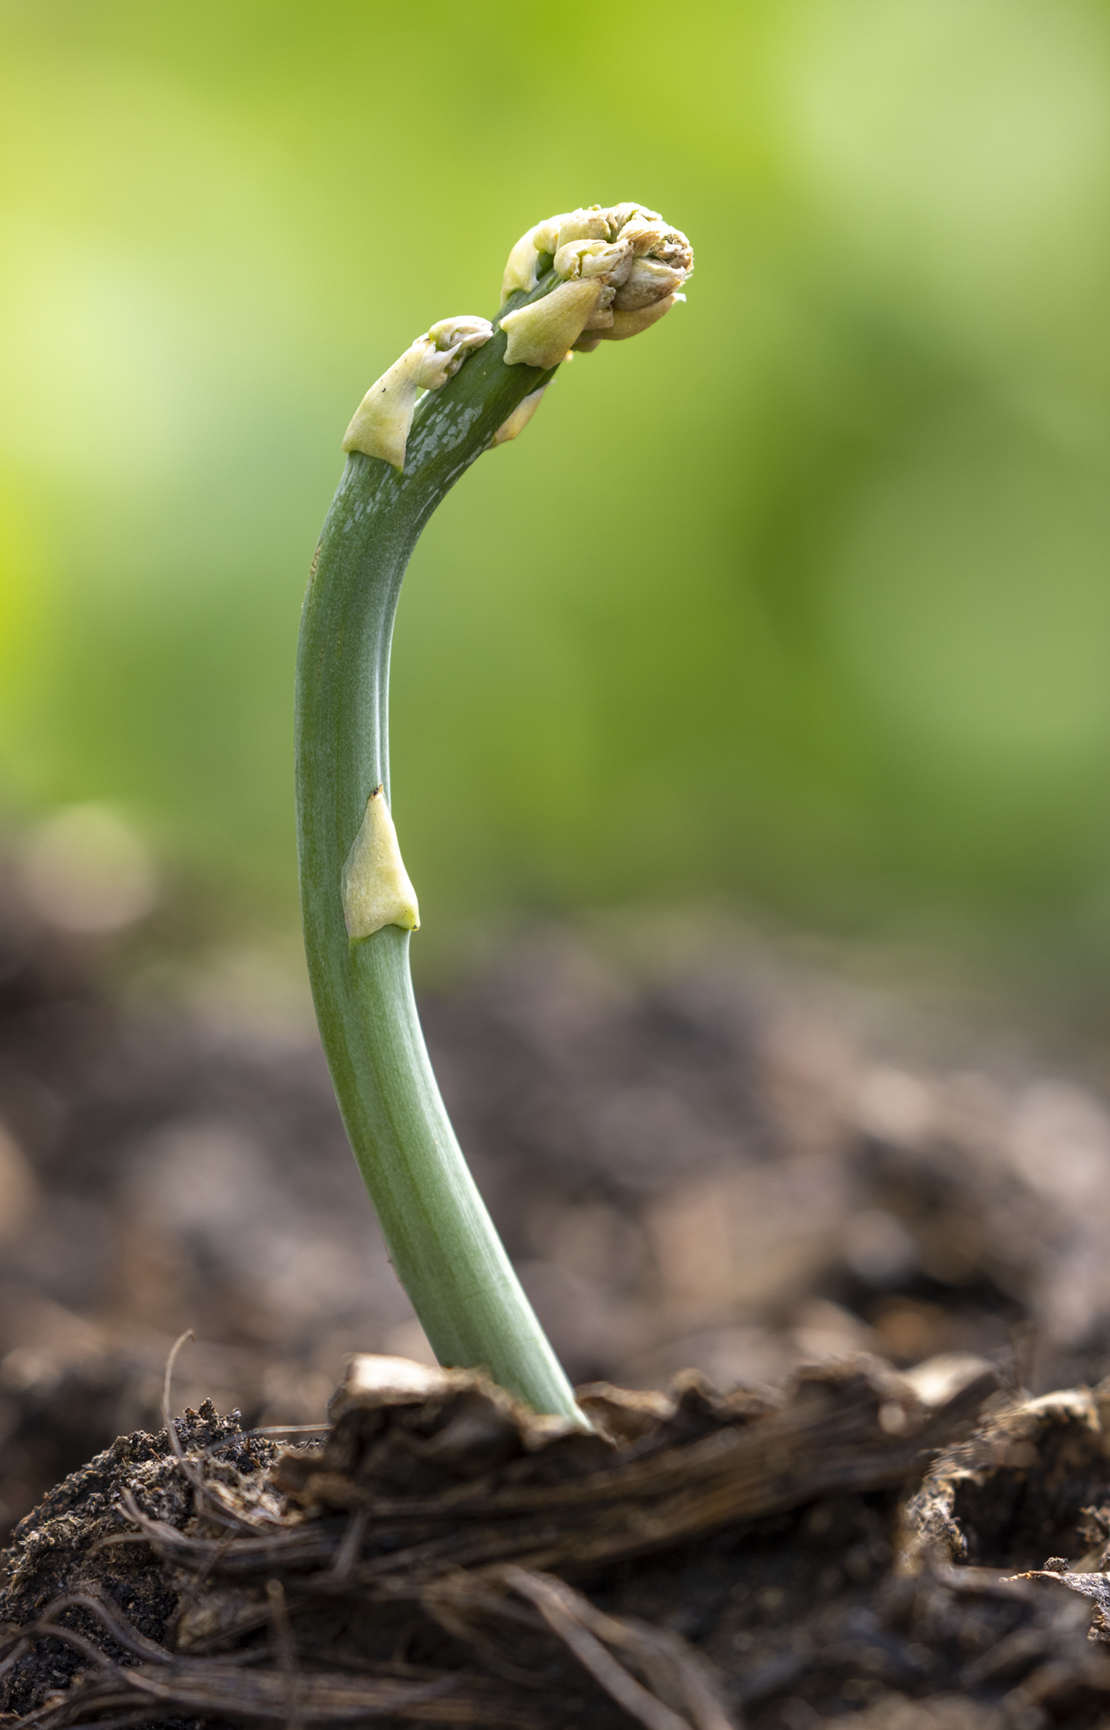
Perennial vegetables and herbs regrow year after year, following a lull through winter, although perennial kale, rosemary, and thyme can still be picked through the coldest months. In good soil, they can be very productive, and one plant may be enough to give you all you need. All of these plants are hardy and straightforward to grow but require a reasonable amount of maintenance to keep them healthy and cropping well.
Apart from sorrel, perennial vegetables grow large, so think carefully about how many you might need and where to situate them so they don’t shade or cover other crops. Asparagus and rhubarb are seasonal delicacies in spring and early summer and are both expensive to buy yet easy to grow. The same is true of these perennial herbs, and planting just one of each can give you richly flavored harvests close at hand whenever they are needed in the kitchen. It’s a myth that herbs need to be grown on poor soil. In fact, feeding the soil organisms with an annual mulch of compost will increase the growth and productivity of your herbs, with no loss of flavor. Herbs also grow well in containers—in fact, mint must be planted in a pot to prevent it from spreading rapidly through the soil.
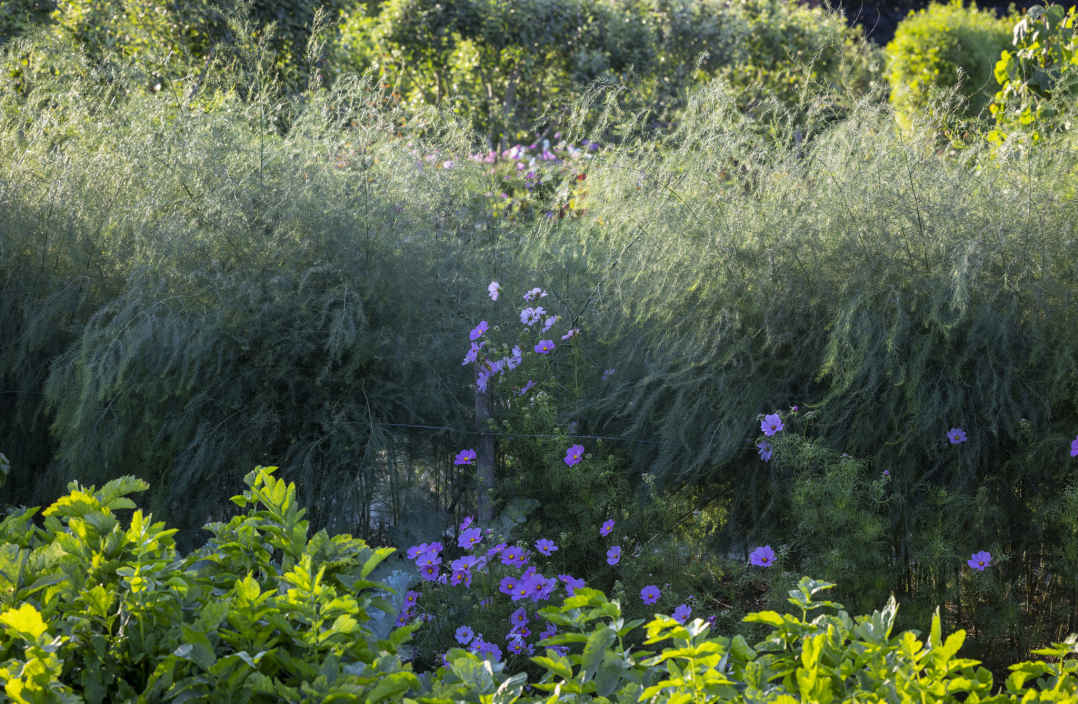
The tall stems and ferny foliage of asparagus make an attractive feature in the late summer garden.
Except for the kale, all these perennials can be raised from seed. It’s also easy and economical to buy young plants, especially when you need only one or two of each. The best results come from planting in early spring or mid- to late fall, when the weather is relatively cool and the soil is moist. Once plants are growing strongly, you can raise more by taking cuttings or dividing roots.
Allow plants time to establish before taking a first harvest—this might be just two months after planting sorrel and mint, a year for rhubarb, and as much as three years after planting for asparagus. It is also important to stop picking, even from productive older plants of asparagus and rhubarb, by the summer solstice and late July respectively, to allow the growth of sufficient foliage to feed the roots before winter and ensure a good crop the following year. To maximize productivity, remove flowering stalks from rhubarb and sorrel as soon as they appear, cut back herbs after flowering, and cut chives to ground level before their flowers set seed in summer. You should also cut tall asparagus stems close to ground level at the end of fall.
Regular weeding is necessary but not onerous, once you are free of perennial weeds thanks to thorough mulching in the first year. Annual mulches in subsequent years, with enough compost to cover soil to a depth of about ¾ in (2 cm), will maintain healthy growth and make weeding easier.
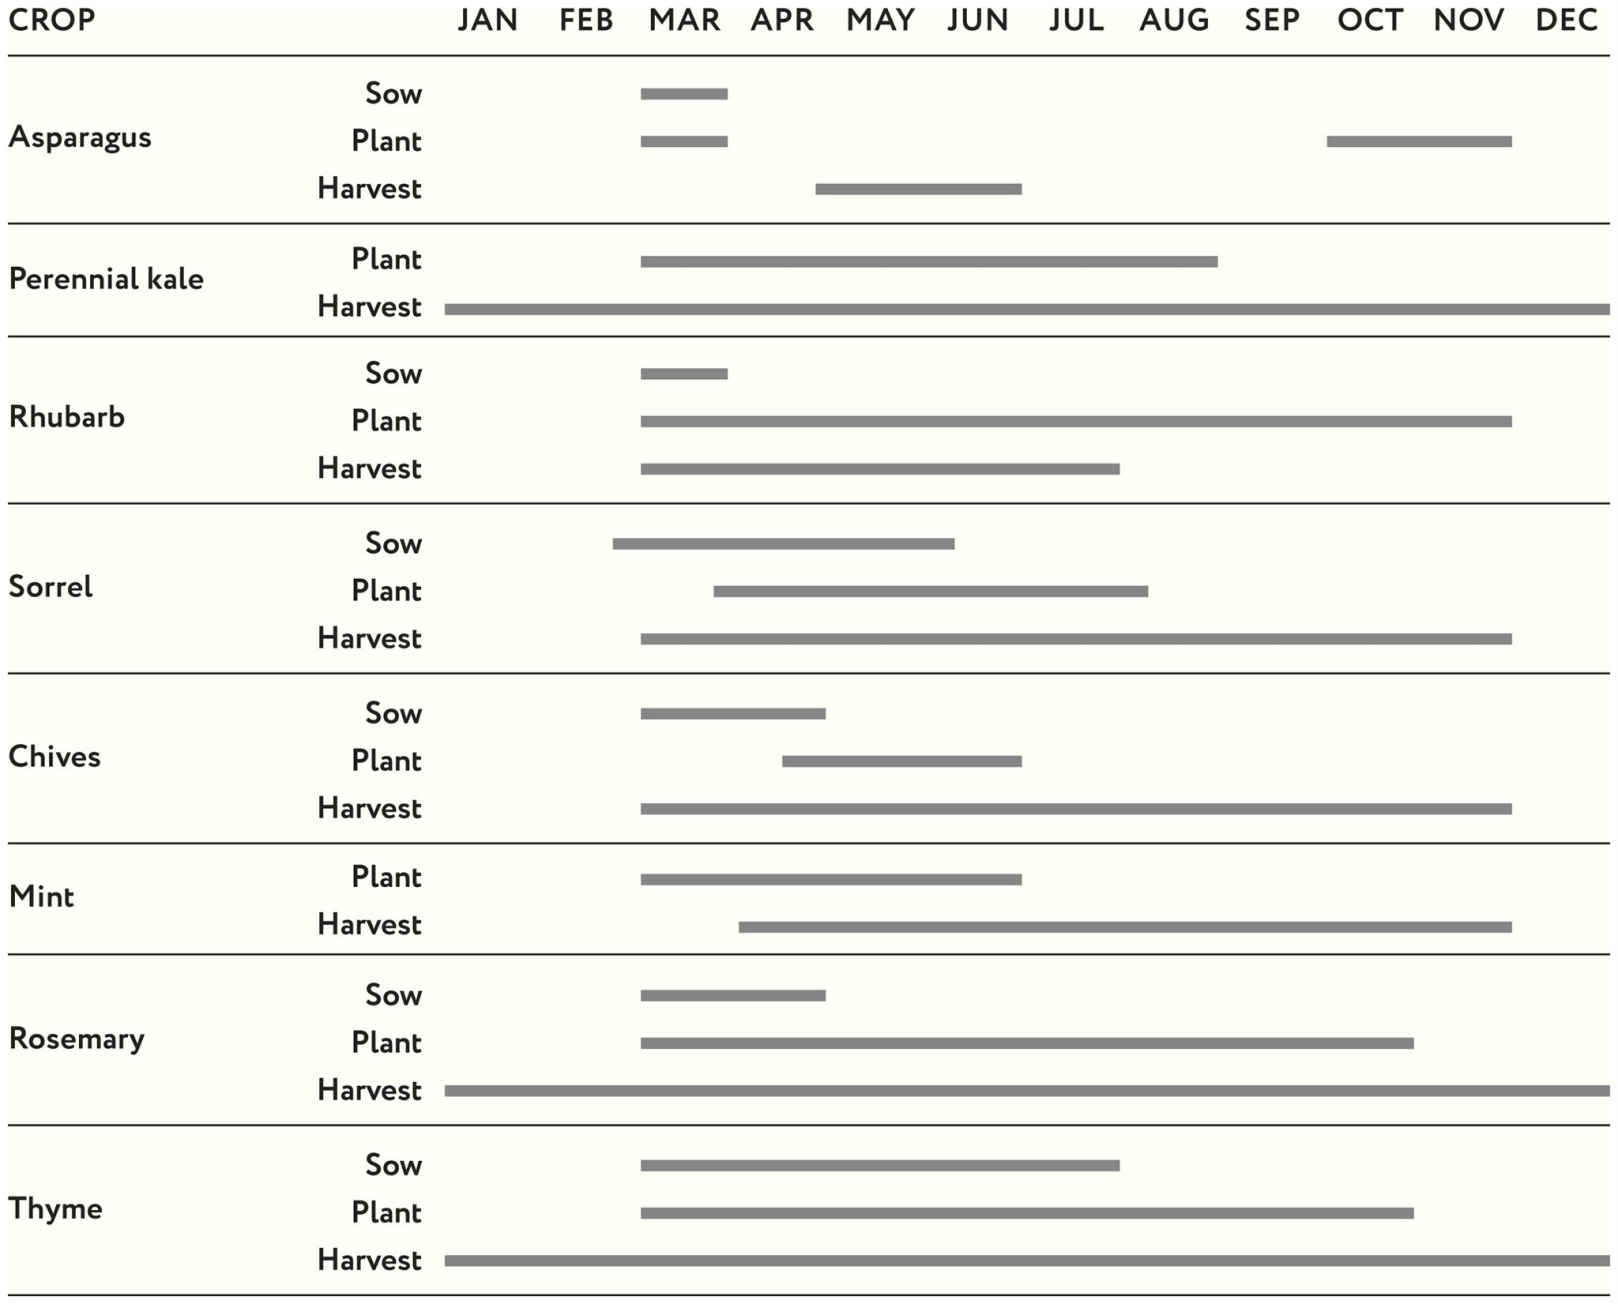
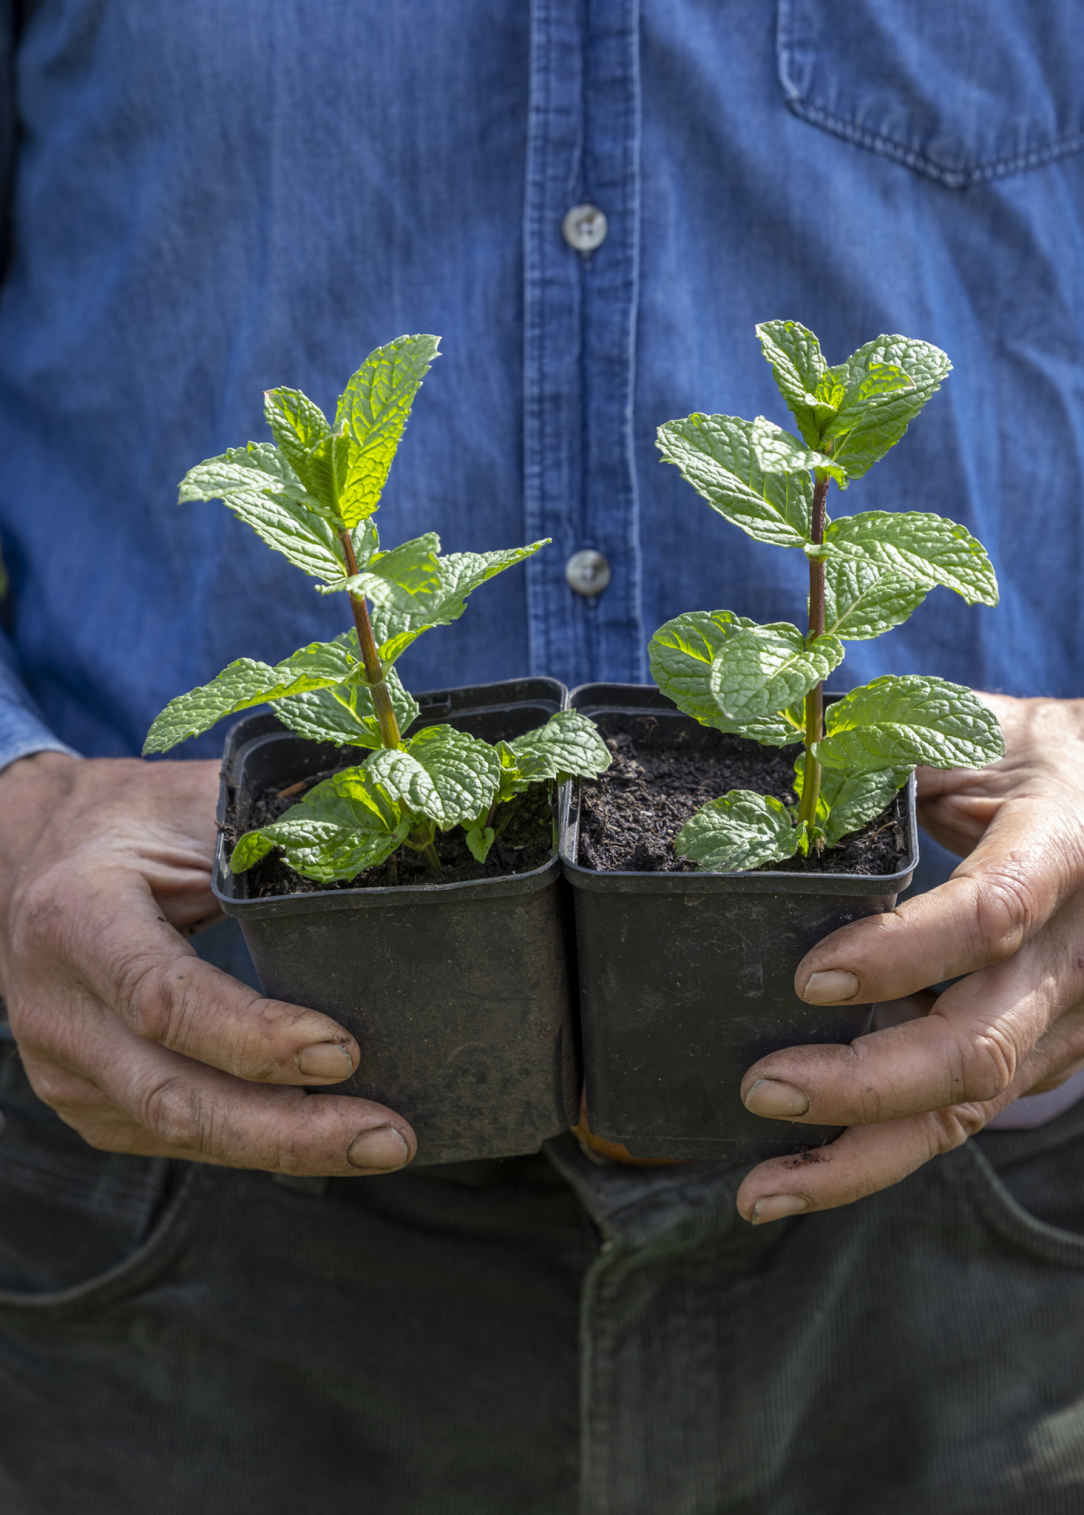
Raise young mint plants by taking cuttings from an established plant.
The two main pests that trouble perennials only affect specific crops and may not be found in your area, but it pays to be alert for their presence. Asparagus beetles are black with prominent pale yellow and red markings, and both the adult beetles and grubs feed on the foliage and stems of asparagus plants. This pest is hard to eradicate, but the damage it causes is less significant where plants are regularly watered and mulched. Green dock beetle is an attractive iridescent green and makes holes in sorrel leaves as it feeds. Little can be done to protect plants, but picking and composting affected leaves helps reduce the damage.
Weeds are potentially a time-wasting chore if they become established among perennial plants, but they are easy to manage in no dig beds as long as they are removed before they seed. Older rosemary and thyme plants have a tendency to become sparse at the center, which can be prevented by cutting them back hard each year after they finish flowering.
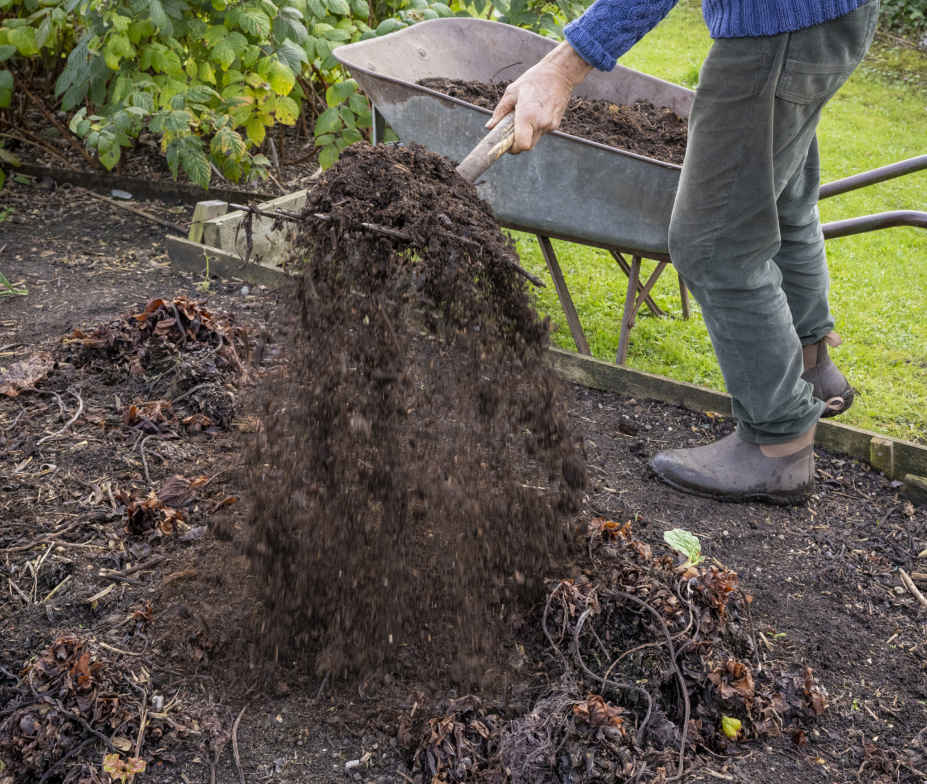
Mulch rhubarb with compost every year in late fall to promote strong growth.
Despite the long wait of up to four years for a significant harvest, asparagus is an excellent investment anywhere you plan to put down roots yourself. Delicious, freshly cut spears come at a time in spring and early summer when not many other vegetables are ready to harvest. Stop picking after the longest day to allow new spears to grow into a forest of ferny leaves. These feed energy back to the roots, promoting strong new growth every spring, for up to 25 years.
One often sees advice to plant asparagus on ridges of soil with trenches between, but this is beneficial only to keep roots proud of sodden soil that floods in winter. I’ve successfully grown asparagus without ridges on soggy, but not waterlogged, clay soil in a normal no dig bed. Another reason to grow on ridges would be to produce white, blanched spears beneath the mounded soil, but here, I describe how to grow green asparagus, where shoots are cut above soil level.
The easiest way to start an asparagus bed is to buy crowns—the spidery white roots of one-year-old plants. This is more expensive than growing from seed but brings harvests forward by one year. To grow from seed, sow singly into cells in early spring and keep in the warmth of the house for a week to germinate before moving seedlings into the greenhouse. After five or six weeks, pot young plants on into 2¾ in (7 cm) pots, and into a larger pot again after a couple of months, to keep them growing strongly.
Crowns and seed-raised plants can be transplanted in late fall or early spring; I find early spring gives best results. Think long term and find them a suitable position in full sun. Established plants grow tall and thick in summer and will cast shade like a hedge. Run the line of plants north–south if practical to provide both sides of the row with sunlight in summer. One line can fill a 4 ft (1.2 m) wide bed. Allow a generous 2 ft (60 cm) between plants and 3–5 ft (1–1.5 m) between lines.
Make a shallow, dishlike hole about 4 in (10 cm) deep and slightly domed in the center. Place a crown at the center and spread the roots out so that they reach slightly deeper into the soil at the periphery. Cover over with compost. This is easy in the soft surface of a no dig bed, where growth is better, too—I spoke with a gardener whose asparagus planting failed for five years running in thoroughly dug soil but had excellent results after planting crowns in surface compost without digging.
Watering may be necessary during the first spring, especially for seed-raised plants, but will not be needed after that. Weeding is a priority and is easy in the soft surface of no dig soil, but check the bed regularly to prevent any weeds from going to seed. Laying cardboard between rows for the first year or two helps reduce weed growth.
Long-stemmed asparagus ferns are liable to blow over, so put a permanent post and wire system in place to support them. Run parallel wires between sturdy fence posts at each end of the bed, with one wire on each side of the posts. Guide new stems between the wires as they grow upward in summer.
If you grow an open-pollinated variety (see below), go through the row in early fall and remove any female stems with red berries to prevent them from dropping seeds; any seedlings that germinate need to be weeded out. In late fall when leaves turn yellow, cut the stems down close to soil level. Chop up the debris before composting, or pile stems between two rows of asparagus and walk on them, so they decompose into a strawlike mulch. I add compost on top of the plants in November in the same way as I mulch other beds (see Alternative options). As a seaside plant, asparagus will thrive given a mulch of seaweed or a sprinkling of salt at about 3½ oz (100 g) per 33 ft (10 m).
Sometimes rabbits or slugs will graze on the earliest spears in spring, but damage is usually insignificant for healthy plants. Asparagus beetle feeds on leaves and stems and can be a problem in drier areas. I find here, though, that plants grow strongly enough that asparagus beetles, which we see in spring, barely affect the harvest.
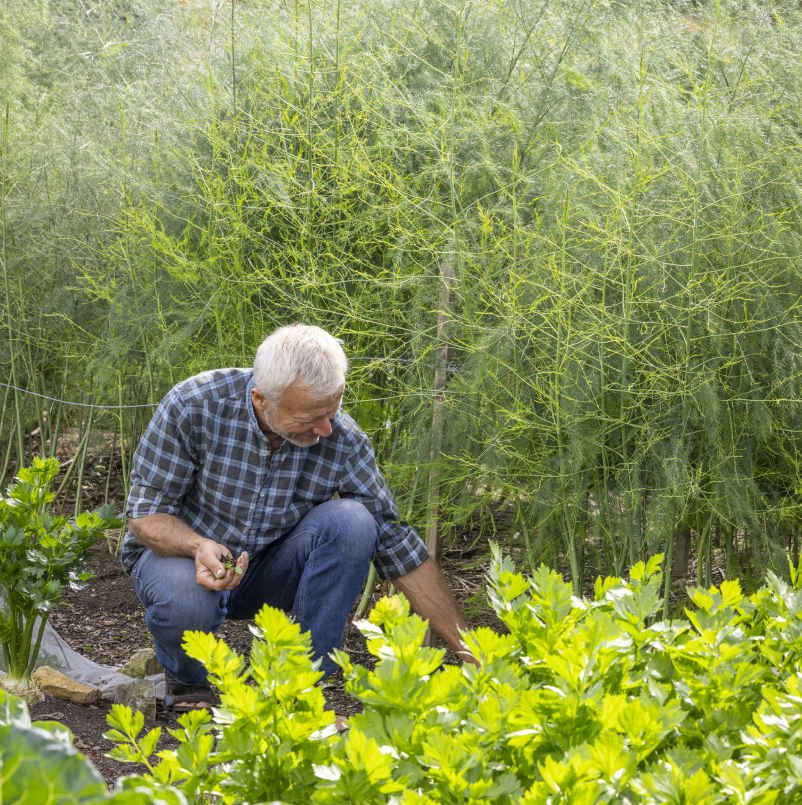
Weeding the asparagus bed in summer.
Watch for the first spears emerging from bare soil as weather warms in spring. Pick a few spears as a taster three years after sowing seed or two years after planting crowns, but wait another year for your first significant harvest. Spears are usually at their best at 6–8 in (15–20 cm) long, whatever their thickness, when you can cut or snap them close to soil level. I prefer snapping because spears snap cleanly just above where they are fibrous, giving you only the tender part. Stop harvesting in midsummer to allow new stems to grow up and make leaves. Spears are best enjoyed freshly picked and can be eaten raw, but will store for a few days in cool conditions.
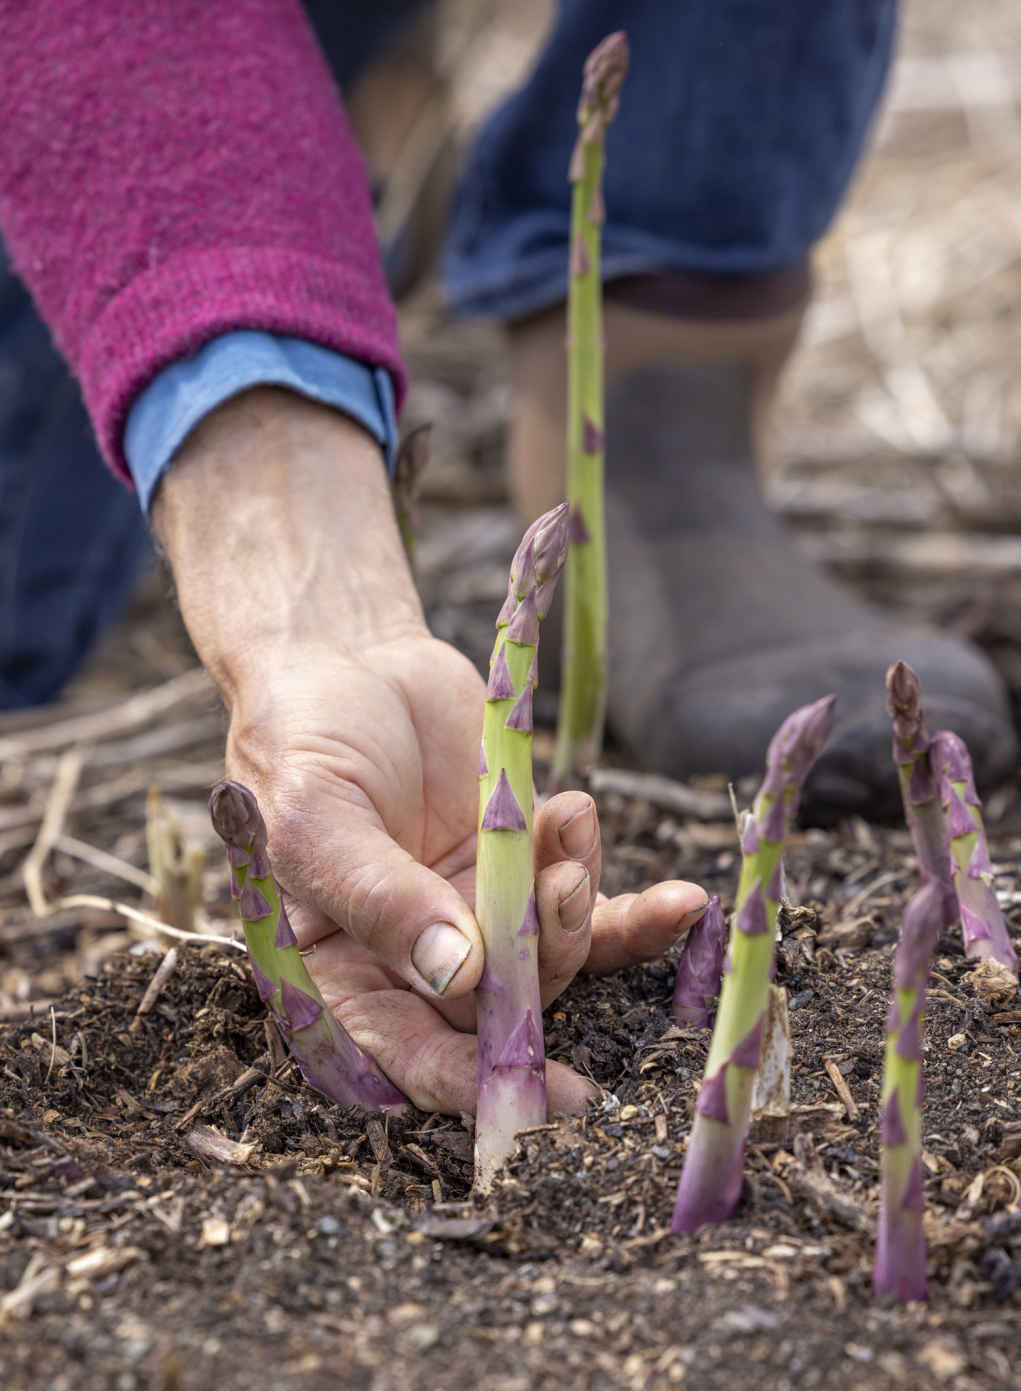
Harvest by snapping spears at the base.
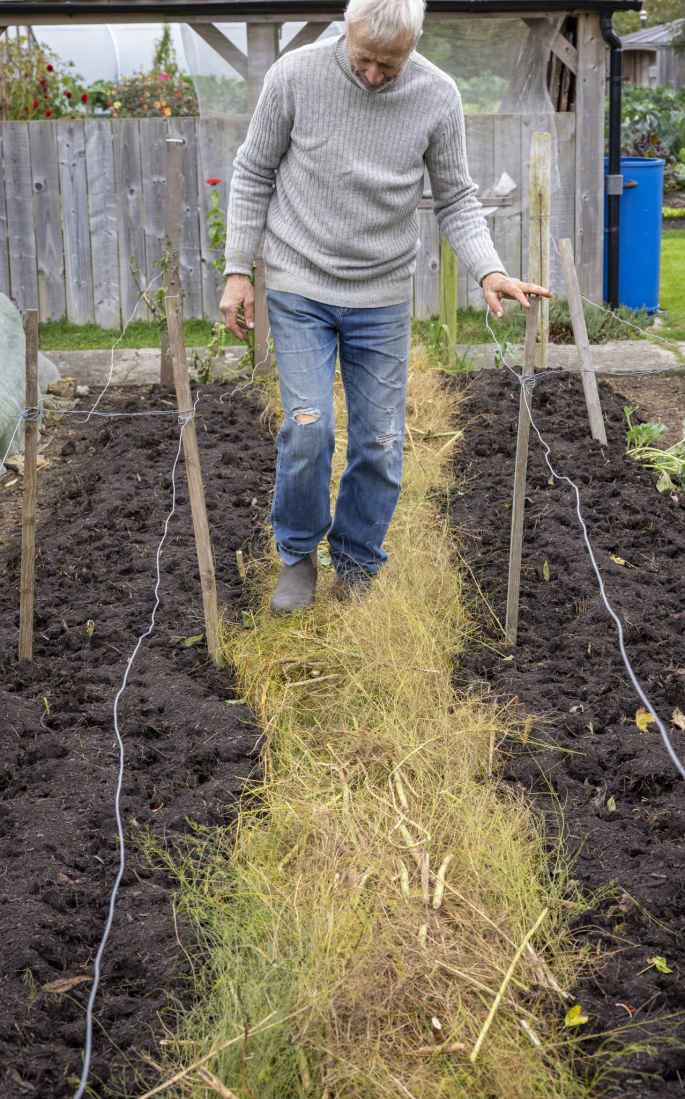
Treading down asparagus stems in late fall to mulch the path between rows.
VARIETIES
‘Connovers Colossal’ This old open-pollinated variety produces tasty spears, but female plants yield a bit less and form berries.
‘Gijnlim’ and ‘Backlim’ Highly recommended, productive “all-male” hybrids with great flavor. The difference between the cropping season of “early” and “late” varieties is not obvious.
‘Ariane’ A prolific hybrid with fat, tasty spears.
‘Stewarts Purple’ Open-pollinated with amazing, sweet, purple spears that are excellent raw. Less prolific than green varieties.
KEY INFORMATION
Seed to harvest: First small harvest 3 years from seed or 2 years from crowns
Sowing to transplanting: 7–12 months
Position: Full sun
Spacing: 2 ft (60 cm) apart, 3–5 ft (1–1.5 m) between lines
Hardiness: Roots hardy to at least 14ºF (-10ºC), but spears damaged by frost

Perennial kale can be harvested throughout the year, including spring, when seed-grown kale is beginning to flower. These undemanding, long-lived plants don’t produce seed, so you need to buy them as young plants or propagate them from cuttings.
Plant at any time of year, but spring or summer is best for stronger and quicker establishment. Mature plants are large and grow multiple heads of leaves, so you are unlikely to need more than one. Plant tall varieties in a sheltered corner, where they may need to be tied in to a strong 5 ft (1.5 m) stake.
Propagate from an existing plant by snapping off 6 in (15 cm) long sideshoots. Placed in a part-filled glass of water or a 2¾ in (7 cm) pot of moist potting mix, they should root within three weeks. As soon as stems in water develop roots, place them into a pot.
Water new plants until they show strong growth. Although established plants tolerate dry conditions, watering promotes more leaves for picking. Limit the number of stems on older plants by twisting off unwanted new stems or cutting near the base with pruning shears.
To protect from pigeons, make a wooden frame over plants and cover just the top with bird netting to allow easy access for harvesting. In spring, spray gray aphids off new leaves with water. I leave caterpillars to feed, as they don’t kill the plant and I don’t pick leaves in summer. Pick off yellow or damaged leaves regularly.
It’s possible to pick leaves year-round, but growth is minimal in winter. Pick weekly, taking the older leaves from each stem by pushing down at the base of stalks.
VARIETIES
‘Daubenton kale’ Less than 3 ft (1 m) tall and easy to manage, with tender leaves.
‘Taunton Deane’ Can reach 8 ft (2.5 m) tall and prone to snapping; cut back by half to keep it under control.
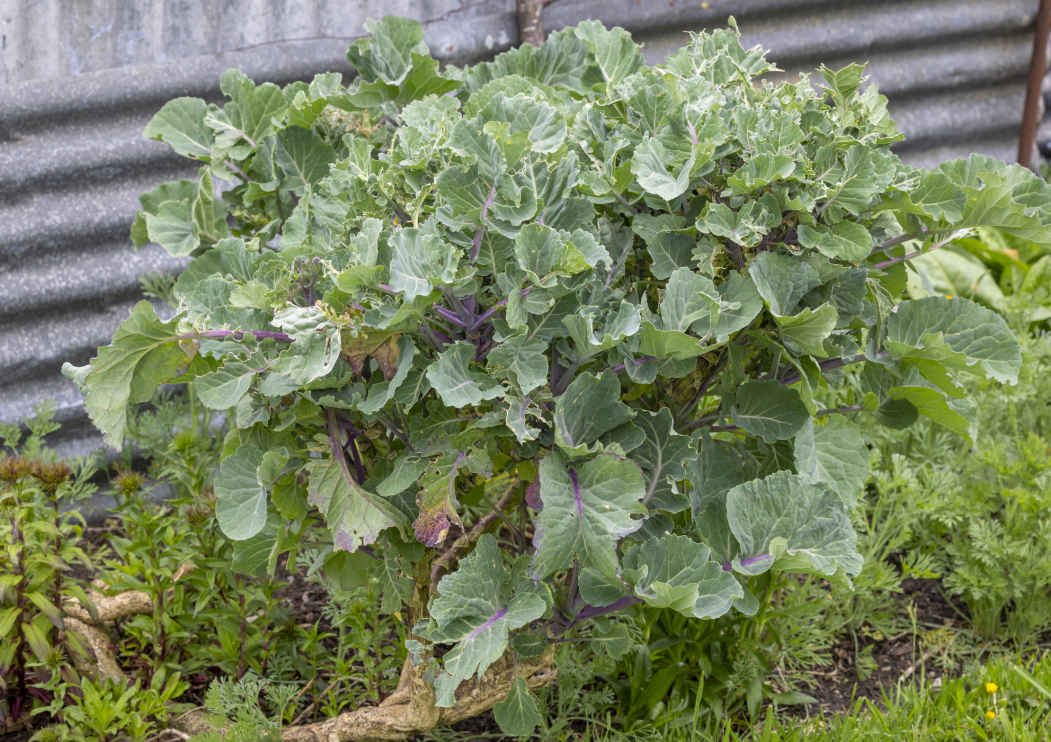
‘Taunton Deane’, in its tenth year, is reclining!
KEY INFORMATION
Planting to harvest: Minimum 2 months
Position: Any; tolerates shade
Spacing: 30–35 in (75–90 cm) apart
Hardiness: Very hardy to approx. 5ºF (-15ºC)

Pink-tinged rhubarb stalks are a valuable harvest in early spring. With careful preparation and sweetening, its unique acidity makes it quite the delicacy, especially when stalks are forced in darkness for an earlier and sweeter crop. On all but dry, sandy soils, these large, hardy plants will flourish in a corner of the garden with very little attention to regrow reliably every spring.
One plant is enough for most households, so it’s easiest to buy a pot-grown plant or bare-root crown. Plant pot-grown rhubarb any time from spring to fall, while crowns are sold while dormant for immediate planting between November and March. Alternatively, cut a piece of root from the edge of an existing clump in mid- to late fall, once leaves have died down, to replant in your chosen spot. Remove a section about 4 in (10 cm) in diameter with dormant buds at the top. Plant it with the buds at surface level or slightly lower and they will grow away in spring.
You can also start rhubarb from seed by sowing in 2¾ in (7 cm) pots in early spring, under cover to speed up early growth. Once growth is strong, place plants into a 3½ in (9 cm) pot before transplanting them in summer. If no space is available, pot them on again into a slightly larger container for transplanting in fall.
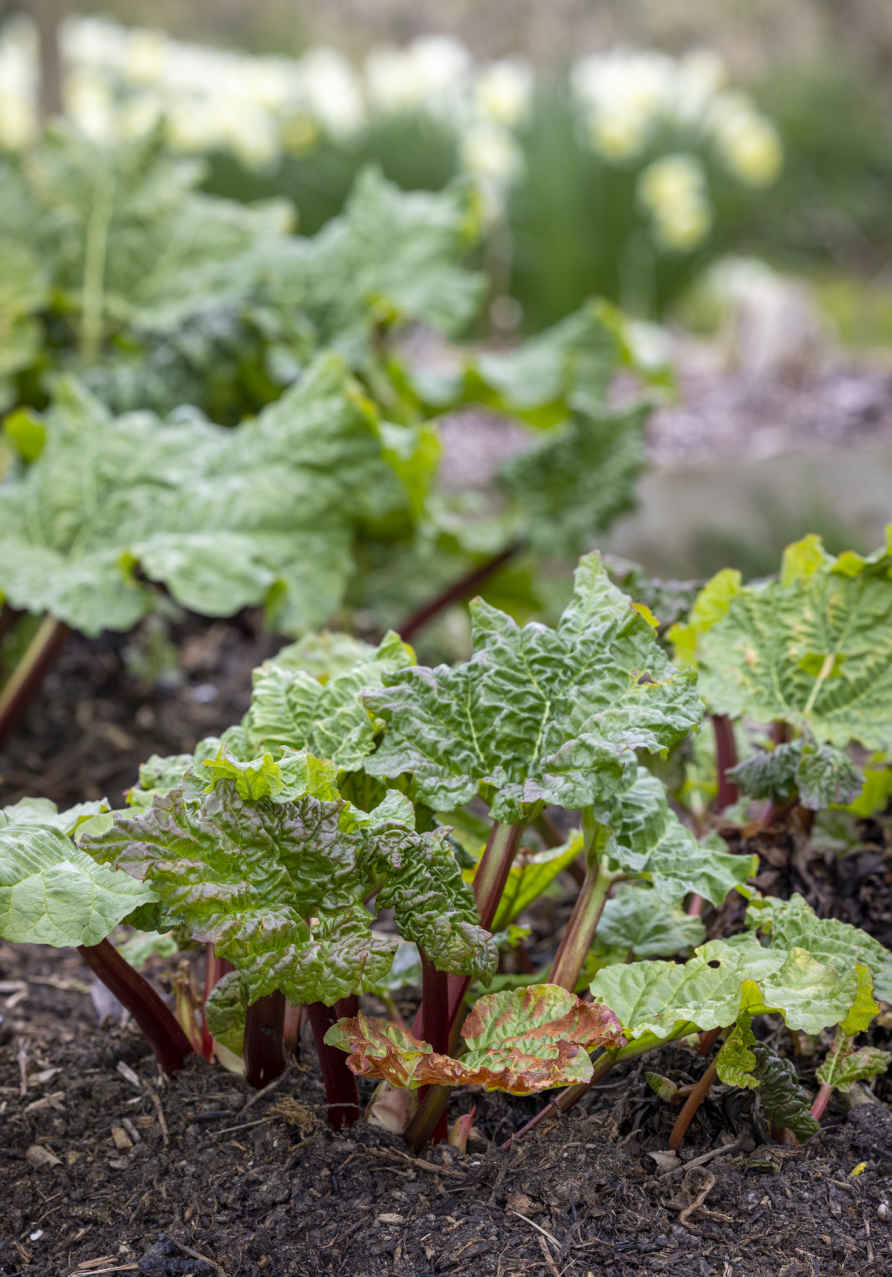
Emerging rhubarb leaves in spring.
Water established plants regularly during dry spring or summer weather to increase the yield of stems because growth slows in dry conditions. Rhubarb is a greedy grower and responds well to a mulch of compost or rotted animal manure, around the crown and on surrounding soil, after leaves have died back in fall. Some varieties send up towering stems of white, fluffy flowers in spring and summer, but these divert energy away from leaf production, so they are best cut out at ground level promptly. Crowns are remarkably resistant to pests and diseases and remain productive for many years, continually growing until they run out of space. To keep plants manageable and maintain vigor, you can remove a section of the crown and fill the hole with compost to create more space.
Forcing is not obligatory, but for tender, sweet stalks in early spring, try covering all or part of a crown with a tall pot or bucket in late winter. Depending on the temperature, after about a month, you can harvest beautiful candy-pink stalks. Depriving the plant of light will weaken it, so remove the cover after two months at most, and if you want to force every year, grow at least two plants so that you can alternate between them.
Allow new plants to establish for a year before you begin picking stalks. March to July is the main season of harvest, after which it’s best to stop picking to allow remaining and new leaves to feed the roots. The earliest stalks are short and small, but larger stalks develop later for frequent picking. Grasp each stalk near the base and give it a twist with a firm pull to snap it off where it leaves the crown. The large leaves are inedible and even slightly poisonous but are ideal for composting once cut from the top of each stalk.
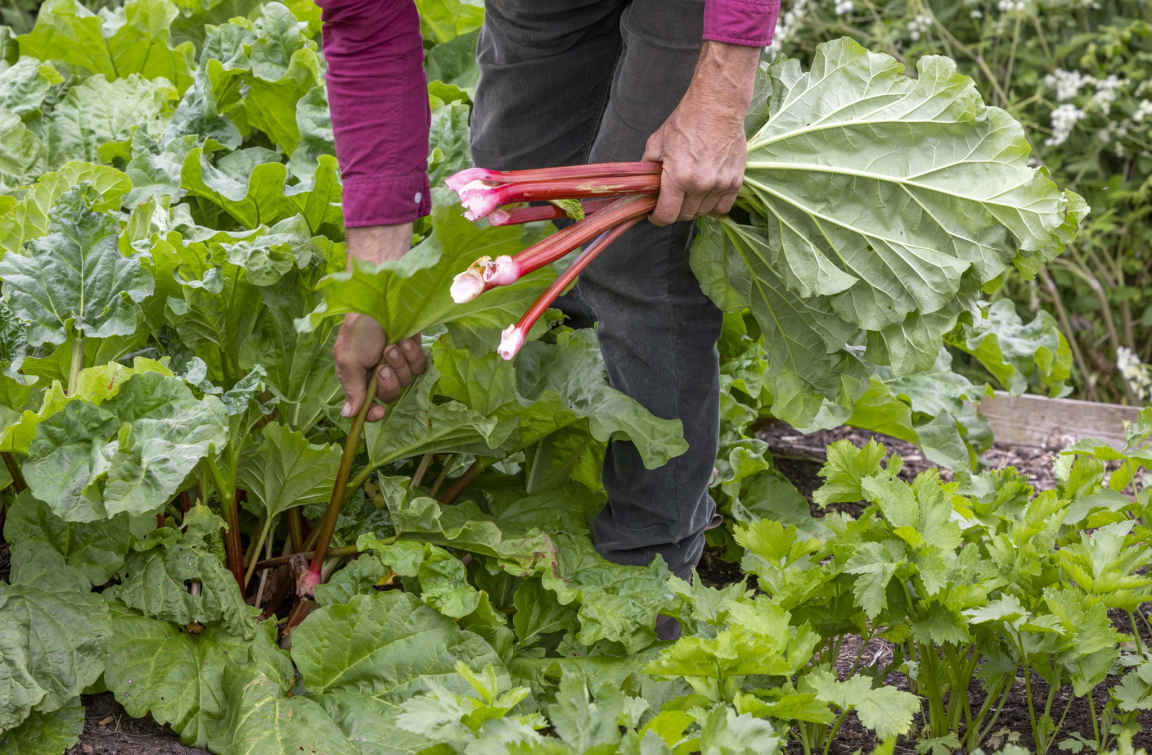
Harvest stalks with a firm twist and snap.
VARIETIES
‘Timperley Early’ My favorite variety lives up to its name, producing early growth and fat, pale red stalks from March to July.
‘Champagne’ A really pretty variety with tender, thin, red stalks, which turn pink when forced.
‘The Sutton’ An old, late-cropping variety with short, dark red stalks of good flavor.
KEY INFORMATION
Seed and plants to harvest: 1 year
Position: Full sun is ideal, but will grow in shade. Moist soil
Spacing: 3 ft (1 m) apart
Hardiness: Hardy to approx. 5ºF (-15ºC)

These perennial plants grow easily and abundantly in no dig soil mulched with compost. Sorrel has a citrus flavor with a keen acidic “edge” and is great eaten raw or cooked in soups, omelets, and stews. Broad-leaved sorrel is the most common and productive type, while buckler-leaved or French sorrel is more tender and delicious. Remove the flower stalks regularly from late spring to early summer to promote continued leafy growth.
Sow at any time through spring and summer: either multisow in 1¼–2 in (3–5 cm) cells, thinning to one or two plants per cell, or sow in a tray to prick out into cells. Seeds are tiny and early growth is slow, but within five weeks, the small plants can go into the ground, spaced 12 in (30 cm) apart. It’s also possible to make direct sowings in early spring. Plants are hardy but germinate faster in warm temperatures, so cover new sowings and plantings with fleece for about a month. You can also propagate new plants by cutting a piece of root from the outside of an established clump for transplanting.
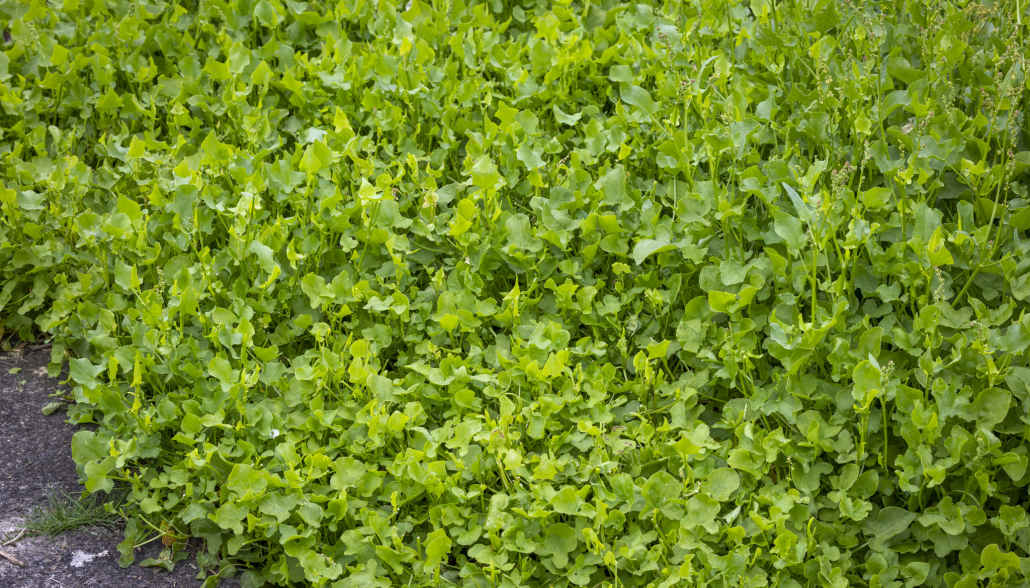
Established buckler-leaved sorrel, recently picked.
Sorrel is tolerant of dry conditions, but watering is worthwhile to increase productivity and make plants less prone to beetle damage and bolting. There are various ways to manage flowering and encourage leaf growth for continual harvests. You can keep picking leaves while also allowing plants to flower until early or midsummer, then cut the plant down almost to ground level, for a flush of new leaves from late summer. I use a scythe, or even a lawnmower, to cut my large buckler-leaved sorrel down in mid-July, and cut broad-leaved sorrel to about 2 in (5 cm) above soil level with a knife in June, before spreading a 1 in (2.5 cm) mulch of compost. Alternatively, remove flowering stems regularly from late spring for harvests between March and November.
From early summer, you may notice damage caused by larvae of the green dock beetle Gastrophysa viridula, which eat small, round holes in leaves until fall. Regular picking and composting of affected leaves will reduce the numbers of beetles and larvae feeding. Slugs live in clumps of sorrel without causing severe damage, especially when you remove those you notice while picking. Leaf quality is highest before the summer solstice and in damp conditions. During dry summers, buckler-leaved sorrel develops brown spots on leaves, which increase during fall.
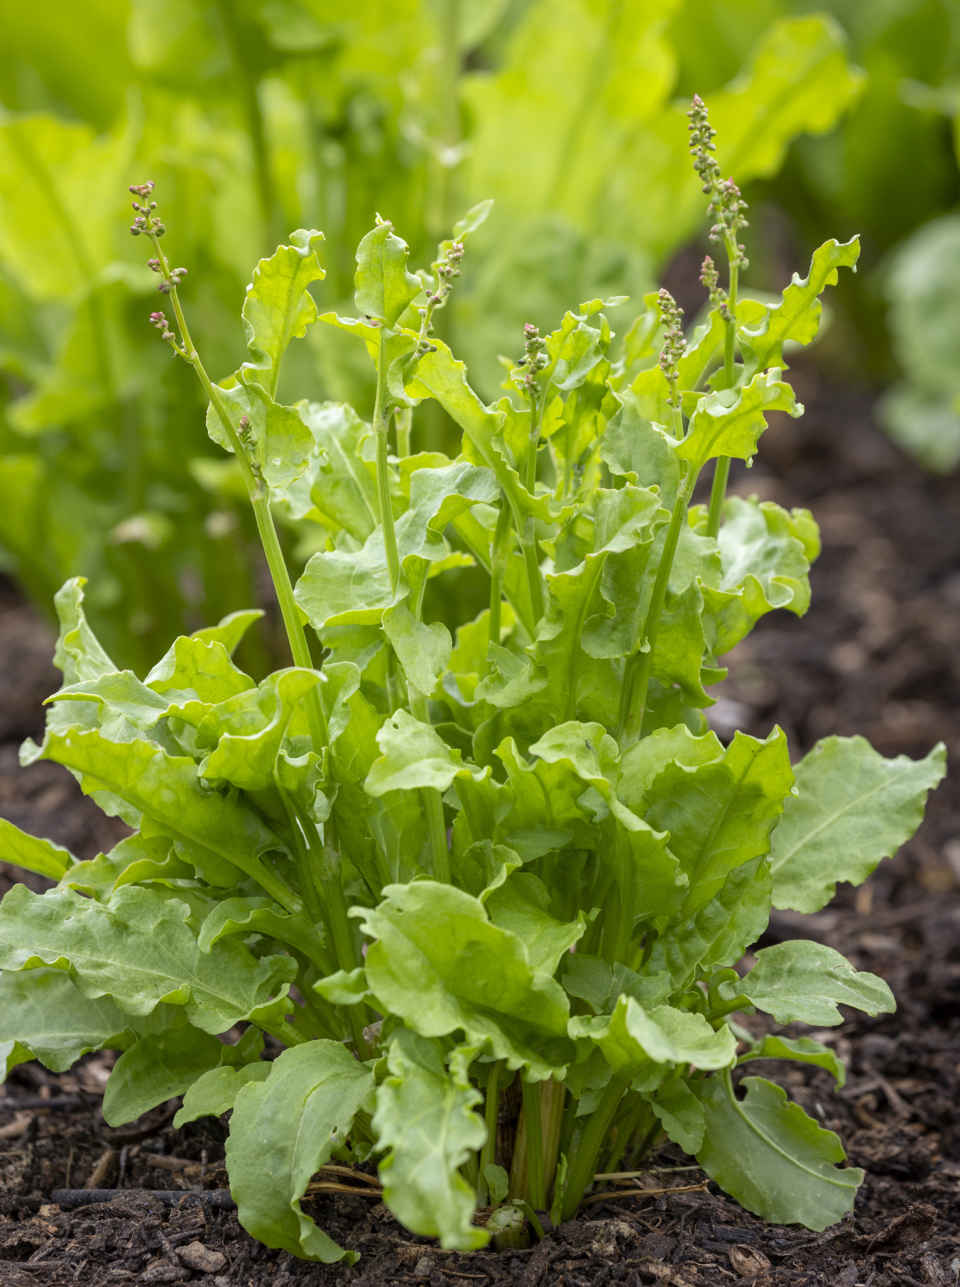
Broad-leaved sorrel rising to flower.
Pick from new plantings once the leaves of neighboring plants touch. Small leaves are softer, so pick every few days if you like to eat sorrel raw. New growth is especially strong in spring until plants send up their flower stems. Leaves pull off easily, with a variable amount of edible stalk, and can store for a week after picking when you keep them moist. Clusters of leaves can be cut from buckler-leaved sorrel to save time, but you will need to remove discolored ones and any flowering stems.
Sorrel is a long-lived perennial, but you can save seed easily by allowing flower stems to develop and dry on plants before rubbing out the seeds. You could also leave a few stems to flower and drop seeds, then use a trowel to lift and transplant any resulting seedlings.
VARIETIES
I do not know of different varieties of broad-leaved and buckler-leaved sorrel.
Red-veined sorrel has small leaves with strikingly patterned foliage and an astringent flavor. I use it for ornament rather than eating in large amounts.
KEY INFORMATION
Seed to harvest: 10 weeks
Sowing to transplanting: 4 weeks
Position: Adaptable; tolerates shade and prefers moisture
Spacing: 12 in (30 cm)
Hardiness: Very hardy to approx. -4ºF (-20ºC)

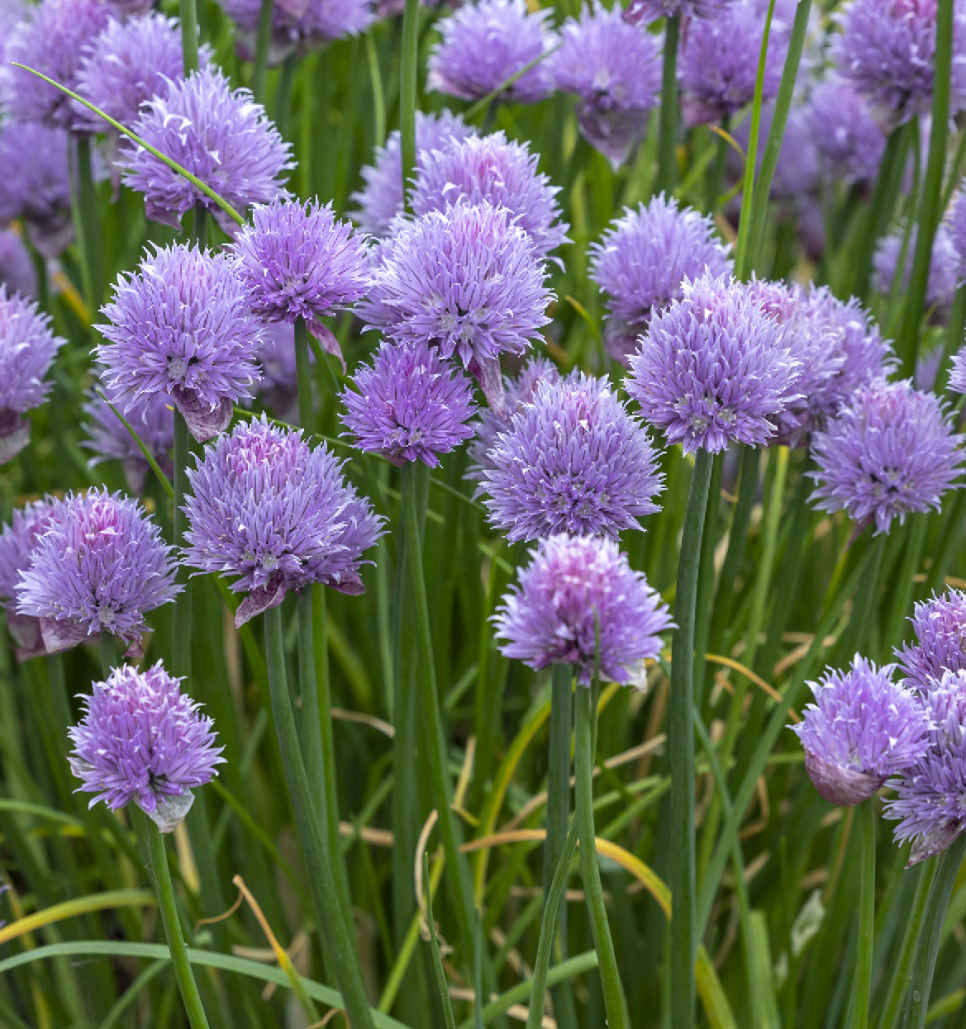
This tough herb comes into its own in spring, when greens are in short supply and the slender leaves add a mild onion flavor to dishes. Chives die back in cold winters but will produce leaves through the other seasons if they are cut back hard in early summer.
Buy pot-grown chives or divide an existing clump, because in my experience, seed-raised chives run to seed quickly. Sow, divide, or plant chives in spring, when plants will put on rapid growth. To divide a clump, cut through the roots near its edge with a trowel and replant this section at the same depth in open soil or in a 3½ in (9 cm) pot. Sow three seeds per 2¾ in (7 cm) pot under cover, thin to one or two plants per pot, and transplant about six weeks later. Chives can be grown in containers but have moisture-hungry roots and will be more prolific in open ground.
Plants need little care and thrive in soil with a compost mulch. Cut them back in early summer to prevent self-seeding and to promote a fresh flush of leaves through summer and fall. Watering keeps plants productive in a dry summer. Chives are generally untroubled by pests and diseases, but grow them in containers if you have onion white rot or allium leaf miner on your plot.
Cut chives close to ground level, from early spring to late fall, using scissors or a sharp knife. Regular harvesting stimulates healthy new growth.
VARIETIES
Common chives (Allium schoenoprasum) Narrow, tubular leaves 8–12 in (20–30 cm) tall and purple, globe-shaped flowers in late spring.
Garlic chives (Allium tuberosum) Taller, flatter leaves with a garlic flavor and white flowers.
Siberian chives (A. nutans) Thicker, blue-tinged leaves, reach 16 in (40 cm). Similar flavor to common chives.
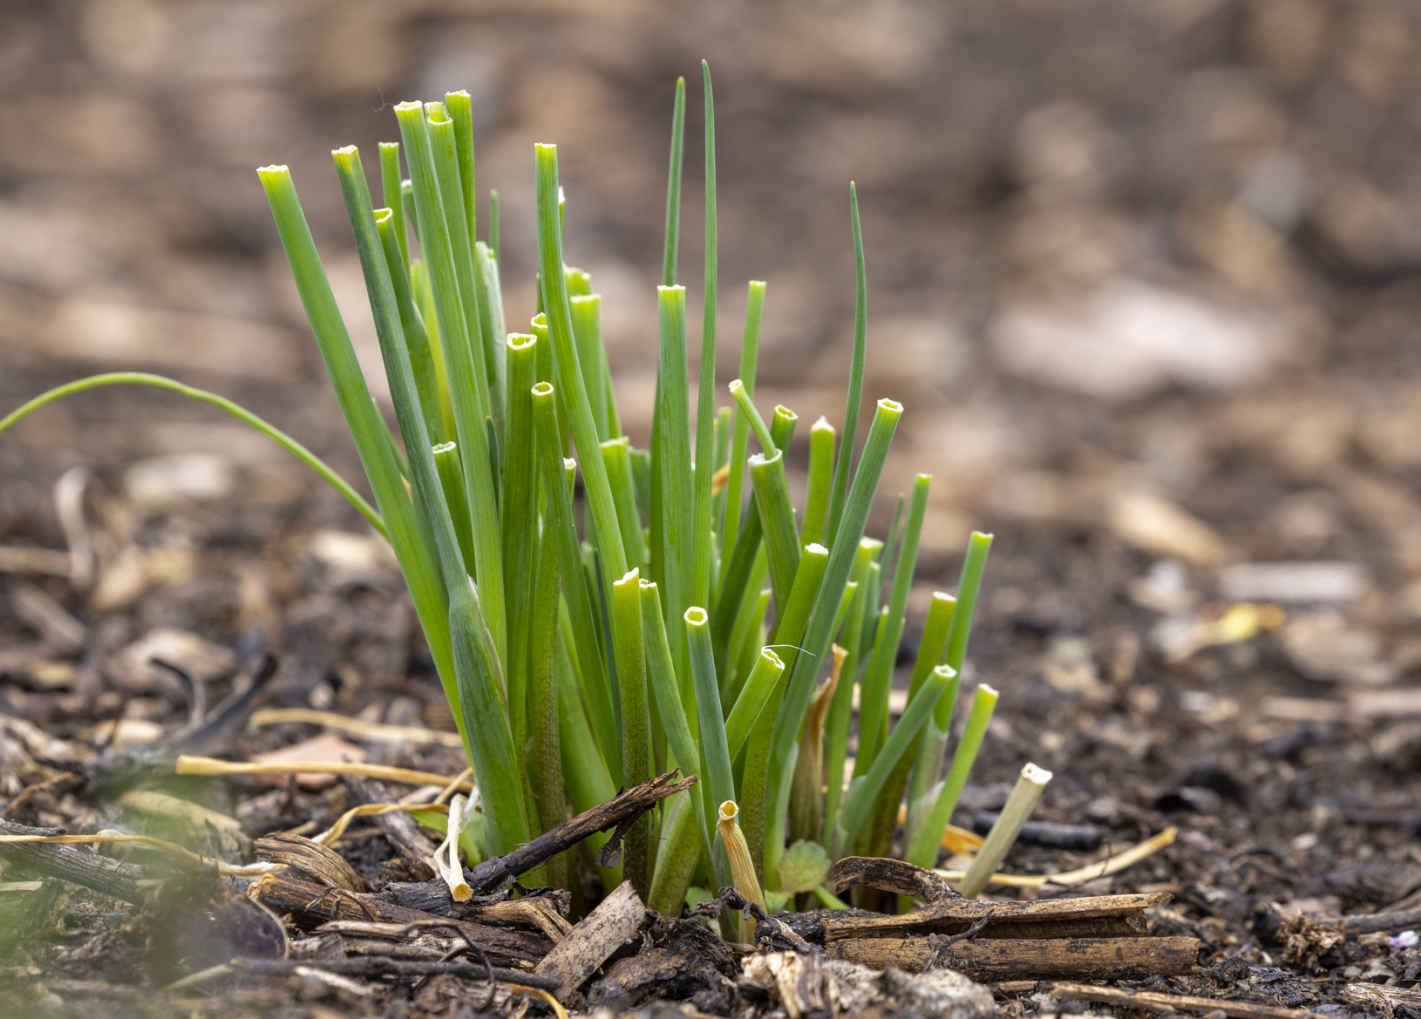
Common chives will regrow after cutting.
KEY INFORMATION
Seed to harvest: 3–4 months
Sowing to transplanting: 6 weeks
Position: Unfussy, but like moisture
Spacing: 10–12 in (25–30 cm)
Hardiness: Hardy to approx. 5ºF (-15ºC)

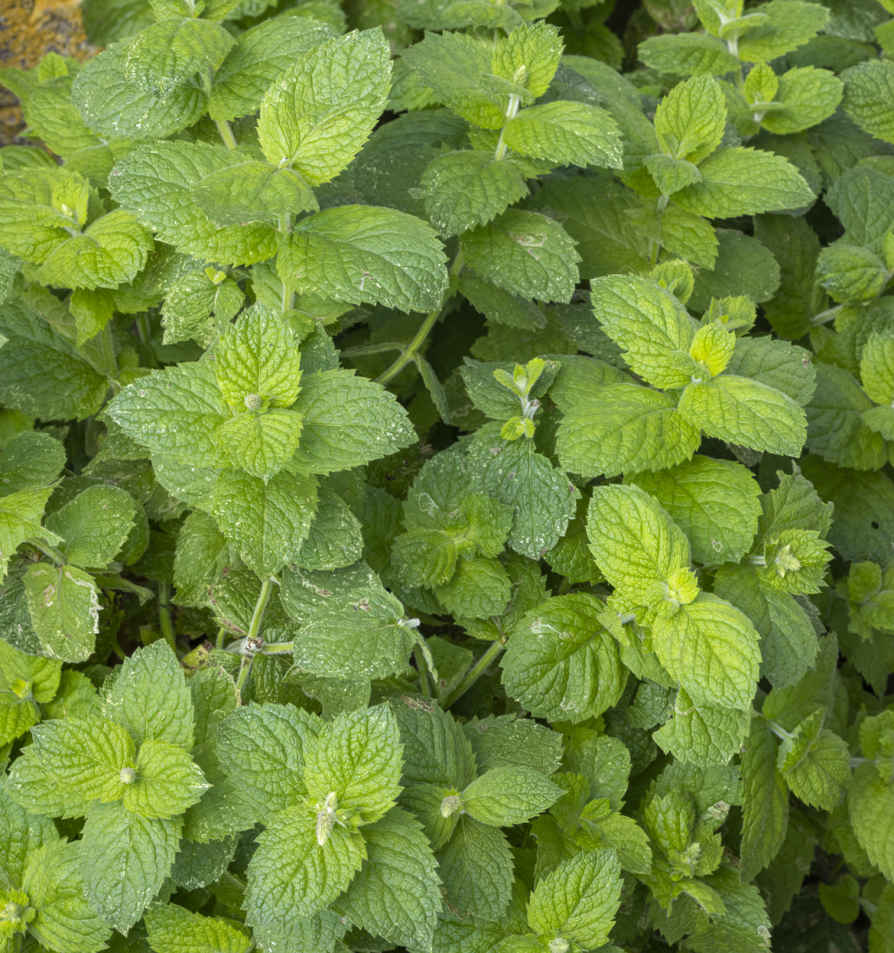
Mint is a hardy, long-lived herb with invasive roots. Limit its spread by growing in pots, which can be buried in beds with the rim just above ground level. Its resilience is proven by an apple mint that flourishes in a crack between the wall and concrete path outside my back door!
It’s easiest to buy mint as small potted plants and propagate from them if you need more. Plant in spring, spacing 16 in (40 cm) apart, or in a 10–12 in (25–30 cm) pot. Propagate in spring by lifting and transplanting sections of root, or taking 4 in (10 cm) long cuttings from healthy new stems and pushing them into 2 in (5 cm) cells or 2¾ in (7 cm) pots filled with a free-draining mix of 70 percent compost and 30 percent vermiculite or perlite.
Mint looks after itself but thrives in moist soil. Water regularly for vigorous growth, especially when it’s in a container, and to prevent powdery mildew on older leaves. Early summer flowers are popular with insects, so allow them to bloom and die before cutting stems back hard in late summer to promote new growth. In late fall, once plants have lost their leaves, cut all stems to about 2 in (5 cm) above ground level.
Pinch out the tips of new shoots as needed from midspring. Chop tender new leaves into salads and use older leaves to flavor beans, peas, and potatoes during cooking or to make tea. Cut stems to hang indoors to dry for winter storage.
VARIETIES
Apple mint (Mentha suaveolens) Round, fuzzy leaves.
Peppermint (M. piperata) Readily available with the classic mint aroma. Swiss mint is excellent for tea.
Pennyroyal (M. pulegium) Good ground cover in moist soil. Small leaves have a strong flavor.
Garden mint (M. sativa) Hardy, with a good flavor.
Spearmint (M. spicata) Strong, sweet flavor. Try the tasty variety ‘English Lamb’.
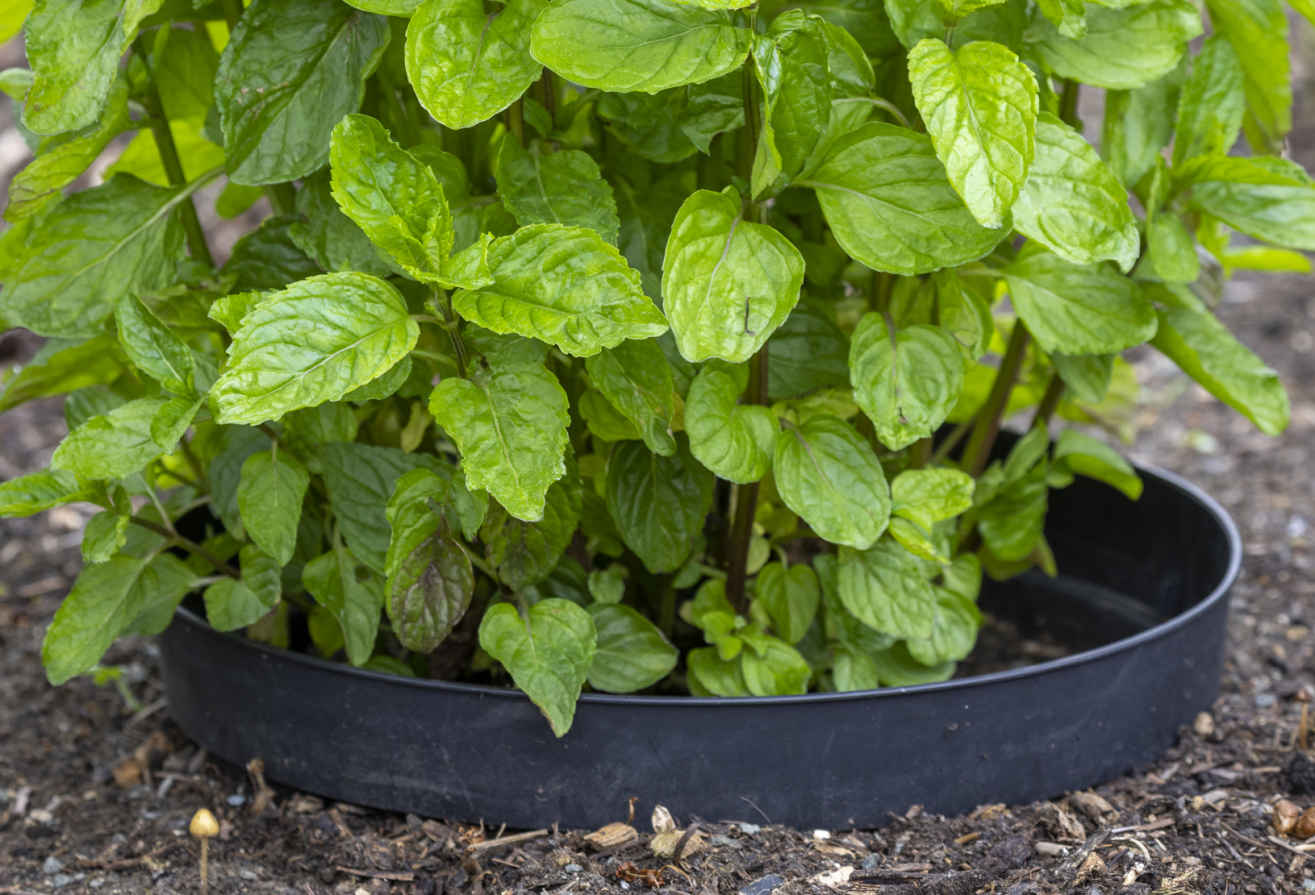
Swiss mint buried in a pot to limit its spread.
KEY INFORMATION
Planting to harvest: 6 weeks
Position: Sun or shade
Spacing: 16 in (40 cm) apart
Hardiness: Very hardy, possibly to -22ºF (-30ºC), but dormant even in mild winters

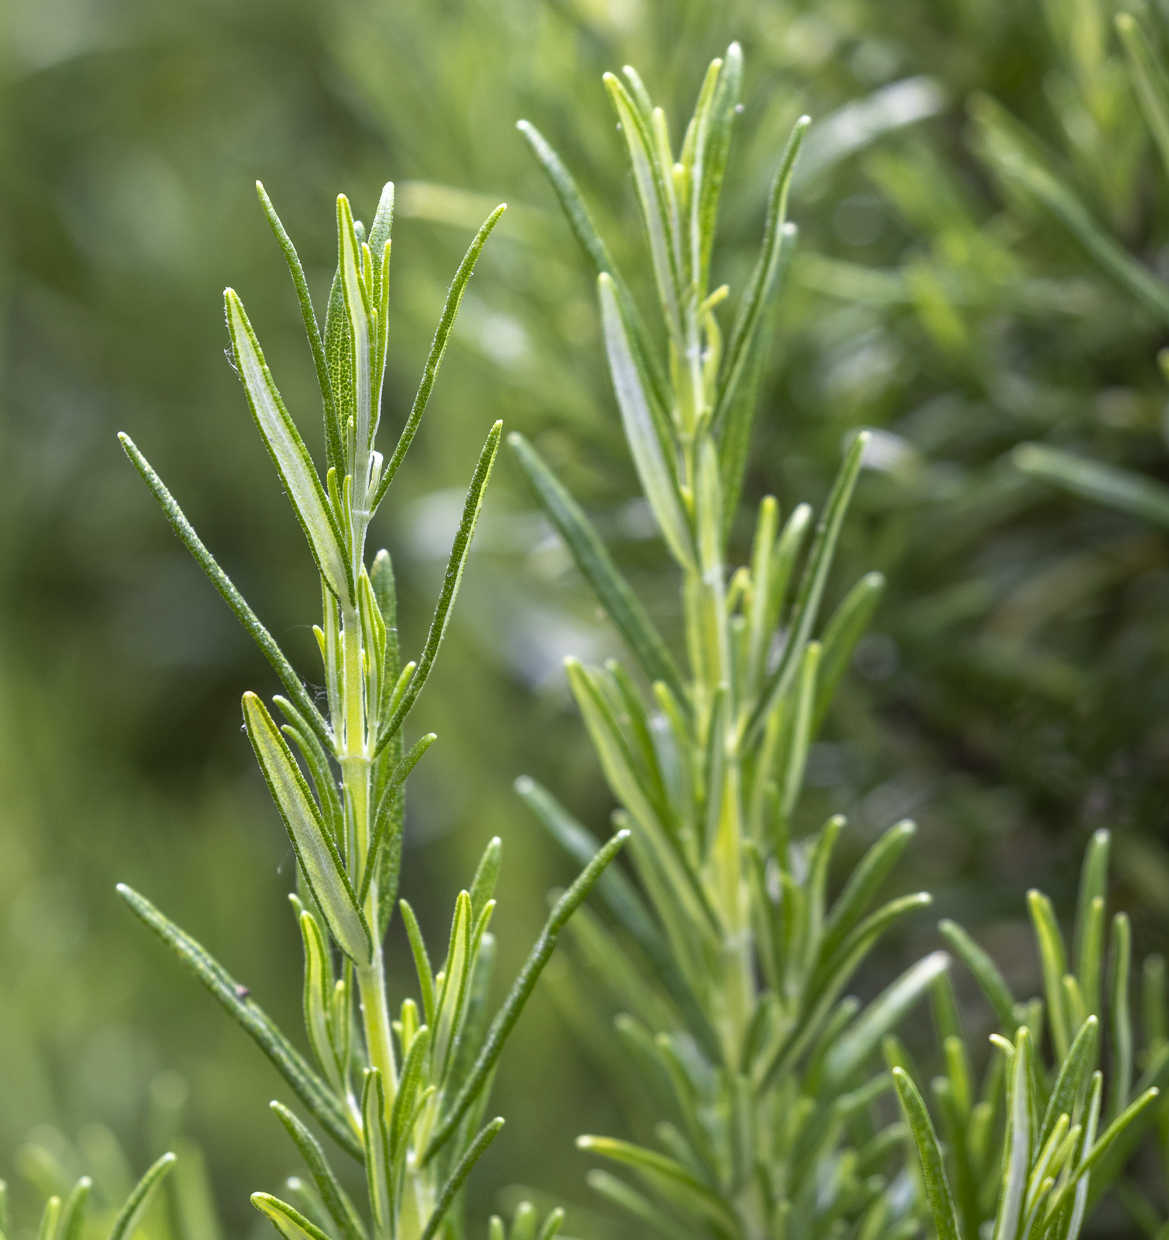
Rosemary is a vigorous evergreen herb, which can provide a generous harvest of aromatic leaves year-round. It thrives in any soil with good drainage. The small, late-spring flowers are an unostentatious blue and a welcome source of pollen and nectar for visiting insects.
One plant will usually be enough for most gardens, so it’s easiest to buy a pot-grown specimen to plant in spring. You can also take cuttings from an existing plant in early spring. Push 4 in (10 cm) lengths of new growth into cells filled with potting mix with one-third vermiculite, and they will root readily. Either place the rooted cuttings straight into compost-mulched ground in late spring or pot them on into 3½ in (9 cm) pots for transplanting in summer. Set the top of the root ball a little below the surface and water in well.
New growth may suffer a little frost damage in cold springs, but rosemary is hardy enough in temperate climates. In midsummer, cut back the recently flowered stems over the entire plant using either shears or a knife to keep the bush compact. Using shears allows you to shape the bush to fit the space available. After 7 to 10 years, take cuttings to replace existing plants that have become bare at the base or have outgrown their space.
Cut 1½–2½ in (4–6 cm) from the tip of green, tender stems using a knife or scissors. The leaves remain full of flavor through winter, for harvests throughout the year.
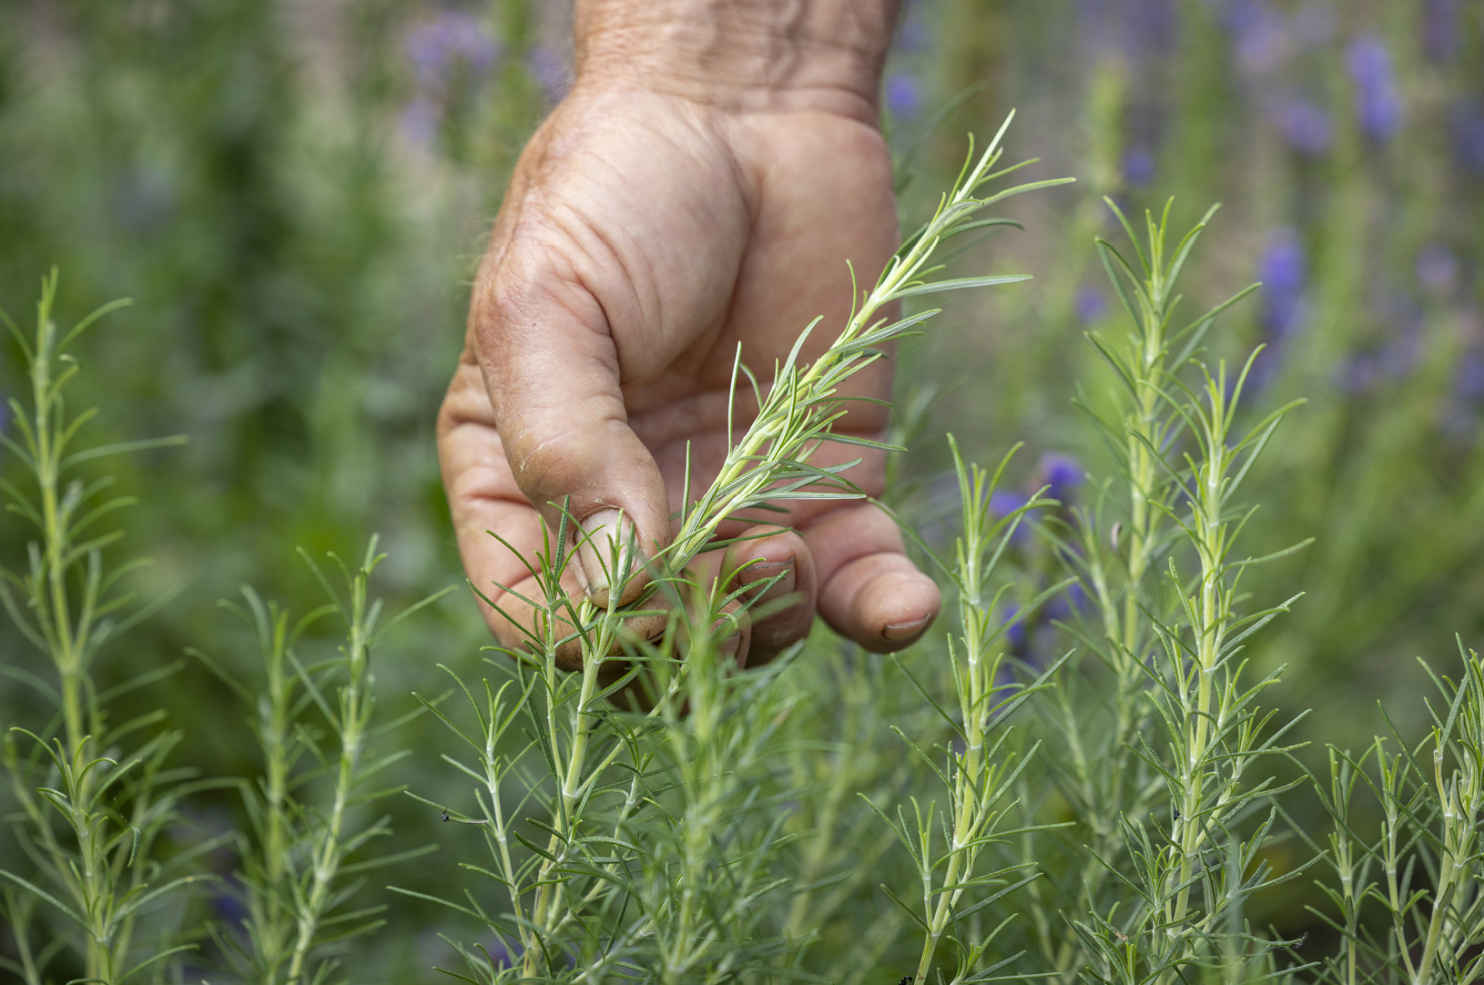
Pick rosemary as needed throughout the year.
VARIETIES
Rosemary (Salvia rosmarinus) The common type makes an upright bush and is hard to beat.
Pink rosemary (S. rosmarinus ‘Rosea’) Slightly smaller, with thinner leaves and pretty pink flowers.
KEY INFORMATION
Plant to harvest: 12 weeks; small pick in first summer
Position: Full sun or part shade
Spacing: 20 in (50 cm) apart
Hardiness: Hardy to about 18ºF (-8ºC), sometimes lower

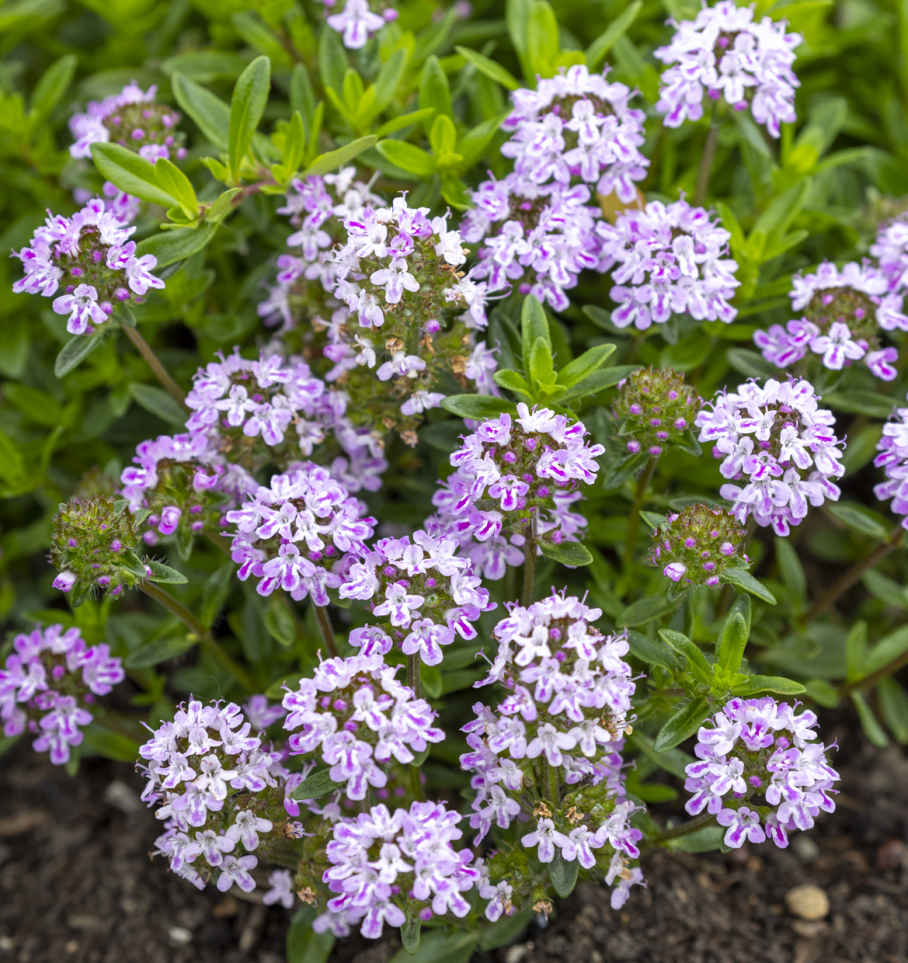
This hardy, compact, evergreen herb is available to harvest year-round and delivers a rich, savory flavor from tiny amounts. Thyme is easy to grow in well-drained no dig soil, as long as you can buy or raise healthy plants. In fact, established thyme will self-sow in late summer.
Thyme sold in garden centers has often been raised in perfect conditions in a greenhouse, and in my experience these soft plants then struggle to grow outside. I recommend raising robust plants from seed, even though this means waiting longer to harvest. In March, sow two or three seeds per small pot or cell, or take 1½ in (4 cm) cuttings from new growth and push them into cells filled with an equal mix of compost and sand or vermiculite. Keep both in warmth under cover initially and transplant in early summer. Water summer plantings every two days for a week or two; plantings at other times of the year just need watering in.
Thyme is frost hardy and needs little care. Cut plants back after flowering in midsummer, leaving a short amount of the new, greener wood to keep them compact and prevent them from becoming bare at the center. Use shears on older bushes and be quite severe. Add a ¾ in (2 cm) mulch of compost around plants every fall.
Use a knife or scissors to cut new growth from the stem tips. A few of the strong-flavored leaves go a long way, so harvests should be possible all year round, even though growth almost stops in winter.
VARIETIES
Common thyme (Thymus vulgaris) Widely available, with an excellent savory flavor.
Lemon thyme (T. citriodorus) Has a lovely hint of citrus.
Compact thyme (T. vulgaris ‘Compactus’) A neat, slightly smaller incarnation of common thyme.
Lemon thyme has small, citrus-scented leaves.
KEY INFORMATION
Plant to harvest: 8 weeks
Sowing to transplanting: 6–8 weeks
Position: Full sun is best; shade is possible
Spacing: 12 in (30 cm) apart
Hardiness: Hardy to about -22ºF (-30ºC)

g CONTENTS
SEEDS
Johnny’s Selected Seeds
Supplier of heirloom and organic vegetable seeds, as well as exclusive and difficult-to-source varieties.
Baker Creek Heirloom Seeds
A wide choice of rare and unusual seed varieties, flowers as well as vegetables.
West Coast Seeds
Supplier of high-quality seeds that meet or exceed the Canada Number One germination rate.
Marshalls Seeds
Large UK supplier with a comprehensive range of well-maintained varieties.
TOOLS AND EQUIPMENT
Suppliers of Charles Dowding–designed cell trays:
containerwise.co.uk (UK)
thefarmdream.com (Europe)
Garden Imports
For Charles Dowding designed long-handled dibble.
Gardener’s Supply Company
Provider of gardening essentials, such as soils, garden carts, and watering cans.
Garden Tool Co.
Supplier of good-quality garden tools, with detailed information and pictures.
Reddifast steels
Stock and straighten wire supports for crop covers.
First tunnels
Suppliers of a huge range of polytunnels.
Biodynamic Association
For biodynamic preparations.
CHARLES DOWDING ONLINE AND ON SOCIAL MEDIA
Website charlesdowding.co.uk
Regularly updated and packed with no dig advice and online courses.
YouTube channel Charles Dowding
Instagram charles_dowding
Twitter @charlesdowding
FURTHER READING
Organic Gardening the Natural, No Dig Way by Charles Dowding (Green Books, 2017)
Salad Leaves For All Seasons by Charles Dowding (Green Books, 2021)
How to Grow Winter Vegetables by Charles Dowding (Green Books, 2021)
Gardening Myths and Misconceptions by Charles Dowding (Green Books, 2014)
Charles Dowding's Veg Journal by Charles Dowding (Frances Lincoln, 2014)
How to Create a New Vegetable Garden by Charles Dowding (Green Books, 2015)
Charles Dowding’s Vegetable Garden Diary (3rd edition) by Charles Dowding (No Dig Garden, 2019)
Charles Dowding’s Vegetable Garden Calendar (No Dig Garden, published annually)
No Dig Organic Home and Garden by Charles Dowding and Stephanie Hafferty (Permanent, 2017)
Charles Dowding’s No Dig Gardening Course 1: From weeds to vegetables easily and quickly by Charles Dowding (No Dig Garden, 2020)
Charles Dowding’s Skills for Growing by Charles Dowding (No Dig Garden, 2022)
Hot Beds: How to grow early crops using age-old techniques by Jack First (Green Books, 2013)
Gardening and Planting by the Moon 2022 by Nick Kollerstrom (W. Foulsham & Co. Ltd., 2021)
Teaming with Microbes: The organic gardener’s guide to the soil food web by Jeff Lowenfels and Wayne Lewis (Timber Press, 2010)
Entangled Life: How fungi make our worlds, change our minds and shape our futures by Merlin Sheldrake (Vintage, 2021)
Finding the Mother Tree: Uncovering the wisdom and intelligence of the forest by Suzanne Simard (Allen Lane, 2021)
Mycelium Running: How mushrooms can help save the world by Paul Stamets (Ten Speed Press, 2005)
Back Garden Seed Saving: Keeping our vegetable heritage alive by Sue Stickland (Eco-Logic Books, 2008)
Gardening Without Work by Ruth Stout (Echo Point Books & Media, 2013)
The Ruth Stout No-Work Garden Book by Ruth Stout and Richard Clemence (12 Sirens, 2021)
REFERENCES
E. R. Ingham, “The Soil Food Web," The Soil Biology Primer, ch.1, https://www.nrcs.usda.gov/wps/portal/nrcs/detailfull/soils/health biology/?cid=nrcs142p2_053868. M. E. Rout, “Genomes of Herbaceous Land Plants—2.1 Plant uptake and release," Advances in Botanical Research (2014). “Mycorrhizal fungi," Royal Horticultural Society [web article], www.rhs.org.uk/biodiversity/mycorrhizal-fungi. L. VanSomeren, “How do mycorrhizae work?," Untamed Science [web article] untamedscience.com/biology/ecology/mycorrhizae/. A. L. Neal et al., “Soil as an extended composite phenotype of the microbial metagenome," Sci Rep 10, 10649 (2020), https://doi.org/10.1038/s41598-020-67631-0.
A. L. Neal et al., “Soil as an extended composite phenotype of the microbial metagenome," Sci Rep 10, 10649 (2020), https://doi.org/10.1038/s41598-020-67631-0.
M. Al-Kaisi, (2008) “Impact of tillage and crop rotation systems on soil carbon sequestration," https://www.researchgate.net/publication/265354997_Impact_of_Tillage_and_Crop_Rotation_Systems_on_Soil_Carbon_Sequestration. D. Comis, (2002) “Glomalin: Hiding Place for a Third of the World's Stored Soil Carbon.” https://agresearchmag.ars.usda.gov/2002/sep/soil. A. T. O’Geen (2013) “Soil Water Dynamics." Nature Education Knowledge 4(5):9. L. Lombardo et al., (2019) “Mechanical Tillage Diversely Affects Glomalin Content, Water Stable Aggregates and AM Fungal Community in the Soil Profiles of Two Differently Managed Olive Orchards.” Biomolecules, 9, 639. https://doi.org/10.3390/biom9100639.
g CONTENTS
AUTHOR’S ACKNOWLEDGMENTS
Chris Young sowed the seed for this book in February 2021 with an exploratory email, and he persevered! It’s been a pleasure to work with the team at DK, especially Jo Whittingham and Alastair Laing. Jo grows her own vegetables in East Lothian and was an understanding ear throughout, offering writing suggestions and keeping the editing process on track. Alastair overviewed the project and was so helpful on the photoshoots, where the ideas and skills of Jonathan Buckley were also much appreciated.
Adam Wood started gardening at Homeacres just when I needed more time for this book’s photoshoots, and his hard work has helped a lot—2021 has been a year of intense writing and photographing, with two other books in the pipeline as well. Thanks to all my garden helpers for your part in growing and harvesting so many fine vegetables—Kate Forrester, Martin Scase, Briony Plant, Emma Kane, and Ping! Thanks also go to my children: Rosalie for her business help, Jack for his agricultural contributions to the garden, and Edward for his photography and videos.
PUBLISHER’S ACKNOWLEDGMENTS
DK would like to thank Holly Kyte for editorial assistance, John Tullock for consulting work, Marie Lorimer for indexing, Kathy Steer for proofreading, and Charles Dowding for the use of his photograph.
ABOUT THE PHOTOGRAPHER
Jonathan Buckley is a specialist garden and flower photographer whose work has been published in magazines and books worldwide. He has collaborated with some of the great garden writers, such as Christopher Lloyd, Alan Titchmarsh, Carol Klein, and Sarah Raven. Awards for his work have included the Garden Media Guild photographer of the year, features photographer of the year, and single image of the year. He first worked with Charles Dowding on a series for Which? Gardening magazine before spending a year photographing Homeacres for this book. He lives in Gloucestershire with three terriers who have yet to embrace the no dig principle!

Project Editor Jo Whittingham
Project Art Editor Geoff Borin
Senior Editor Alastair Laing
Senior Designer Barbara Zuniga
Jacket Designer Amy Cox
Jacket Coordinator Jasmin Lennie
DTP and Design Coordinator Heather Blagden
Senior Production Editor Tony Phipps
Production Controller Stephanie McConnell
Managing Editor Ruth O'Rourke
Design Manager Marianne Markham
Art Director Maxine Pedliham
Publishing Director Katie Cowan
Consultant Gardening Publisher Chris Young
Photographer Jonathan Buckley
Cover artwork Jonathan Gibbs
Illustrations Nicola Powling
DIGITAL PRODUCTION
Digital Programme Manager Miguel Cunha
Senior Manager Lakshmi Rao
Senior Producer Suruchi Kakkar
Assistant Producer Neha Khanna
Production Manager Nain Singh Rawat
Production Coordinator Manish Bhatt
First American Edition, 2022
Published in the United States by DK Publishing
1745 Broadway, 20th Floor, New York, NY 10019
Text copyright © Charles Dowding 2022
Photography copyright © Jonathan Buckley 2022
Copyright © 2022 Dorling Kindersley Limited
DK, a Division of Penguin Random House LLC
22 23 24 25 26 10 9 8 7 6 5 4 3 2 1
All rights reserved.
No part of this publication may be reproduced, stored in or introduced into a retrieval system, or transmitted, in any form, or by any means (electronic, mechanical, photocopying, recording, or otherwise), without the prior written permission of the copyright owner.
A catalog record for this book is available from the Library of Congress.
ISBN: 9780744061260
This digital edition is published in 2022
eISBN: 9780744077759
For the curious